How to Double Crochet Thermal Stitch
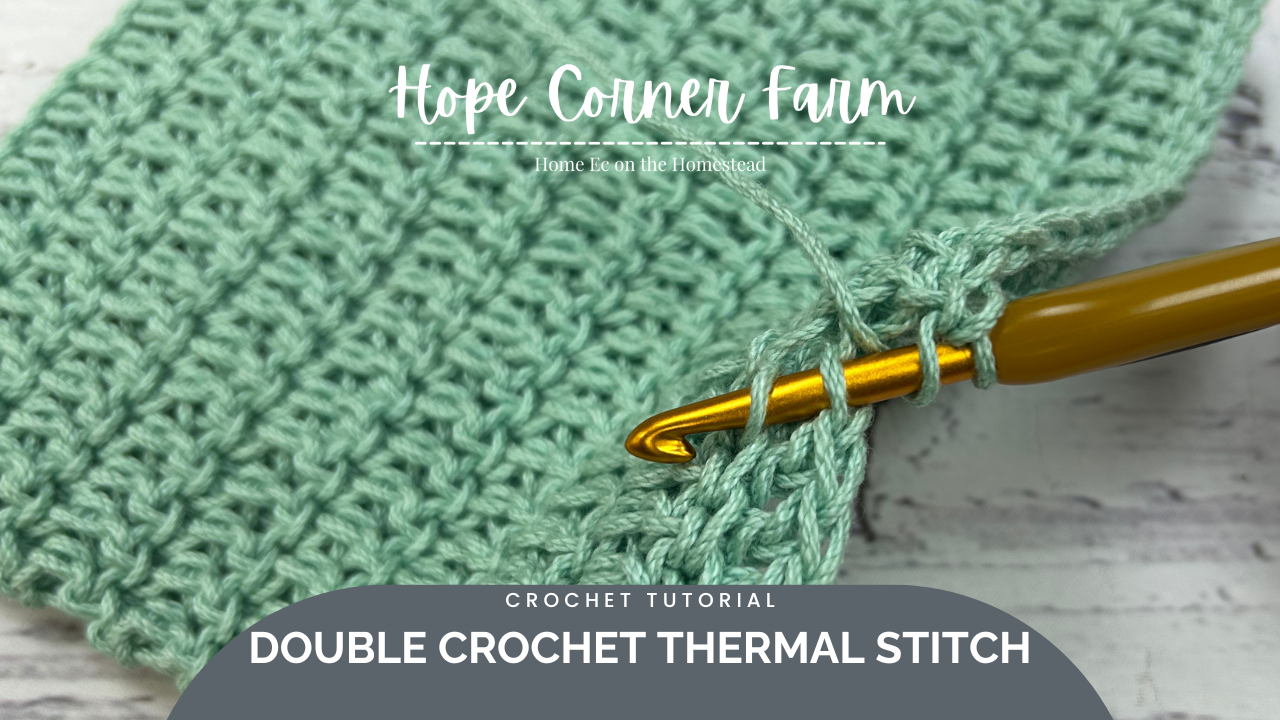
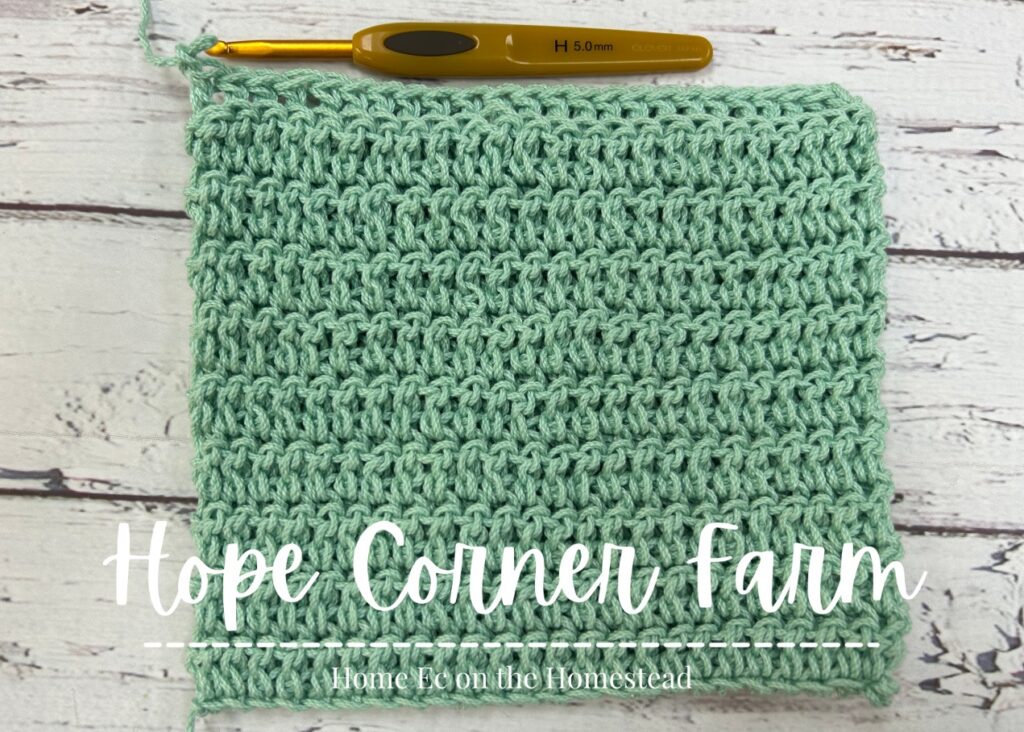
Learn how to Double Crochet Thermal Stitch with our detailed crochet tutorial. This crochet tutorial walks step-by-step through how to crochet this thick, thermal crochet stitch. This is a great stitch for use in crochet projects such as crochet potholders, crochet scarves, crochet blankets, and more. Want to crochet something with a thicker feel? This crochet stitch might be the right fit!

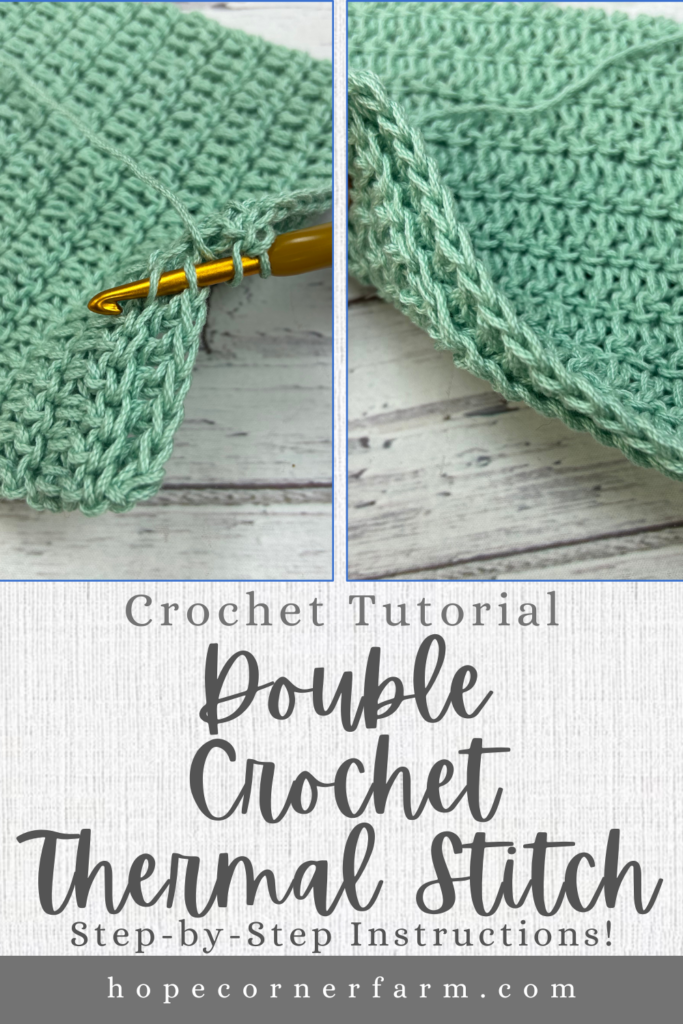
First, check out our video tutorial on our You Tube Channel! Subscribe to get the latest crochet fun from Hope Corner Farm Crochet!
Materials Needed:
This crochet tutorial uses US Crochet Terms
Crochet hook of choice (I used a size H 5.0mm crochet hook for this tutorial)
Yarn of choice (I used Lion Brand 24/7 Cotton Yarn – color “Mint”)
Crochet Terms & Abbreviations Used:
Yarn Over (YO)
Double Crochet Thermal Stitch Count Multiples:
There are no multiples for this crochet stitch. Simply chain as many as you need for your project.
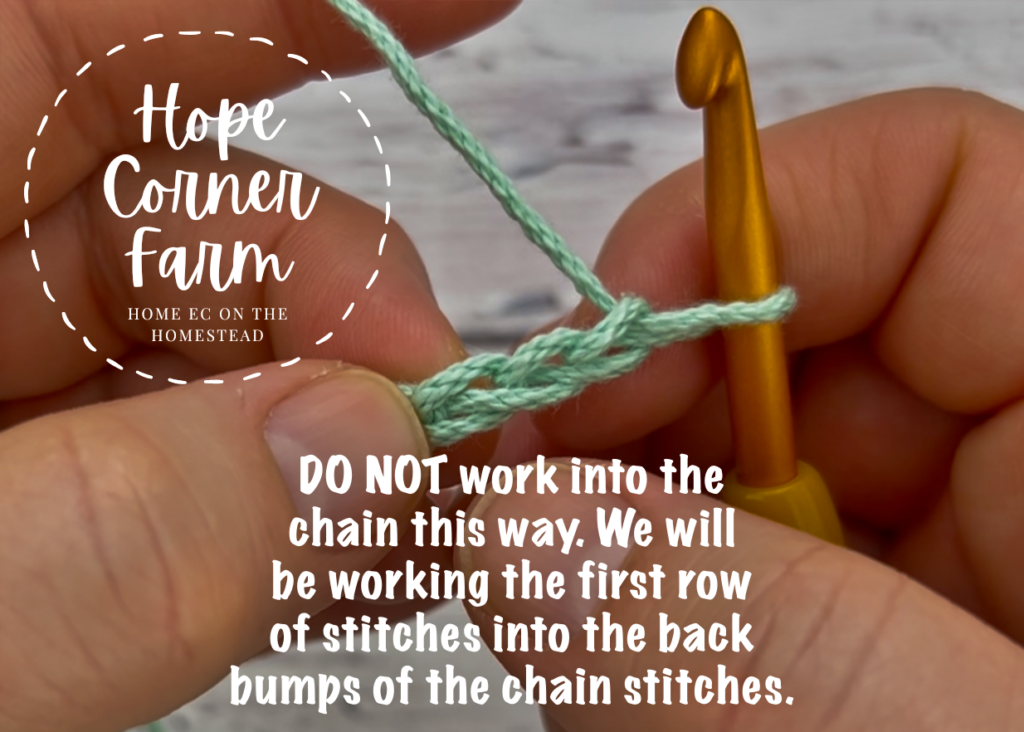
Double Crochet Thermal Stitch – Hook Placement:
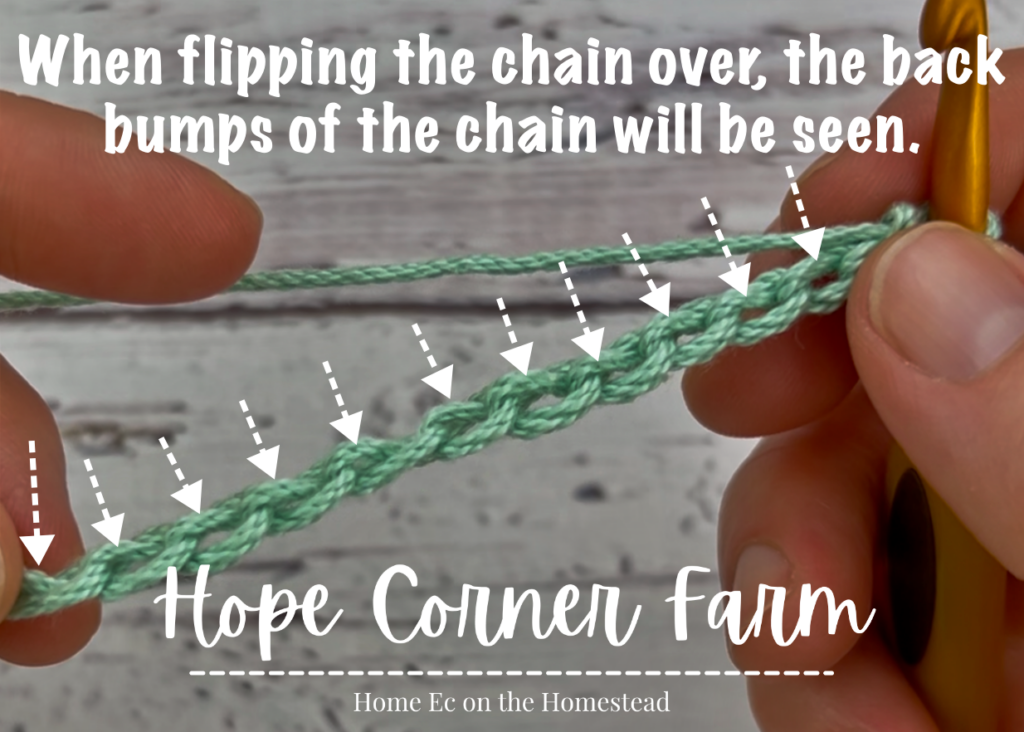
When working into the chain, it is key to work these stitches into the BACK BUMPS of the chain only, nothing else. See the pictures below.
First Stitch – Step 1:
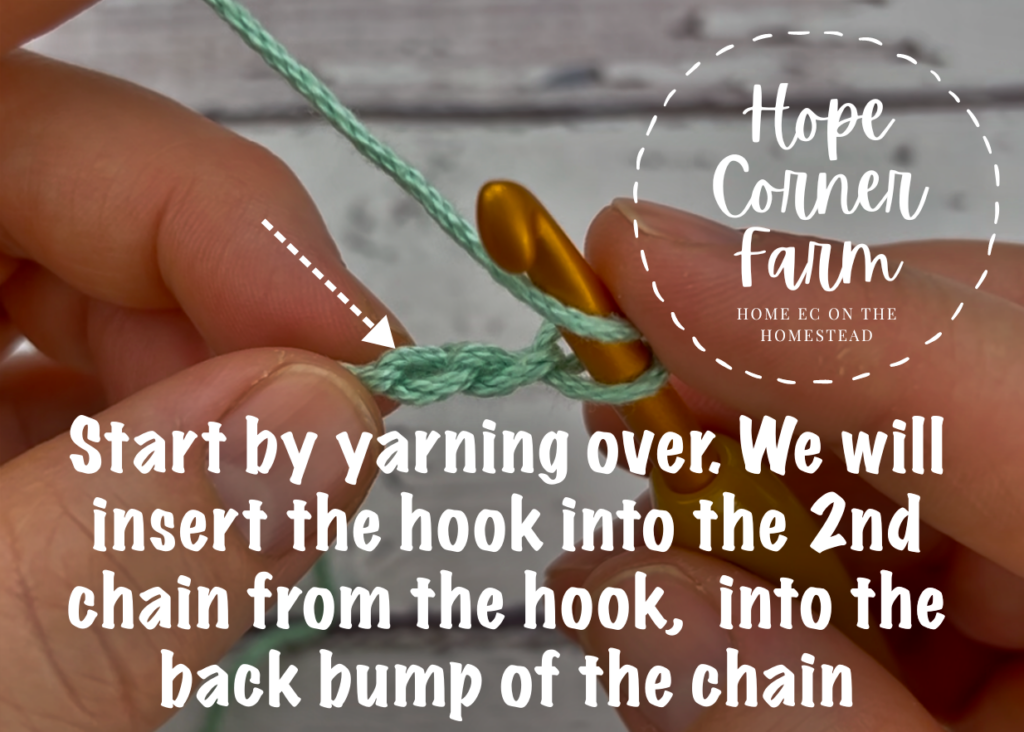
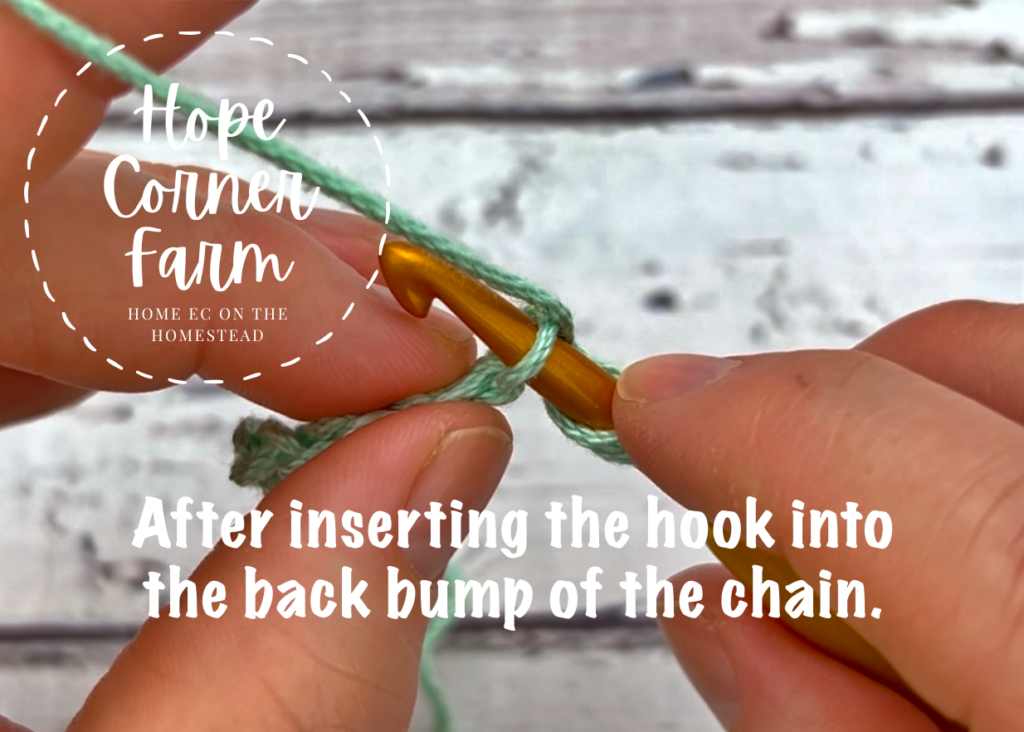
First, Yarn Over and then insert the hook into the BACK BUMP of the 2nd chain from the crochet hook.
Double Crochet Thermal Stitch – Step 2:
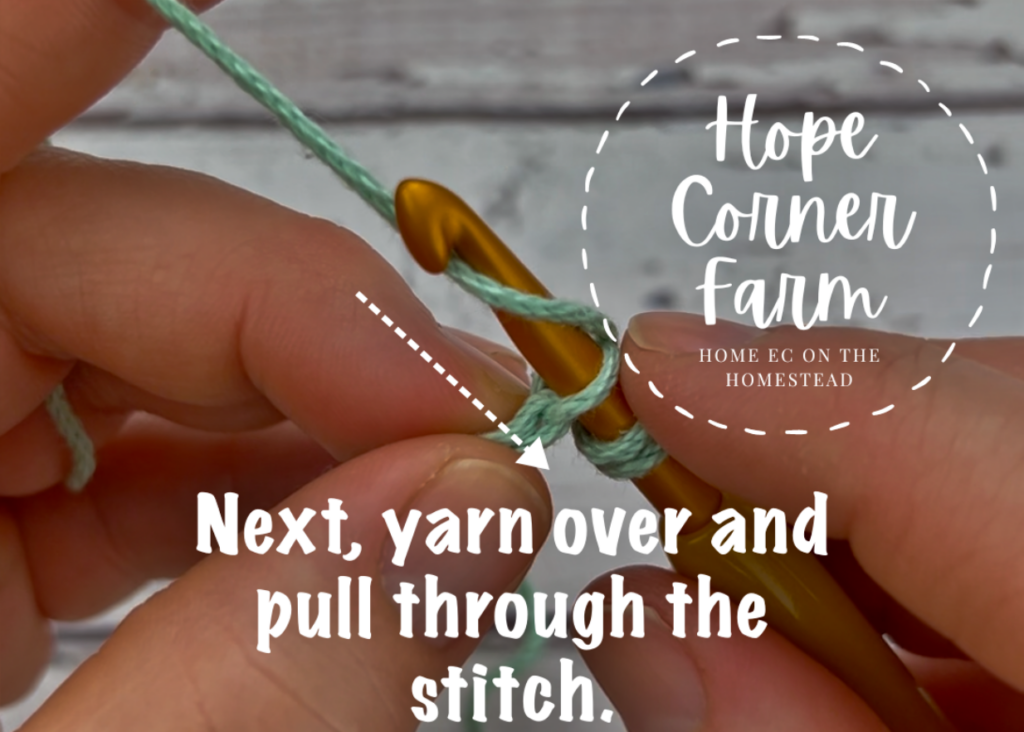
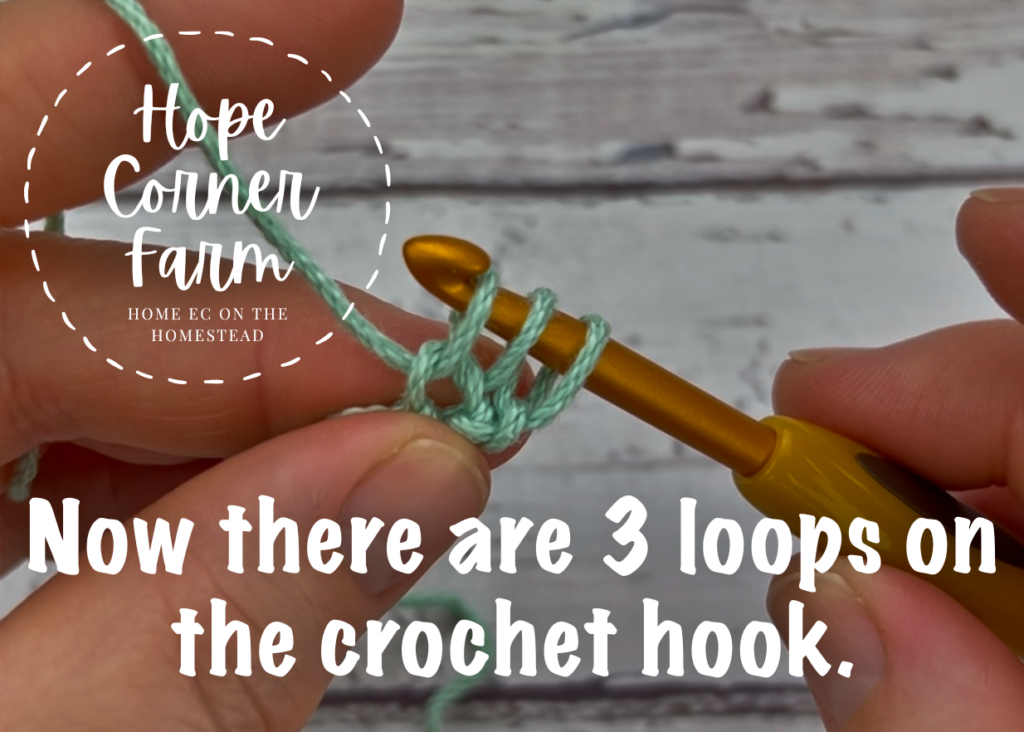
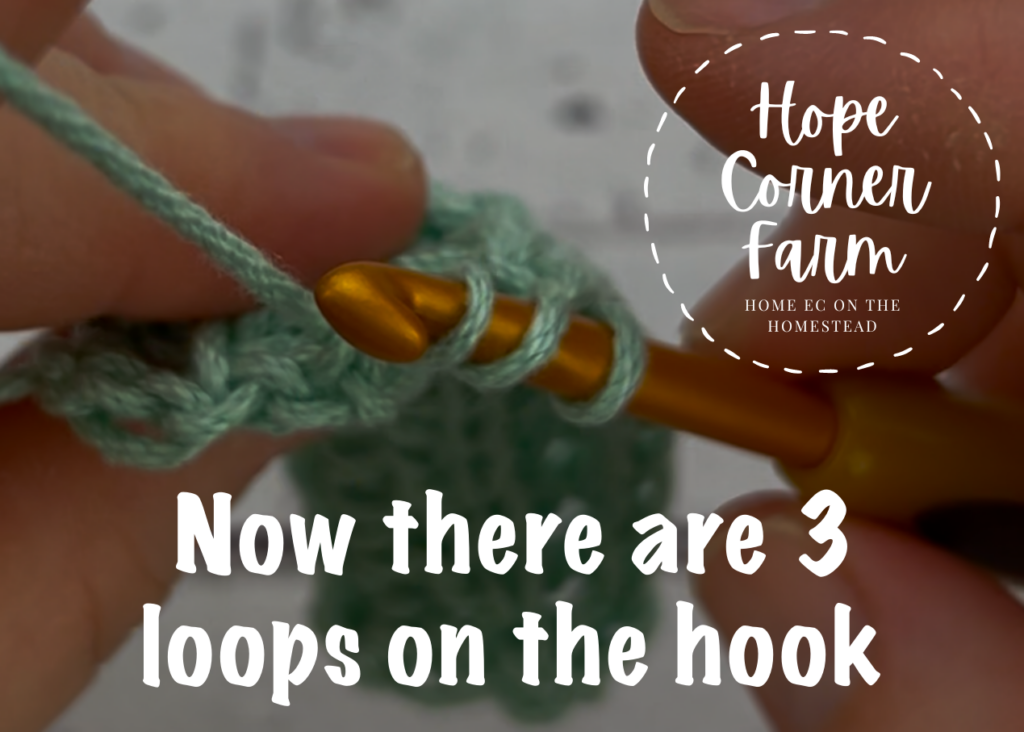
Now, yarn over and pull through the stitch. There will be 3 loops on the hook now.
First Stitch – Step 3:
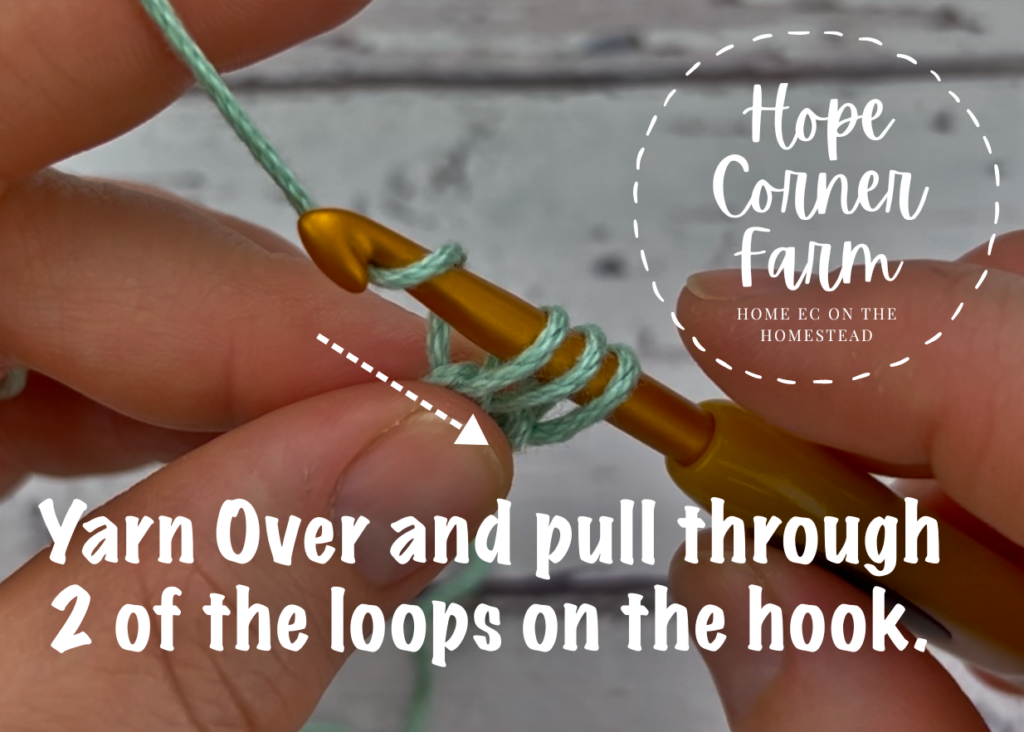
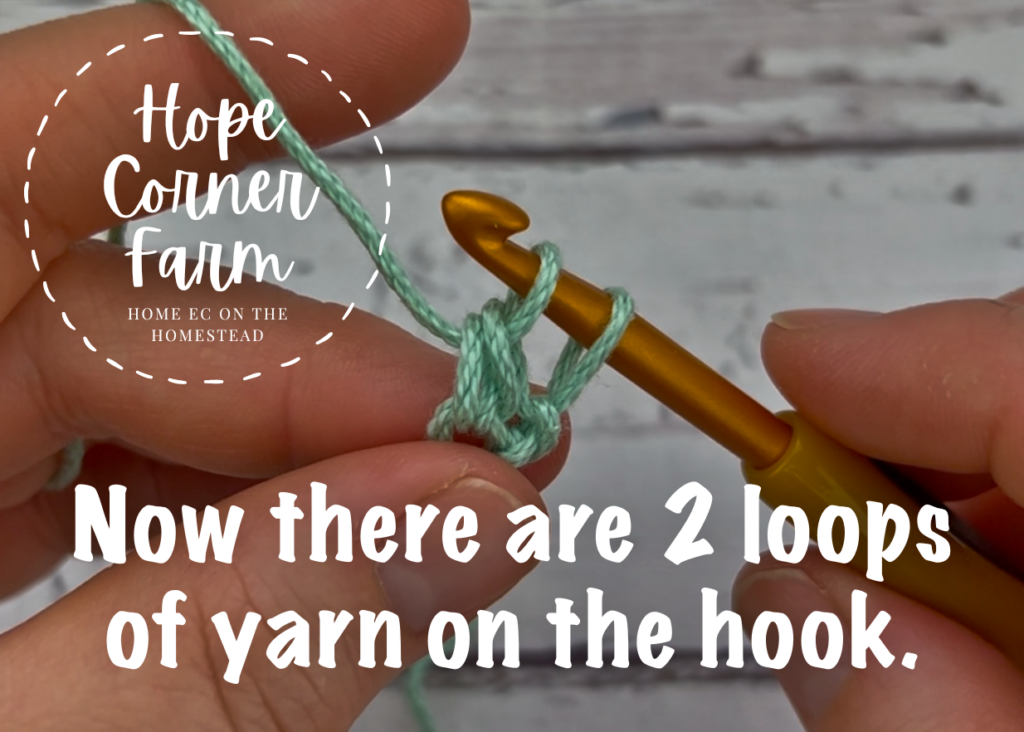
Next, yarn over and pull through 2 of the loops on the hook. There will be 2 loops left at the end of this step.
Double Crochet Thermal Stitch – Step 4:
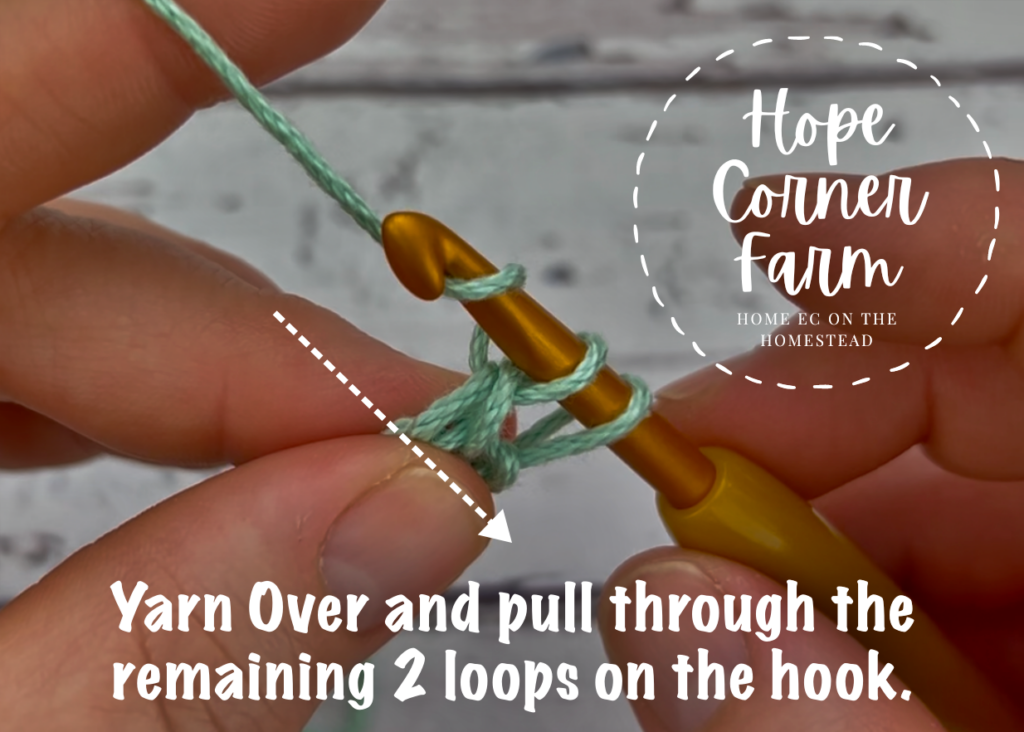
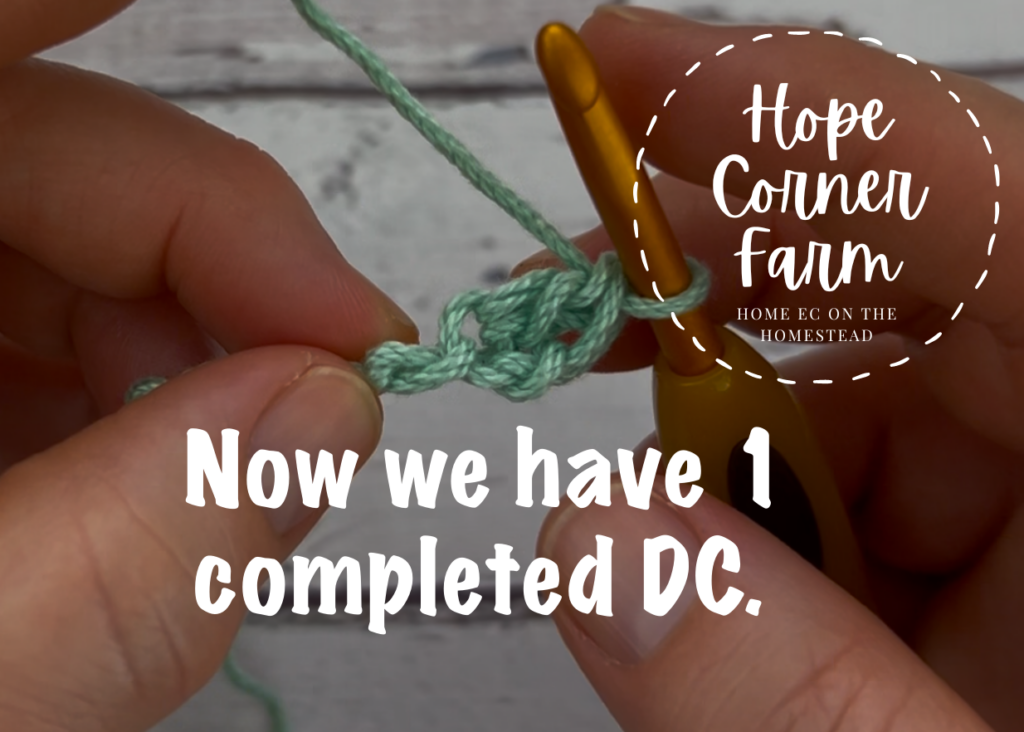
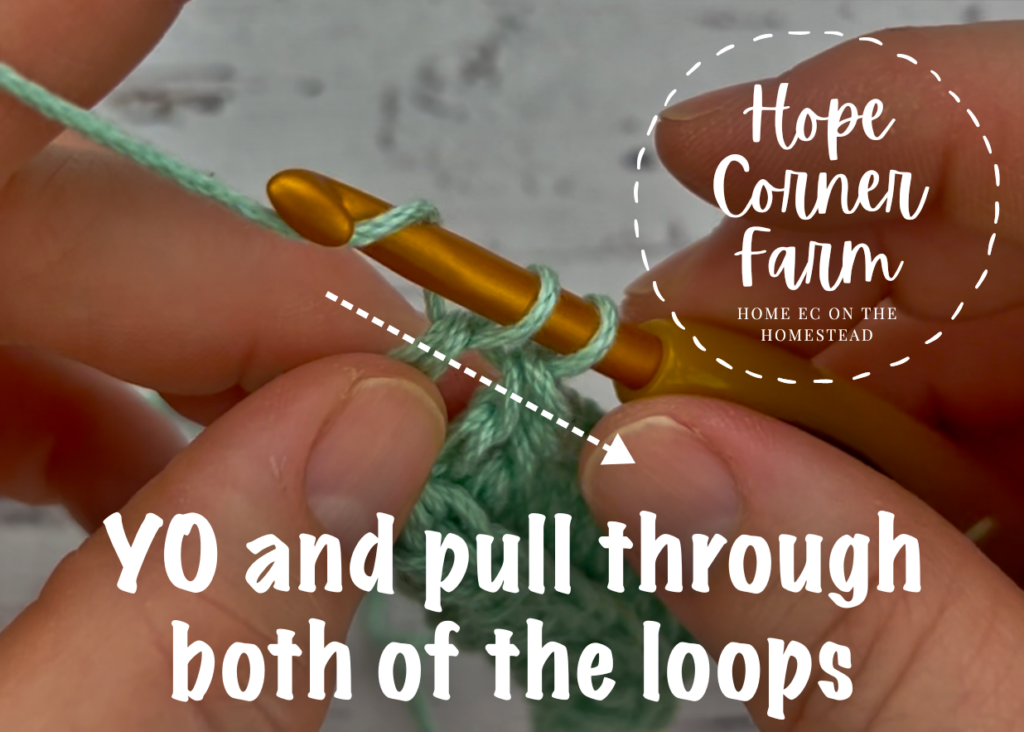
Now, yarn over and pull through both loops on the crochet hook. This completes one of the foundation Thermal Double Crochet Stitches.
Remaining Stitches of the First Row:
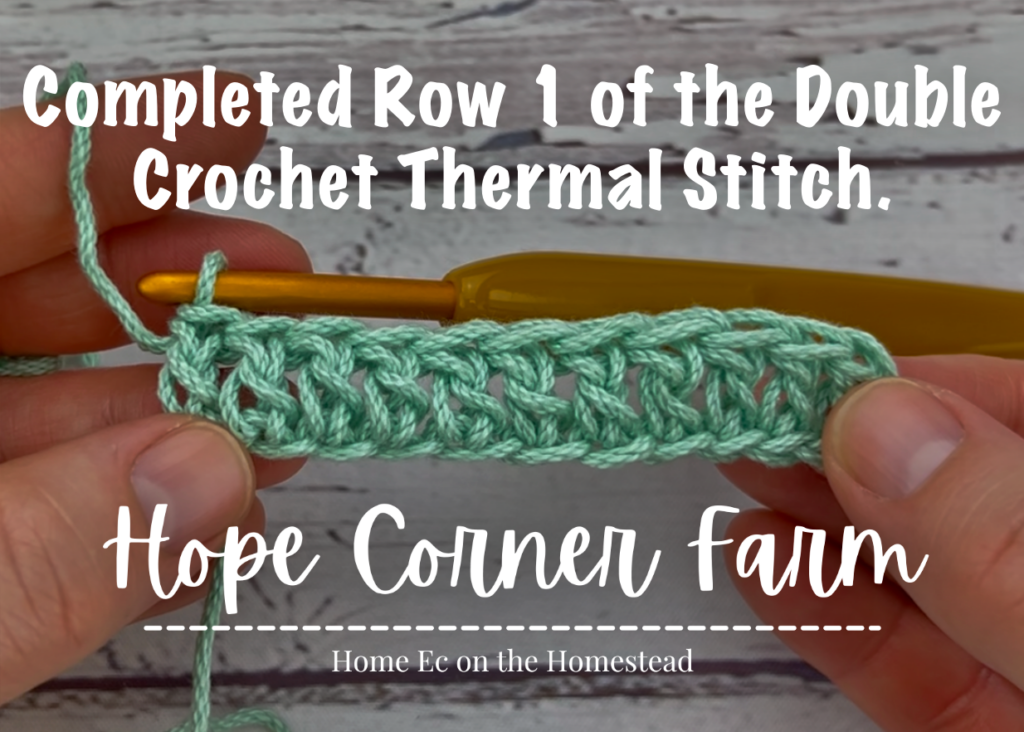
Next, repeat the above steps 1-4 until each chain has had a double crochet worked into it. Remember to work the DCs into the BACK BUMPS of the chain stitches!
Double Crochet Thermal Stitch – Row 2:
Now, to start Row 2 we work this row in a different direction than usual. This is not worked like a regular row of DC stitches.
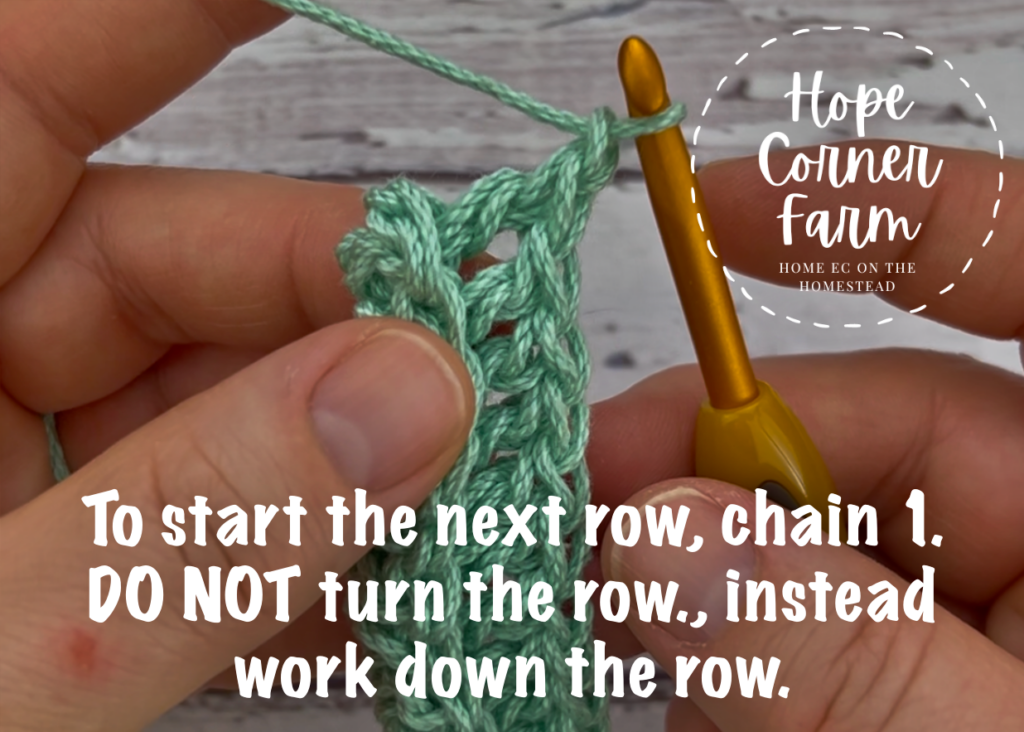
First, DO not chain and turn!
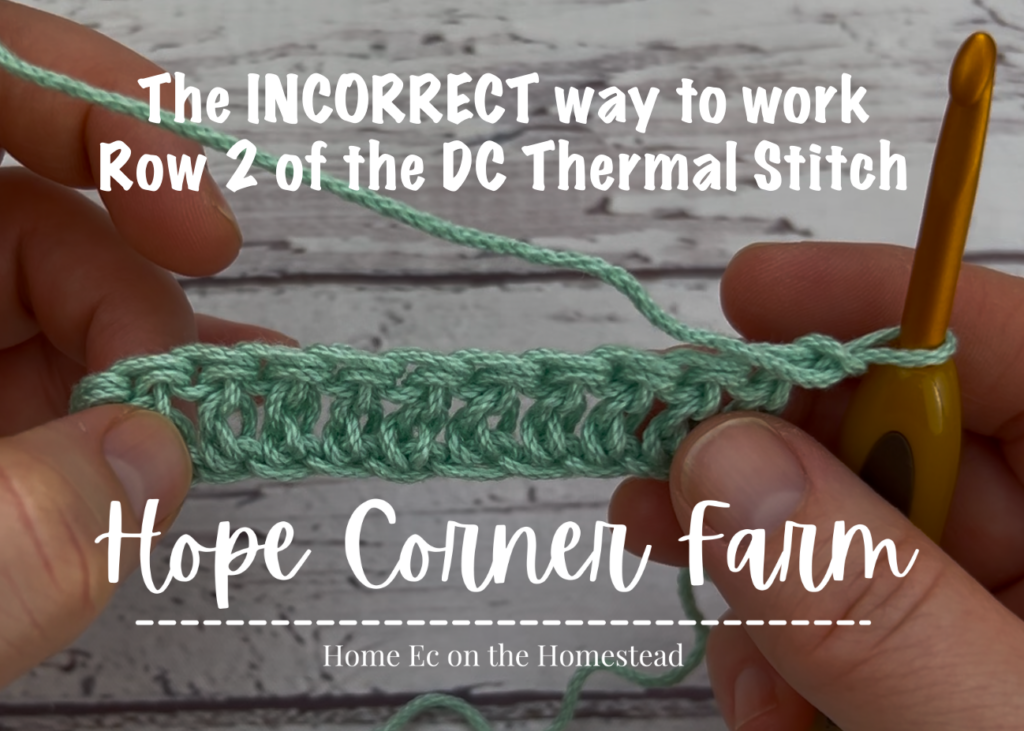
Instead, chain 1 and work down the work.
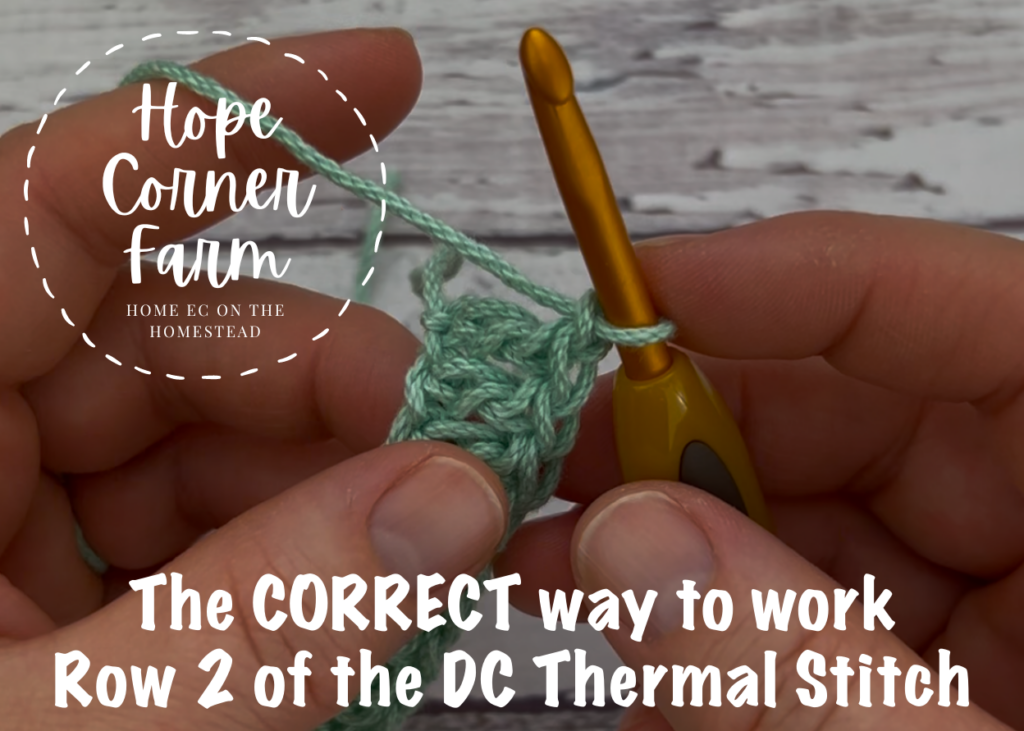
Where to Work the Double Crochet Thermal Stitches:
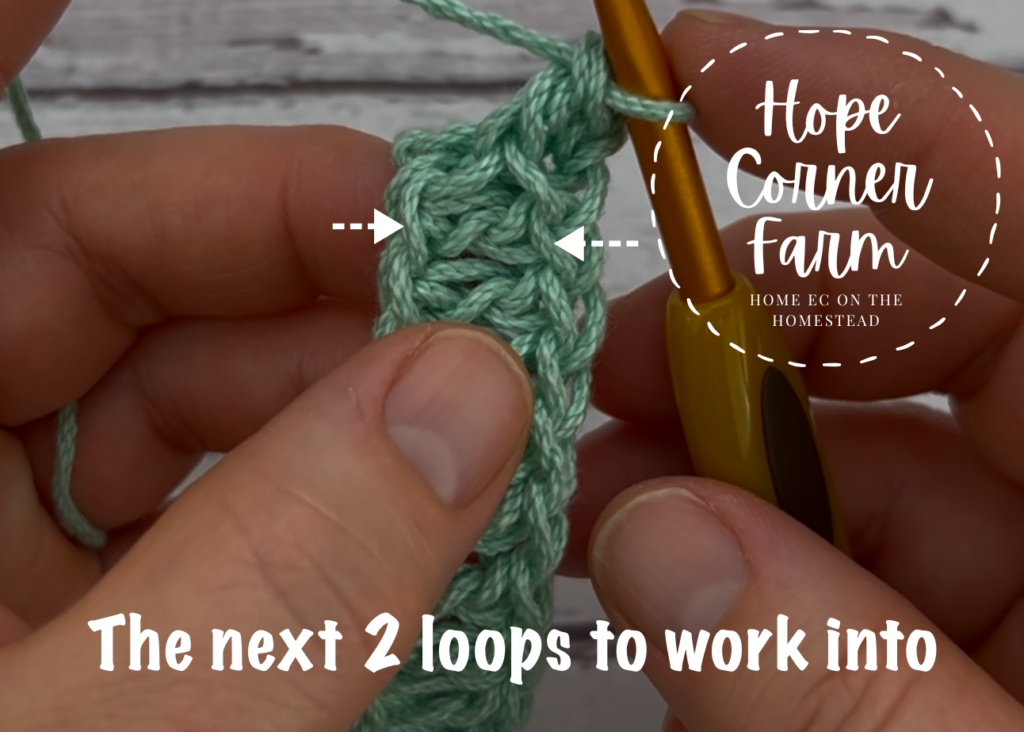
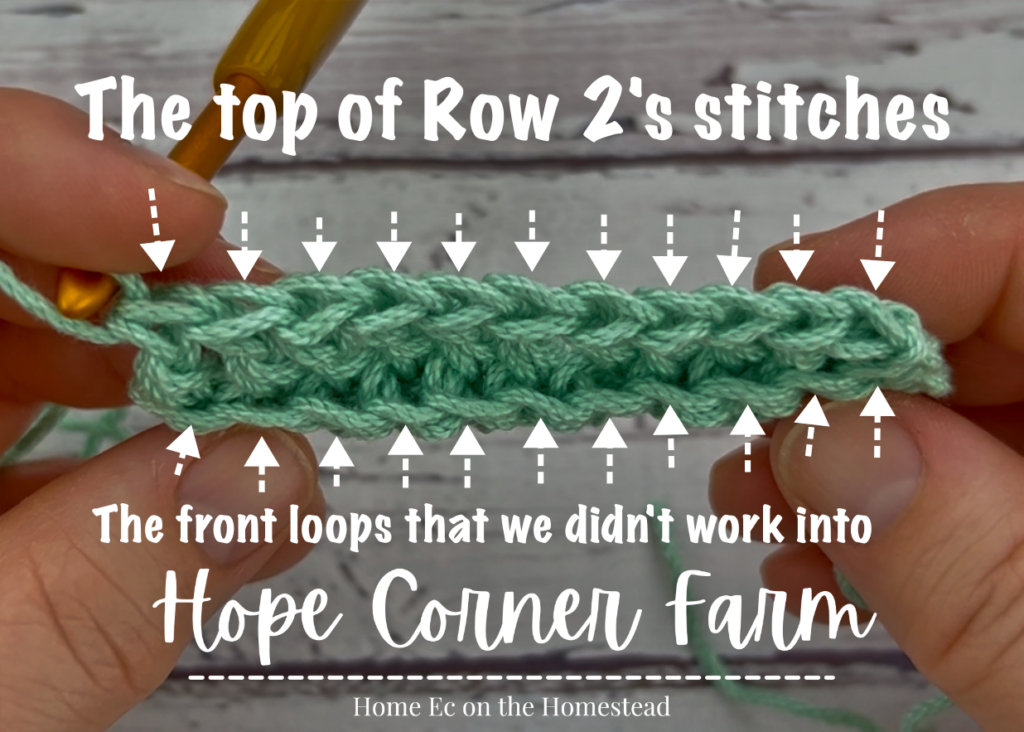
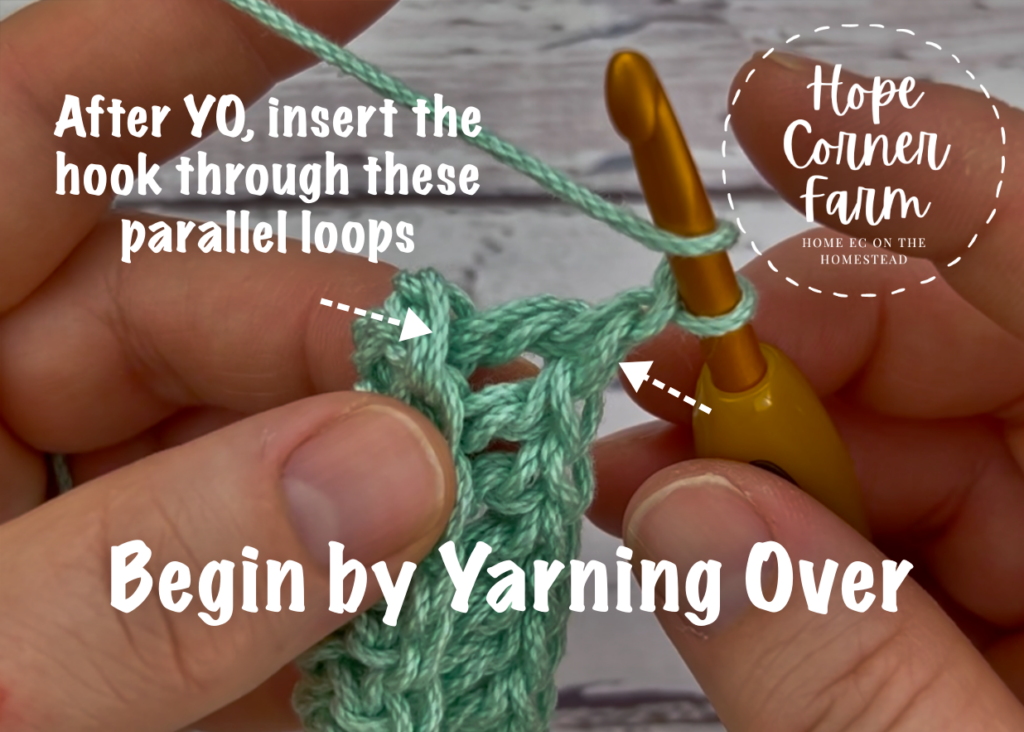
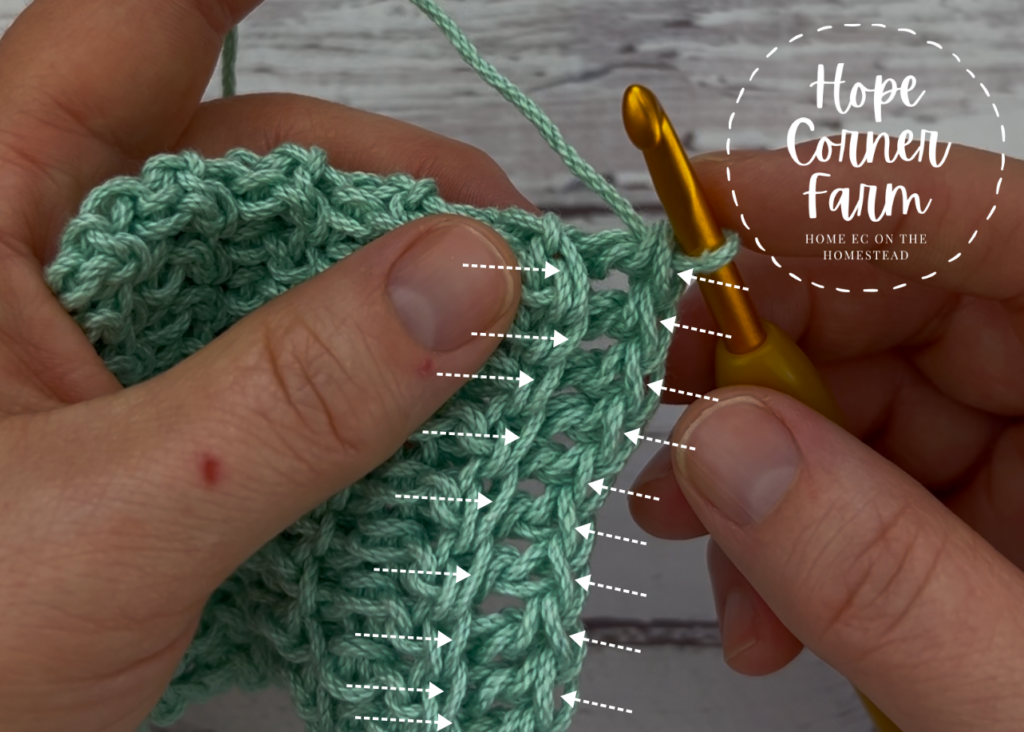
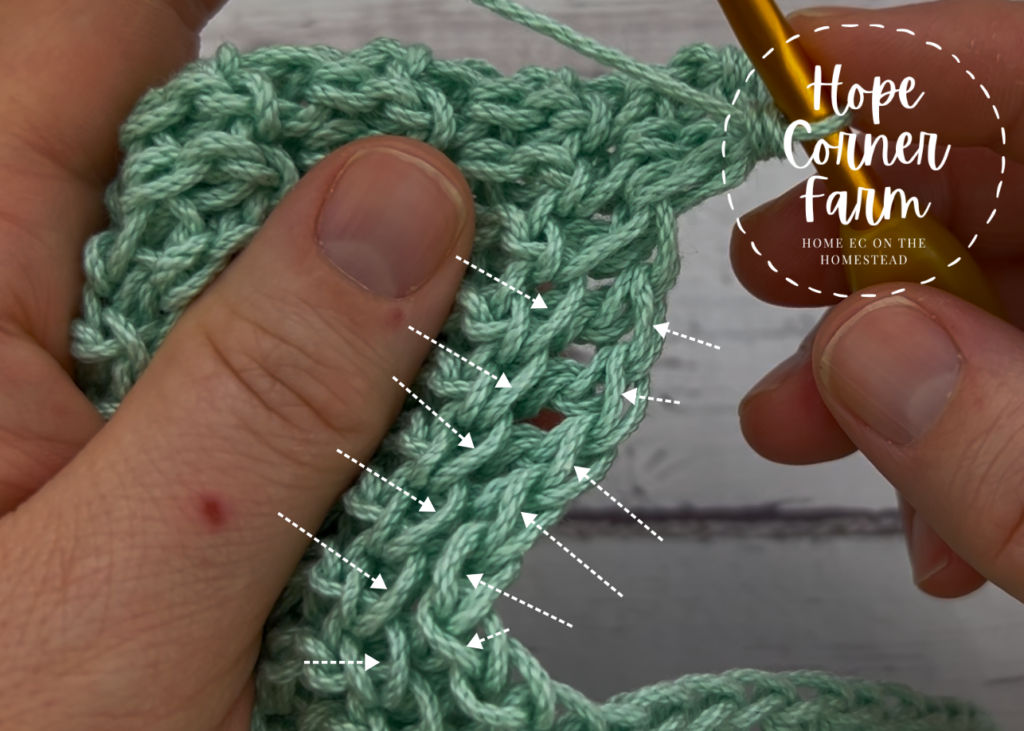
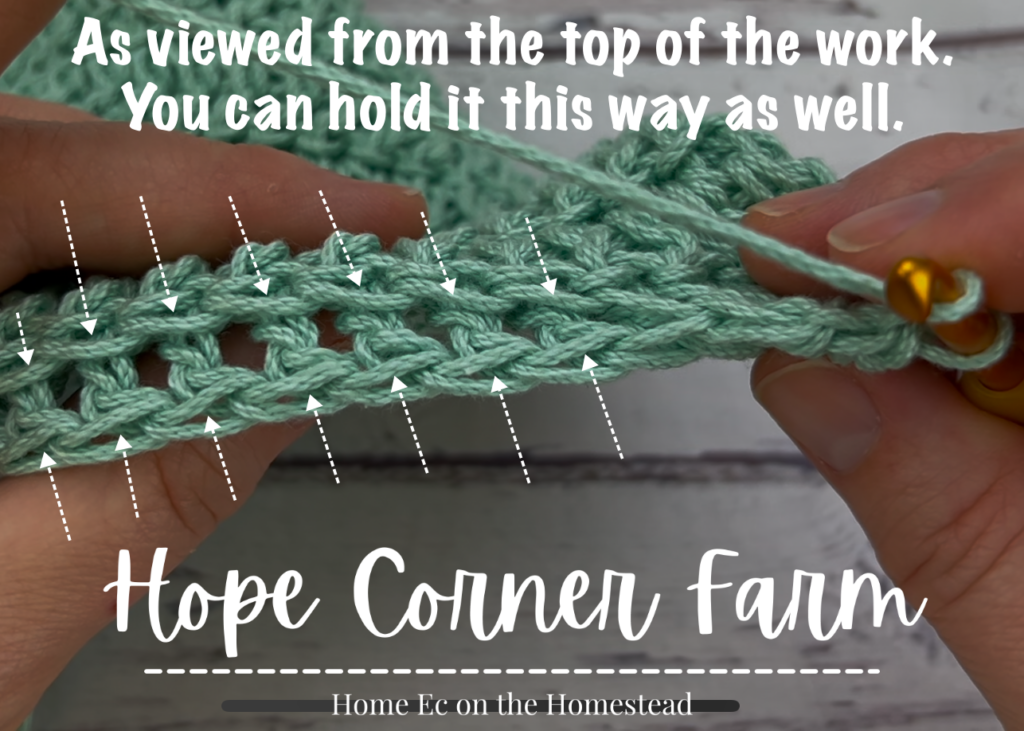
Now, the Thermal Double Crochet Stitches will be worked differently than a regular double crochet stitch. The key to this stitch is (and what makes it extra thick) is the fact that we work through the back loop of the stitch from the previous row, as well as the parallel loop directly across from it. This basically folds the crochet stitch in half, which makes it nice and thick. See the picture below to see what loops need to be worked into.
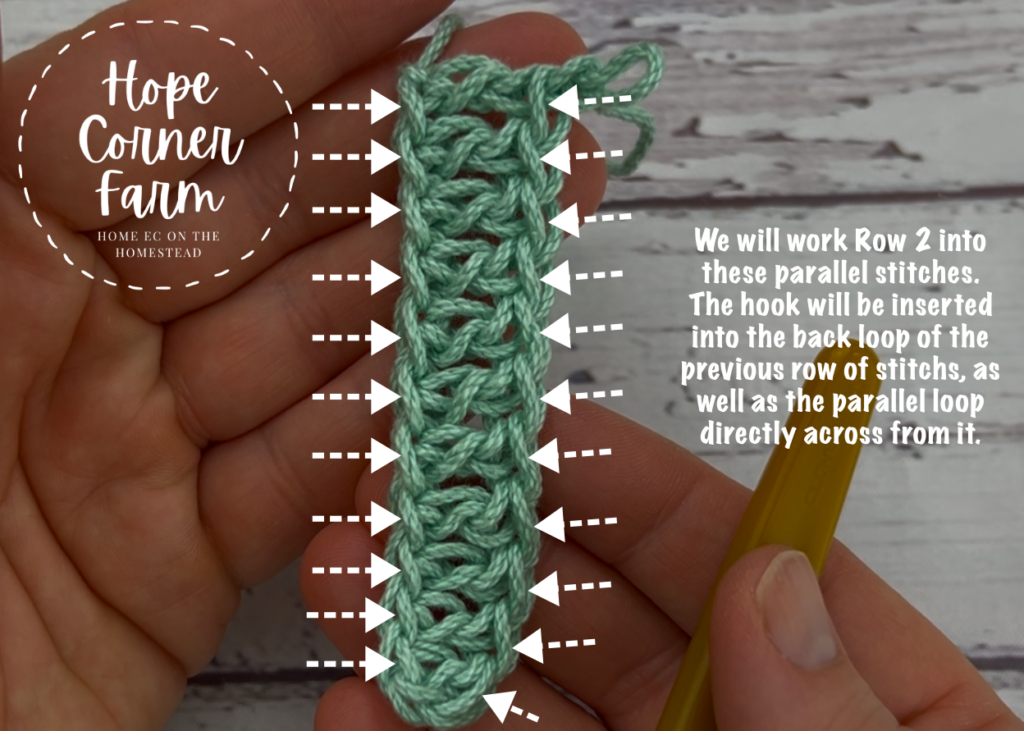
Step 1 – Row 2:
Begin by chaining one. Next, yarn over and then insert the hook and pick up both the back loop only (from the DC from the previous row) as well as the parallel loop.
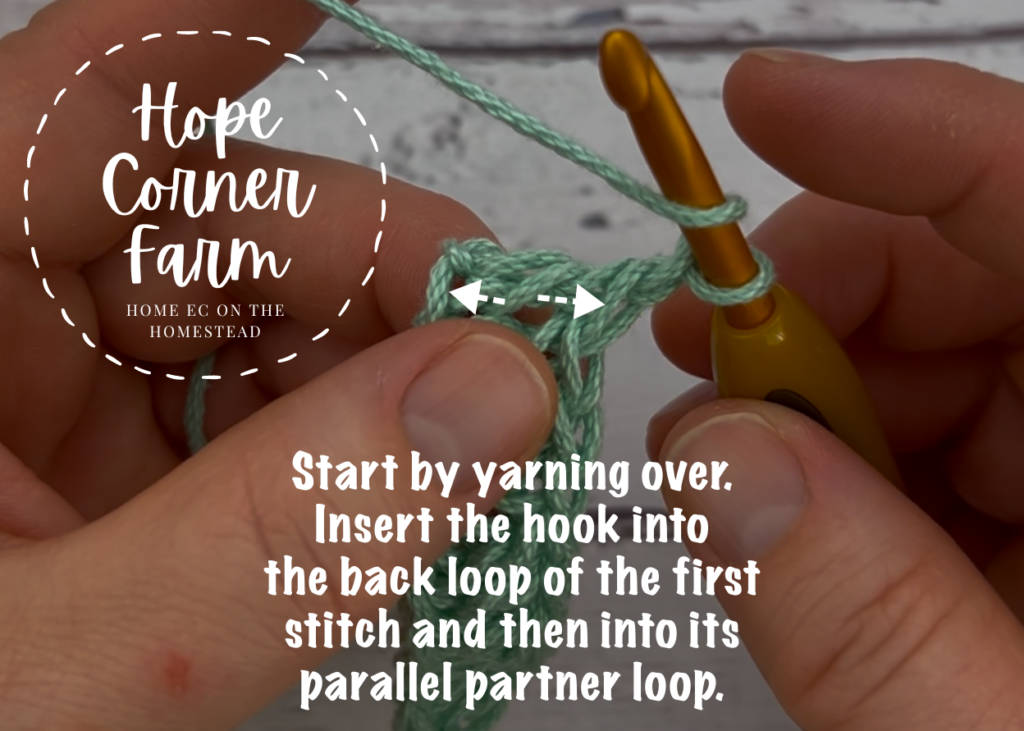
First, to pick up the back look only, insert the hook from the top of the stitch from the previous row and go down into the middle of the top of the stitch. Make sure to only get one loop.
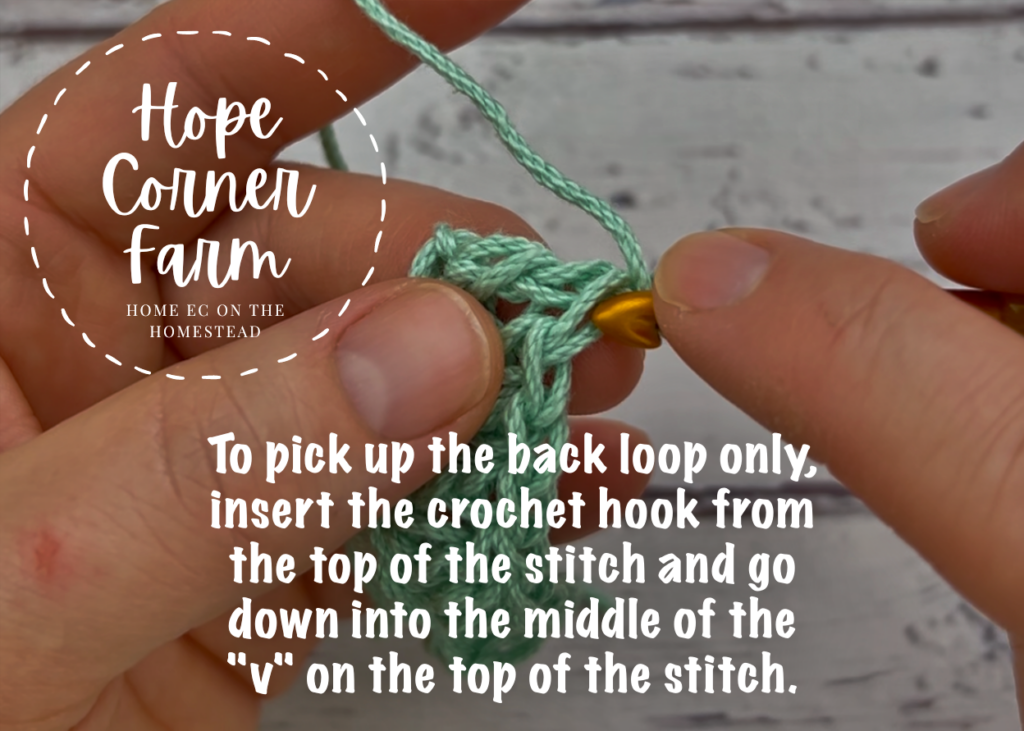
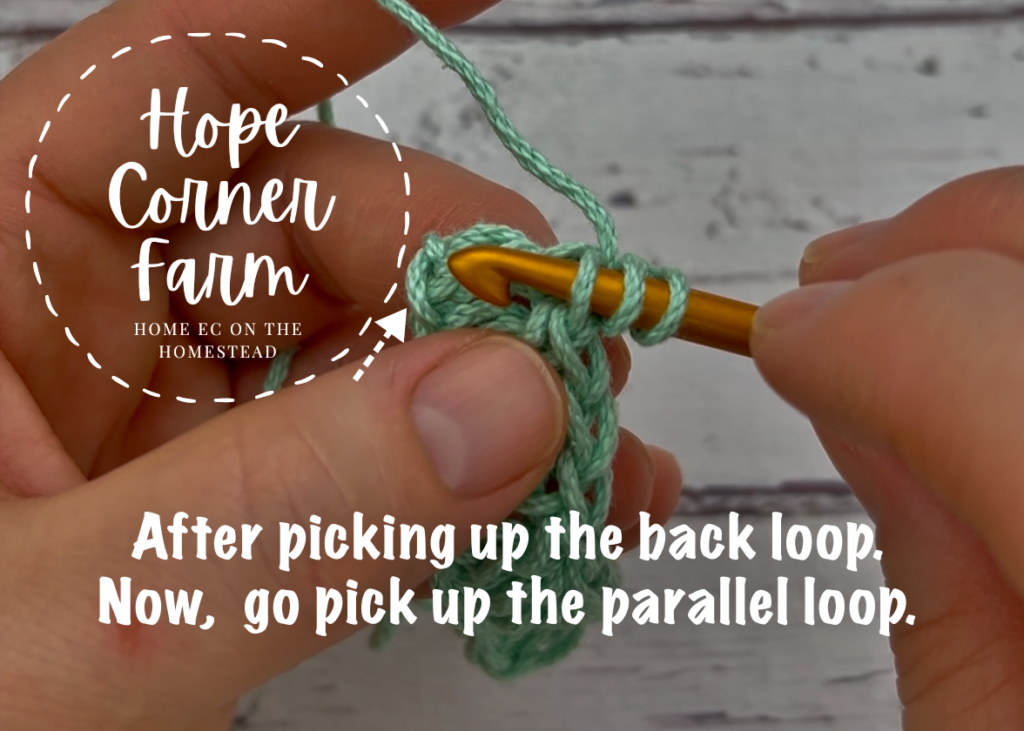
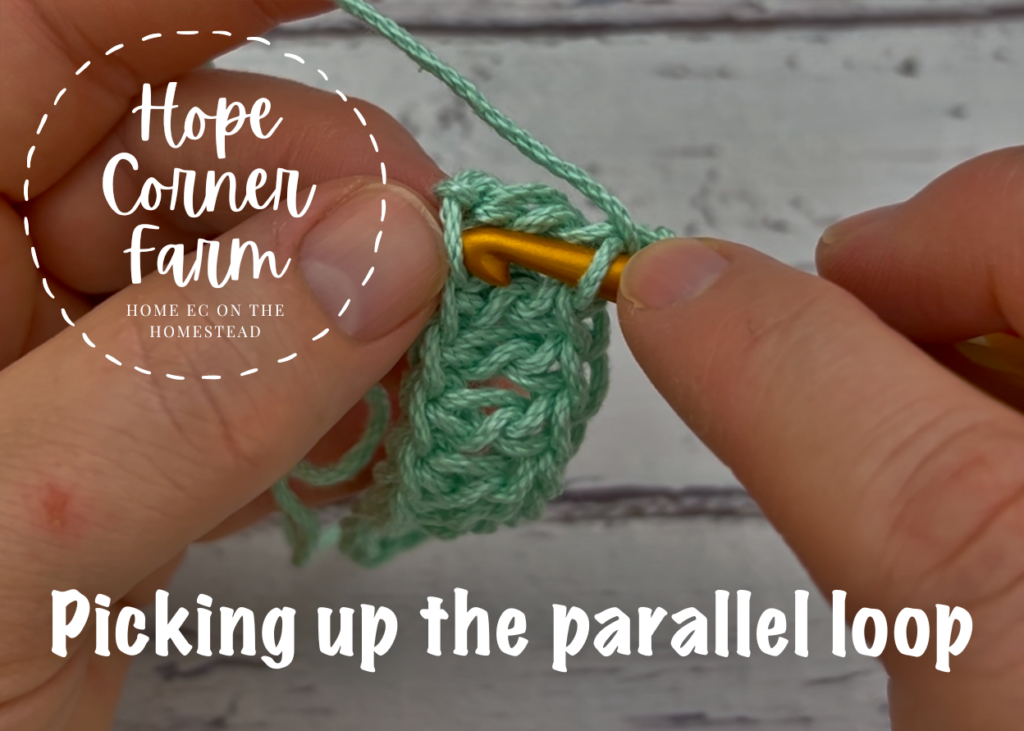
Now, there will be 4 loops of yarn on the crochet hook.
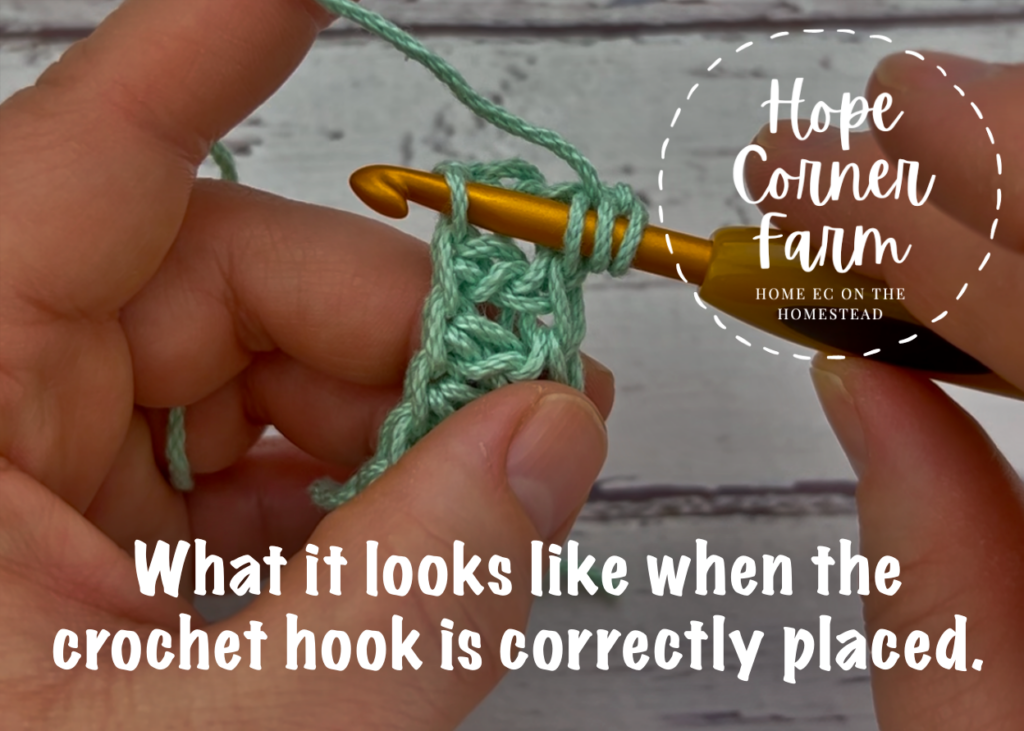
Step 2 – Row 2 of Double Crochet Thermal Stitches:
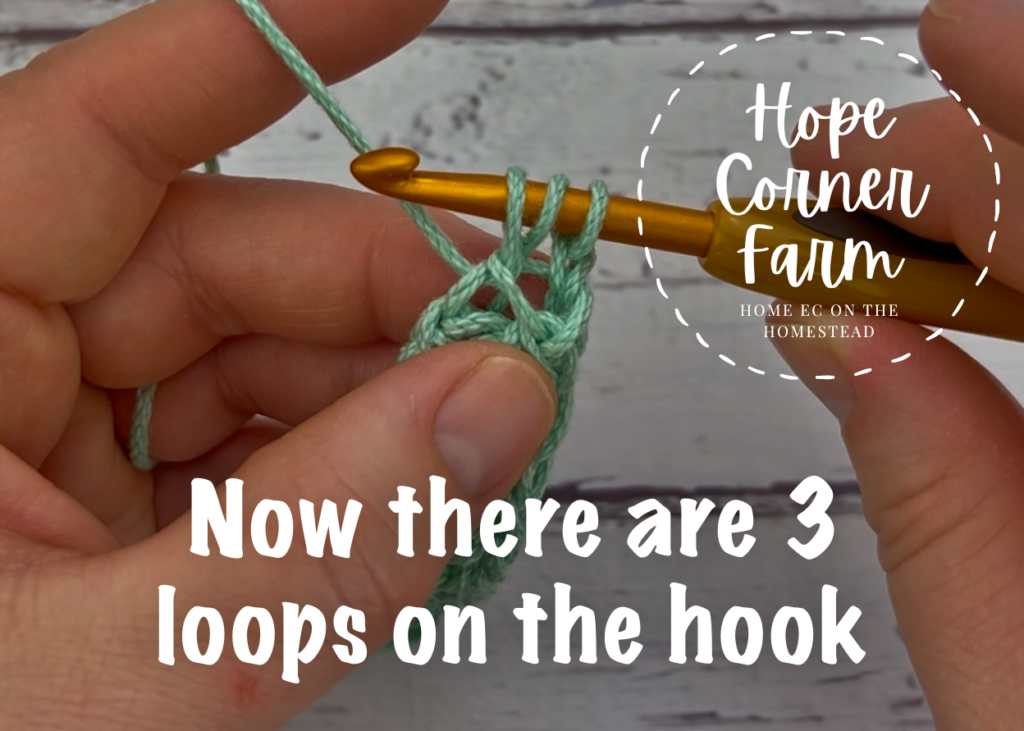
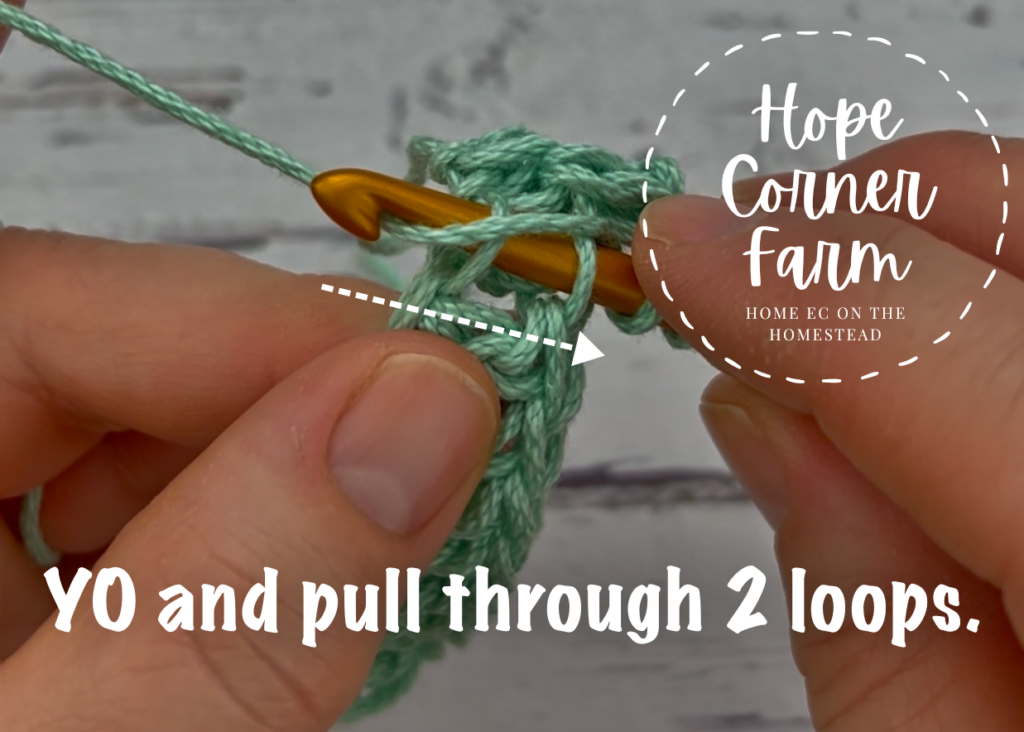
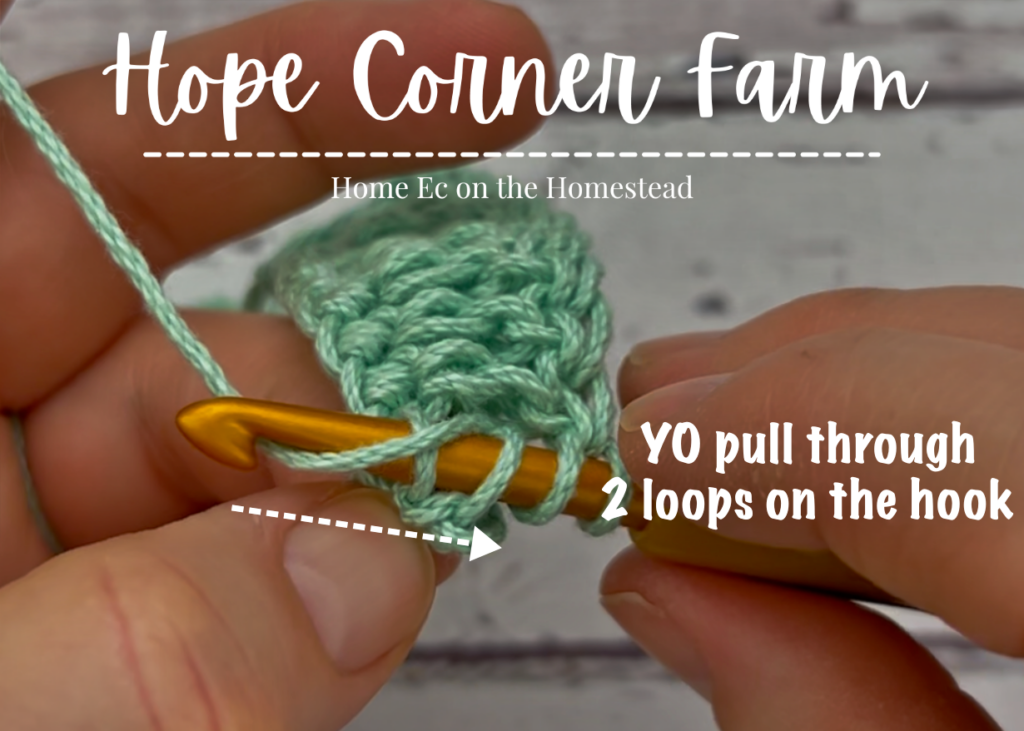
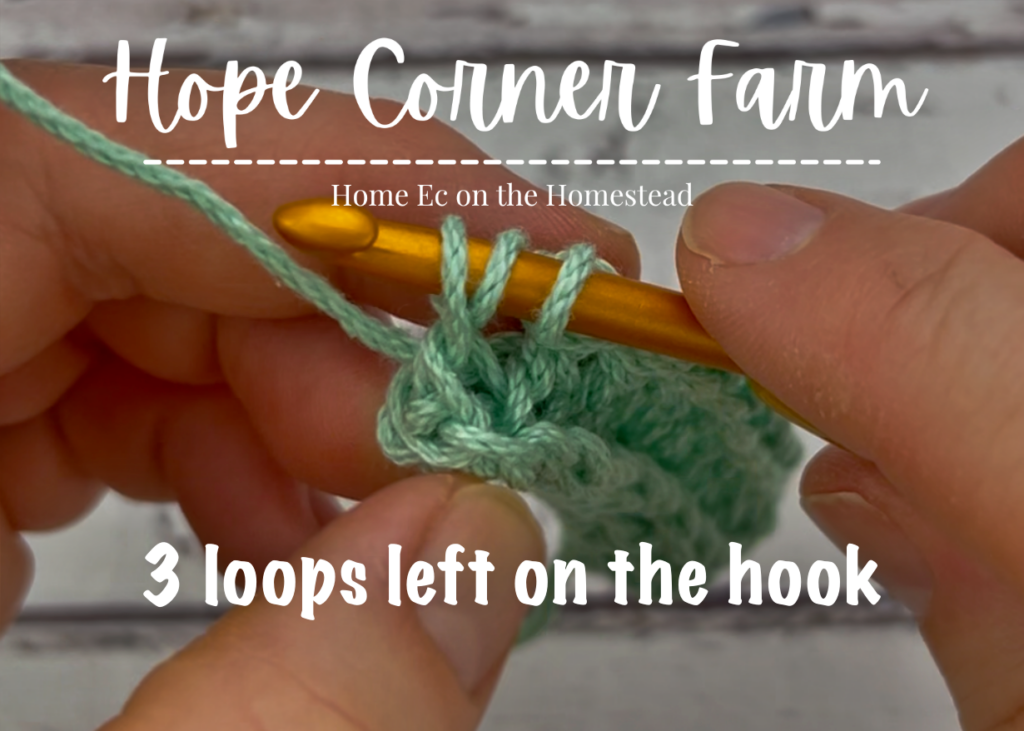
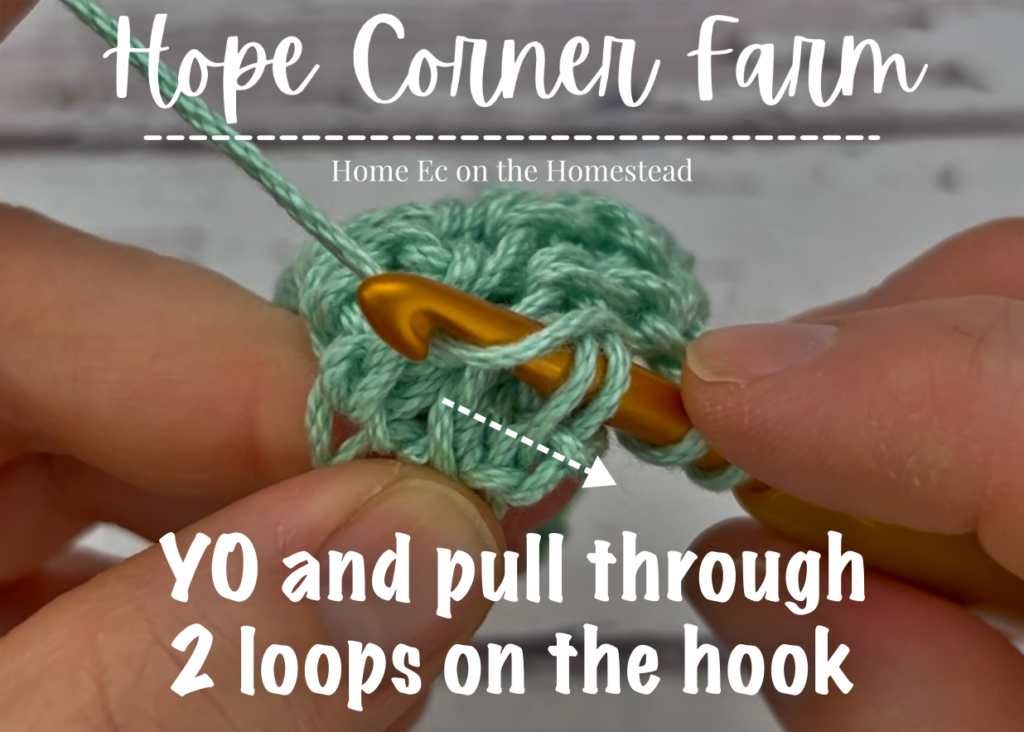
Next, yarn over and pull through 2 of the loops of yarn on the hook.
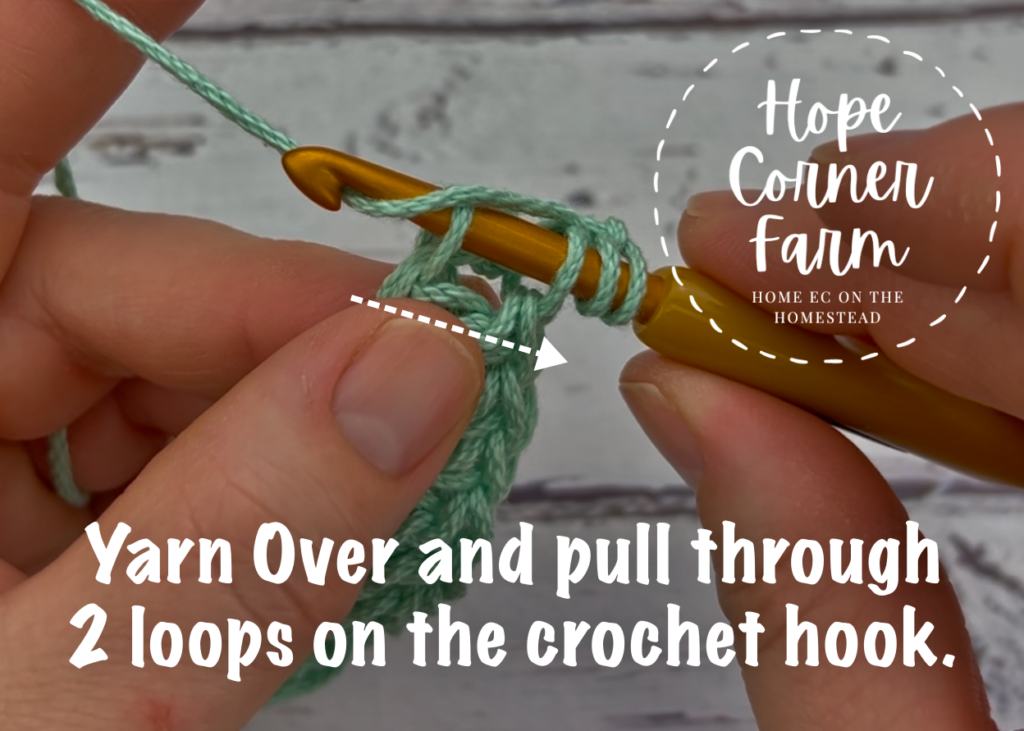
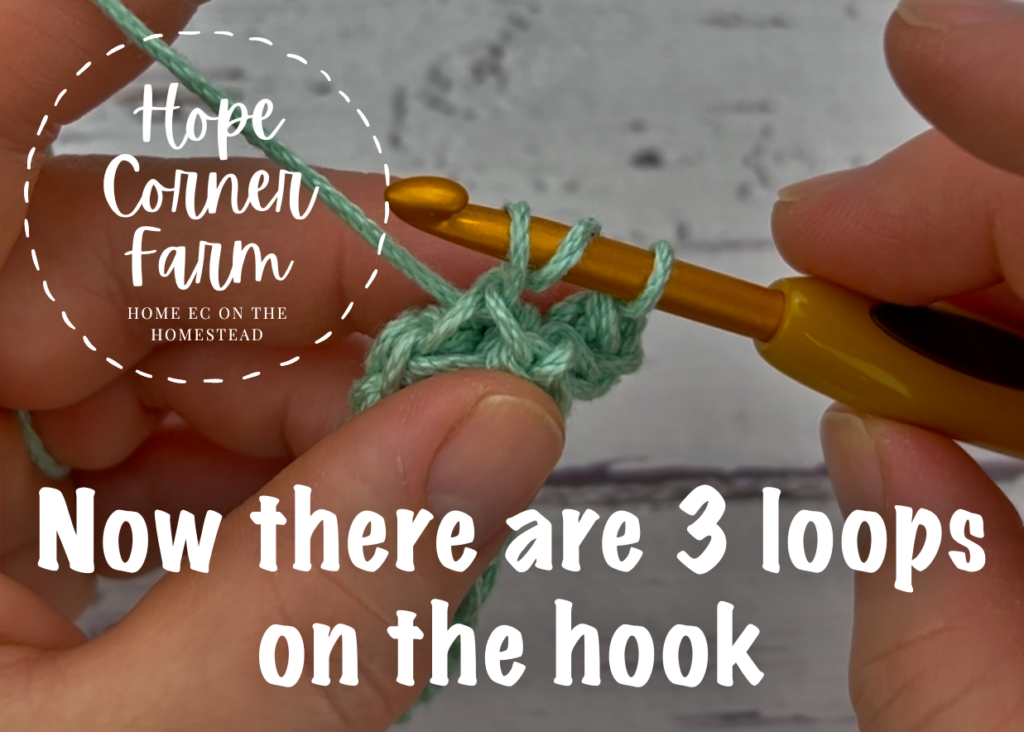
Now there are 3 loops of yarn on the crochet hook.
Row 2 – Step 3:
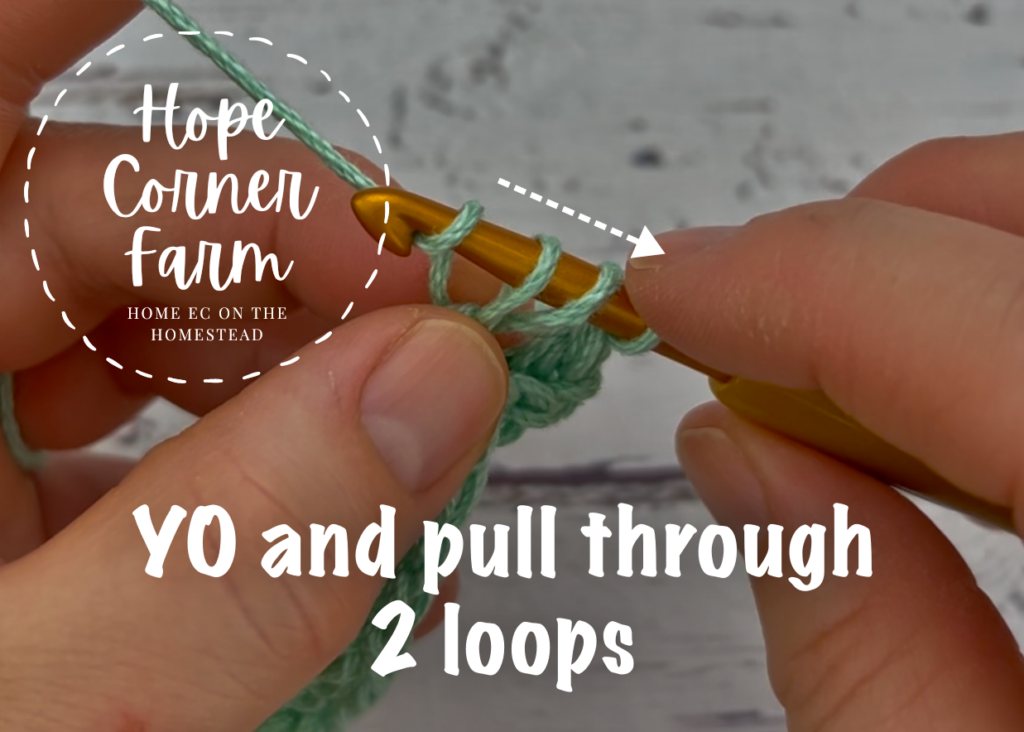
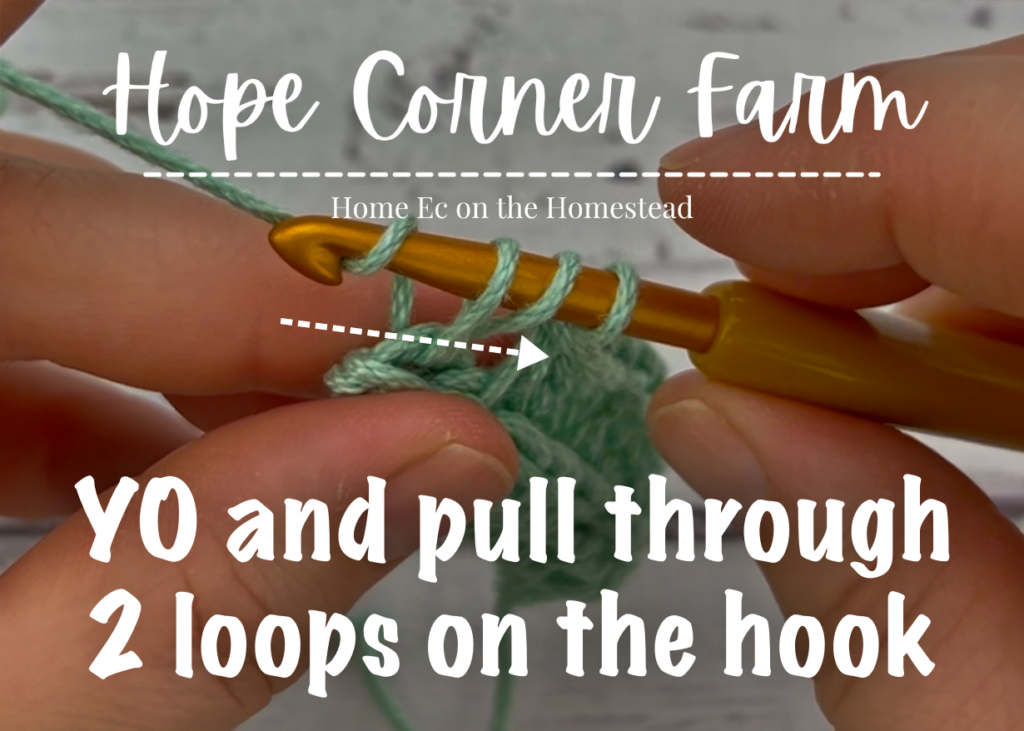
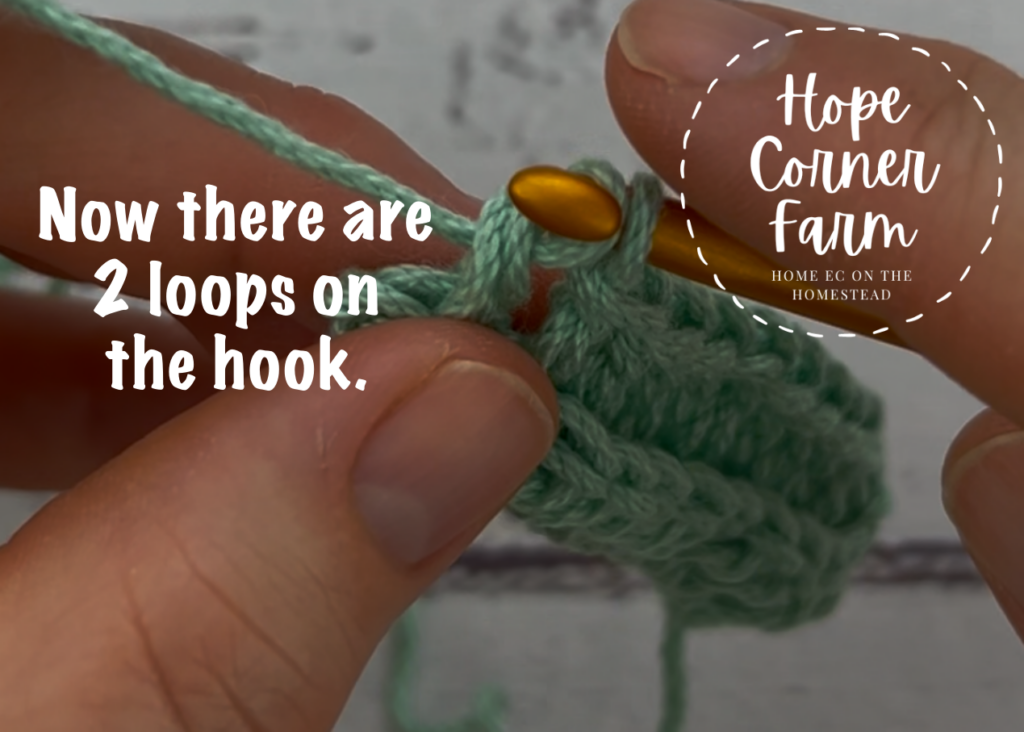
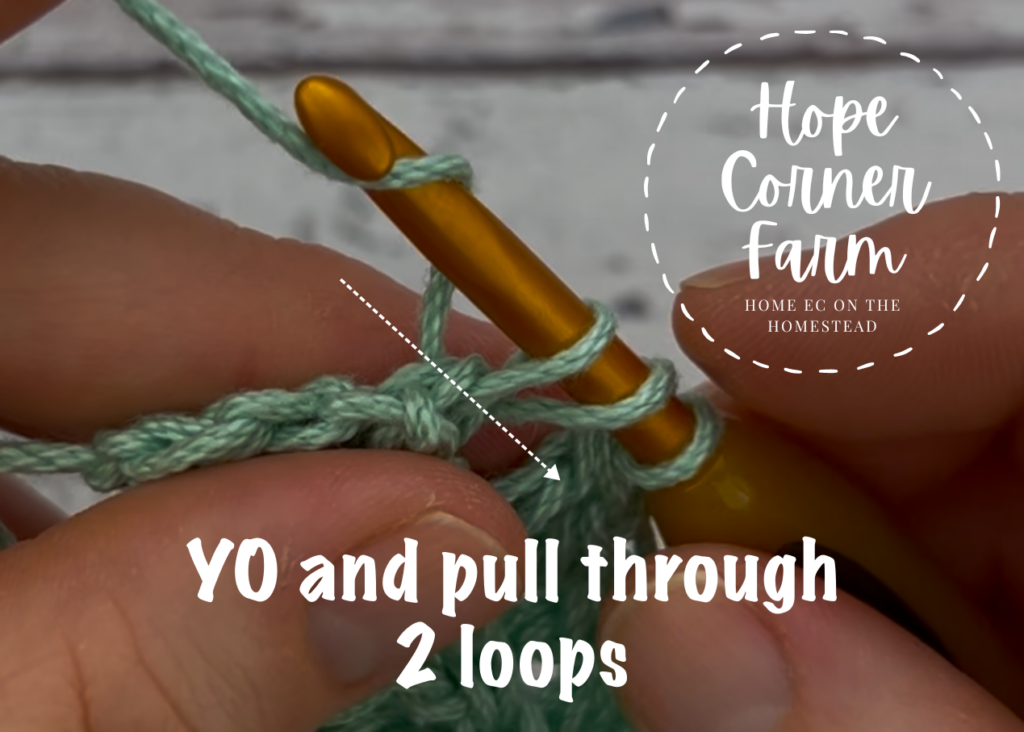
Next, yarn over again and pull through 2 of the loops on the crochet hook.
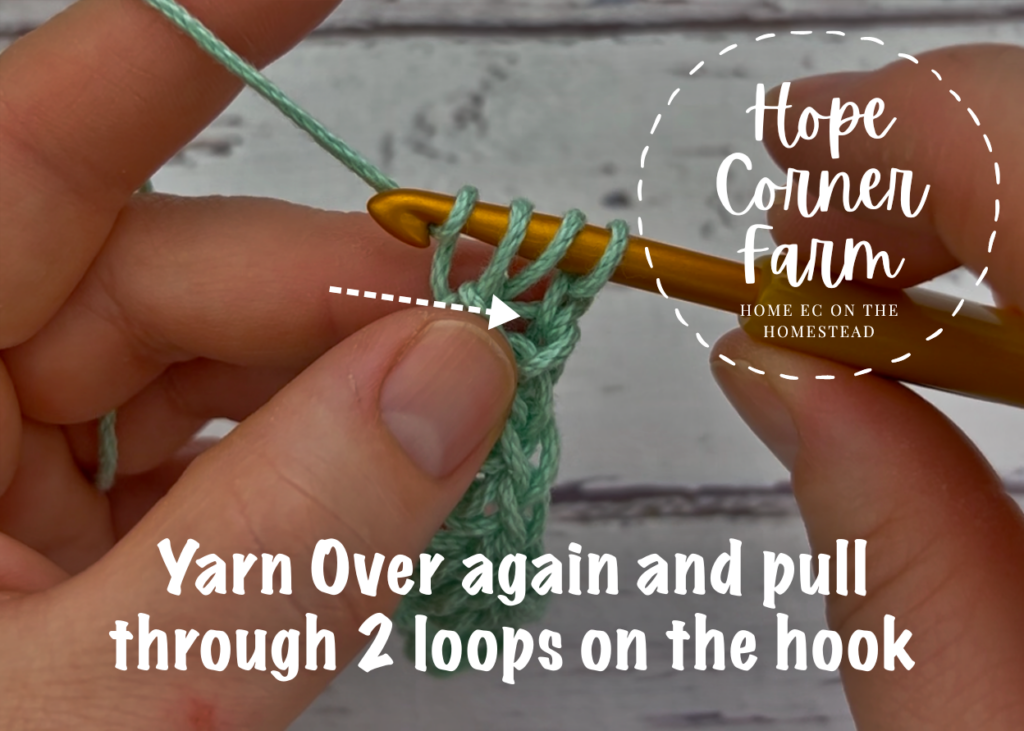
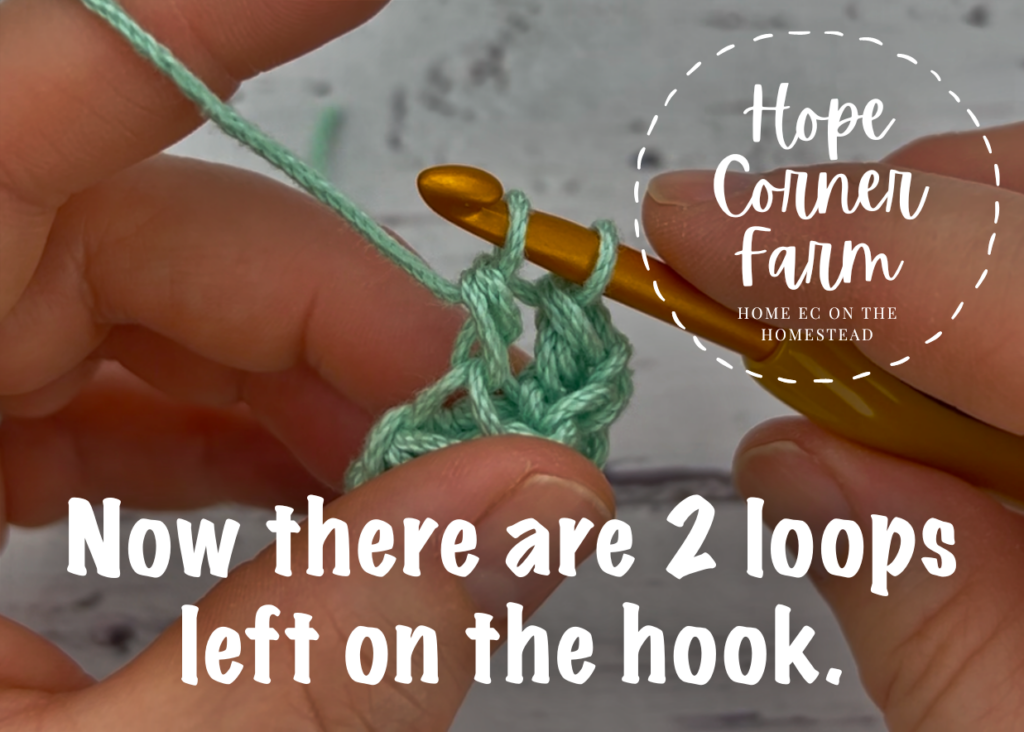
Now there are 2 loops of yarn on the crochet hook.
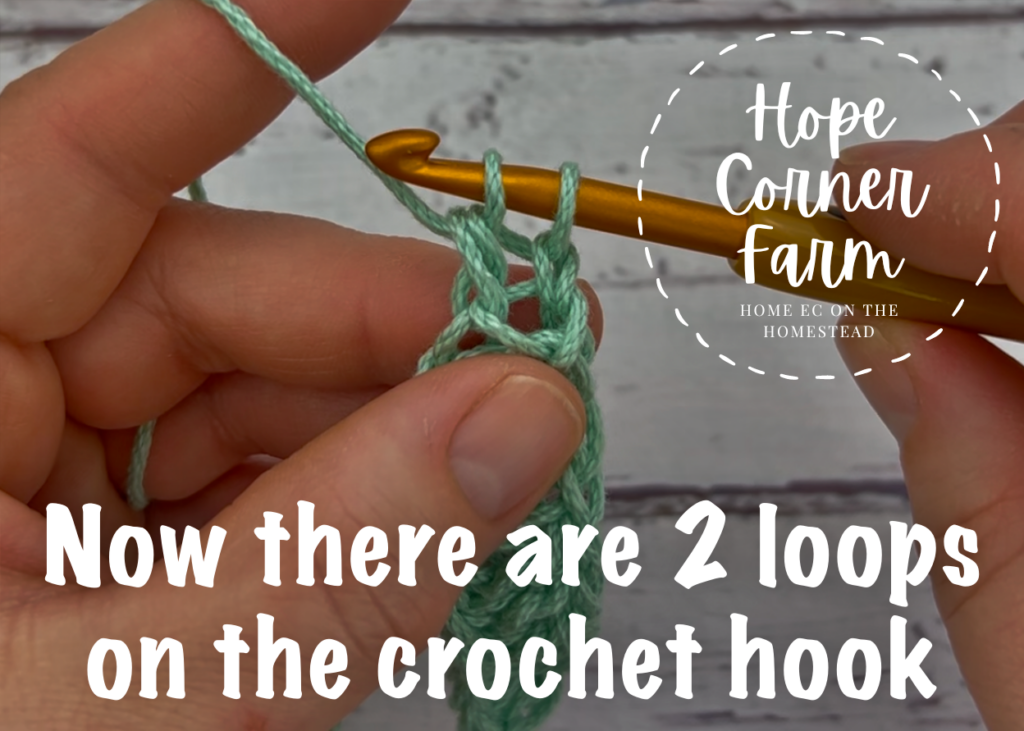
Step 4:
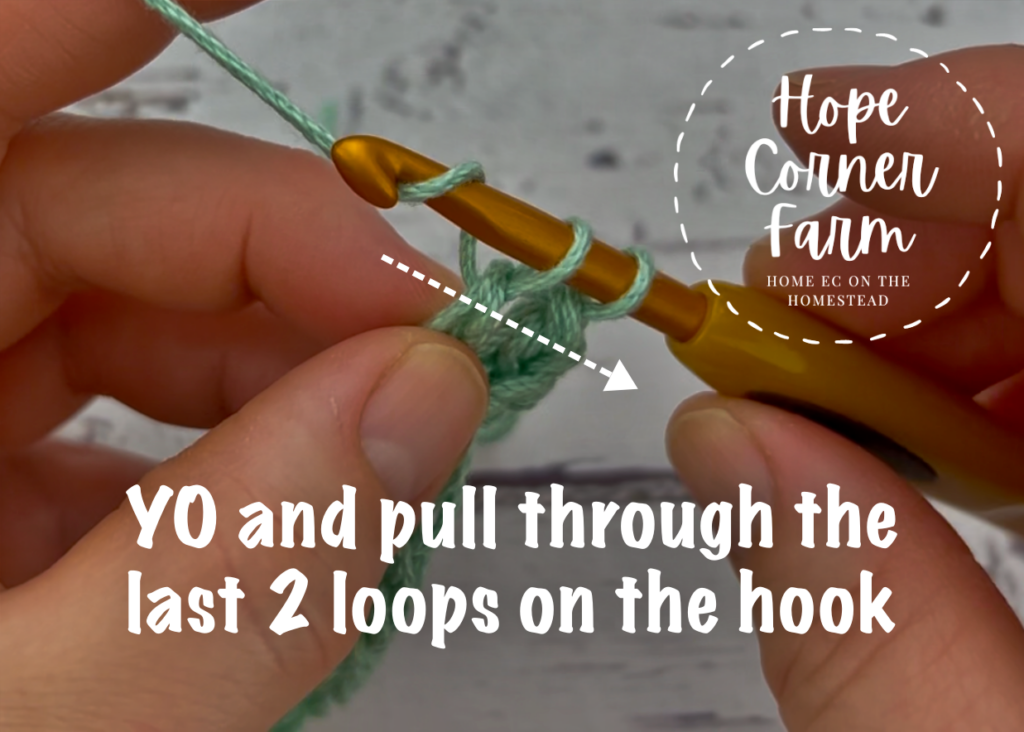
Finally, yarn over one more time and pull through both loops on the crochet hook.
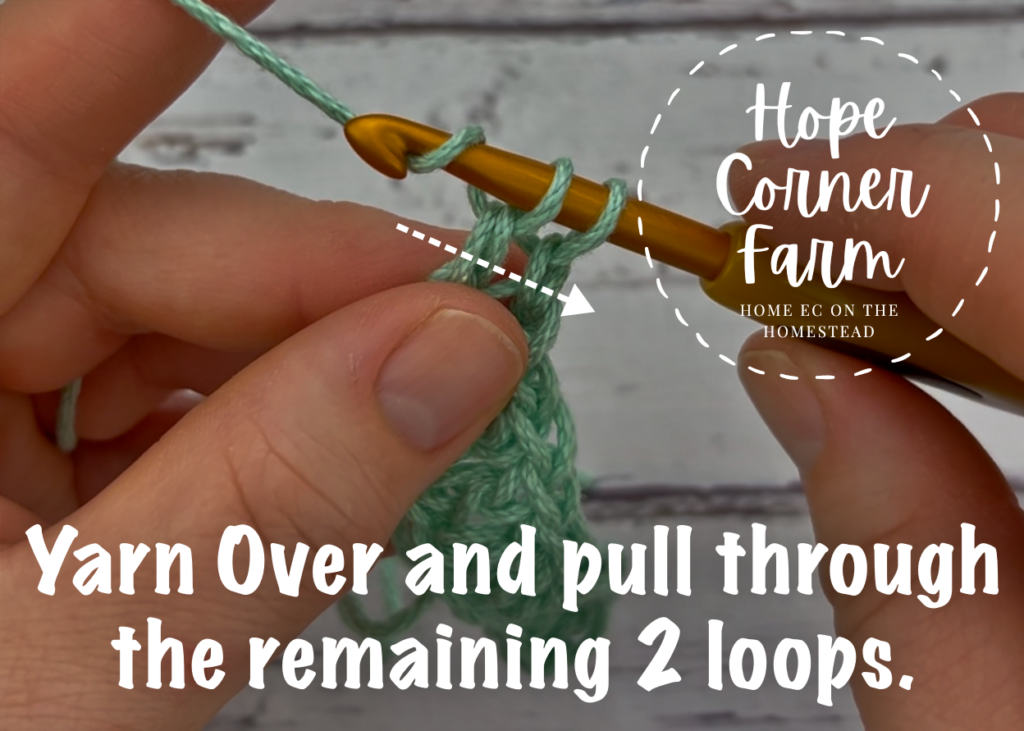
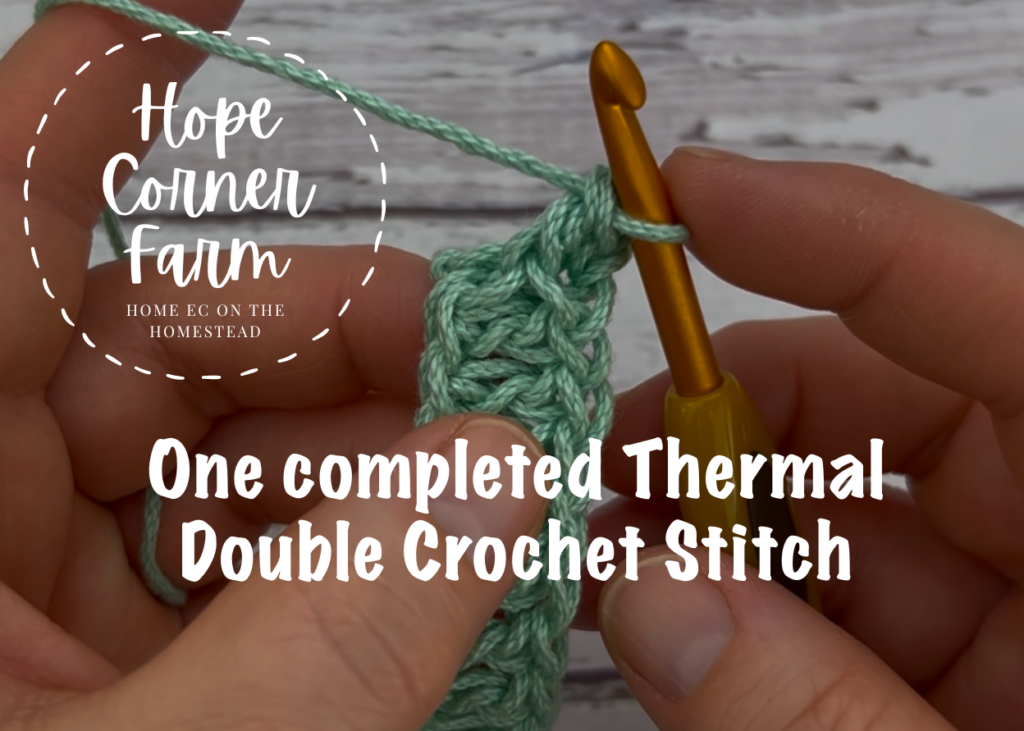
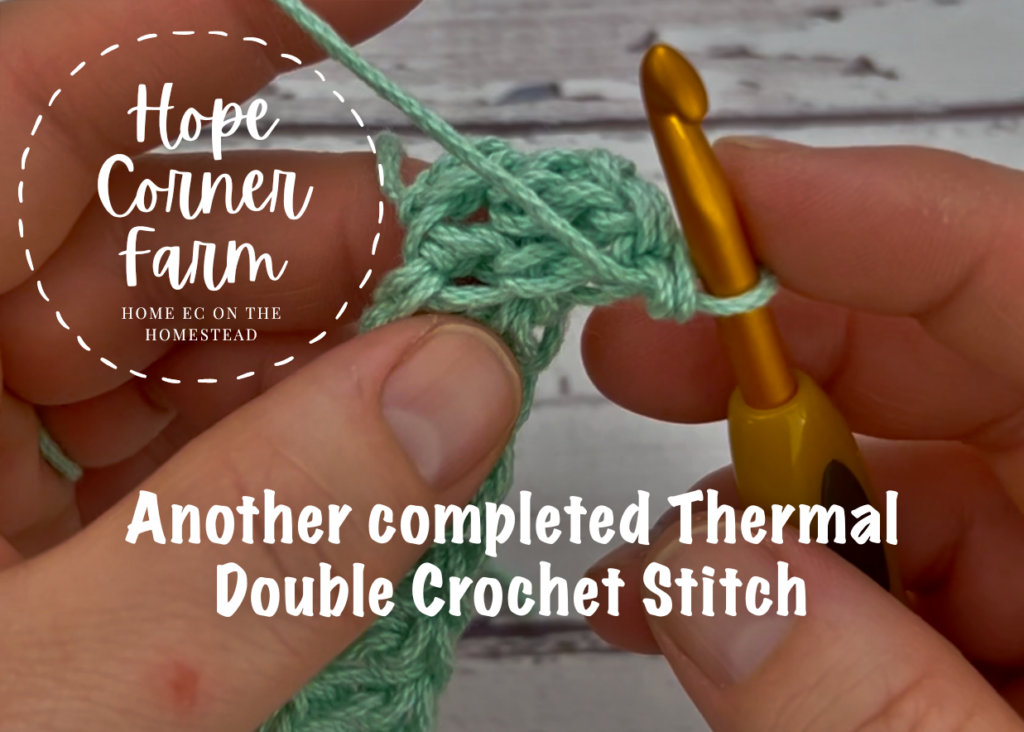
This completes one Double Crochet Thermal Stitch.
Row 2 Additional Double Crochet Thermal Stitches:
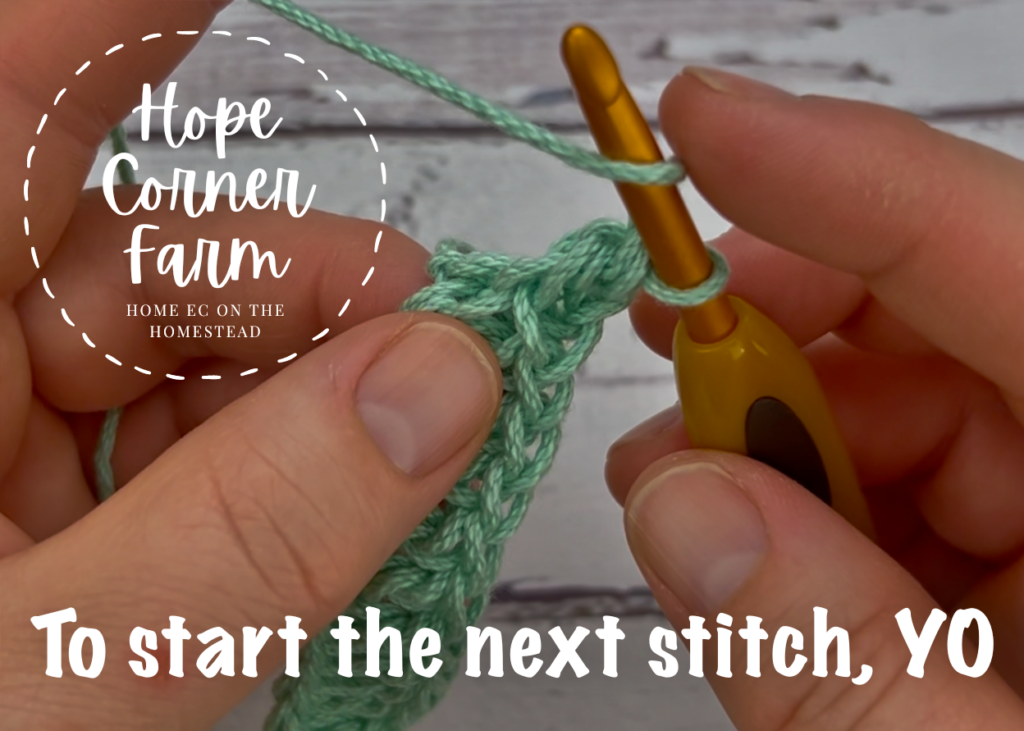
Finally, keep repeating steps 1-4 down the row of crochet.
Last Double Crochet Thermal Stitch of Row 2:
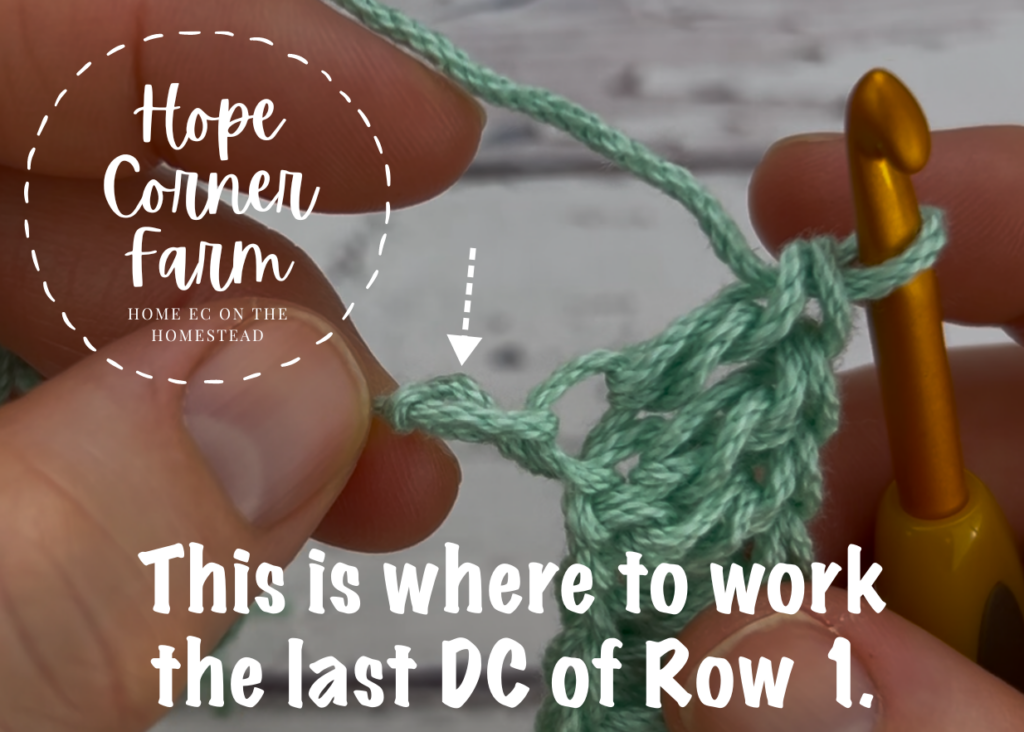
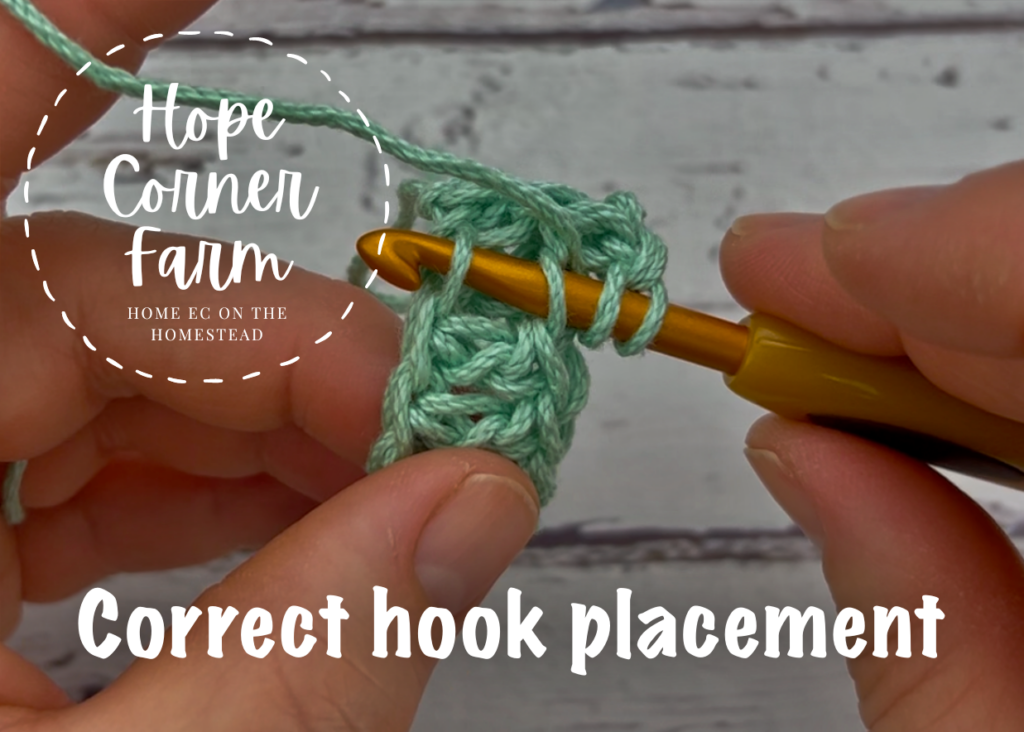
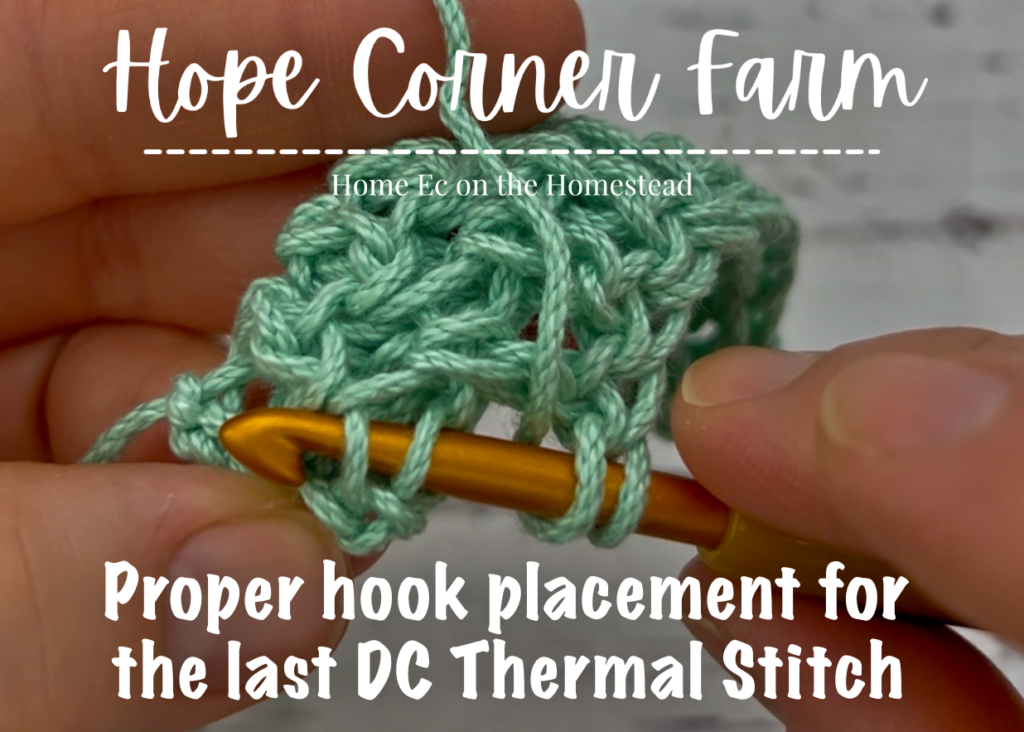
Now the last stitch of the row can sometimes be difficult to see. Look at the picture below for a better idea of what loops to work through.
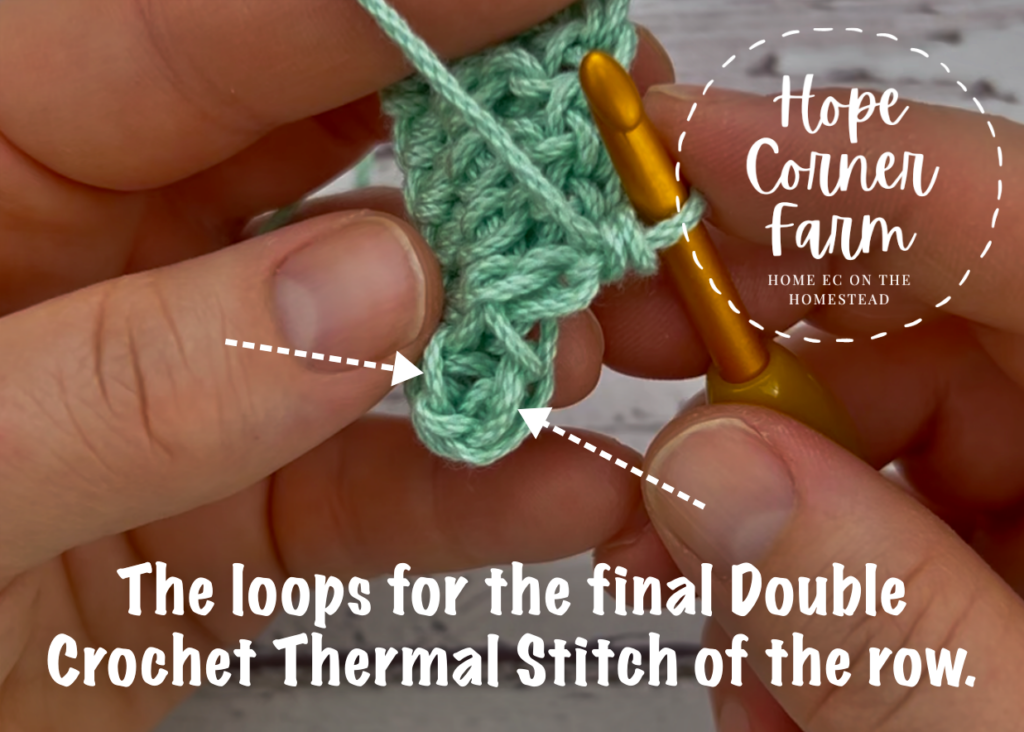
Next, after locating the loops to work into, repeat steps 1-4 to complete the final stitch of Row 2.
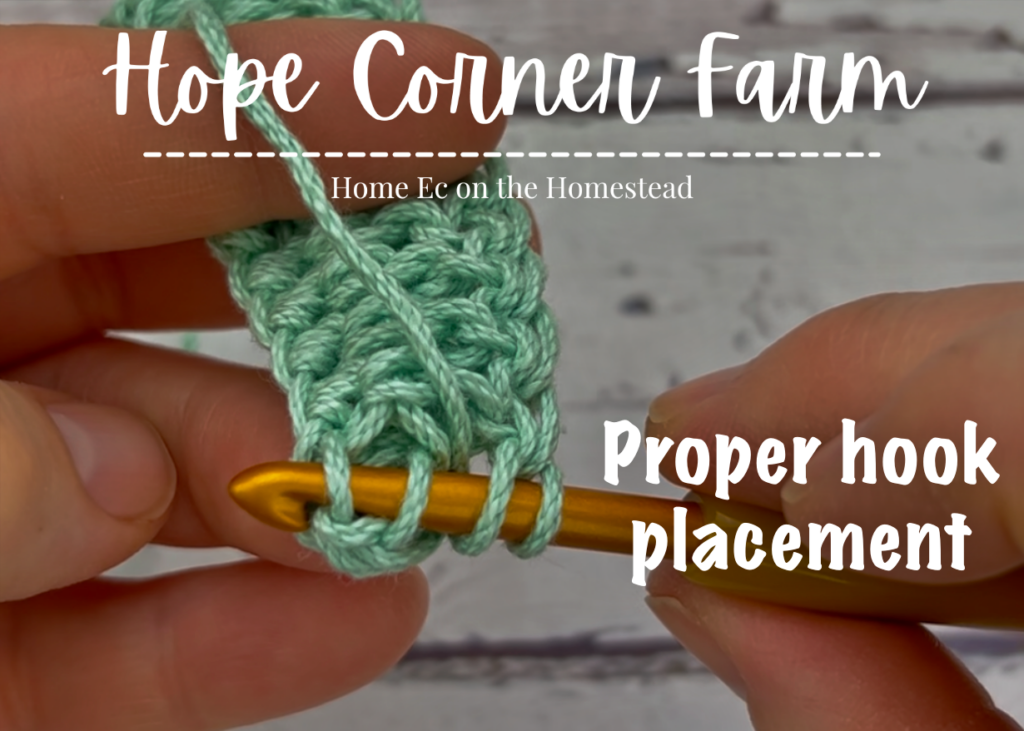
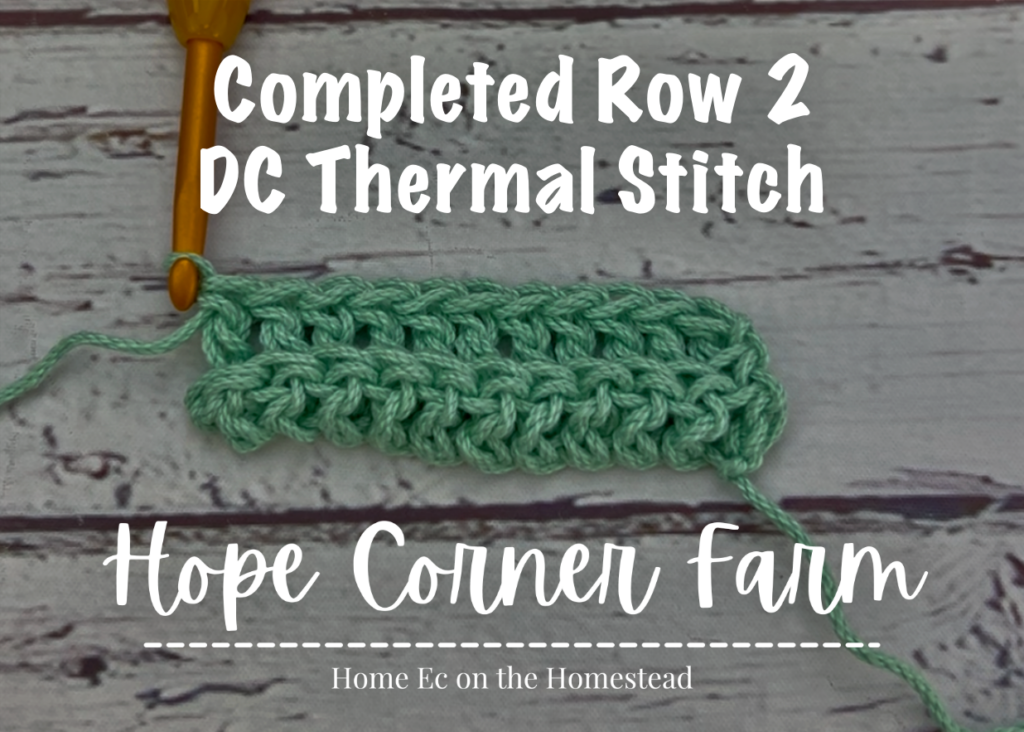
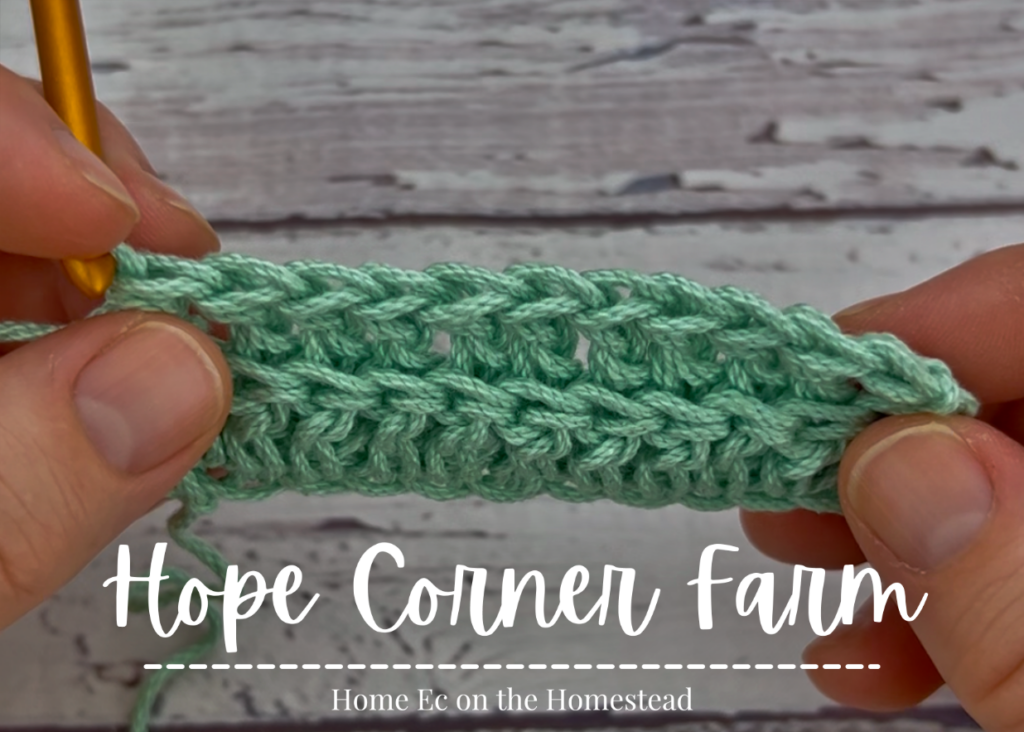
Here is what the row looks like when completed:
Double Crochet Thermal Stitch – Row 3:
Again the key to success with the Thermal Double Crochet Stitch is what loops to work into. These loops get easier to see the more rows of crochet that are completed.
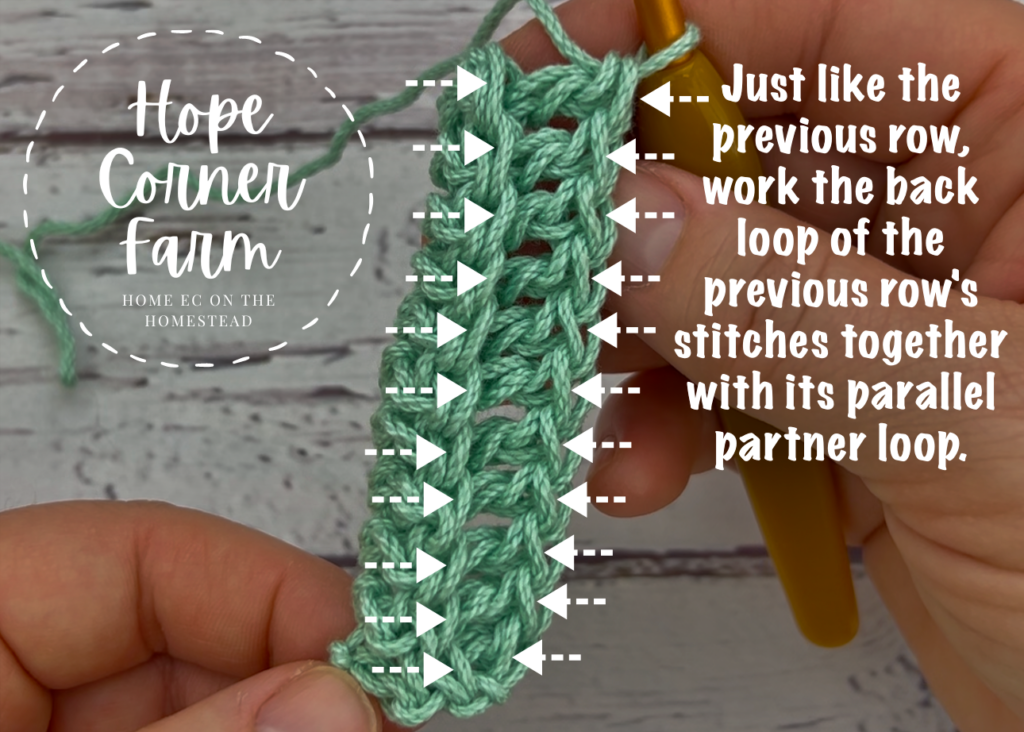
Now to start the row begin by chaining 1. Just like the last row, work down the row of crochet.
Step 1 – Row 3 of Double Crochet Thermal Stitches:
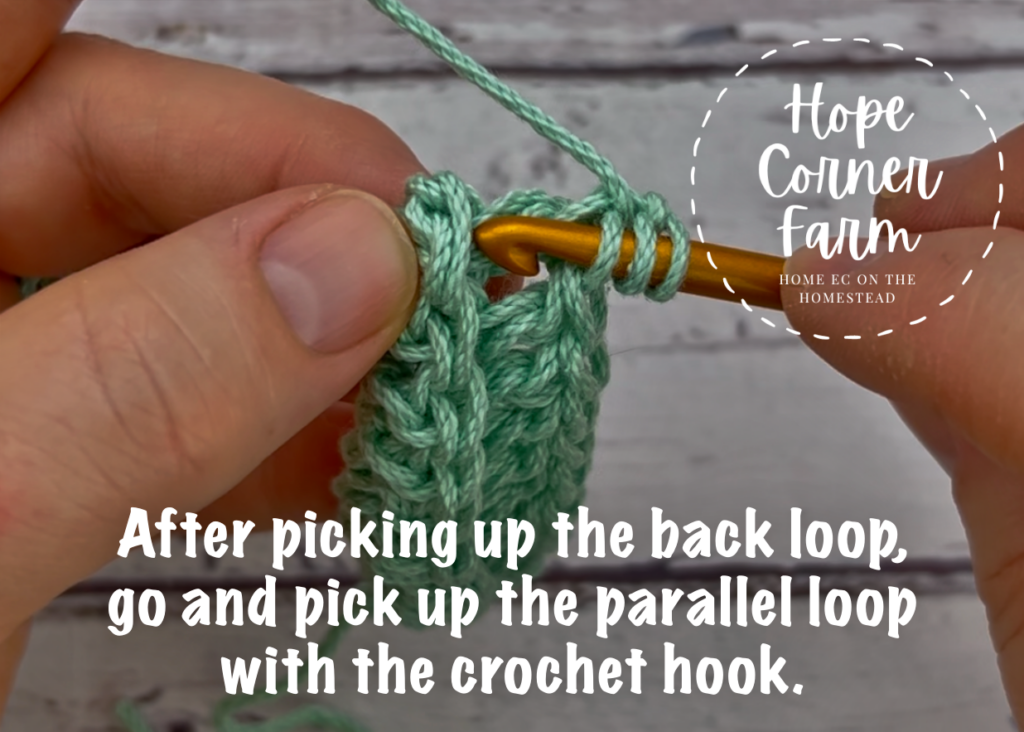
Next, yarn over and insert the hook picking up the back loop only as well as the parallel partner loop.
Row 3 – Step 2:
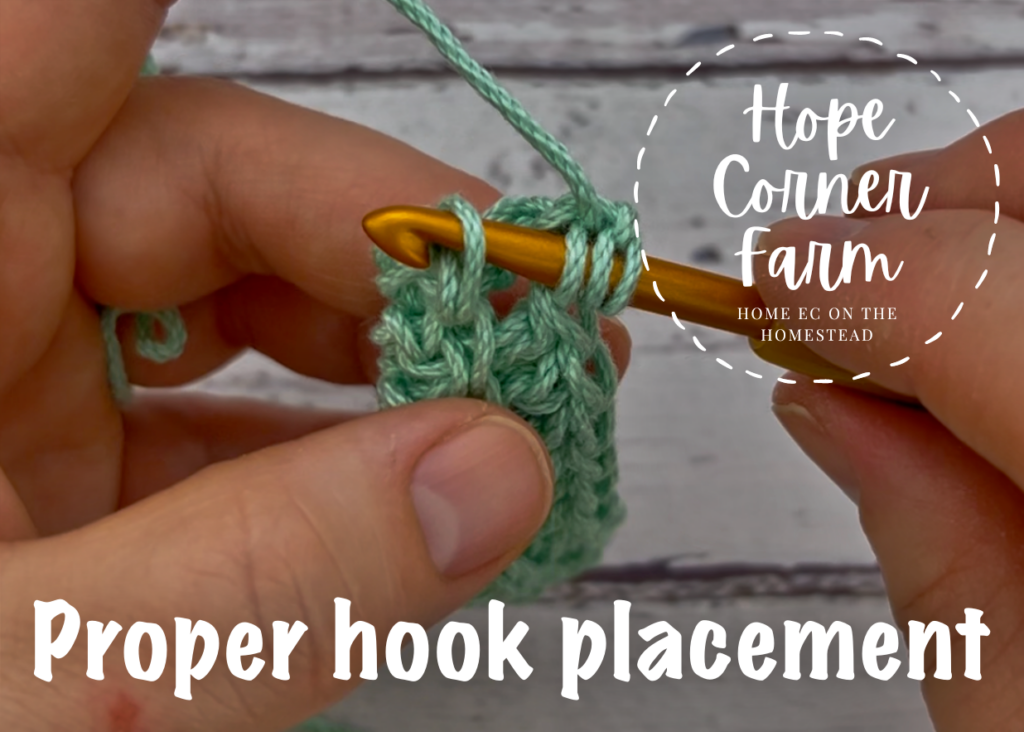
Now there are 4 loops on the hook. Yarn over and pull through 2 of the loops.
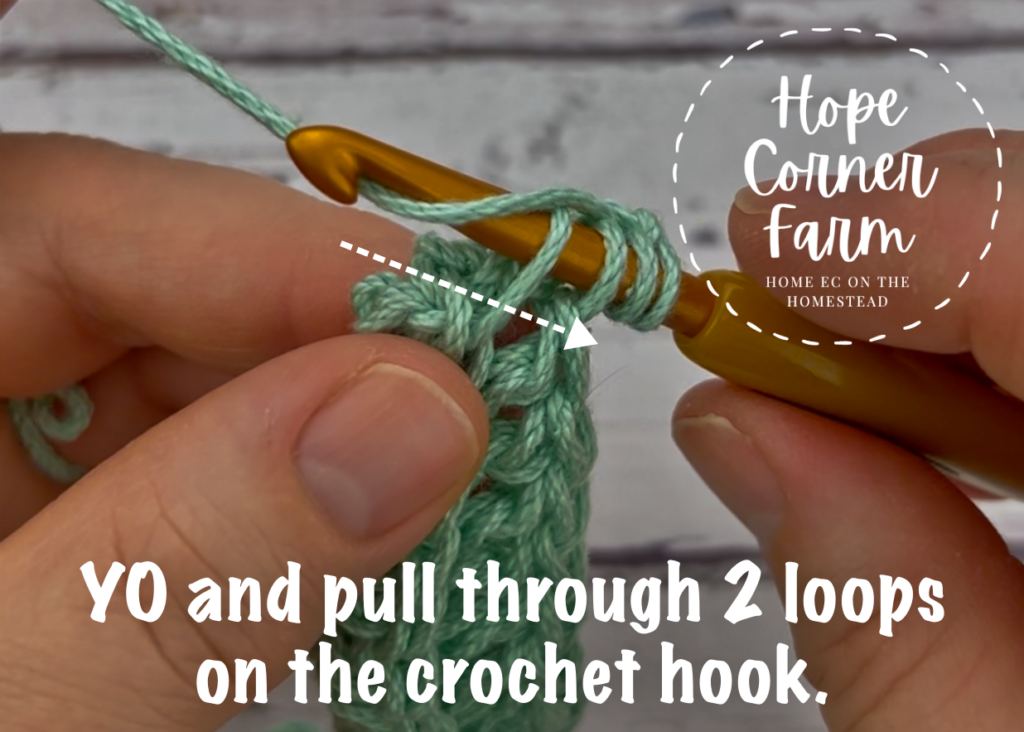
Step 3:
Next yarn over and pull through 2 of the loops of yarn on the crochet hook.
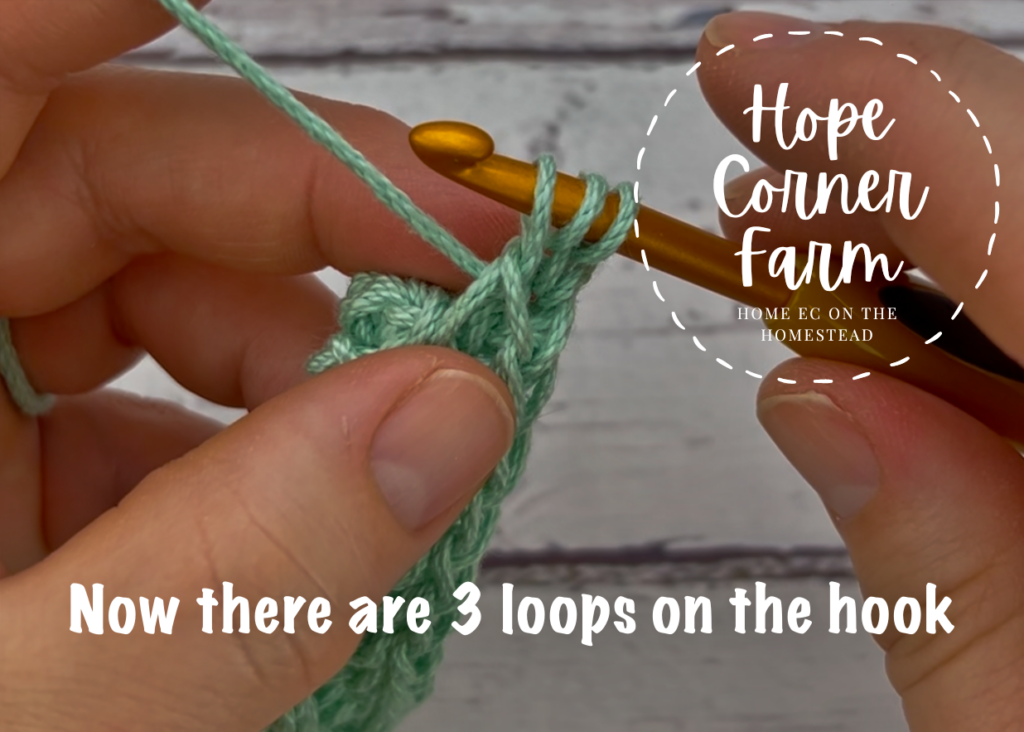
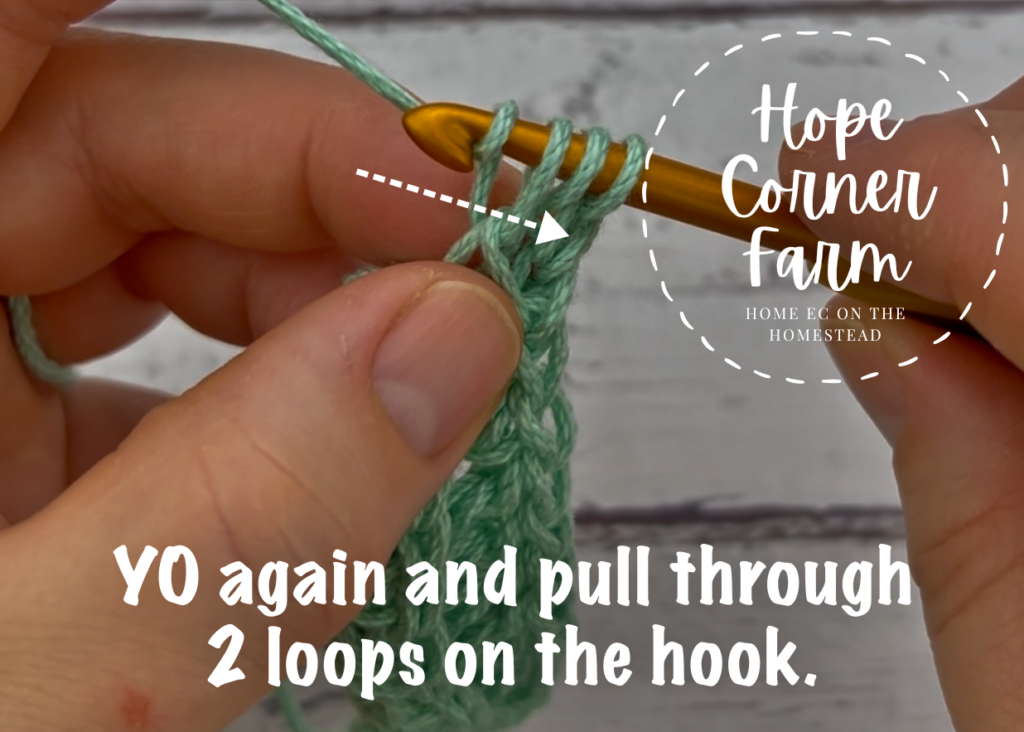
Row 3 – Step 4:
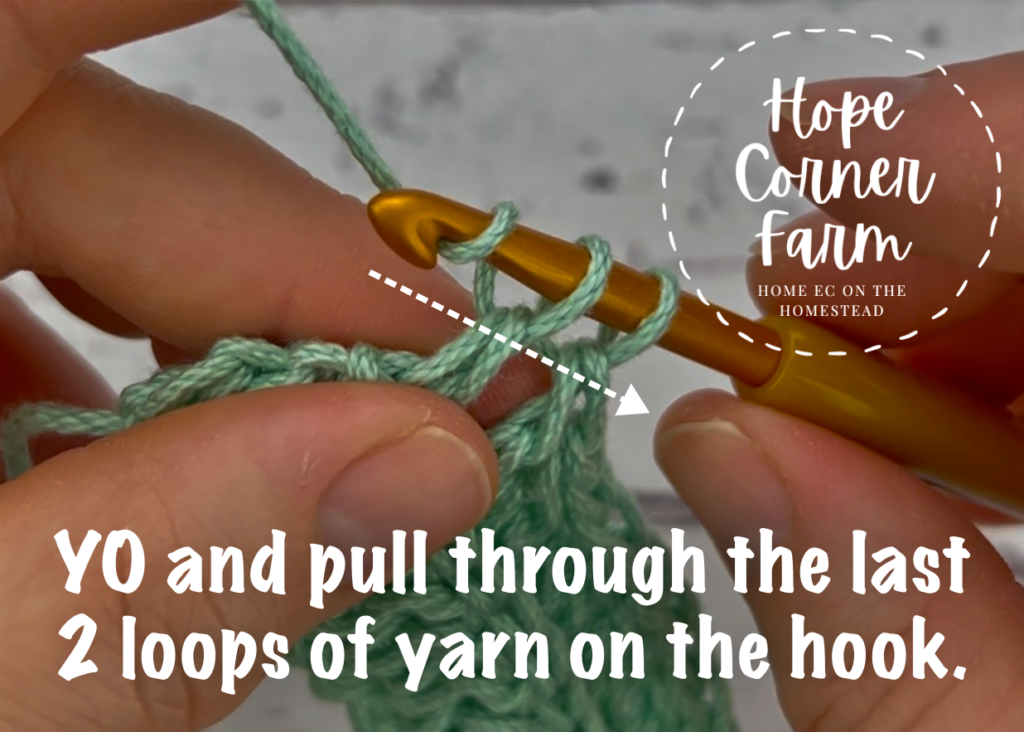
Finally, yarn over again and pull through the last 2 loops on the crochet hook.
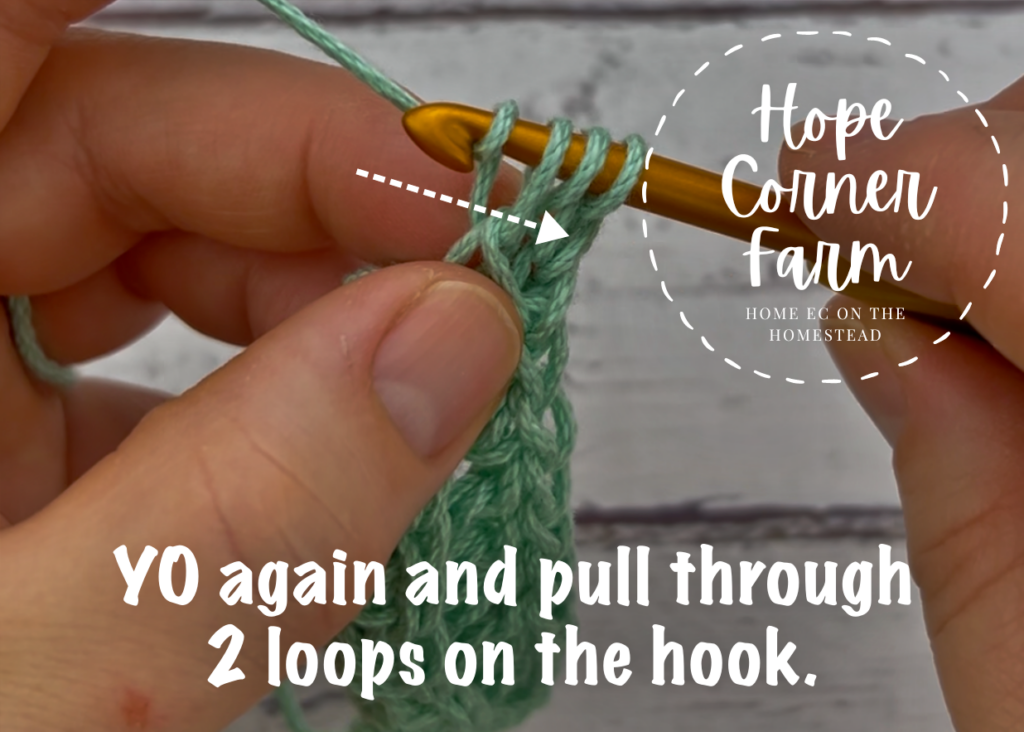
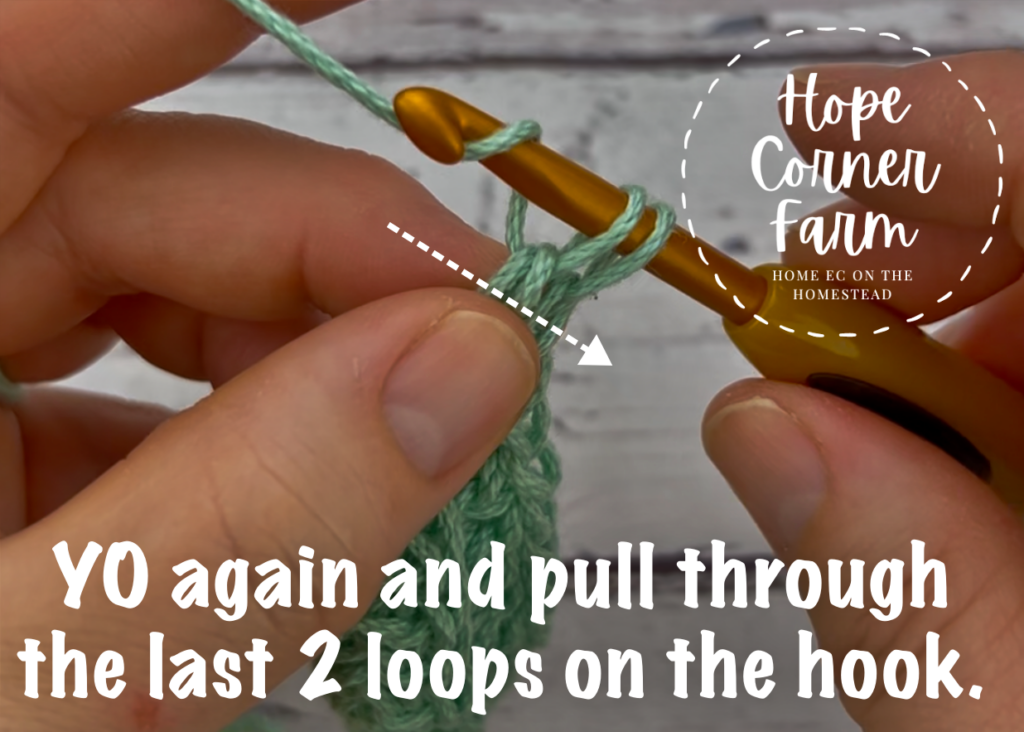
One completed Double Crochet Thermal Stitch:
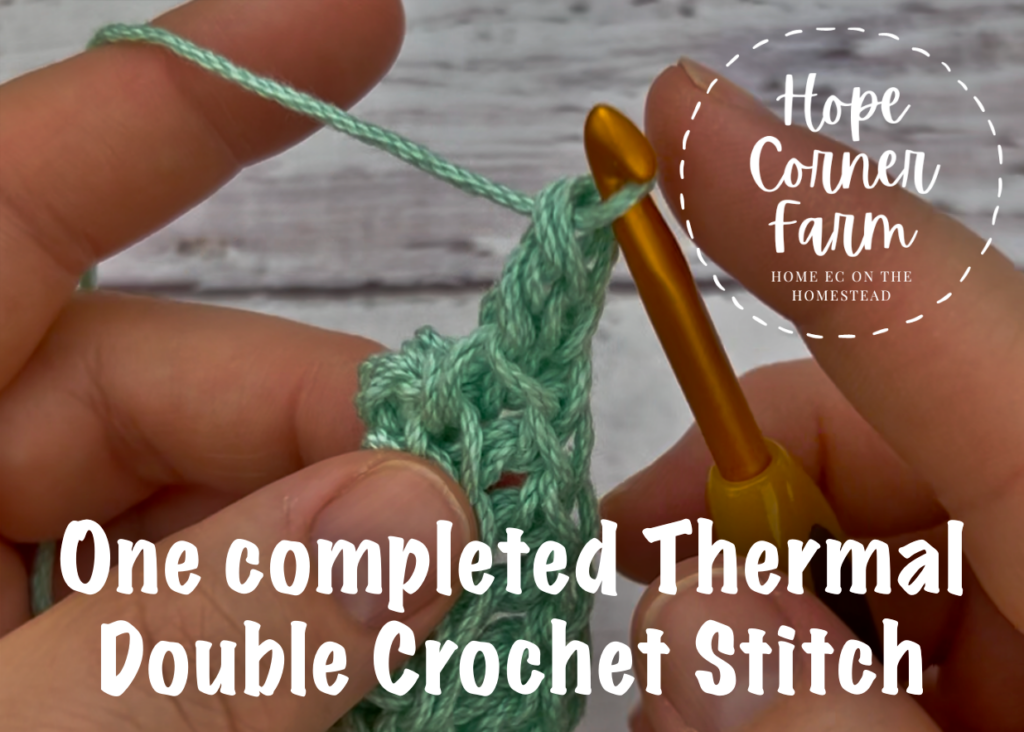
Final Stitch of Row 3:
Again, finding the last loops to place the final stitch into can be tricky. See the picture below for details.
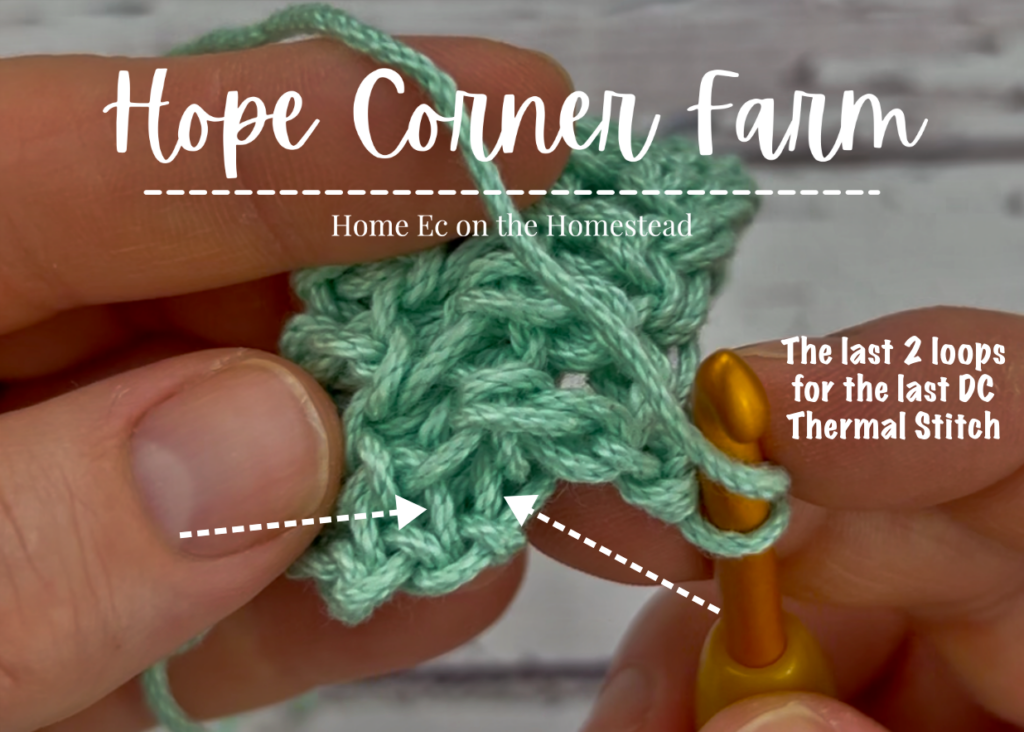
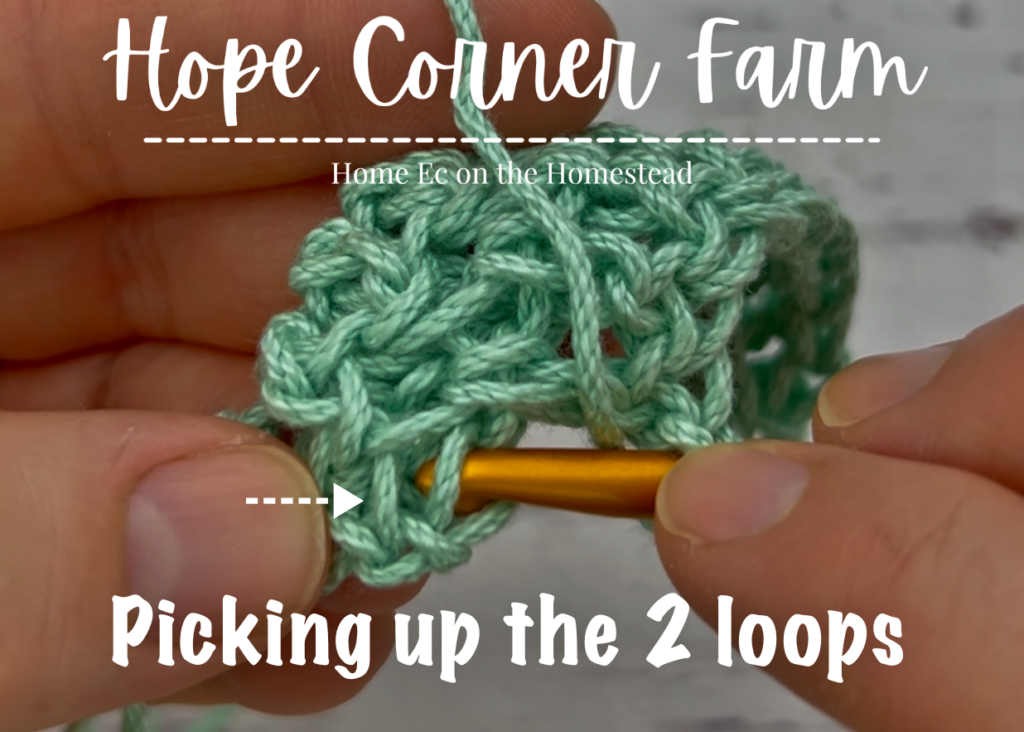
Rows Later in the Project:
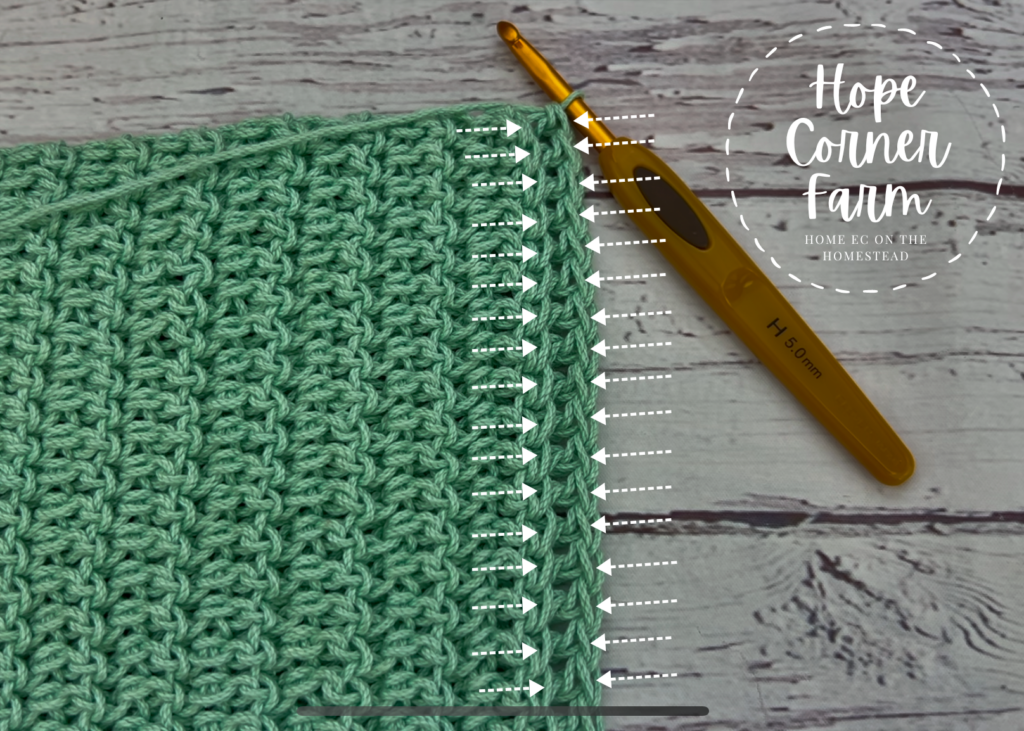
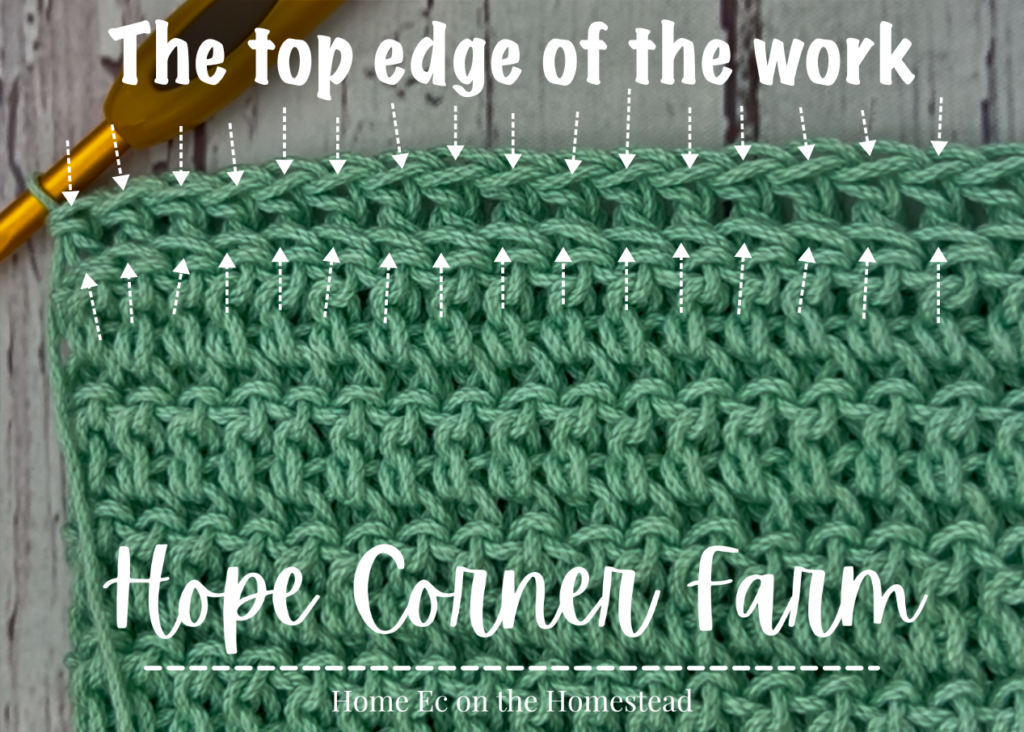
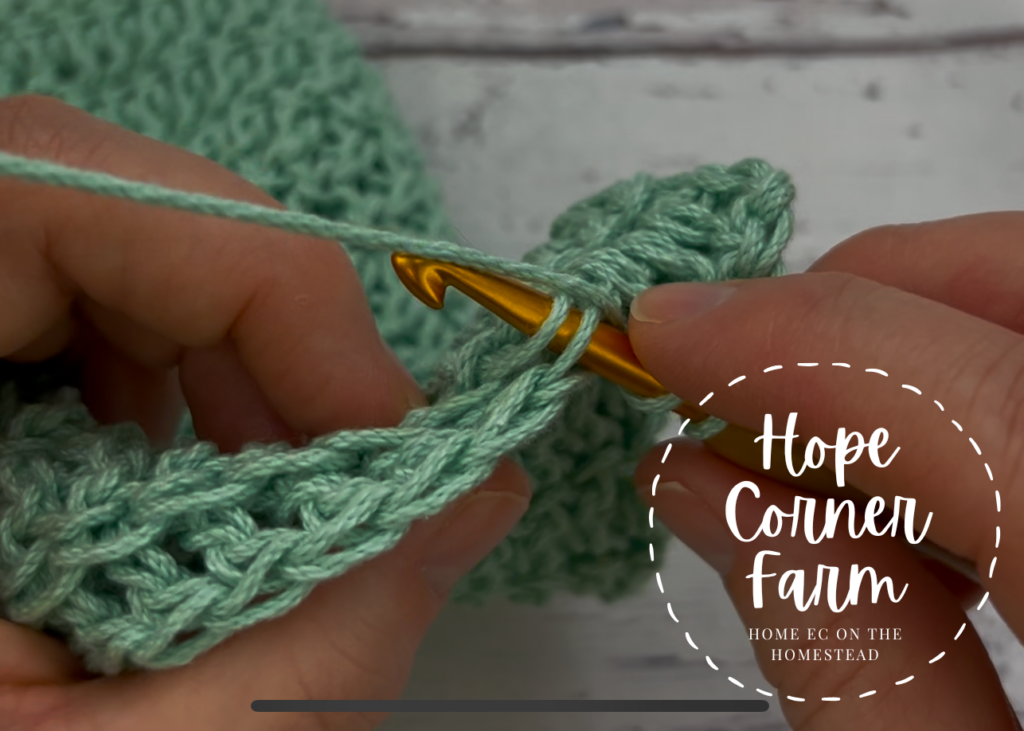
Now, the longer the project gets, you can choose to turn the work and work it in a more traditional manner. The key again is matching loops when creating the stitches.
Single Crochet Finishing Row:
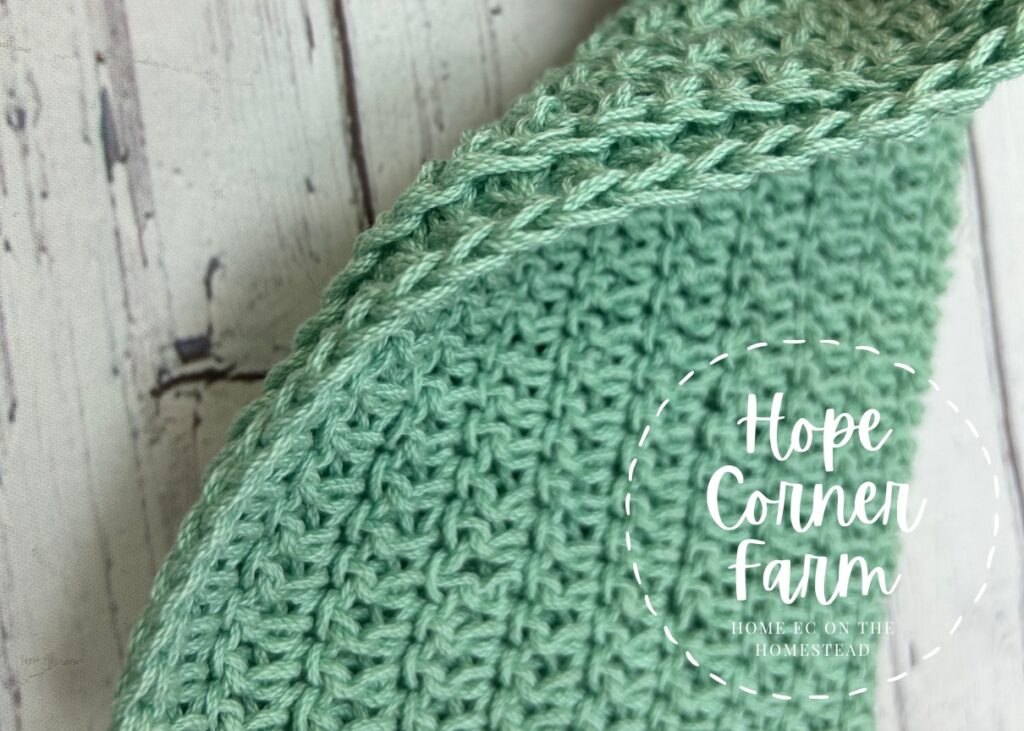
To begin there are two different ways of finishing off a project that uses the Double Crochet Thermal Stitch. I personally prefer to use the single crochet method of finishing. I feel it gives a better look to the project. This is the version that I will walk through first.
Step 1 – SC Finish:
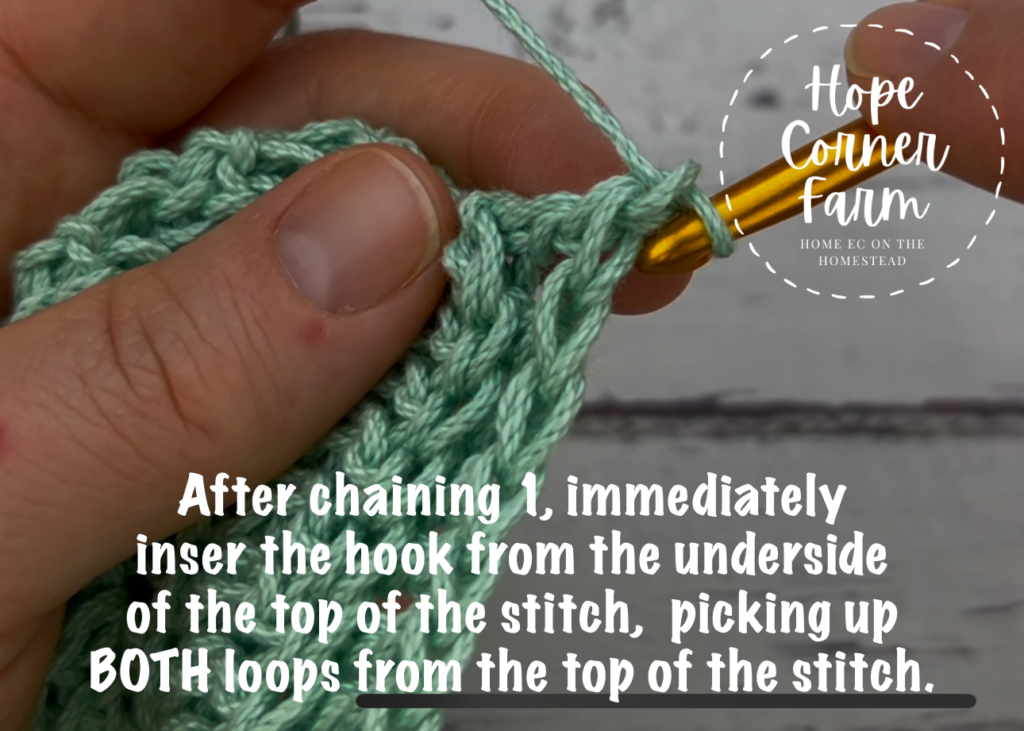
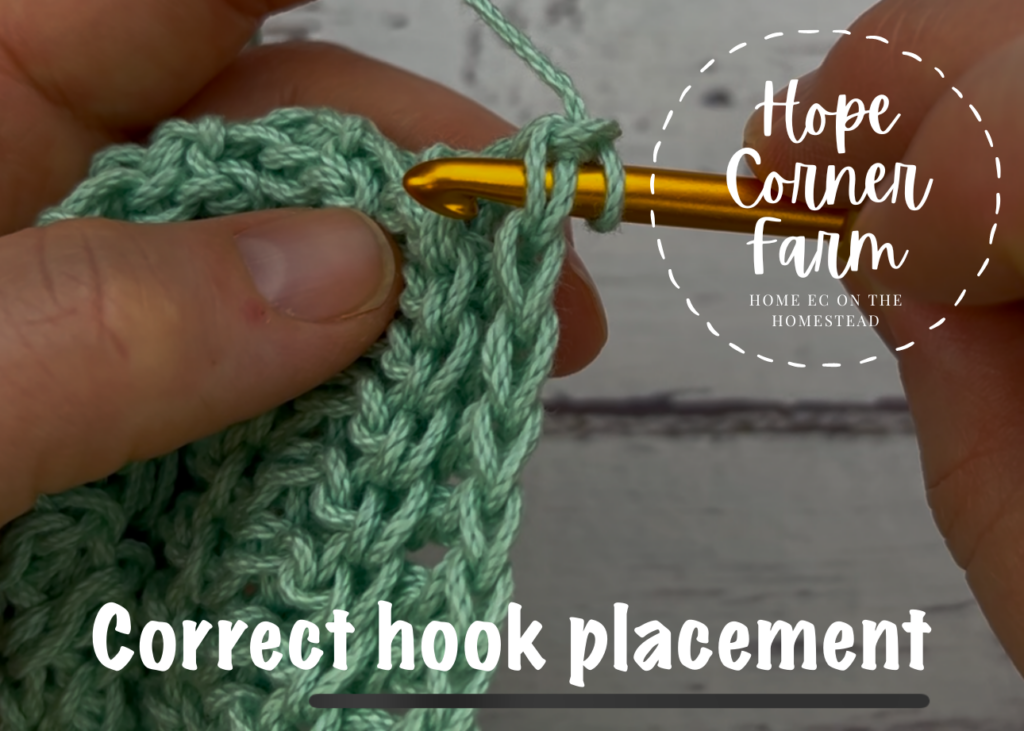
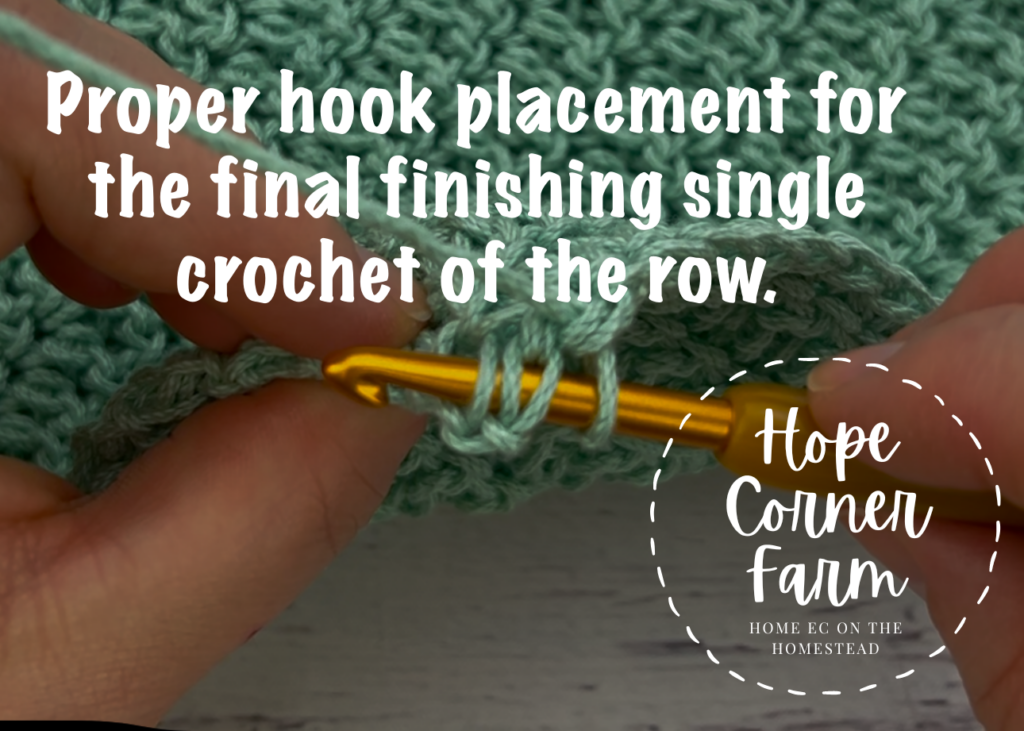
First begin by chaining 1. The finishing row is different because we pick up BOTH loops from the previous row, not just the back loop. Also, with a SC finish we DO NO yarn over before inserting the hook into the stitch.
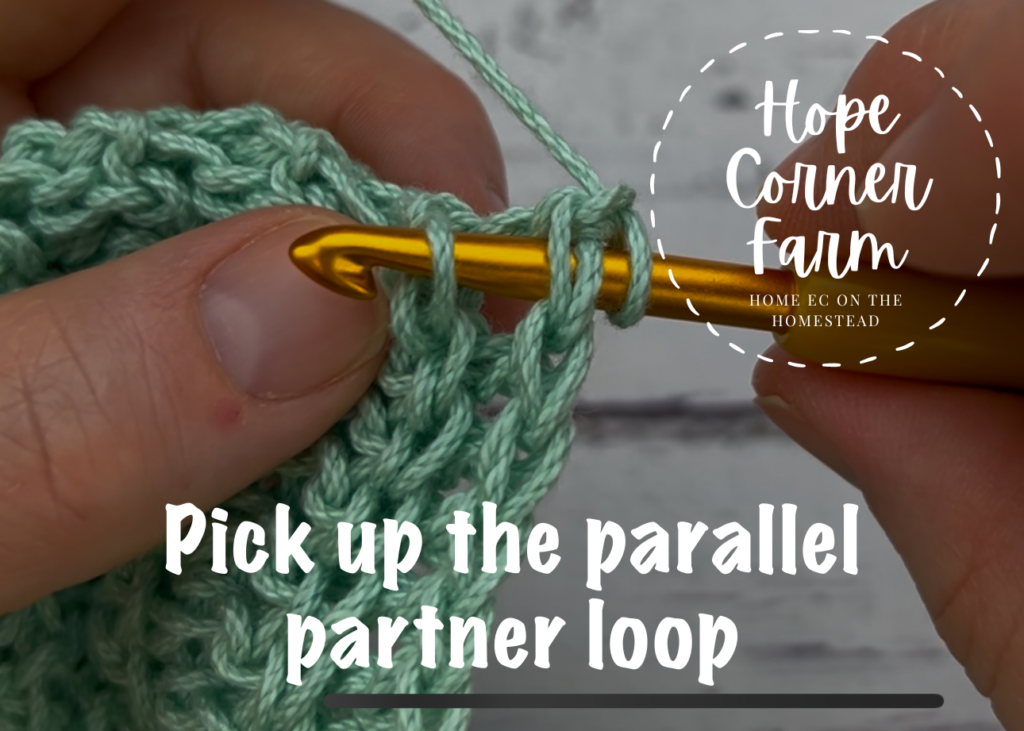
Now go across and pick up the parallel loop.
Single Crochet Finishing Row – Step 2:
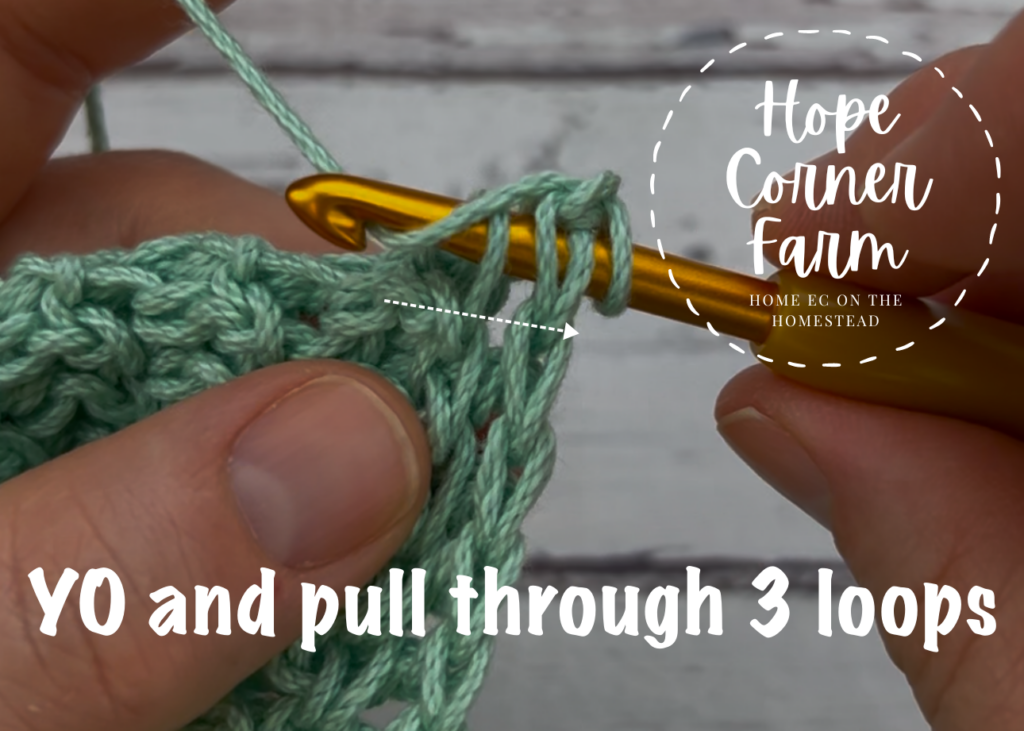
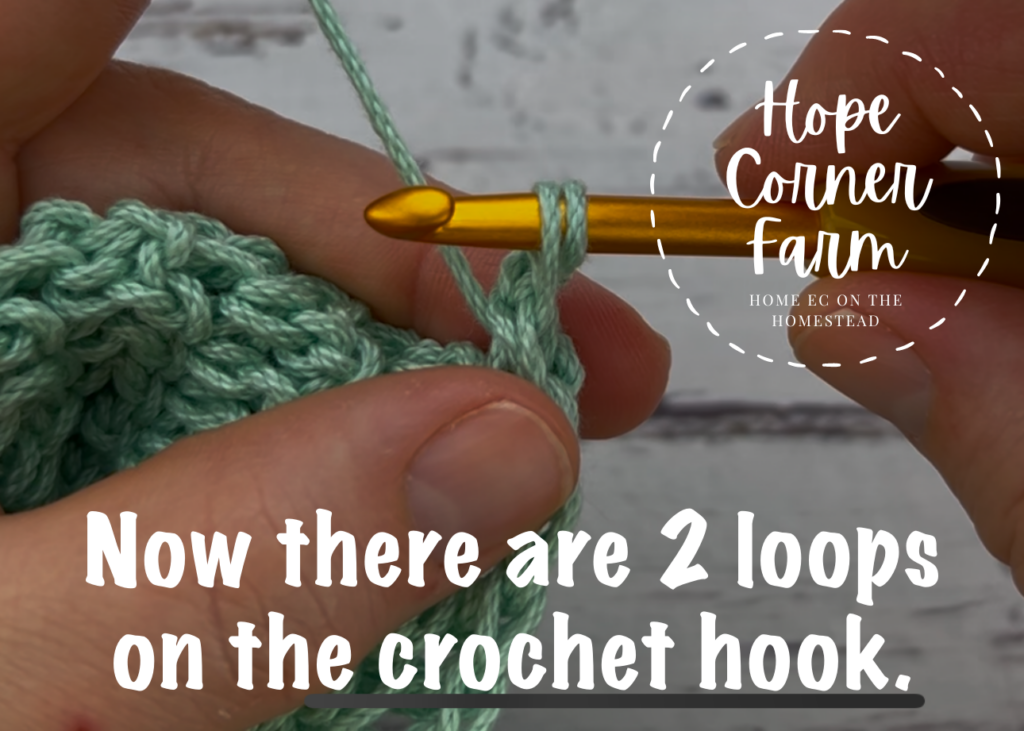
Next yarn over and pull through 3 of the loops on the hook. There will be 2 loops left on the hook at the end of this step.
Step 3:
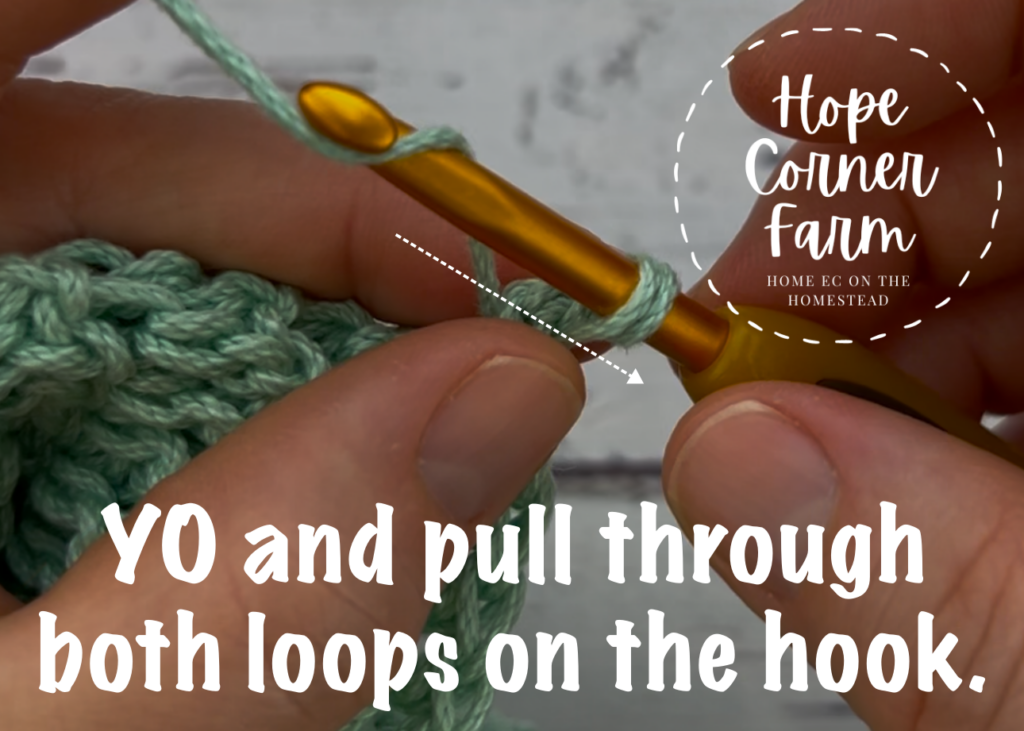
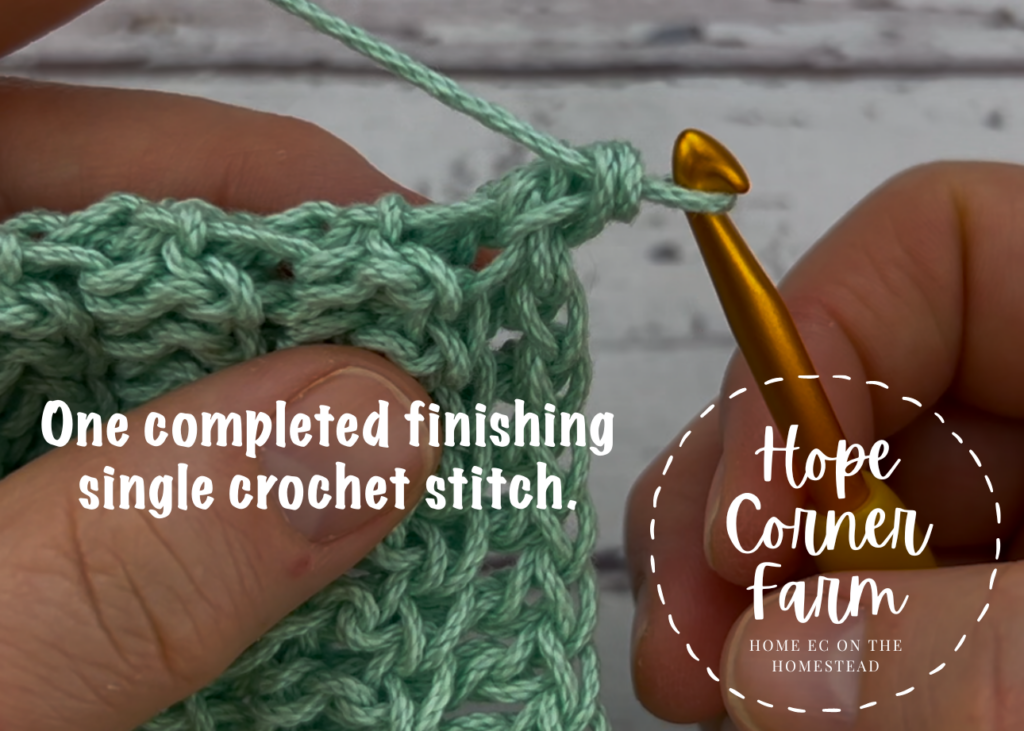
Finally, yarn over and pull through the remaining 2 loops of yarn on the crochet hook. This completes one finishing single crochet stitch.
Finishing the Row of Single Crochet Stitches:
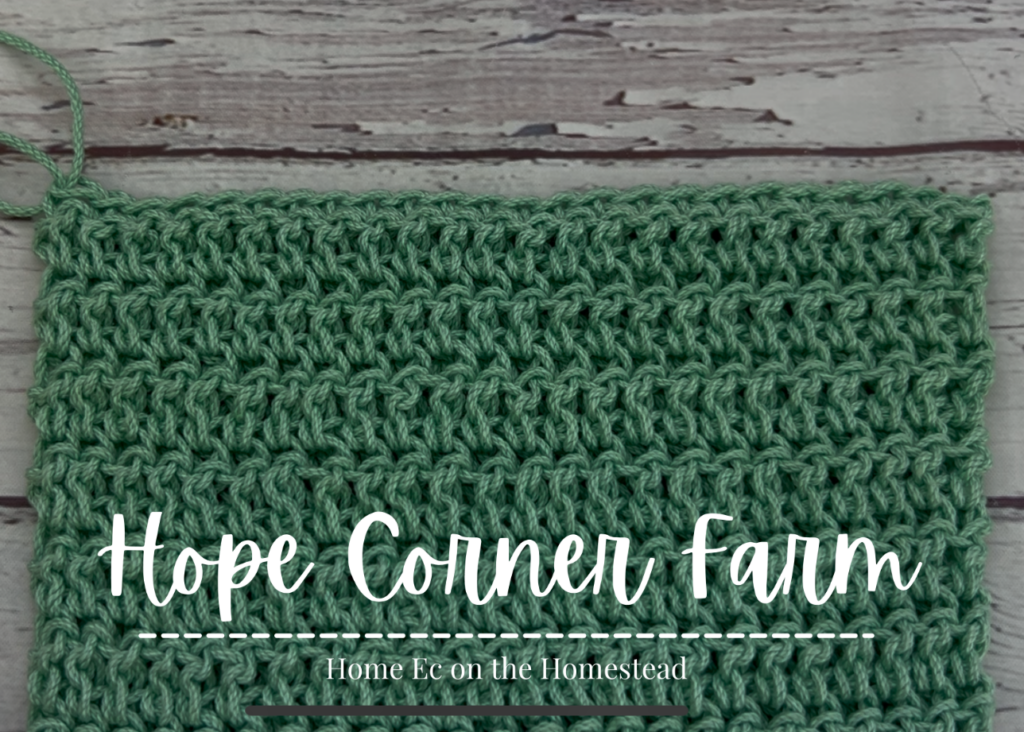
Now keep repeating steps 1-3 across the row. Again, the loops of the final stitch can be harder to see.
Finishing Row of Double Crochet Stitches:
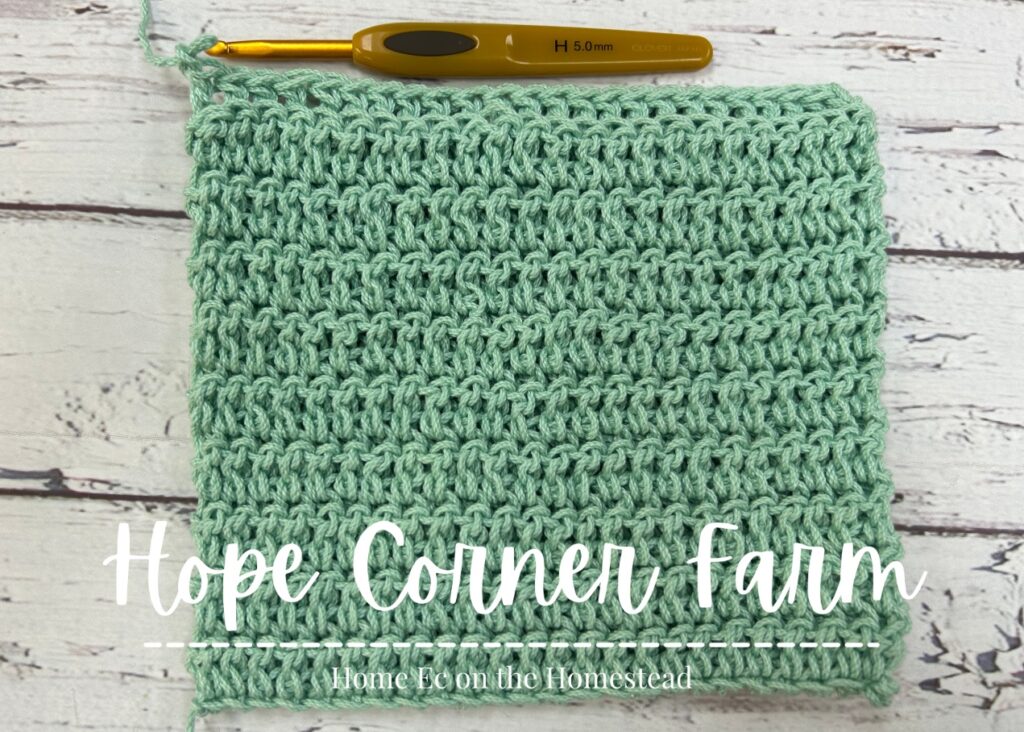
The way most people finish a row of Thermal Double Crochet Stitches is with a finishing row of double crochet stitches. Again, this is not my preference, but I will show how to complete this finishing row.
DC Finishing Row – Step 1:
Remember, for this row of stitches we will pick up BOTH loops, not just the back loop of the previous row of stitches.
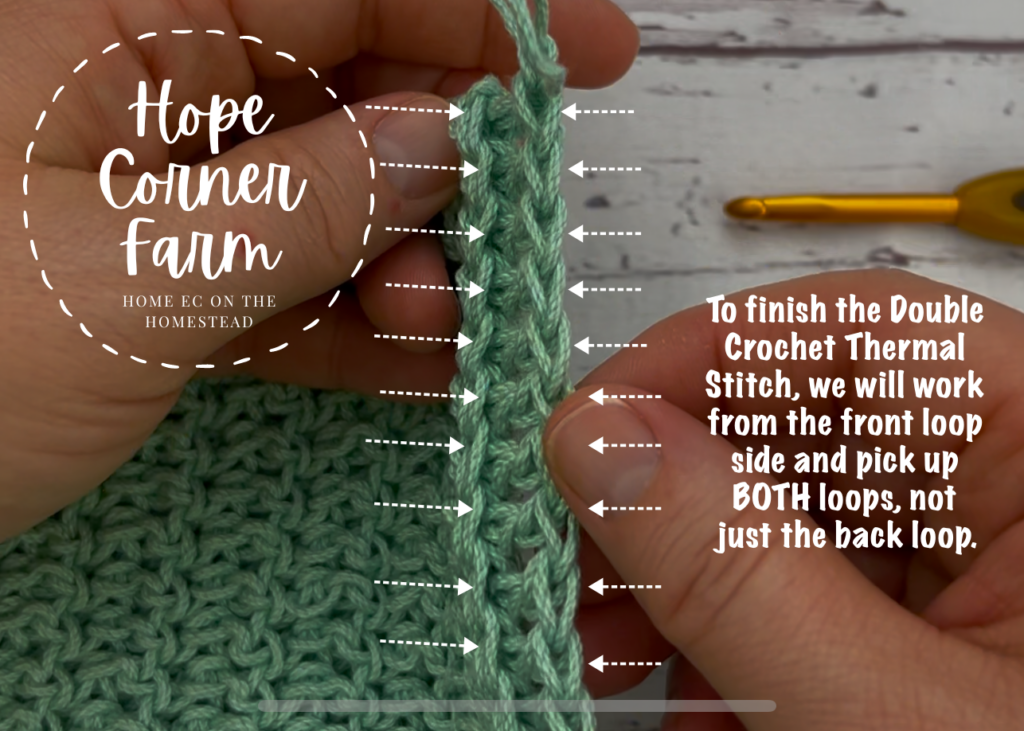
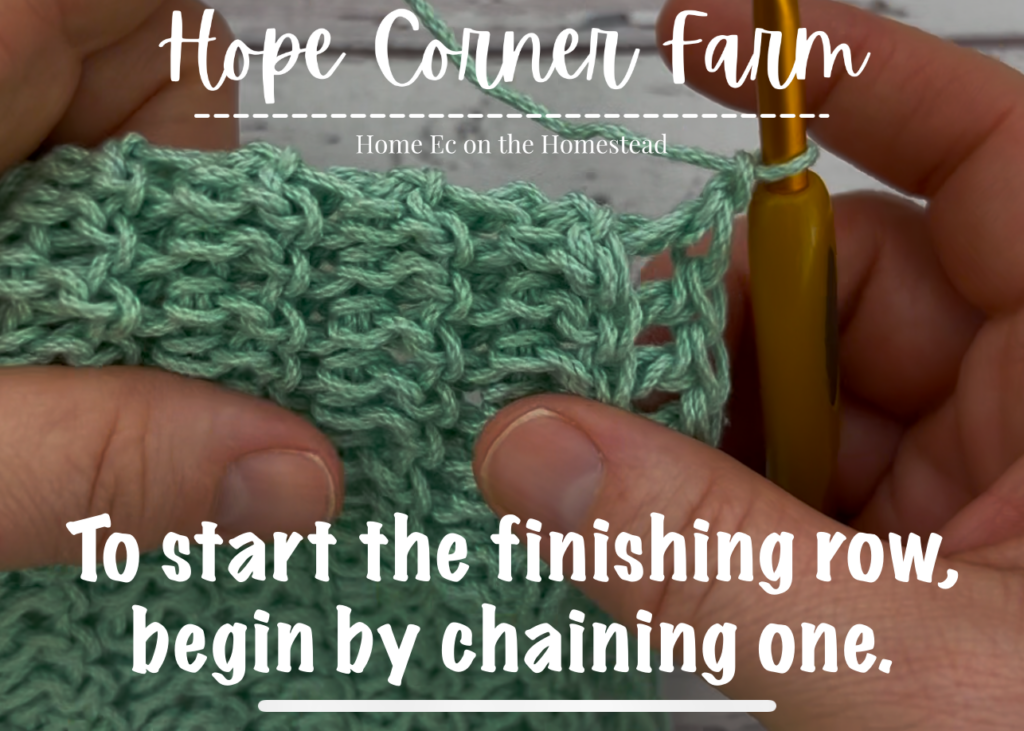
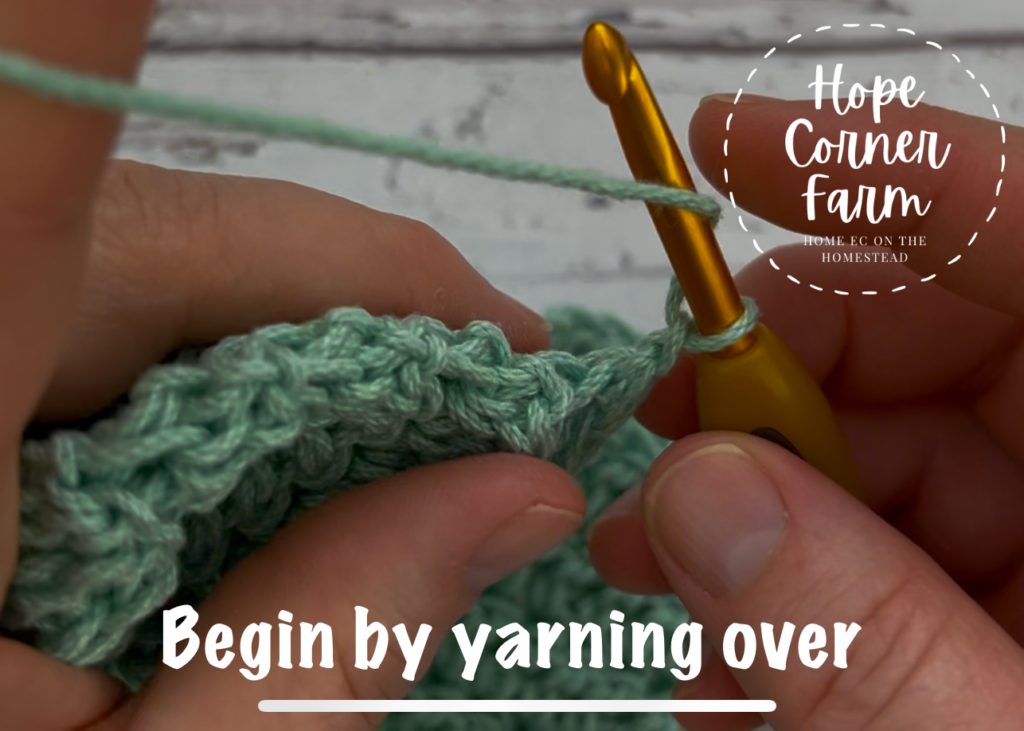
Begin by chaining 1. After that, yarn over.
Step 2 – DC Finish Row:
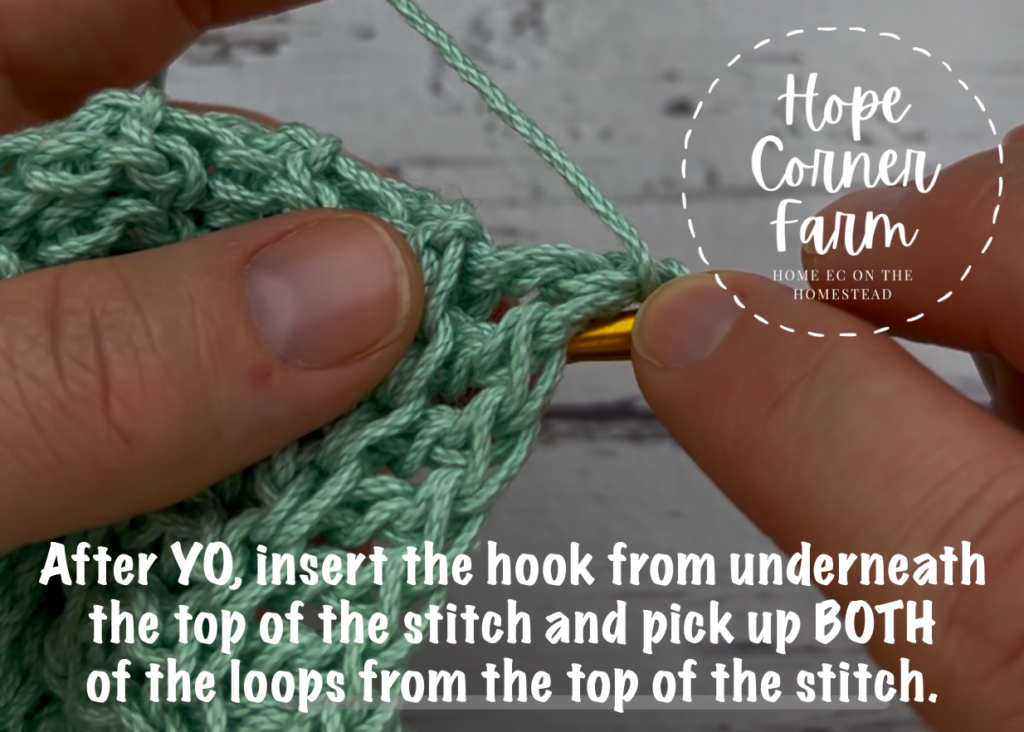
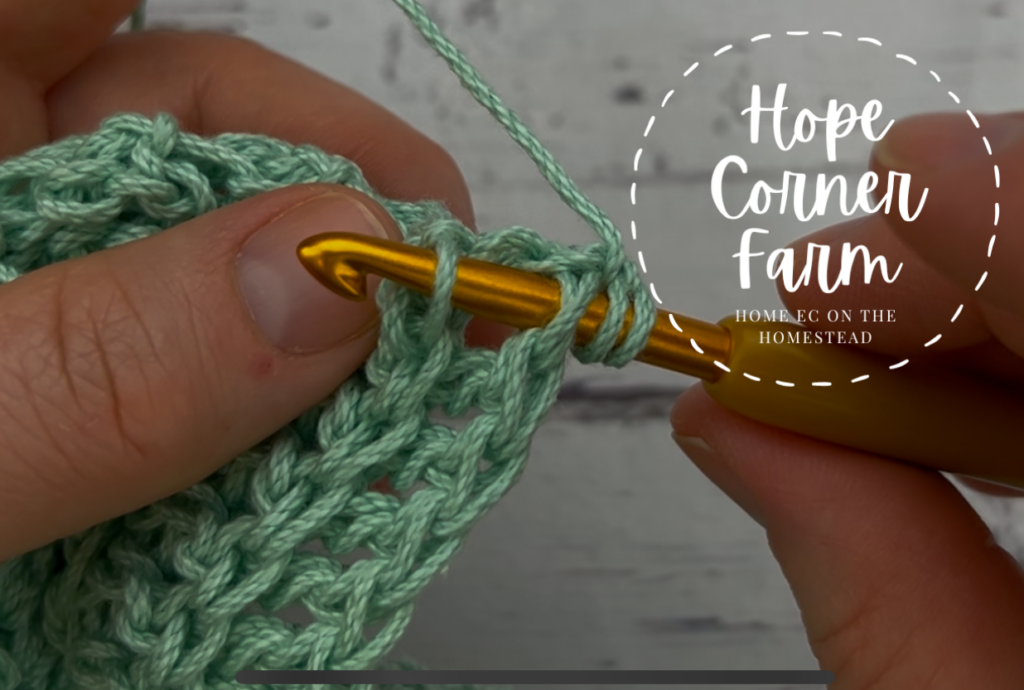
Now, insert the crochet hook making sure to pick up BOTH loops from the previous row’s stitch.
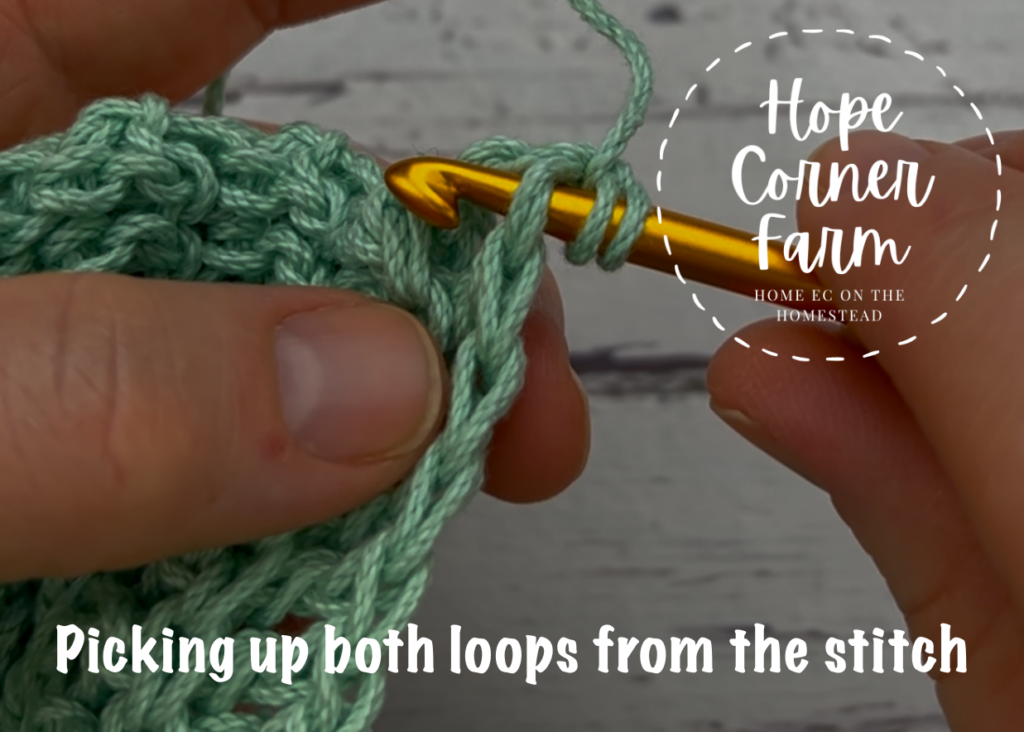
Next go across and pick up the parallel loop.
DC Finishing Row – Step 3:
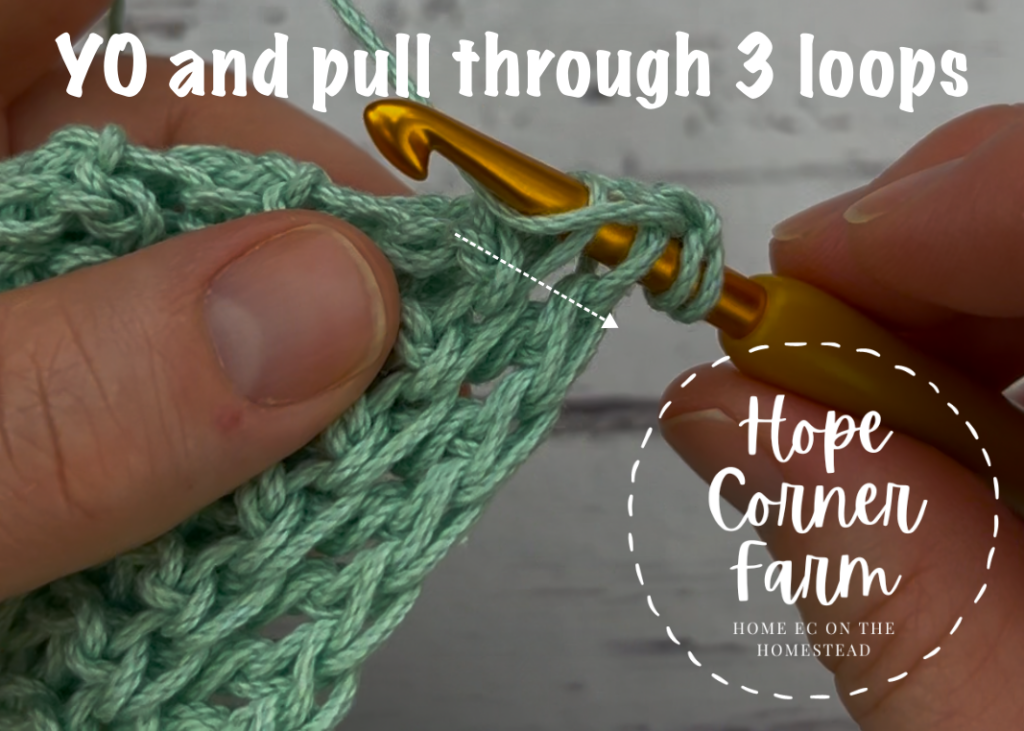
Now yarn over and pull through 3 loops of yarn on the crochet hook. There will be 3 loops of yarn on the hook at this point.
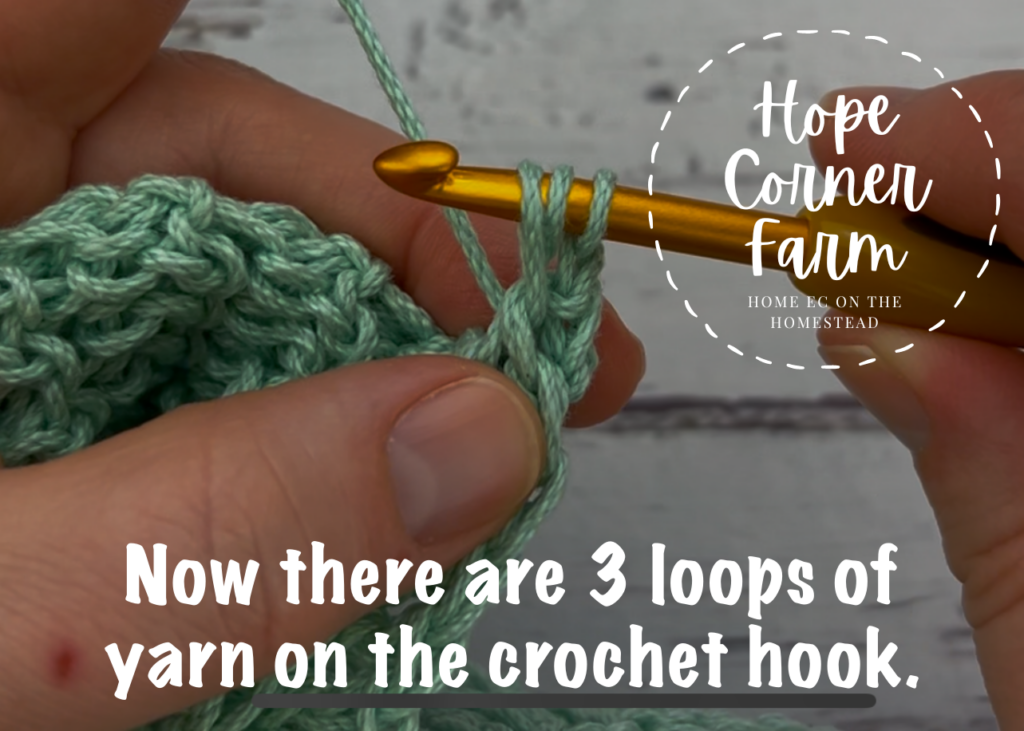
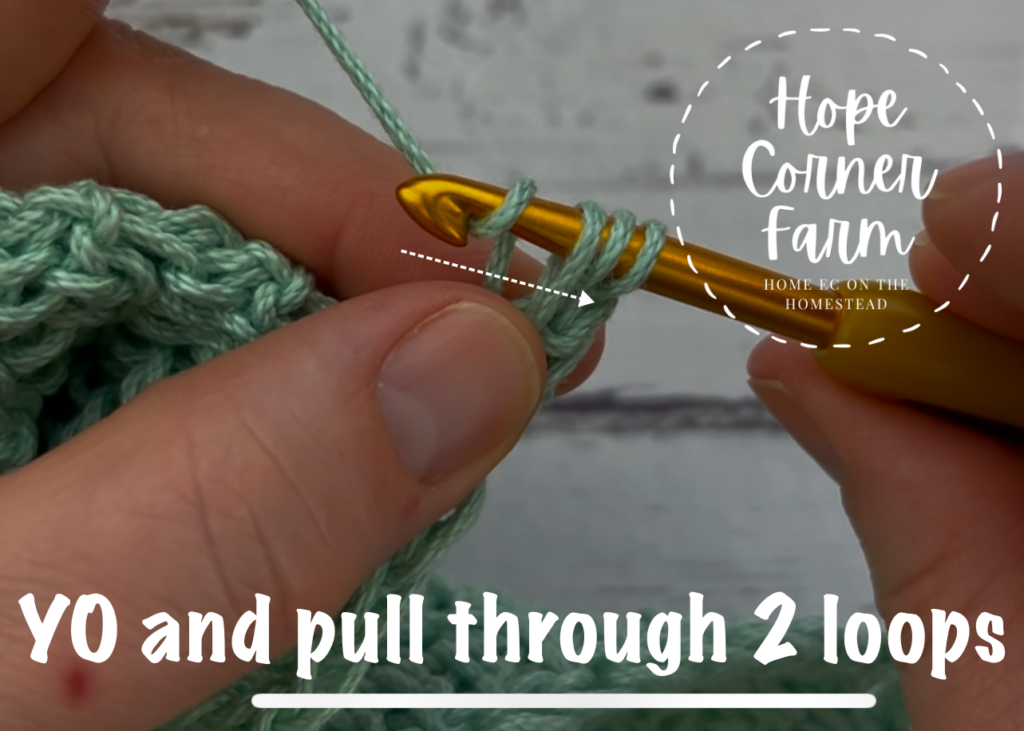
Next yarn over and pull through 2 loops on the hook. There will be 2 loops of yarn left on the hook.
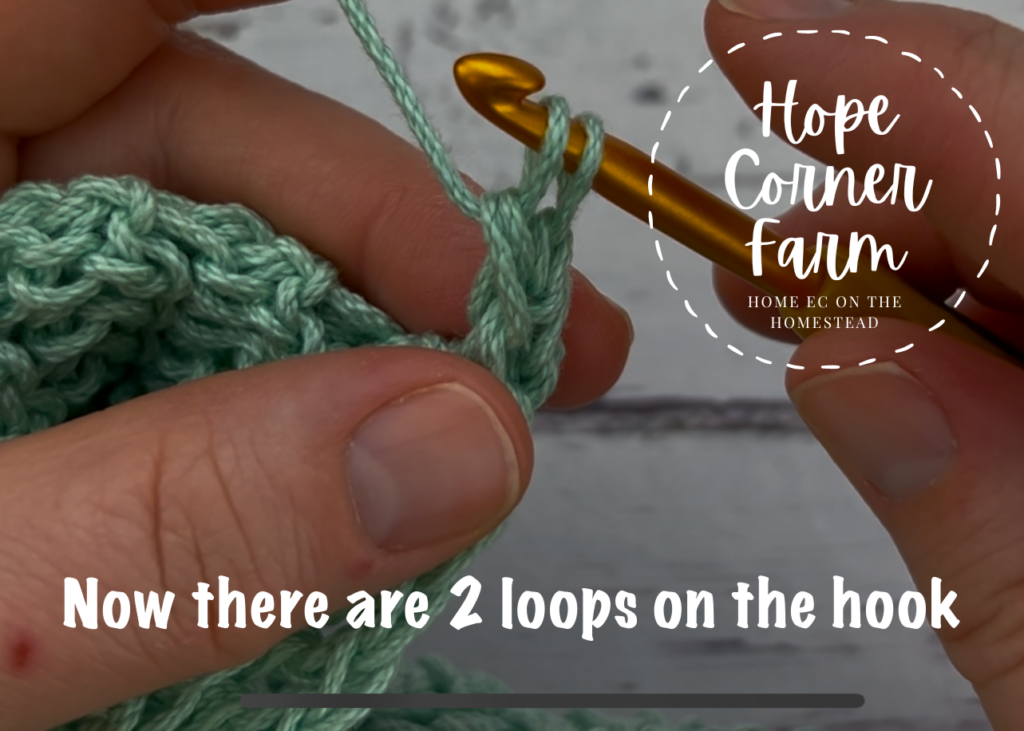
Step 4:
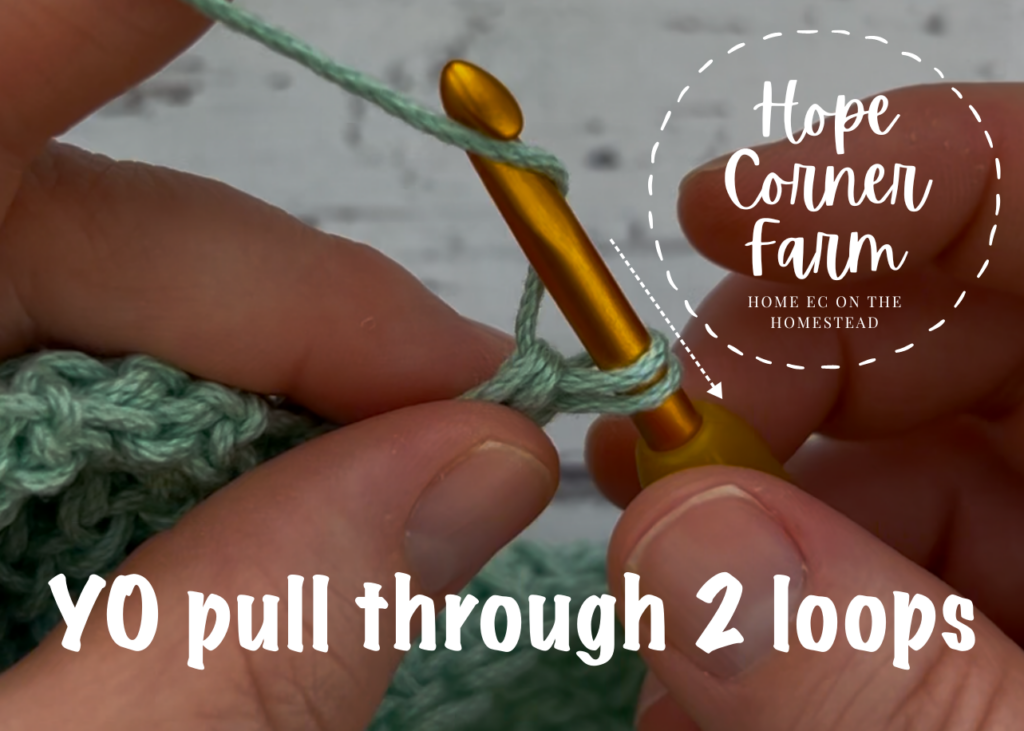
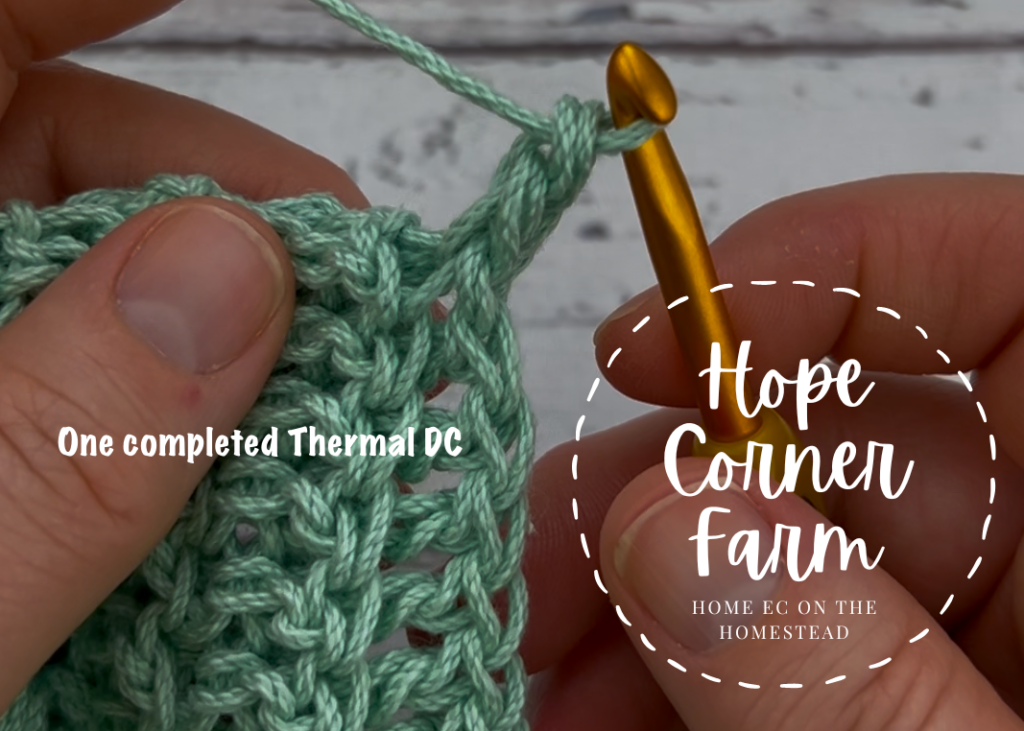
Finally yarn over and pull through the remaining 2 loops of yarn. This completes one finishing Double Crochet Stitch.
Last Finishing DC:
Finally just like the other rows, finding the loops for the last finishing DC is key.
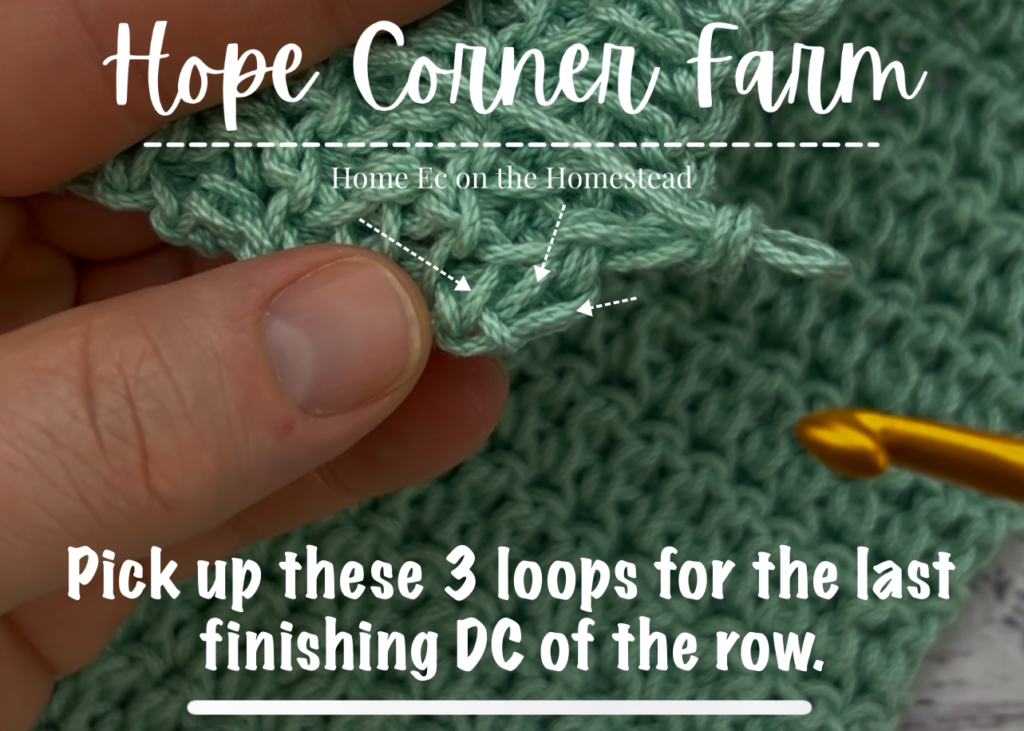
And that is the double crochet finish to the double crochet thermal stitch.
Double Crochet Thermal Stitch Video Tutorial:
Written Instructions Only for the Double Crochet Thermal Stitch:
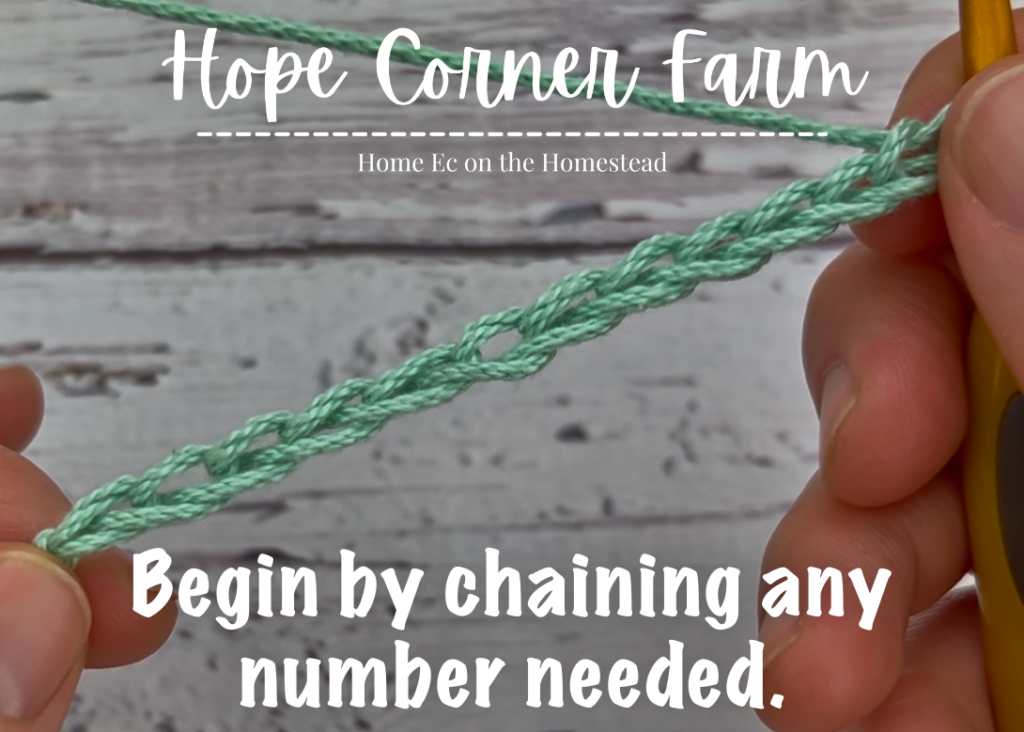
To start, begin by chaining any number of chains. There are no multiples of this stitch.
Row 1:
Now begin by yarning over and then working the first DC into the BACK BUMP of the chain stitch. Work 1 DC in each of the back bumps of each chain across.
Double Crochet Thermal Stitch – Row 2:
Next to start row 2 begin by chaining 1. DO NOT turn. We will work down the project. For each Thermal DC in this row start by chaining 1.
After chaining 1, insert the hook, picking up the back loop of the previous row’s DC. Also go across the work and pick up the loop on the lower edge that is parallel to the back loop. Insert the hook through this loop too. There will be be 4 loops on the crochet hook at this point.
Now yarn over and pull through 2 of the loops. There will be 3 loops on the hook now.
Next yarn over and pull through 2 more loops. There are now 2 loops on the hook.
Finally yarn over and pull through the last 2 loops on the hook. This completes one Thermal DC.
Repeat down the row.
Row 3 and Beyond:
Begin by chaining 1. Work DC stitches down the work. To do this start with yarning over.
Now, insert the hook, picking up the back look of the previous row’s DC. Also go down and pick up its parallel partner (that was created by not working into the front loop during the last row). There will be 4 loops on the hook now.
Next, YO and pull through 2 loops. There are now 3 loops on the hook.
Again yarn over and pull through 2 loops. There will be 2 loops left on the hook.
Finally, yarn over and pull through the last 2 loops. This completes a Double Crochet Thermal Stitch.
Continue down the row.
Single Crochet Finishing Row:
To start a finishing row of single crochet stitches, begin by chaining 1. Insert the hook, picking up BOTH loops from the DC from the previous row. Also pick up the parallel loop (that was created by the front loop we didn’t work into in the last row). There are 4 loops on the hook now.
Now yarn over and pull through 3 loops. There will be 2 loops left on the hook.
Finally yarn over and pull through 2 loops. This completes one finishing SC stitch. Continue down the row.
Double Crochet Finishing Row:
Begin by chaining 1. Yarn Over and insert the hook picking up BOTH loops from the DC from the last row. Also go and pick up the parallel loop (that was created by the front loop we didn’t work into in the last row). There are 5 loops on the hook now.
Now yarn over and pull through 3 loops. There are 3 loops left on the hook.
Next yarn over and pull through 2 loops. There are 2 loops left on the hook.
Finally, yarn over and pull through the last 2 loops. This completes one finishing double crochet stitch.
Continue in the same manner down the row.
And that is how to Double Crochet Thermal Stitch! I hope you found this tutorial helpful!
Many Blessings,

Looking for more crochet fun?
How to Extended Moss Stitch in Crochet from Hope Corner Farm


