How to Spot Stitch in Crochet – Textured Crochet Stitch
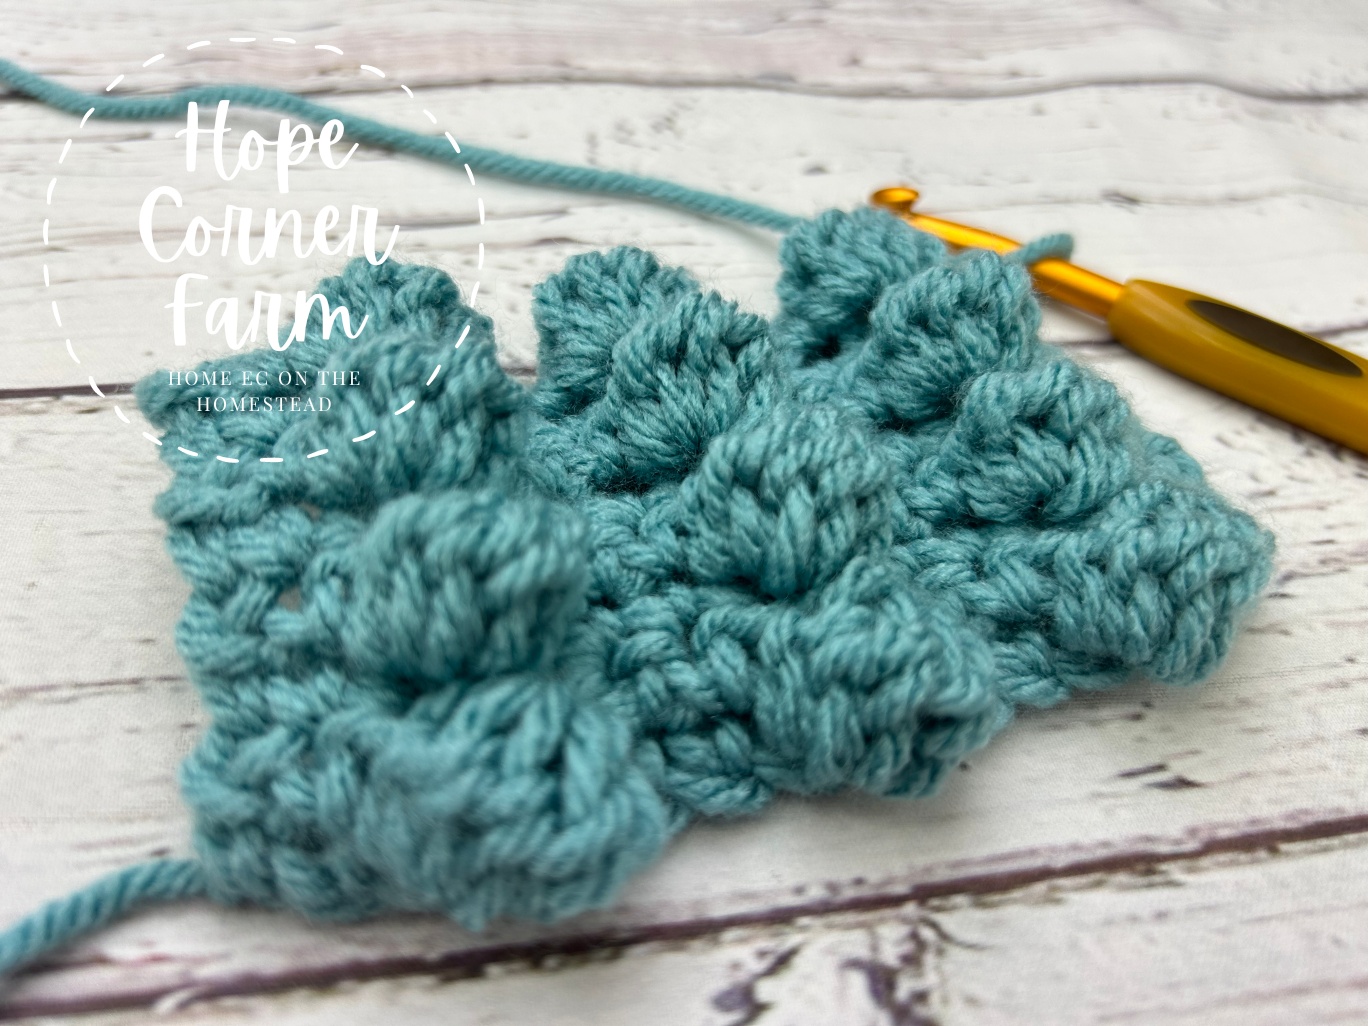

I am obsessed with textured crochet stitches. I love making decorative items for my home, and I love it even more when they have a nice texture to them. The Spot Stitch in Crochet is a perfect fit for these requirements. This crochet stitch has a lovely deep textured look to it. In essence, a crocheter is double-crocheting 5 together to create a deep bobble-type crochet stitch. The DC5tog is alternated with single crochets to accent the depth of the stitch even more. Ready to learn how to spot stitch in crochet? Grab a hook and some yarn and let’s get crocheting!

Materials Needed:
-Any size crochet hook
-Yarn of your choice
Crochet Terms Used:
Yarn Over (YO)
To Start:
Begin by chaining a multiple of 4 + 2 extra. For example I started this swatch by chaining 14. That gives me 12 for my multiple of 4 (12 divided by 4 = 3) + 2 for our start.
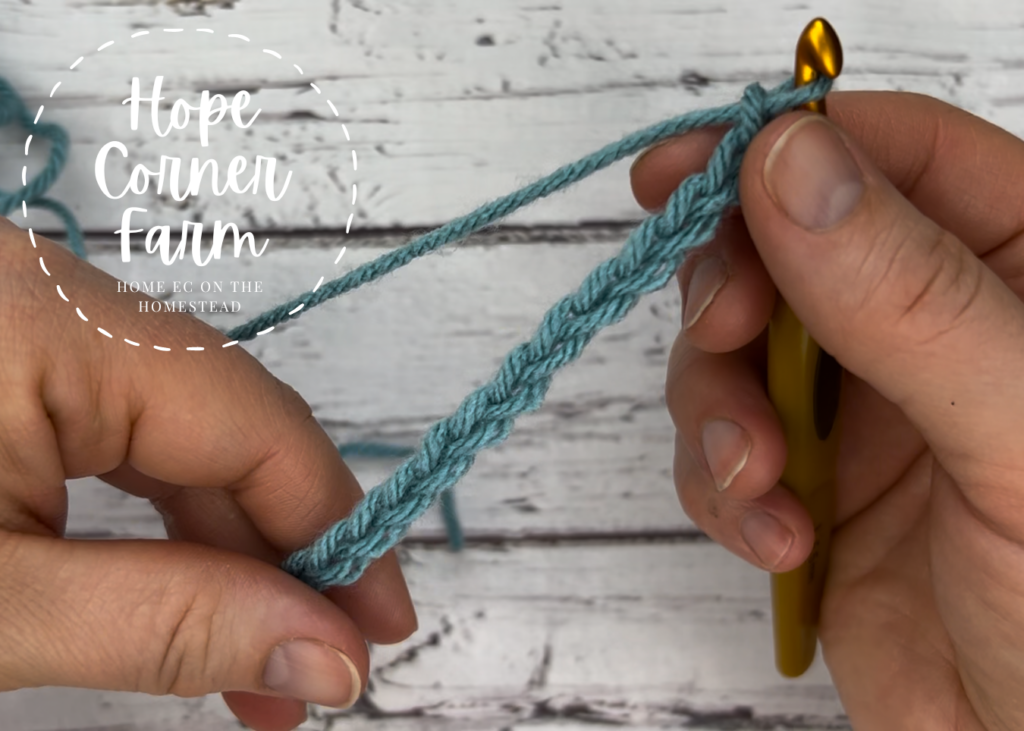
Row 1:
Place a single crochet in the 2nd chain from the hook. Place one SC in each chain across (If I am using my example of chaining 14, my total stitch count for this row would be 13).
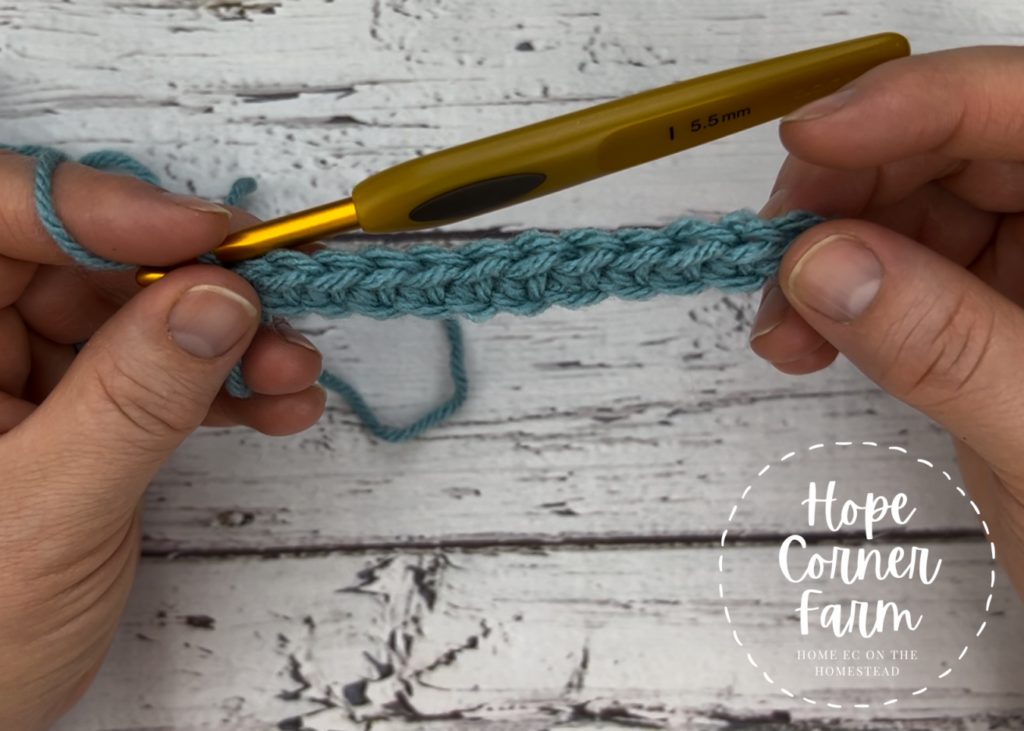
ROW 2 – How to Spot Stitch in Crochet – Step 1:
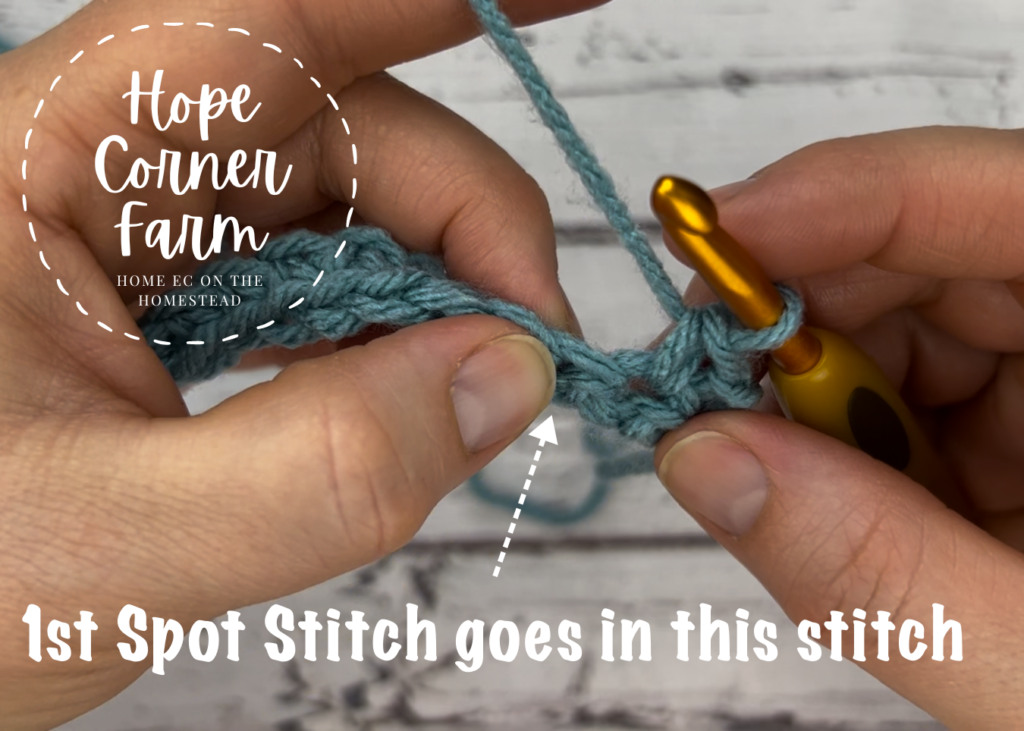
Ch 1, turn. Place one SC in the first stitch. Place another SC in the 2nd stitch (so our row starts with 2 SC).
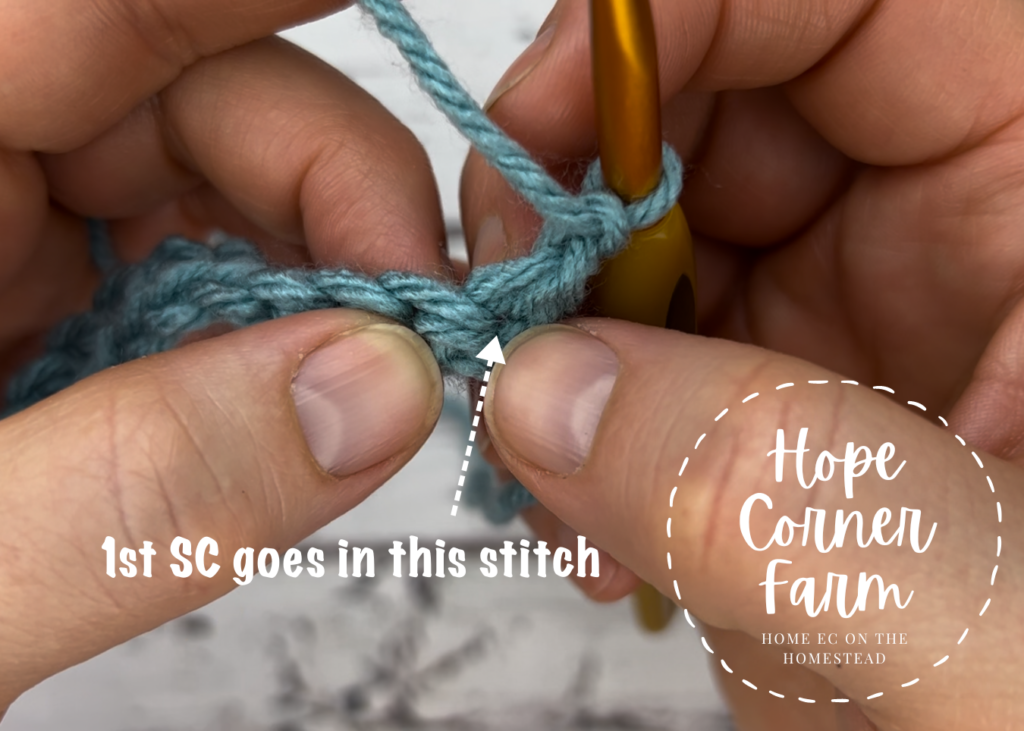
Our first spot stitch will be in the THIRD stitch.
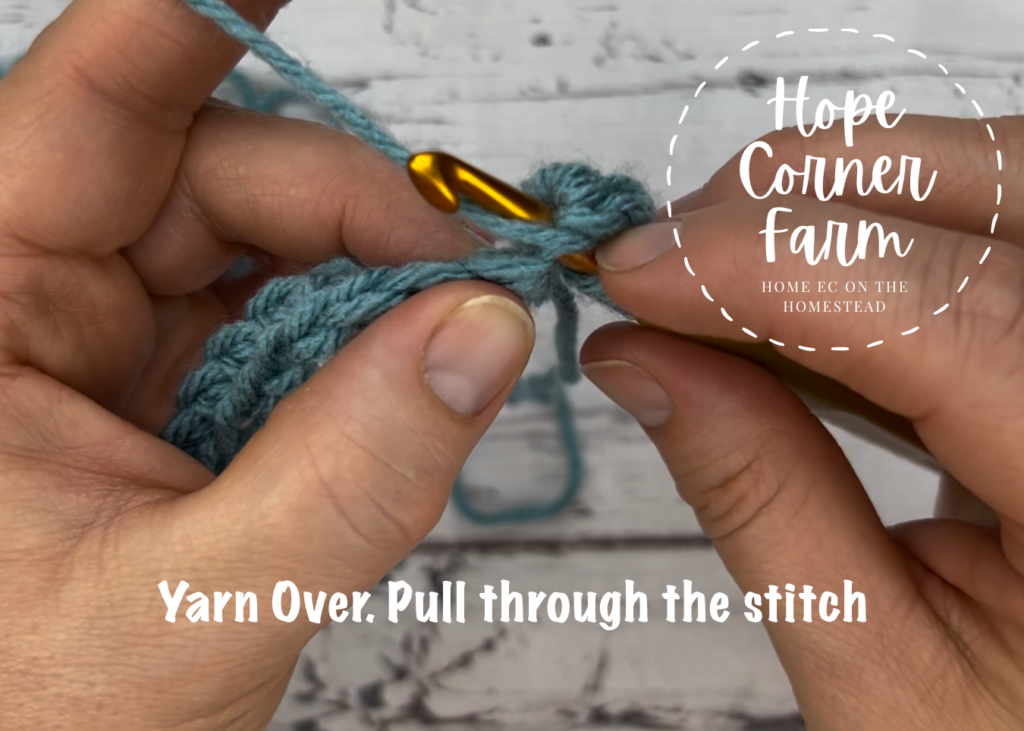
Row 2 – Step 2:
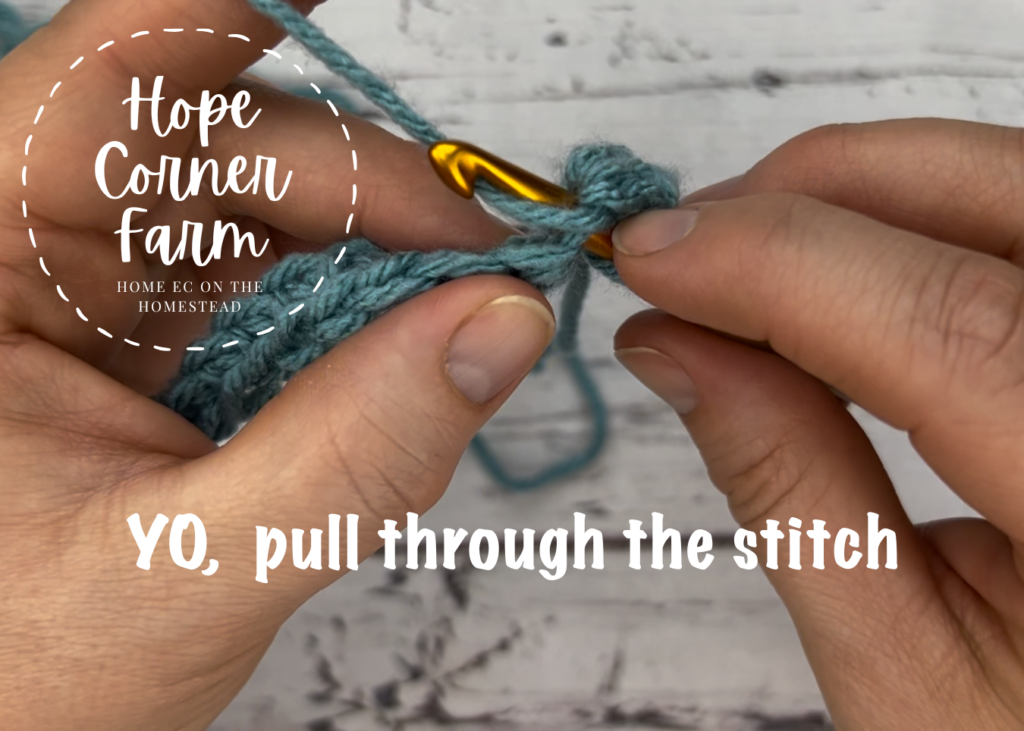
Yarn Over and go into the next stitch.
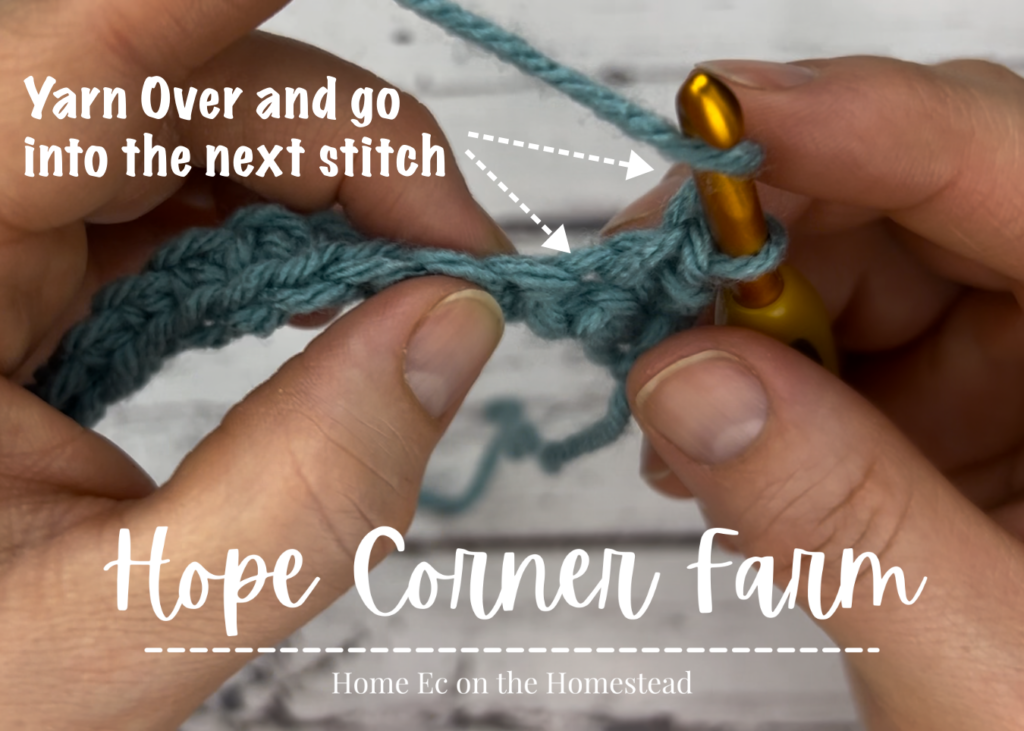
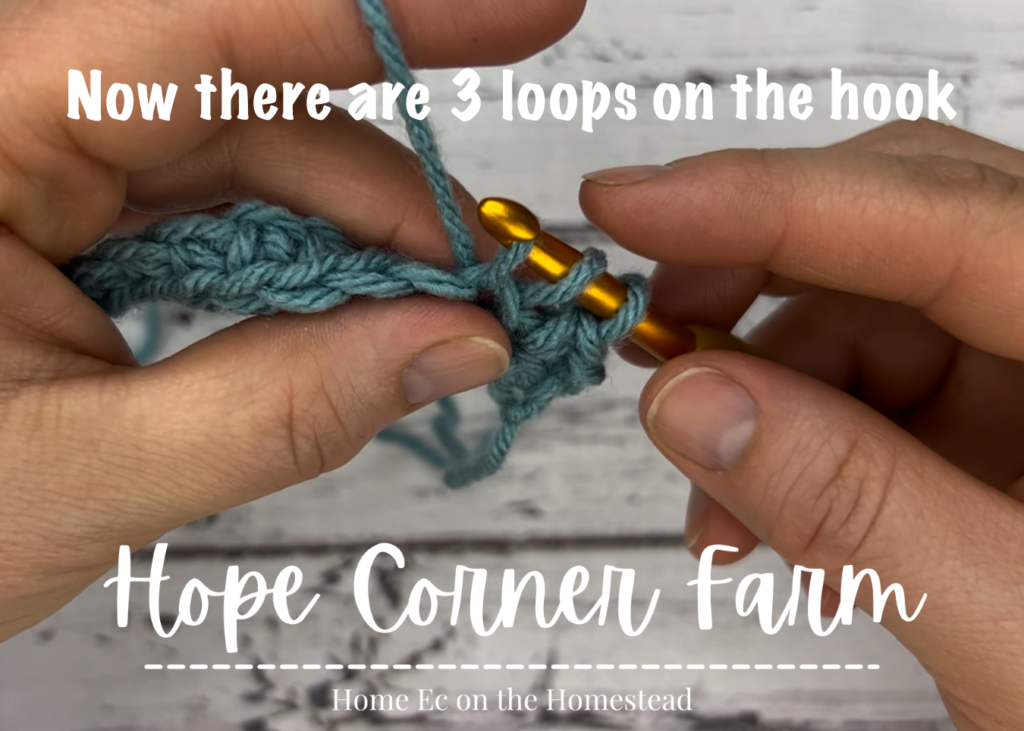
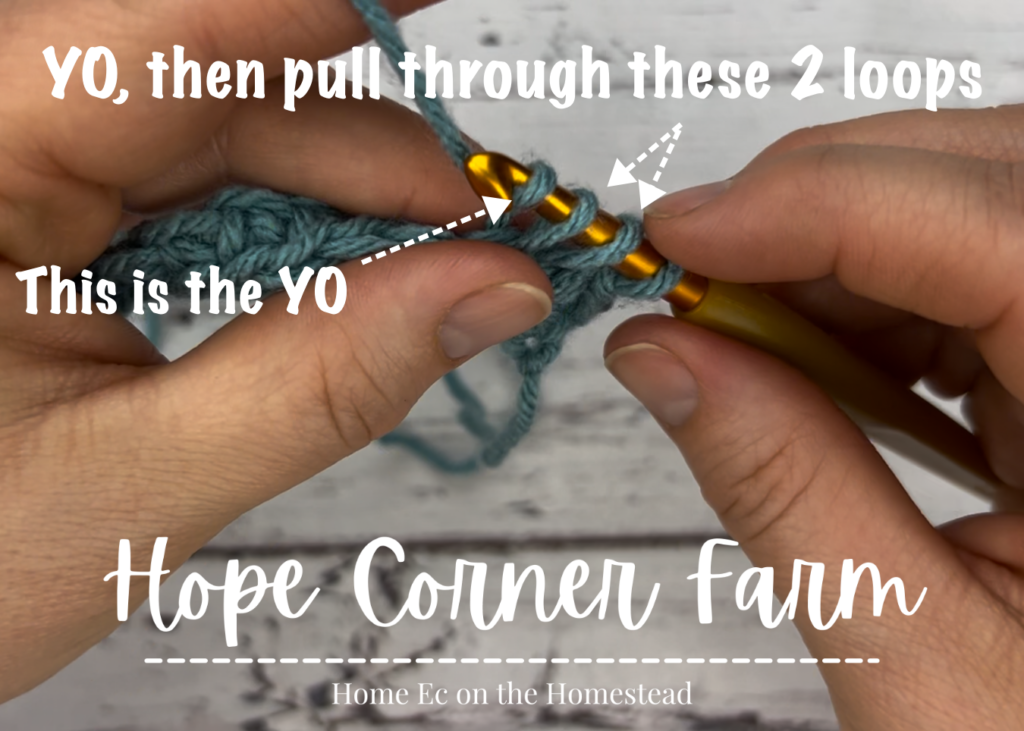
Yarn Over again and pull through the stitch. There will be three loops left on the hook after this step.
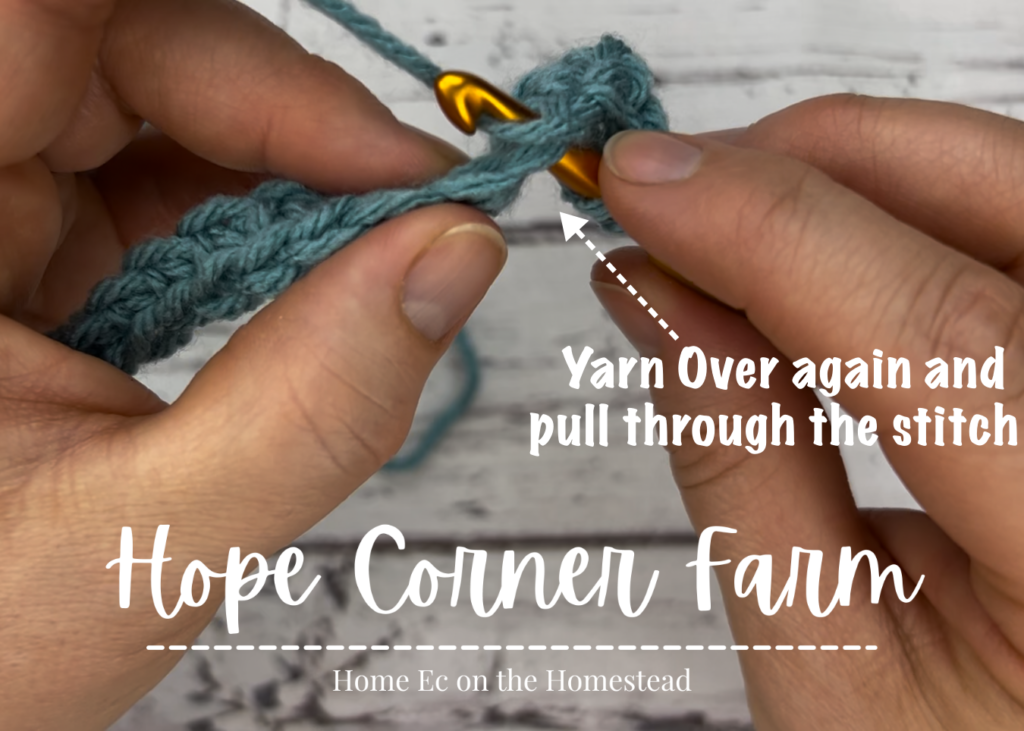
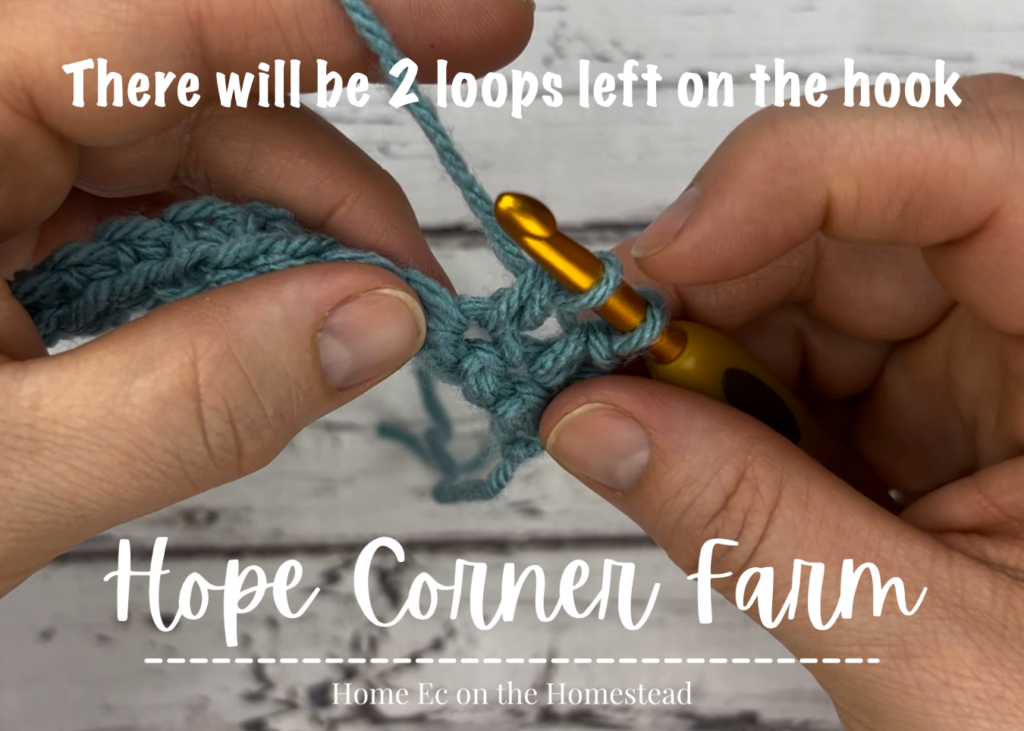
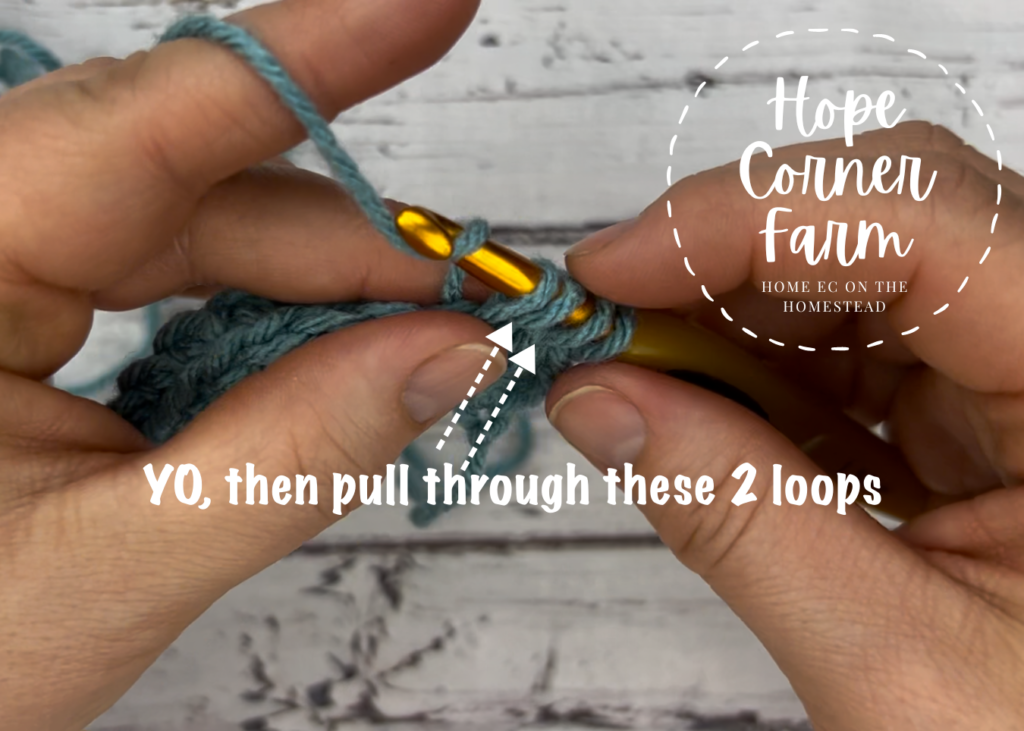
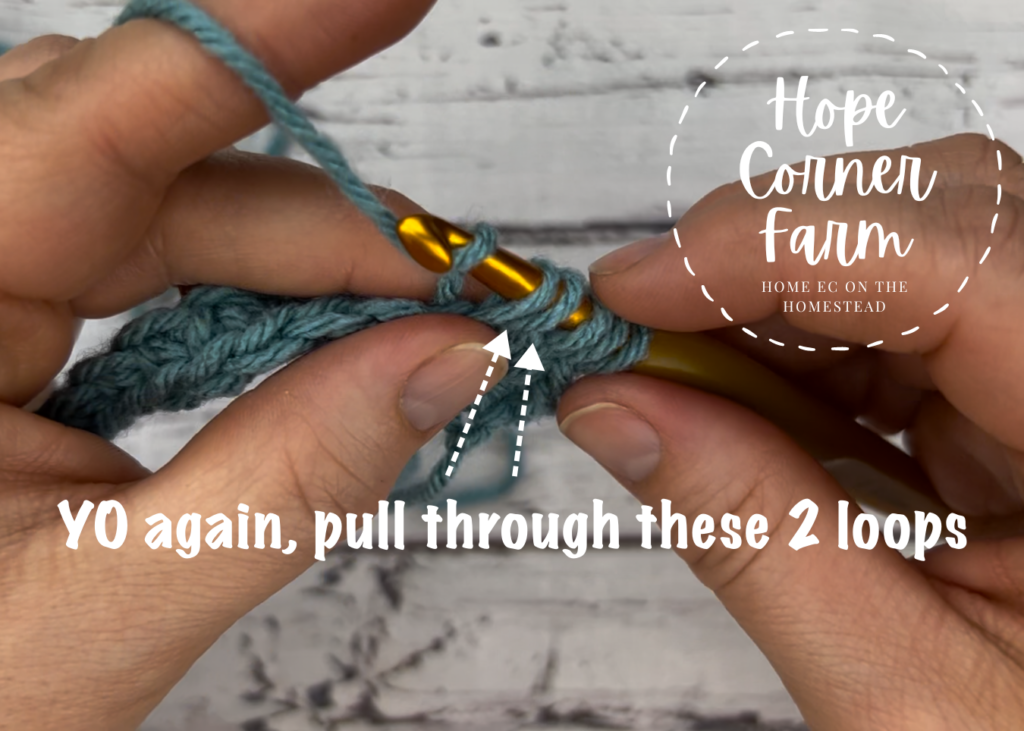
Yarn Over, pull through 2 loops. There will be 2 loops left on the hook after this step.
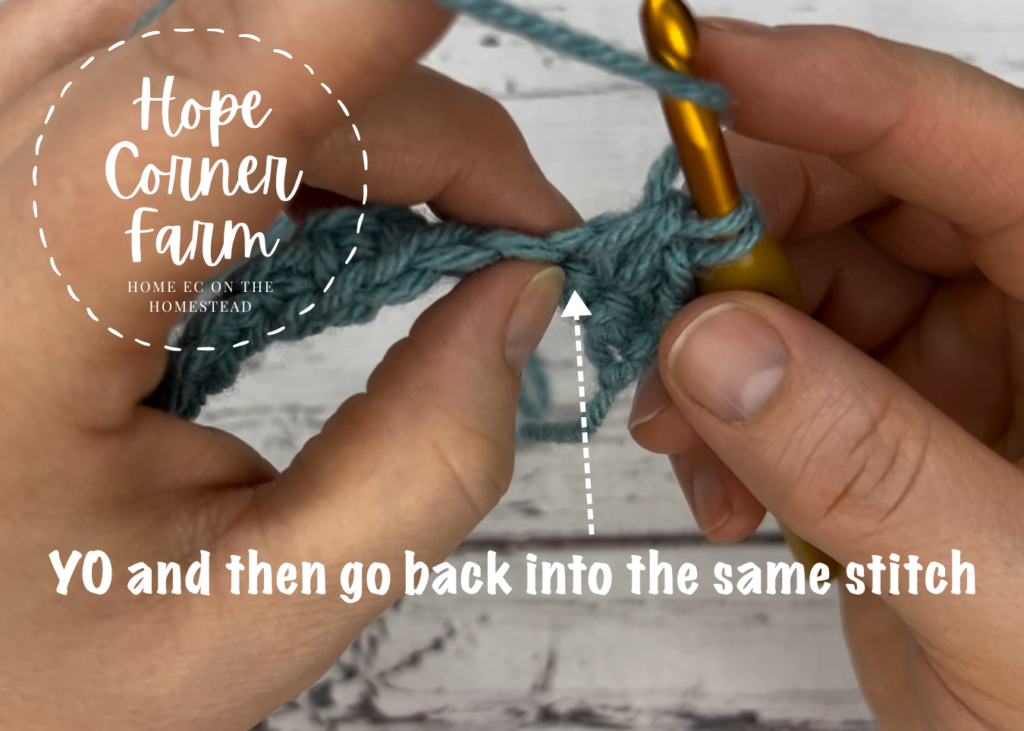
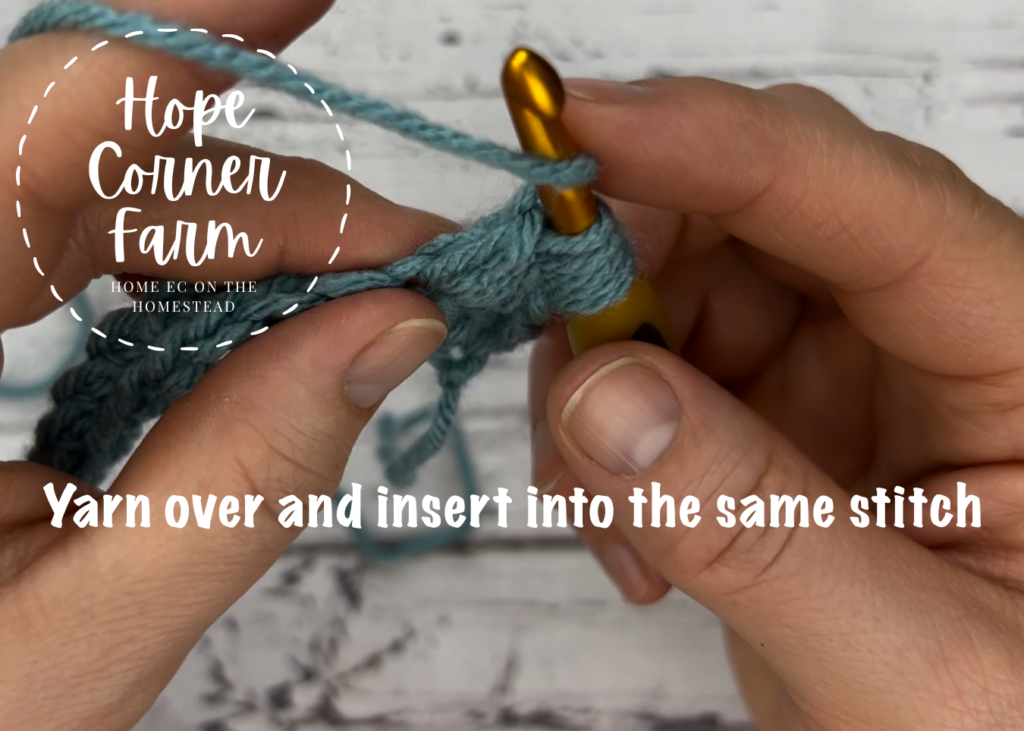
How to Spot Stitch – Row 2 – Step 3:
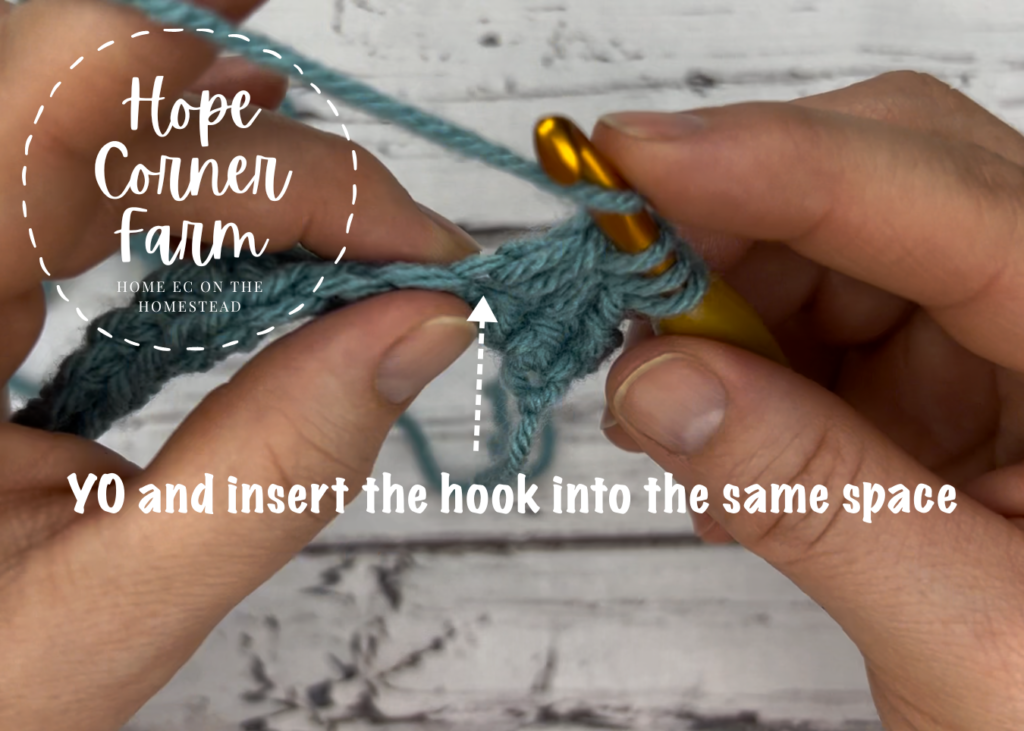
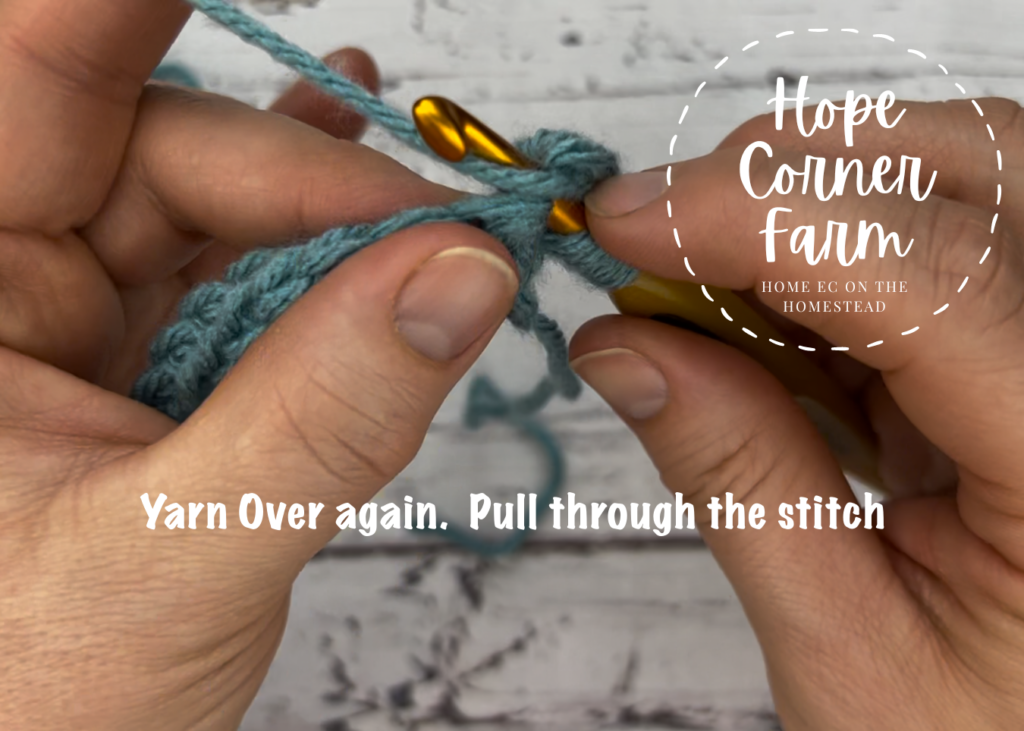
YO, then insert the hook into the SAME stitch we have been working in so far.
Yarn over and pull back through the stitch.
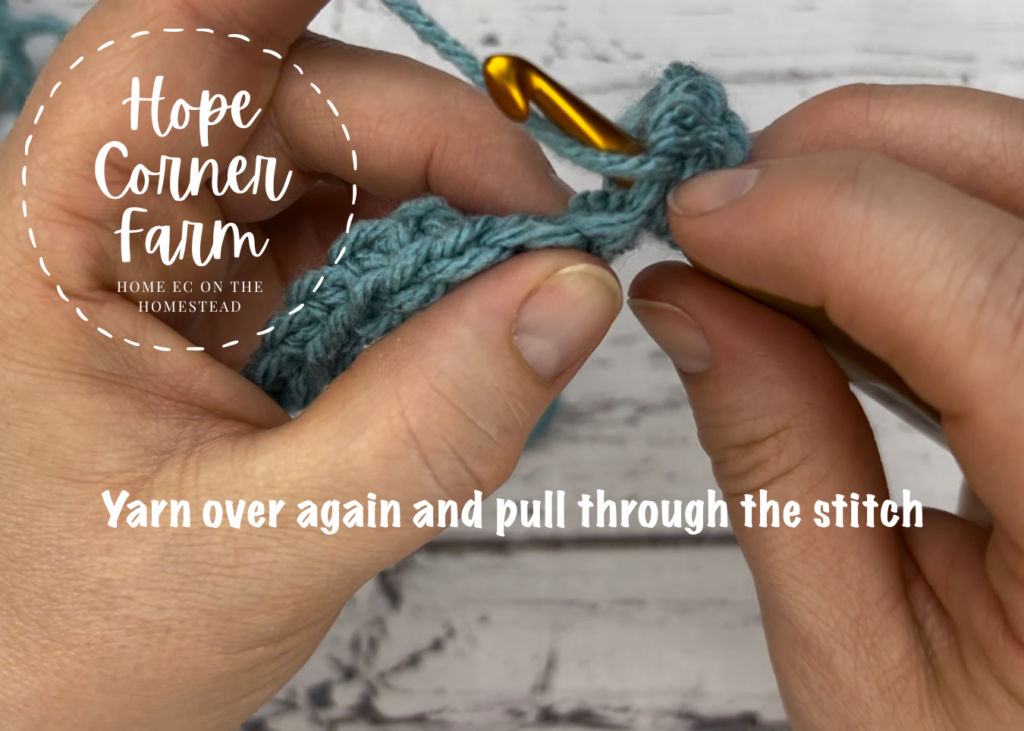
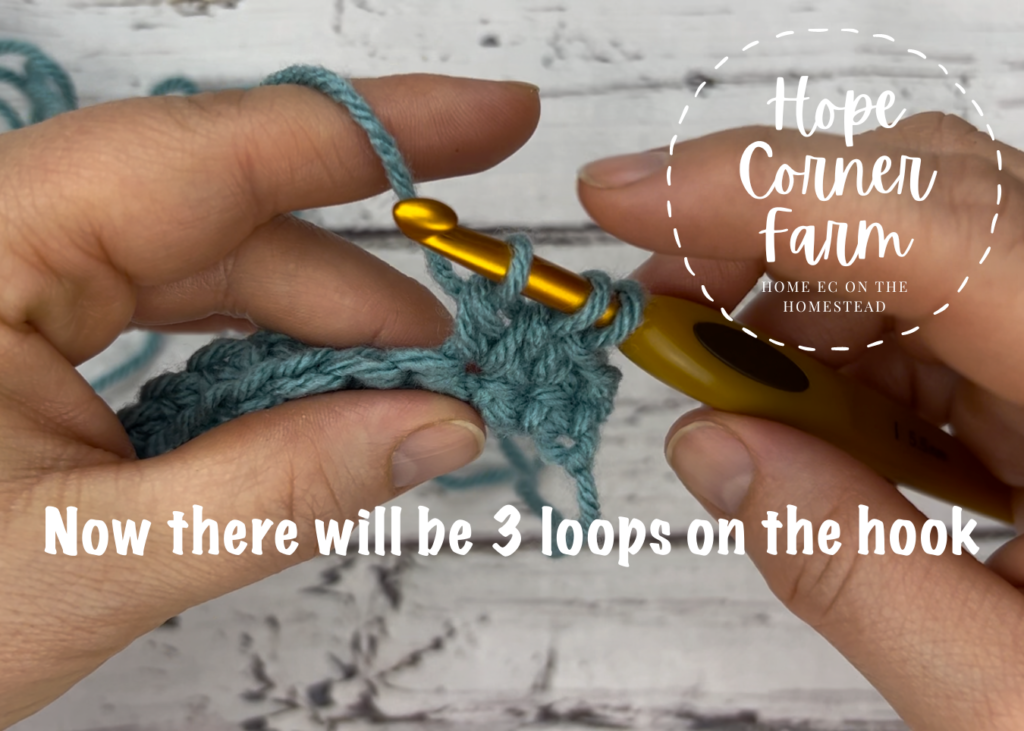
Yarn Over and pull through 2 loops. There will be 3 loops left on the hook after this step.
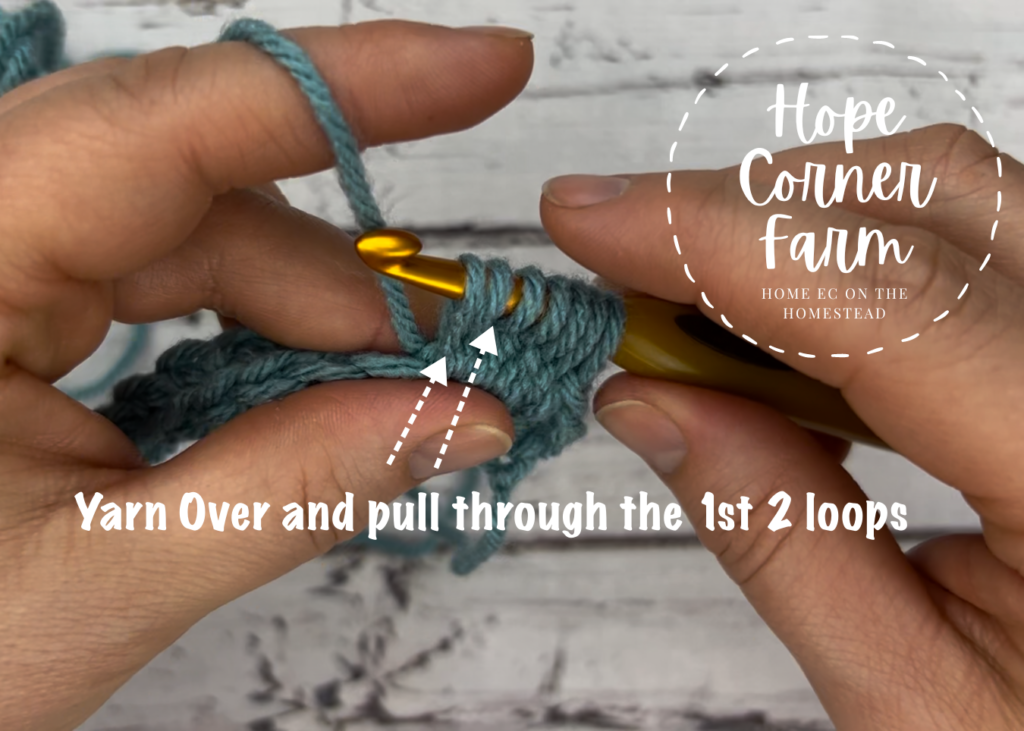
Step 4 (Row 2):
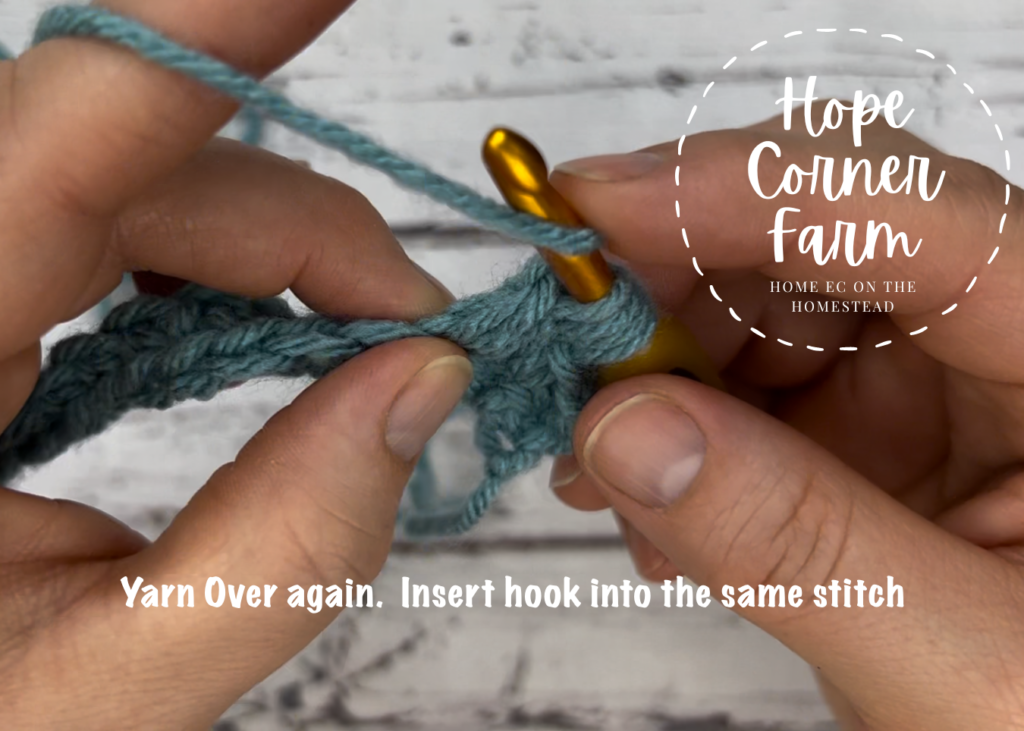
YO and insert the hook into the SAME stitch we have been using.
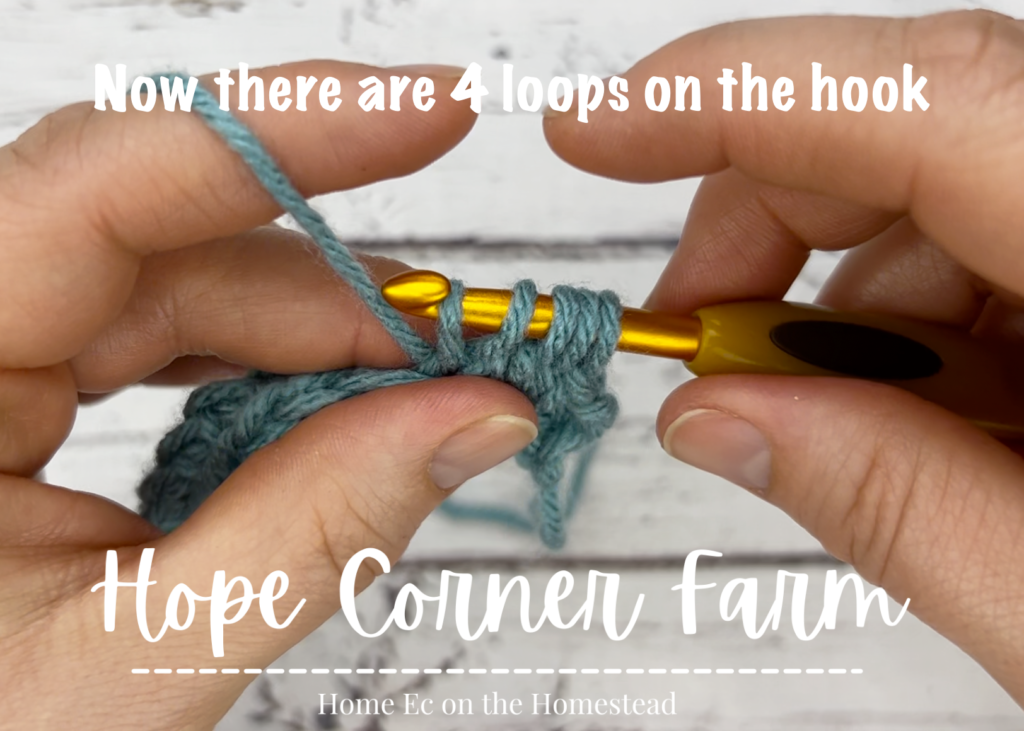
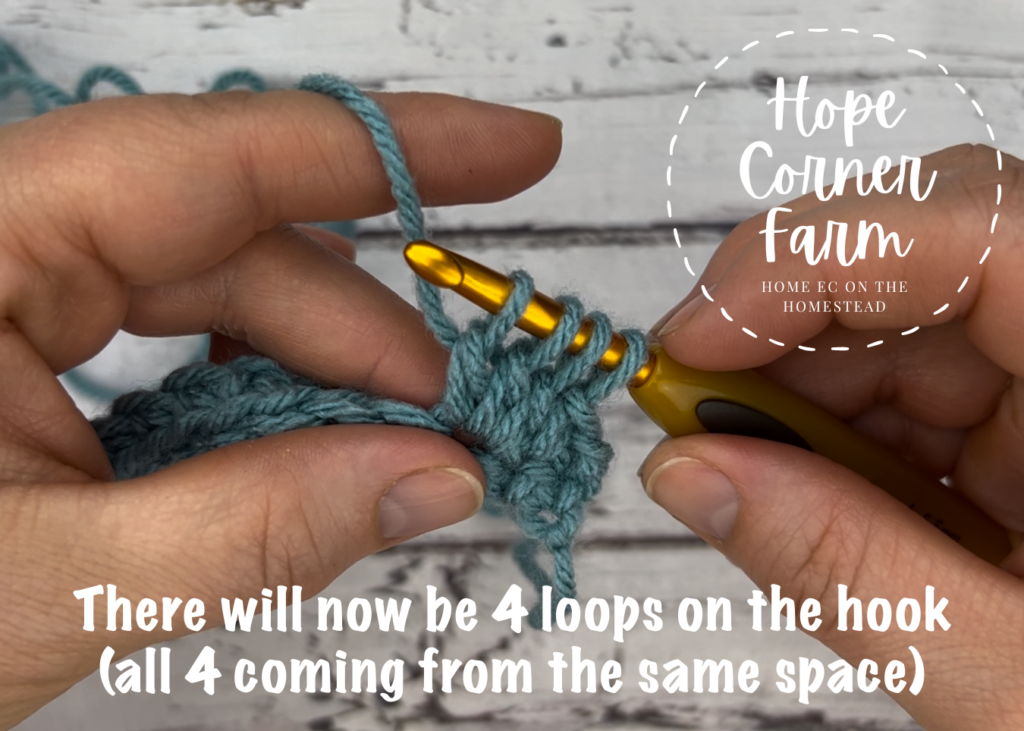
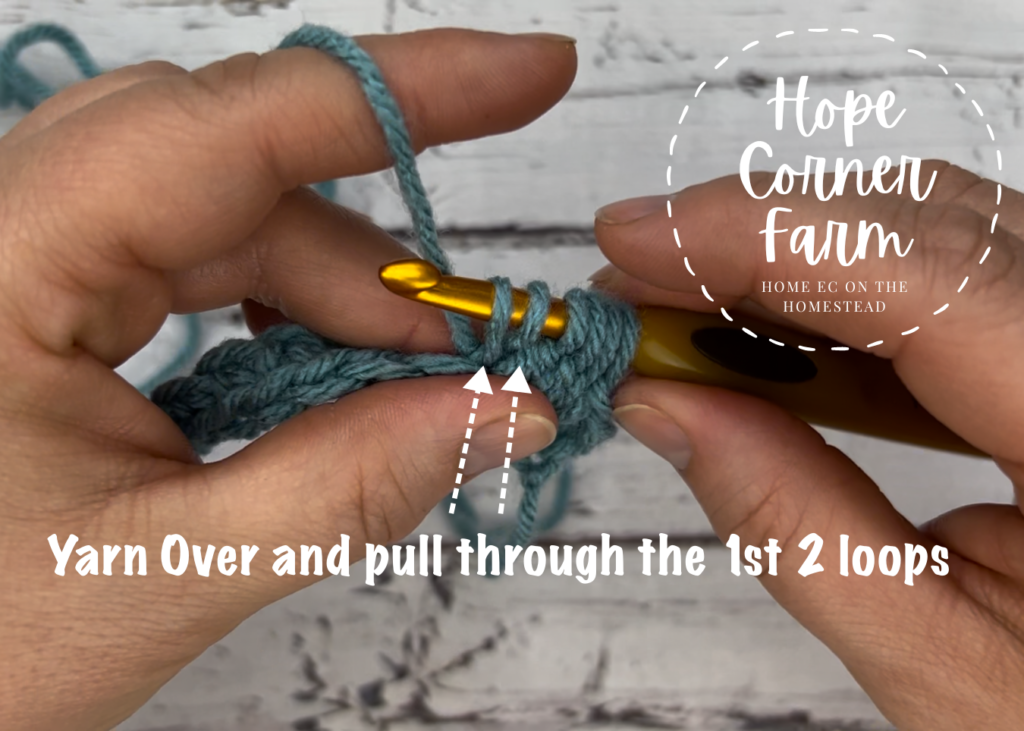
Yarn Over, pull back through the stitch. There will now be 5 loops on the hook.

Now, YO and pull through the 1st 2 loops. There will be 4 loops on the hook.
How to Spot Stitch -Row 2 – Step 5:
Begin by yarning over. Insert the hook into the SAME STITCH that we have been using.
Yarn Over again. Pull through the stitch. There will now be 6 loops on the hook.
Now, YO and pull through 2 loops only. There will be 5 loops remaining on the hook. All of these loops are connected to the same stitch from the previous row.

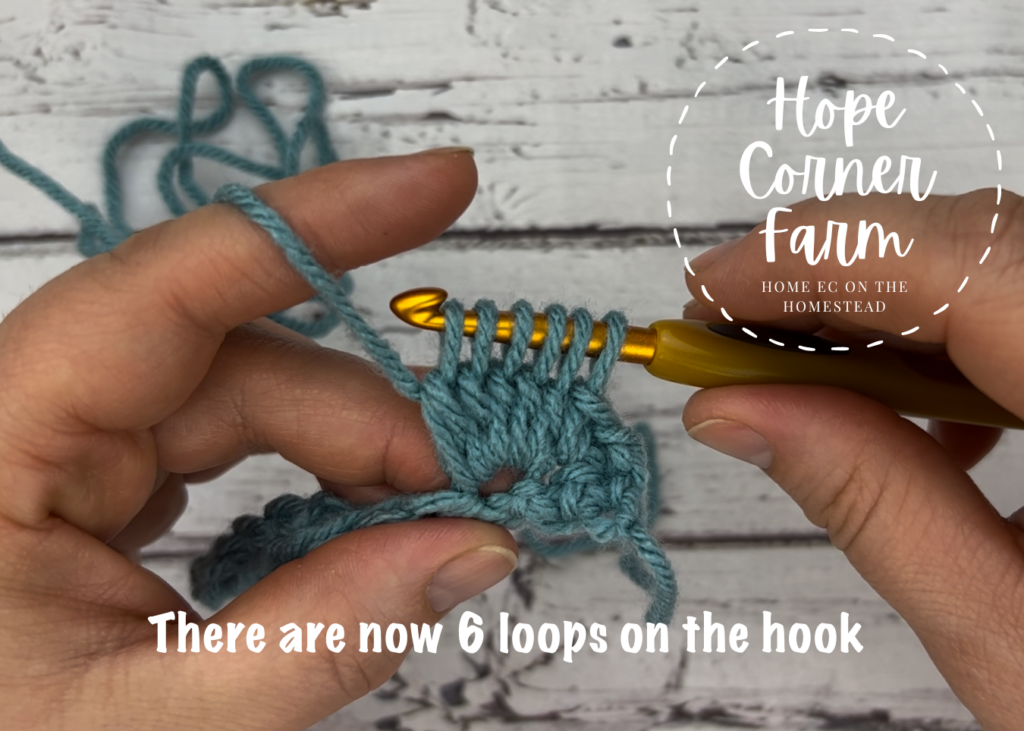
Spot Stitch – Row 2 – Step 6:
Start by Yarning Over and inserting the hook into the SAME STITCH that we have been working in for the previous steps.
YO again and pull back through the stitch. There will be 7 loops on the hook at this point.
Yarn Over again. Pull through the first 2 loops on the hook. At the end of this step there will be 6 loops on the hook that are all connected to the same stitch from the previous row.
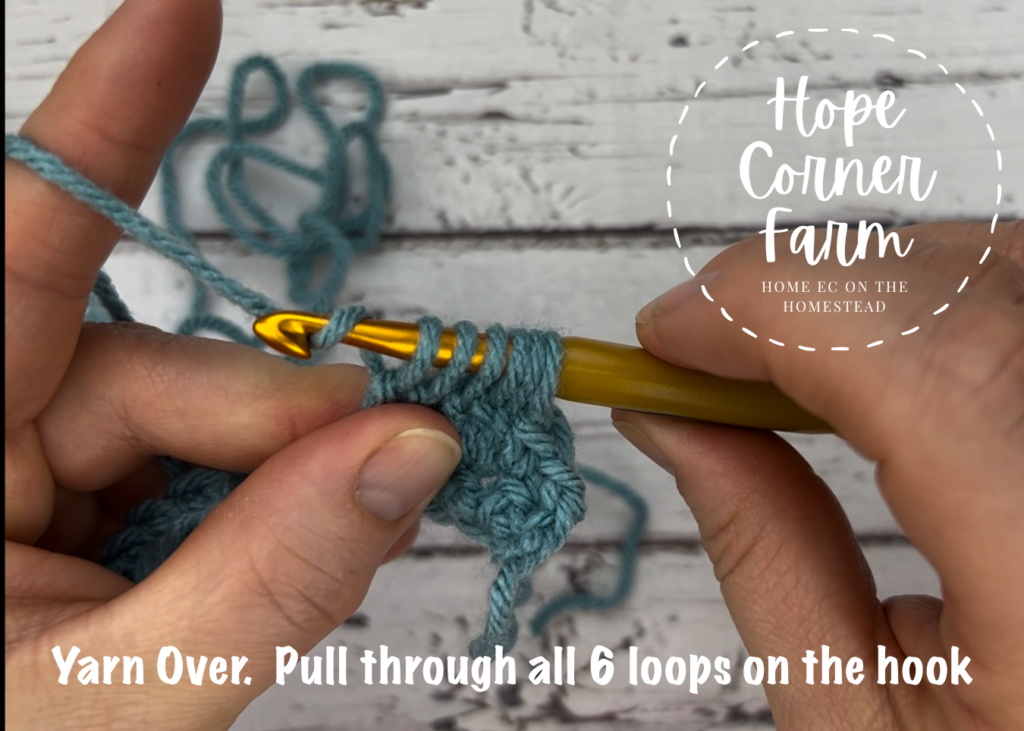
Row 2 – Step 7:
Now we are ready to complete this part of the Spot Stitch.
Begin by yarning over. After yarning over, pull the hook (and the YO) all the way through ALL 6 loops that are on the hook. There will be 1 loop on the hook at the end of this step.
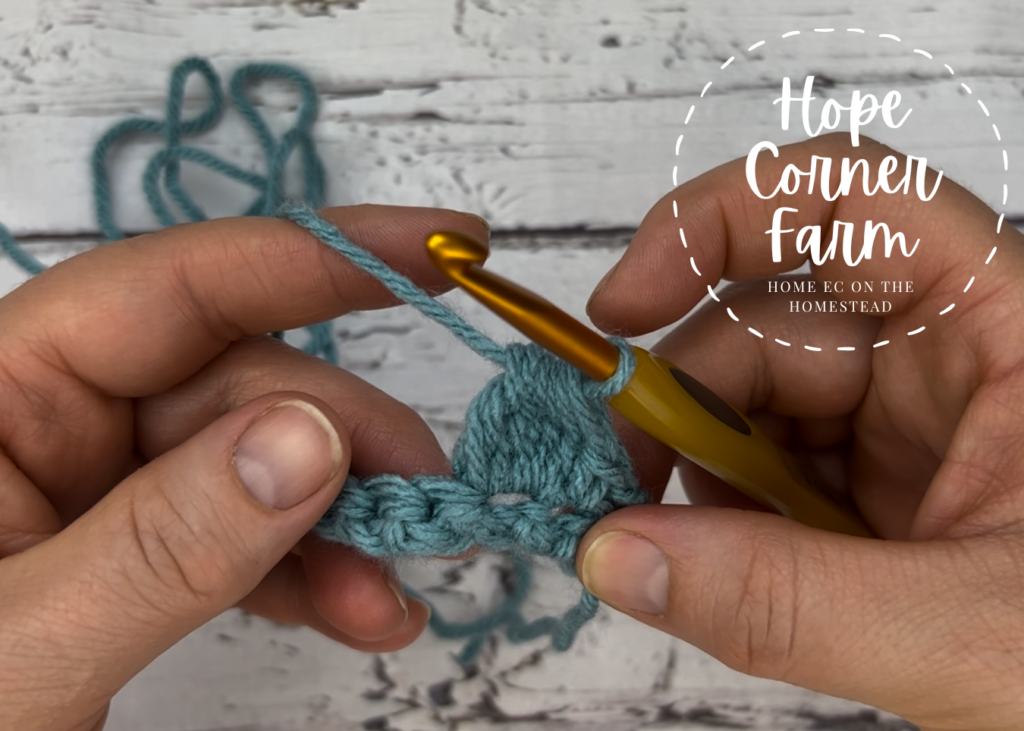
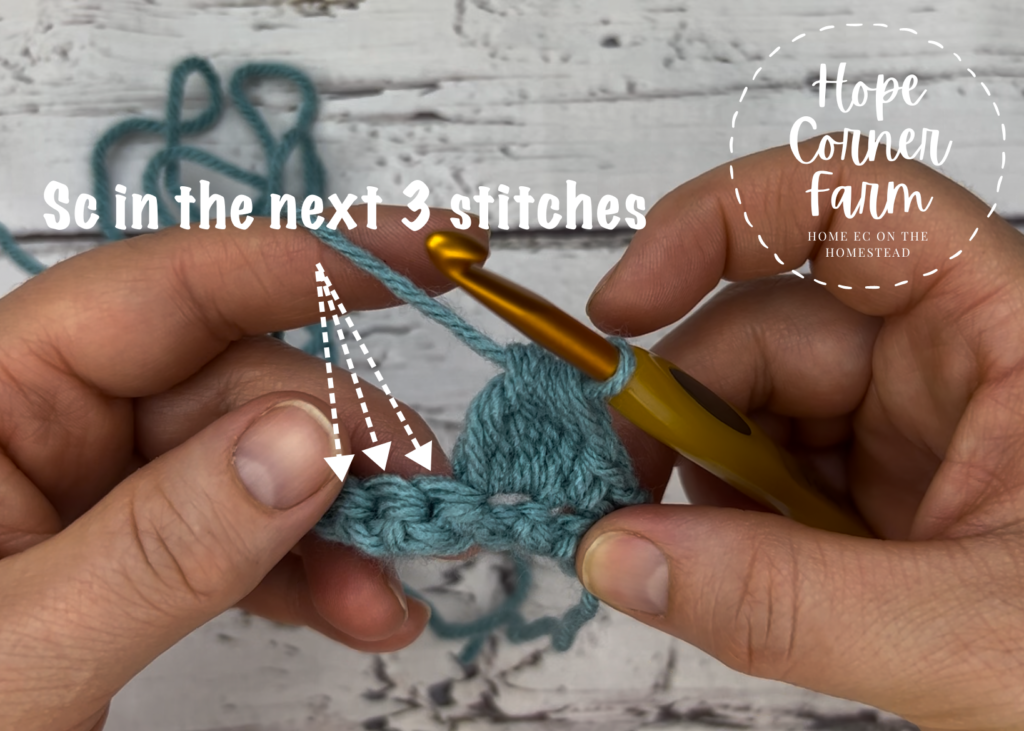
To finish the stitch, place ONE SINGLE CROCHET in each of the next THREE stitches.
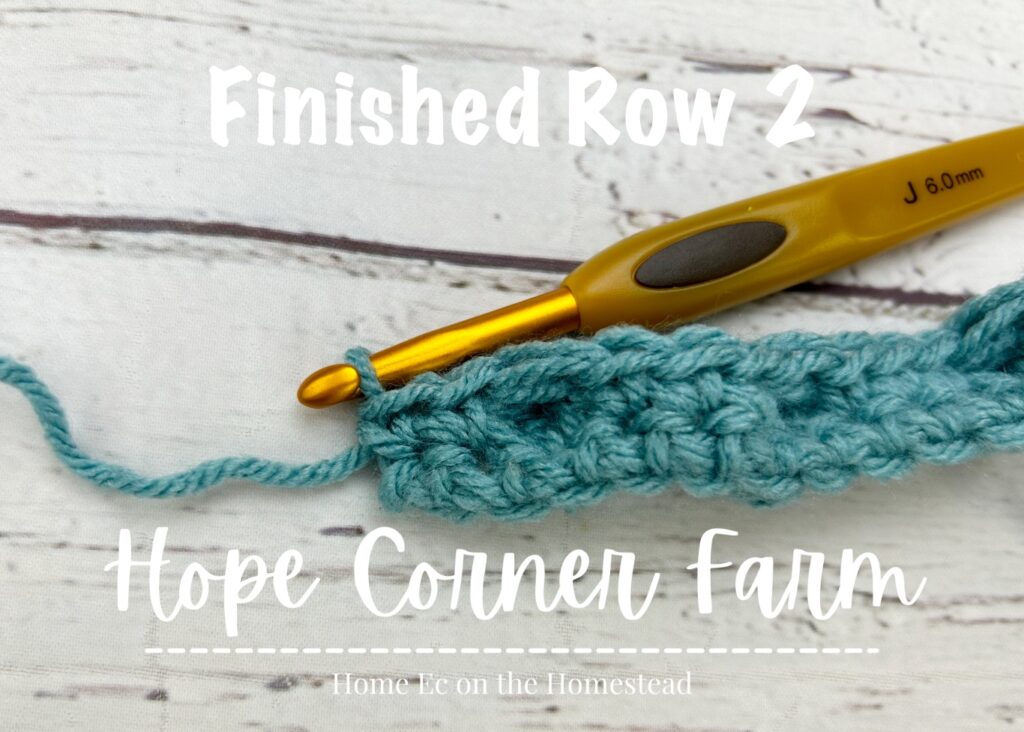
Finishing Up Row 2 of the Spot Stitch in Crochet:
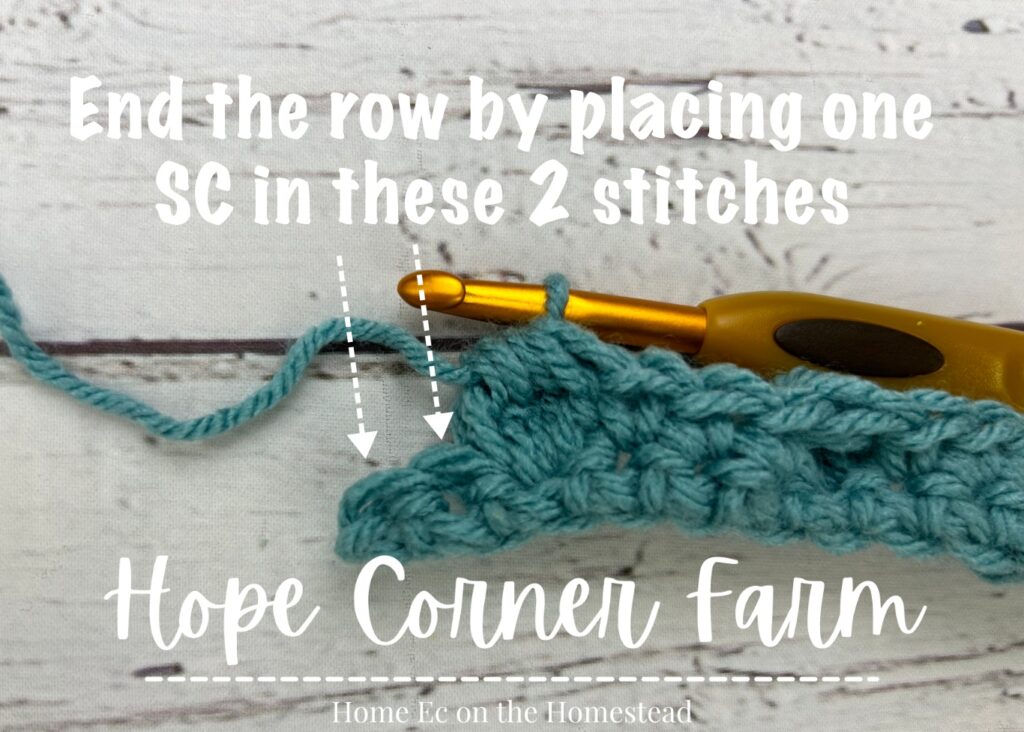
For the remainder of this row, repeat a Spot Stitch followed by 3 single crochets. The row should end with TWO single crochets (so you should have a spot stitch and then 2 SC to end – NOT 3 SCs). If I stick with my example where I chained 14 to start, the stitch count for this row would be 13. That gives us our multiple of 4 (12) and 1 additional stitch to created an even number of single crochets to start and end the row (2 SC to start the row, and 2 SC to end the row with 3 spot bobbles in the middle of the work).
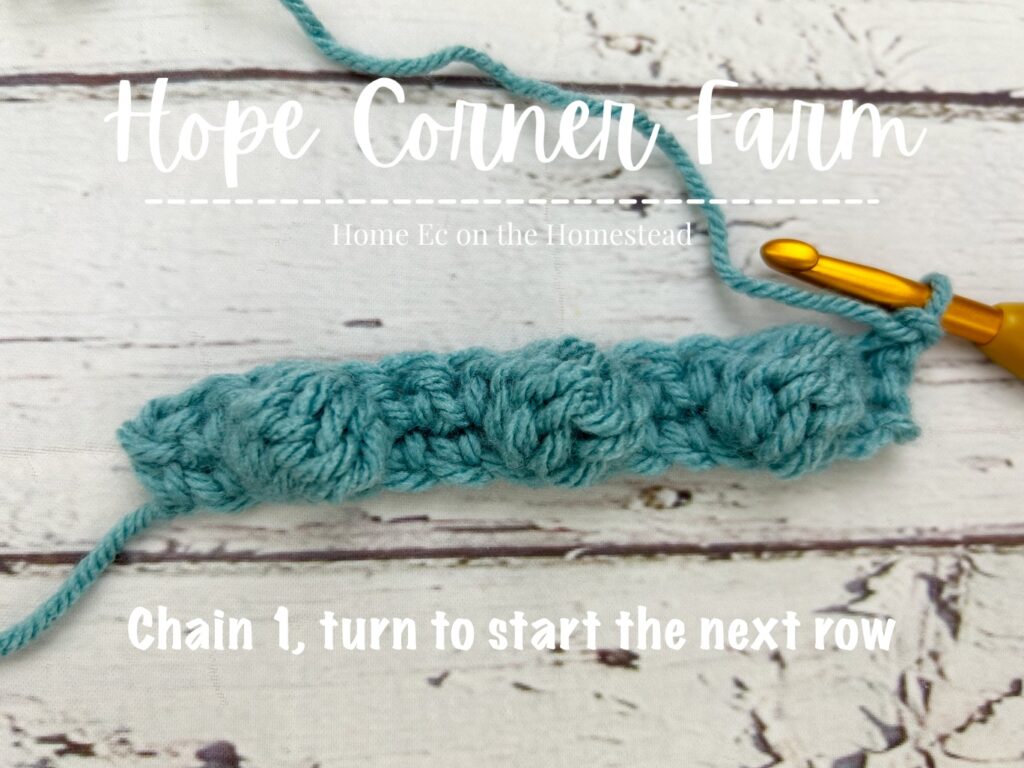
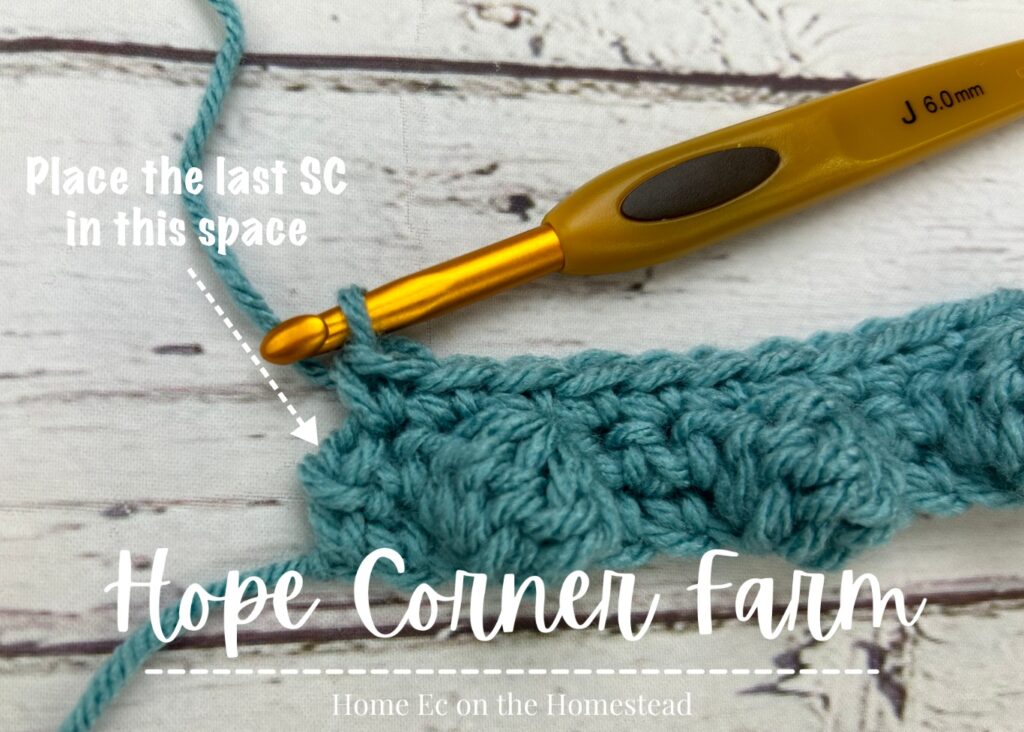
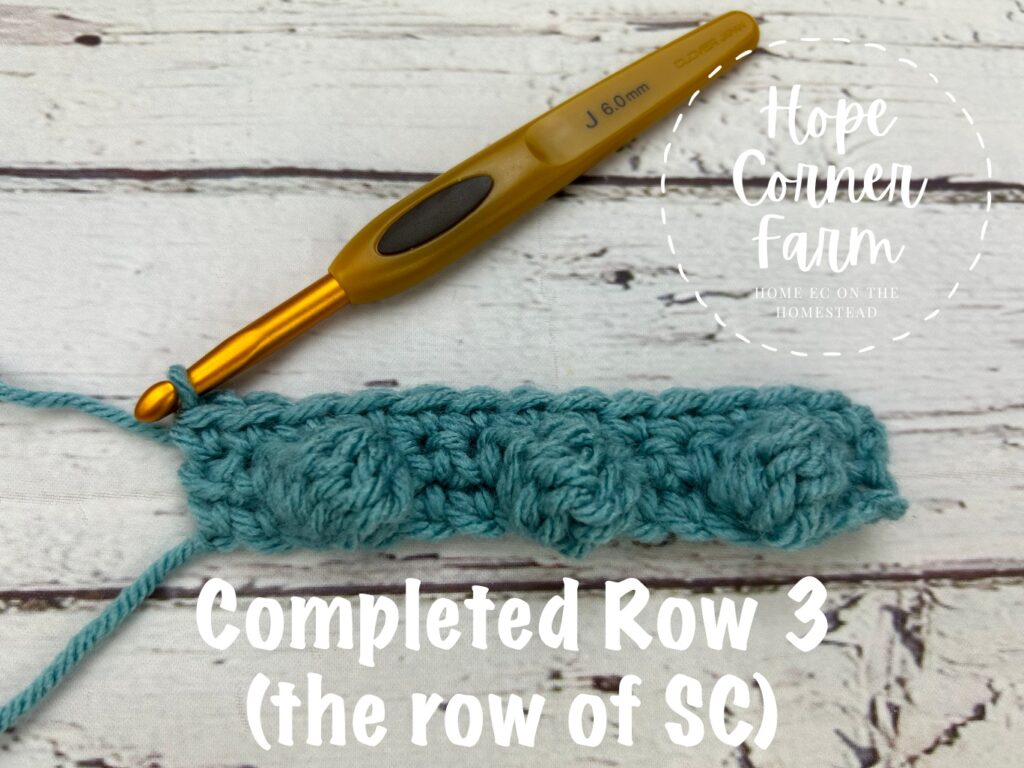
Row 3:
This row will begin with a chain 1, then turn. Place one SC in each stitch across. There will be a total of 13 for this row if you use my example of chaining 14 to start.
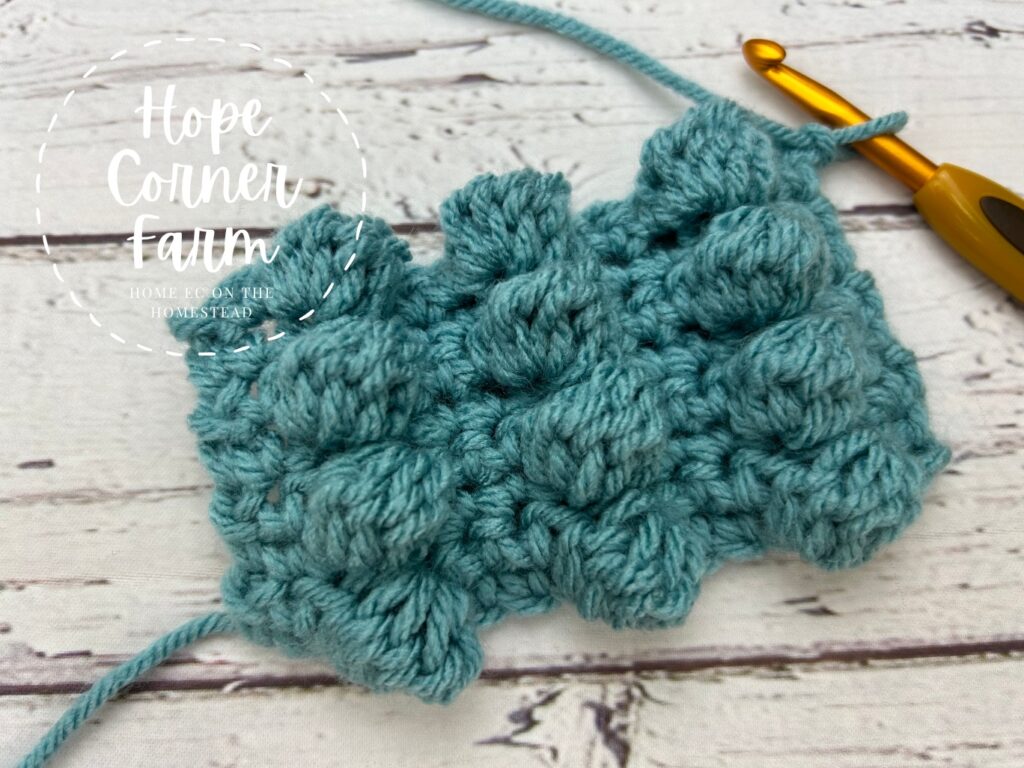
We have to alternate a row of Spot Stitches with a row of Single Crochets because the Spot Stitches pop out to one side. This is definitely a one-sided crochet stitch.
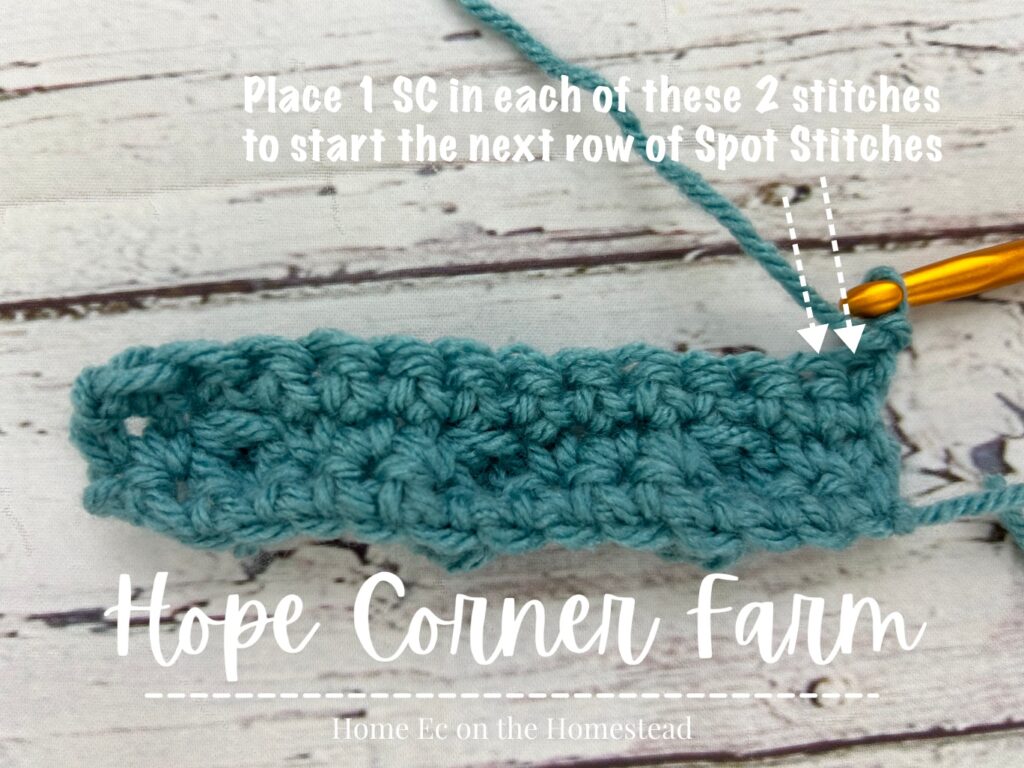
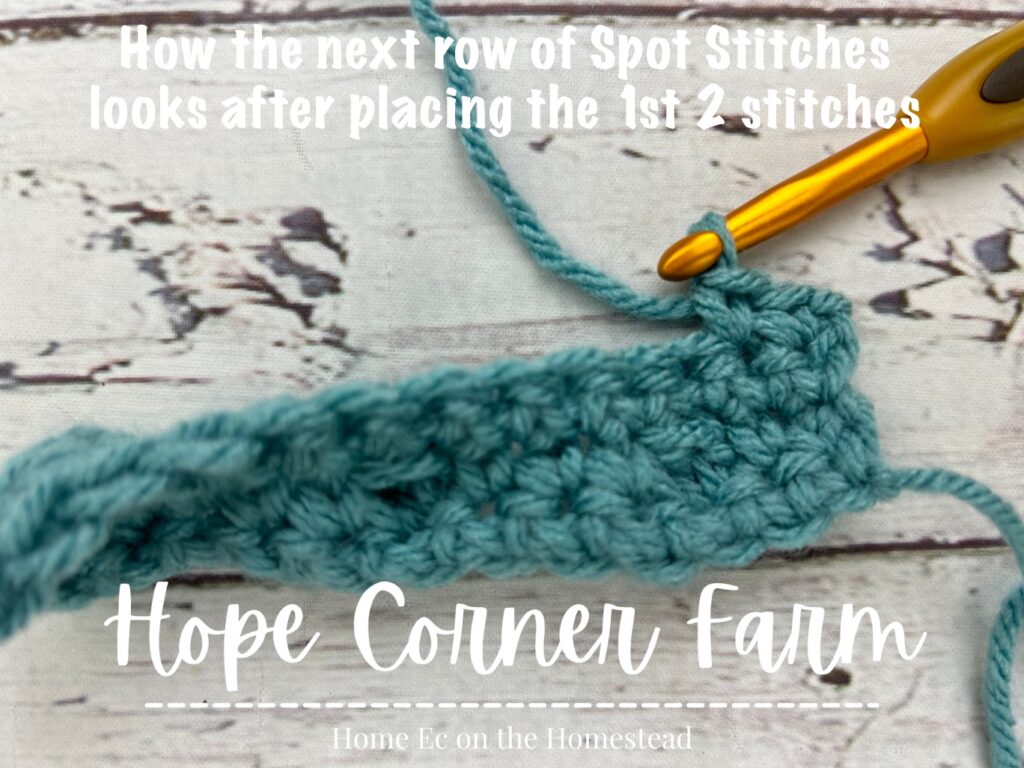
Row 4:
BEGIN ALL REMAINING SPOT STITCH ROWS THIS WAY: Ch 1, turn. Place 1 SC in each of the first 2 stitches.
Complete the Spot Stitches the same way as we did in Row 2. Once the last Spot Stitch of the row is completed there should be 2 stitches remaining. Place 1 SC in each of these stitches (so there will be 2 SC to end the row).
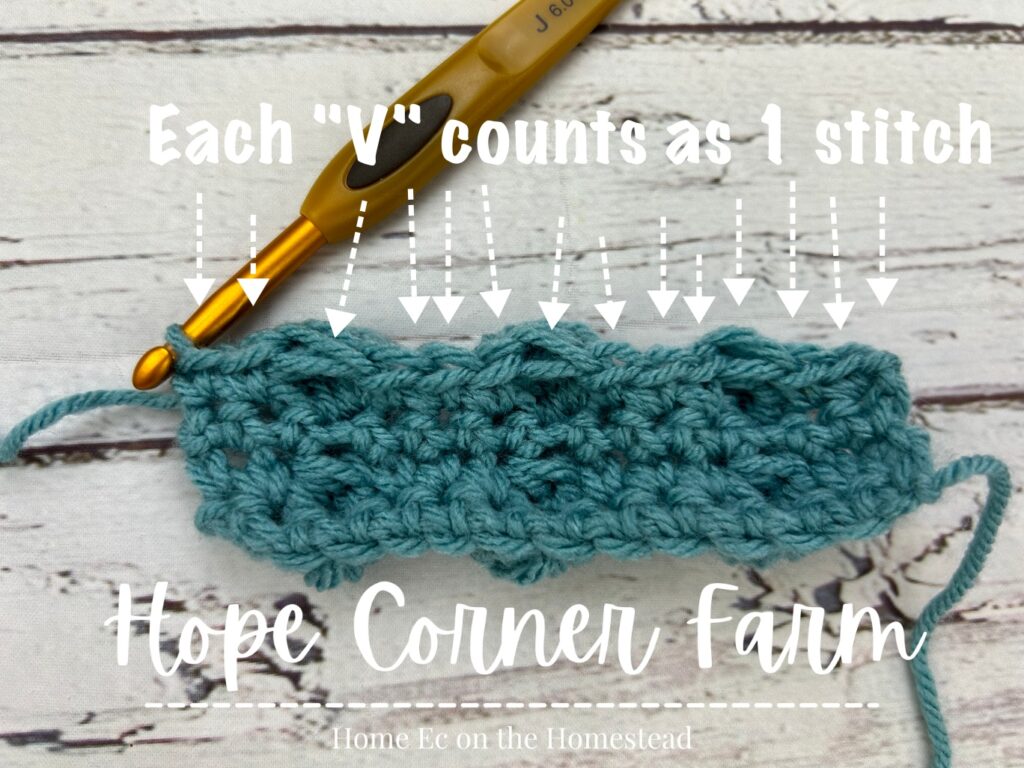
Counting the Spot Stitch:
Just like any crochet stitch, each “V” on top of the crochet work counts as a stitch.
Wrapping it Up:
For the remainder of the project a row of Spot Stitches with alternate with a row of Single Crochets.
Spot Stitch Video Tutorial:
Many Blessings,