Dog Collar Bandana Tutorial
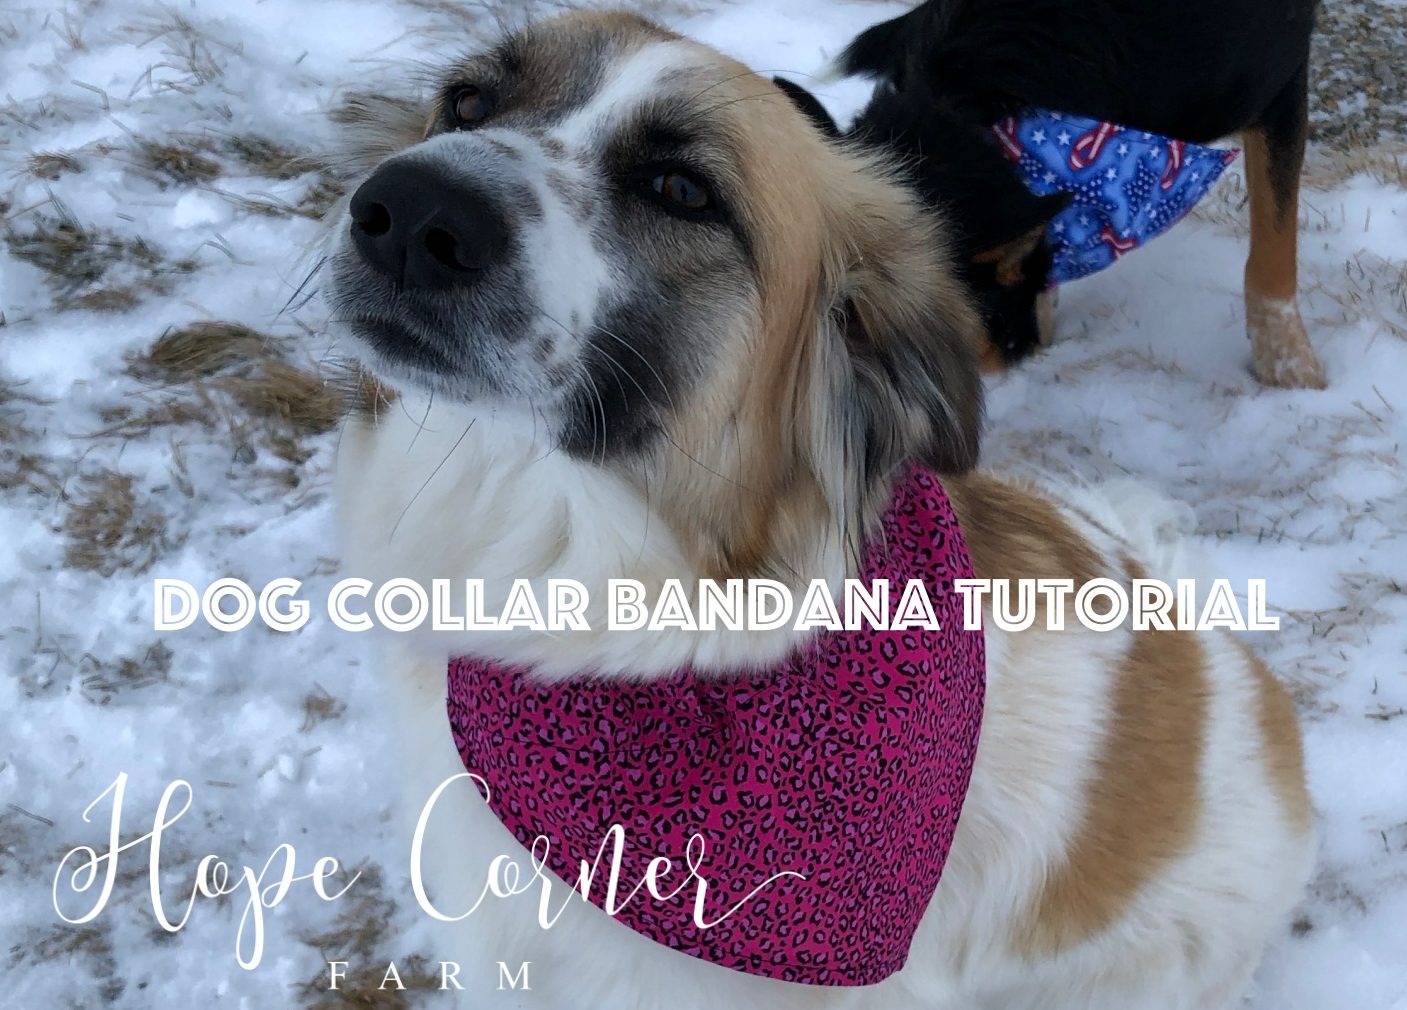
Tutorial for FOUR Different Sizes!
I love my pups! Really, they bring a lot of happiness and laughter into my life. Because they mean so much to me, I decided to make them some cute bandanas. My dogs are active animals, so I made these bandanas so they attach firmly to the dog collars – that way the bandanas don’t come off so easily. These Dog Collar Bandanas are super cute and super easy to make! This tutorial includes 4 different sizes as well, so no matter the size of the dog, there is a size for them. Enjoy!
Materials for the Dog Collar Bandanas:
At least a Fat Quarter or larger of cotton fabric
Matching thread
Rotary cutter
Cutting mat
6″ x 24″ quilting ruler
Pins
Iron
Seam gauge or hot hemmer
Sewing machine
Cutting Instructions:
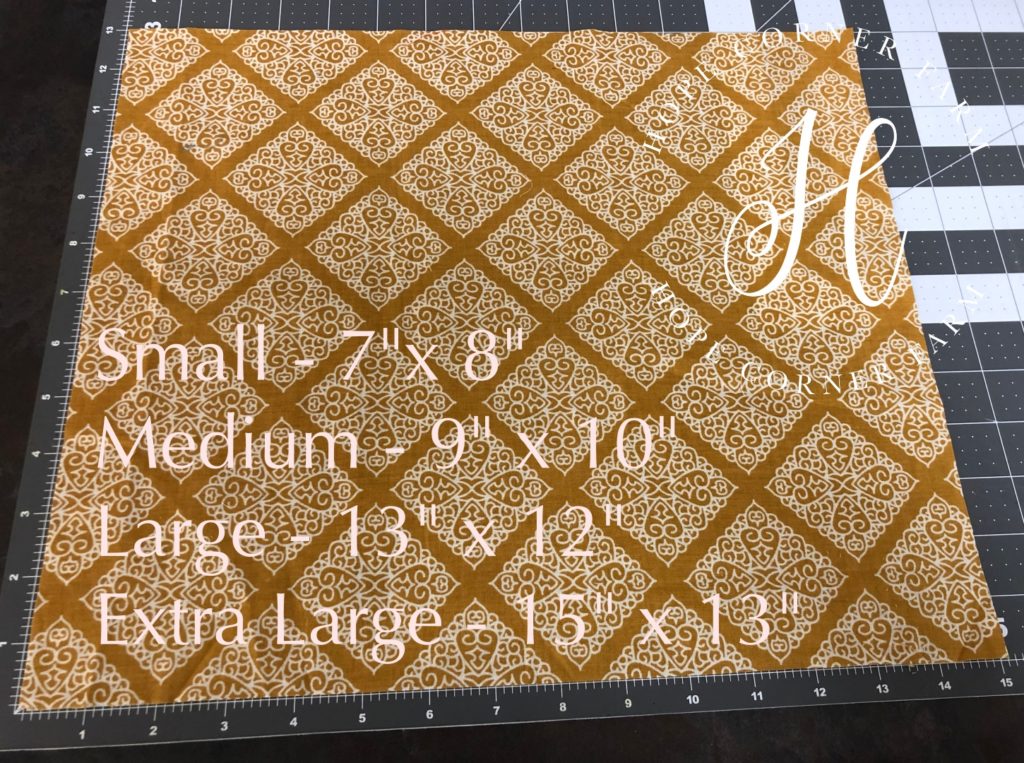
Small Bandana- 7″ x 8″
Medium Bandana- 9″ x 10″
Large Bandana- 13″ x 12″
Extra Large Bandana- 15″ x 13″
Preparing the Shape of the Dog Collar Bandana:
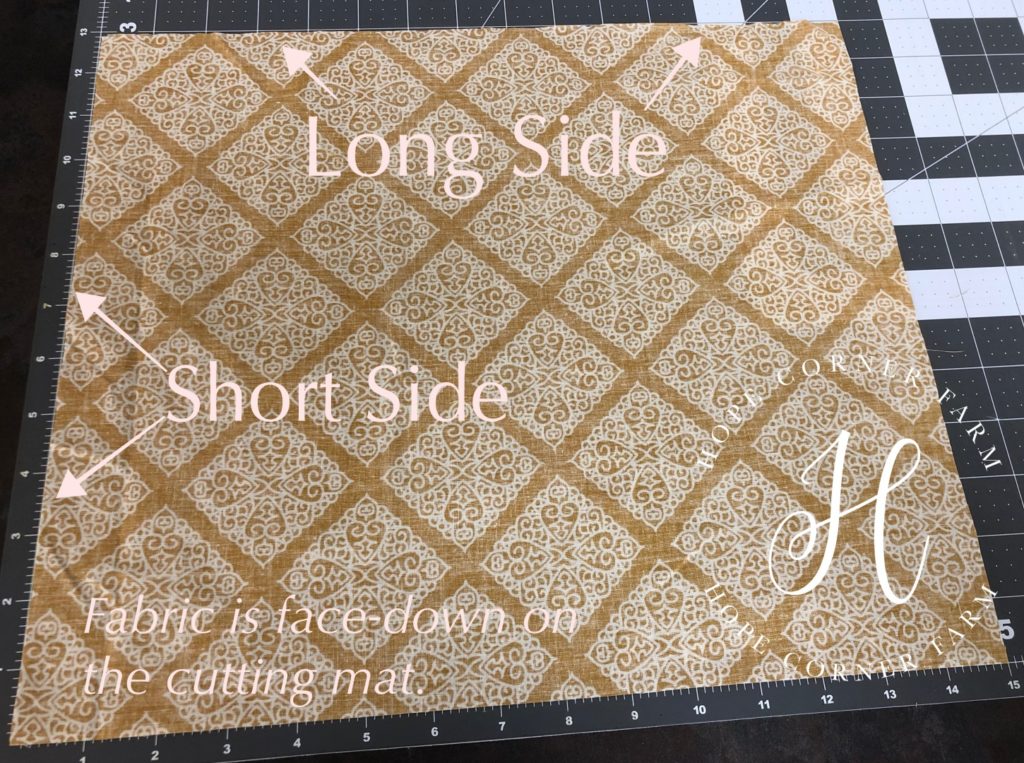
To begin, place the fabric rectangle face-down on the cutting mat.
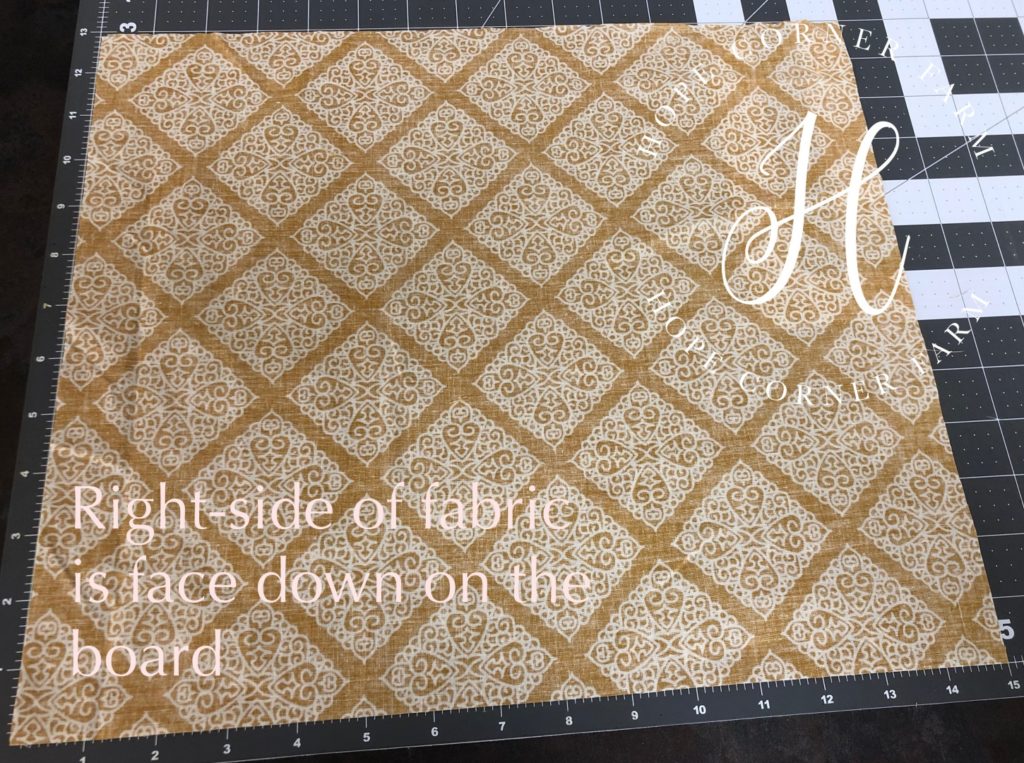
Next, fold the fabric in half. Fold it in half by folding the long side in half.
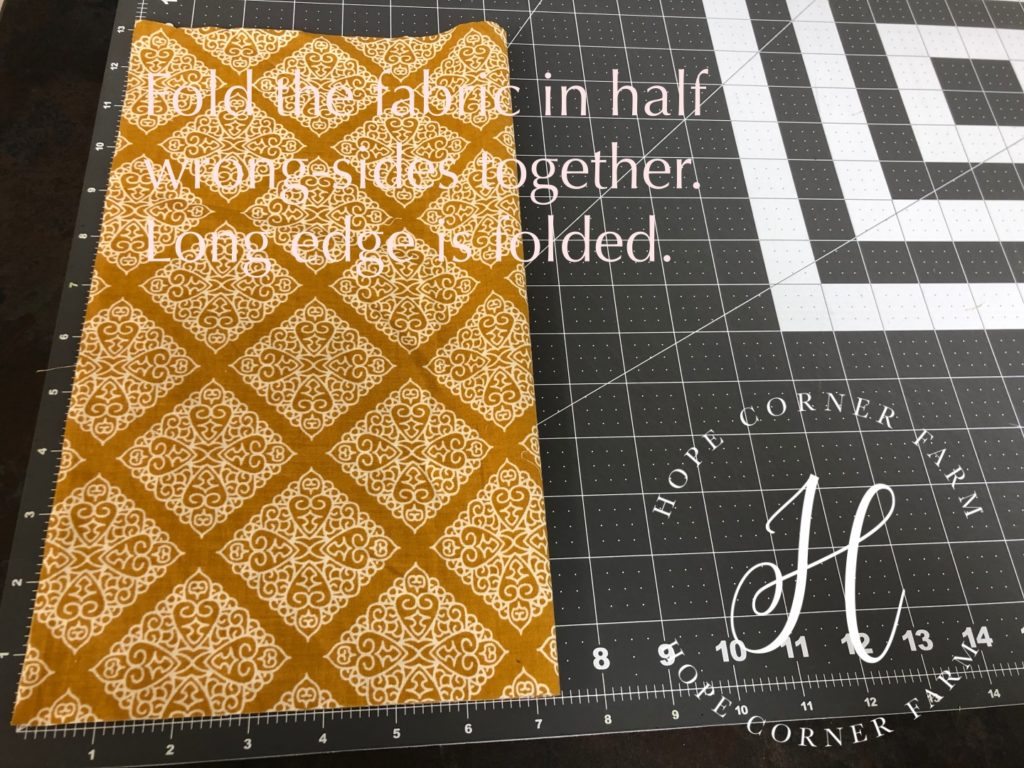
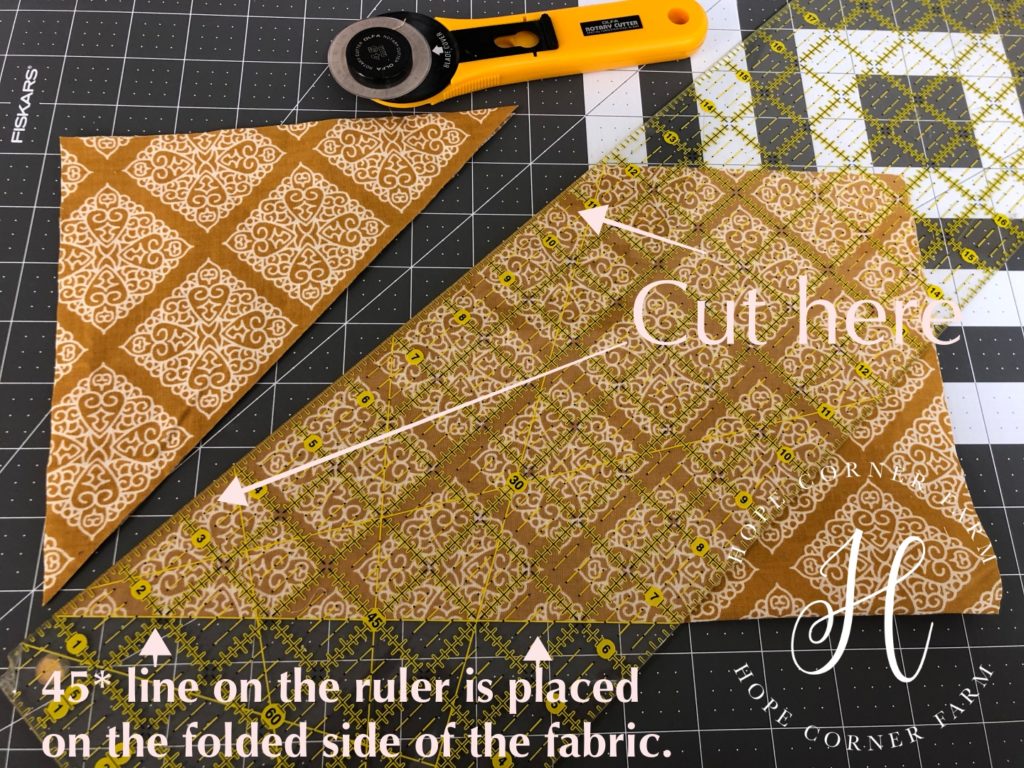
After the fabric is folded in half, cut the bottom of the fabric at a 45* angle. To cut the angle, place the 45* line even with the folded side of the fabric. See the picture below.
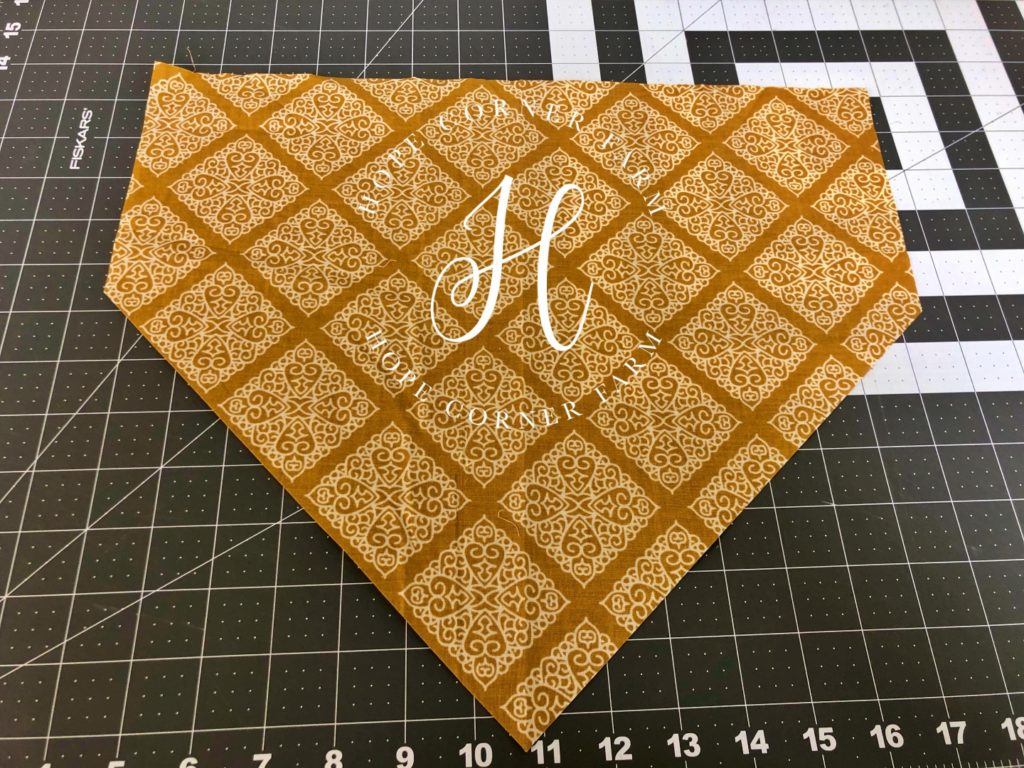
After cutting the 45* angle, the bandana looks like this:
Pressing the Edges of the Dog Collar Bandana:
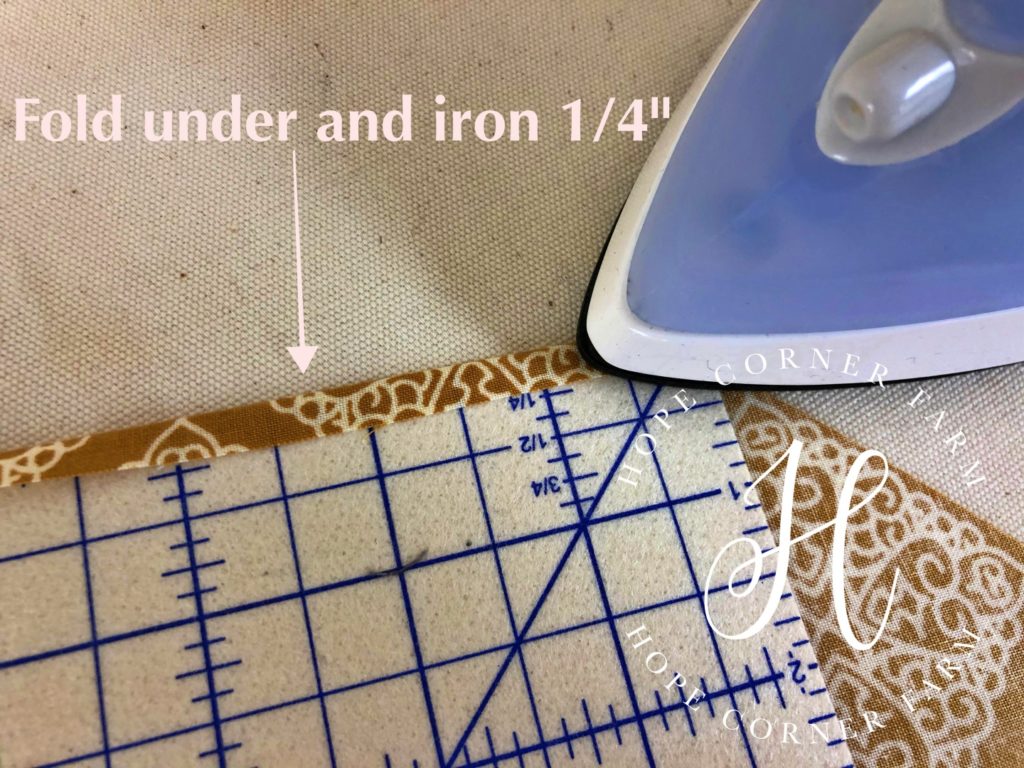
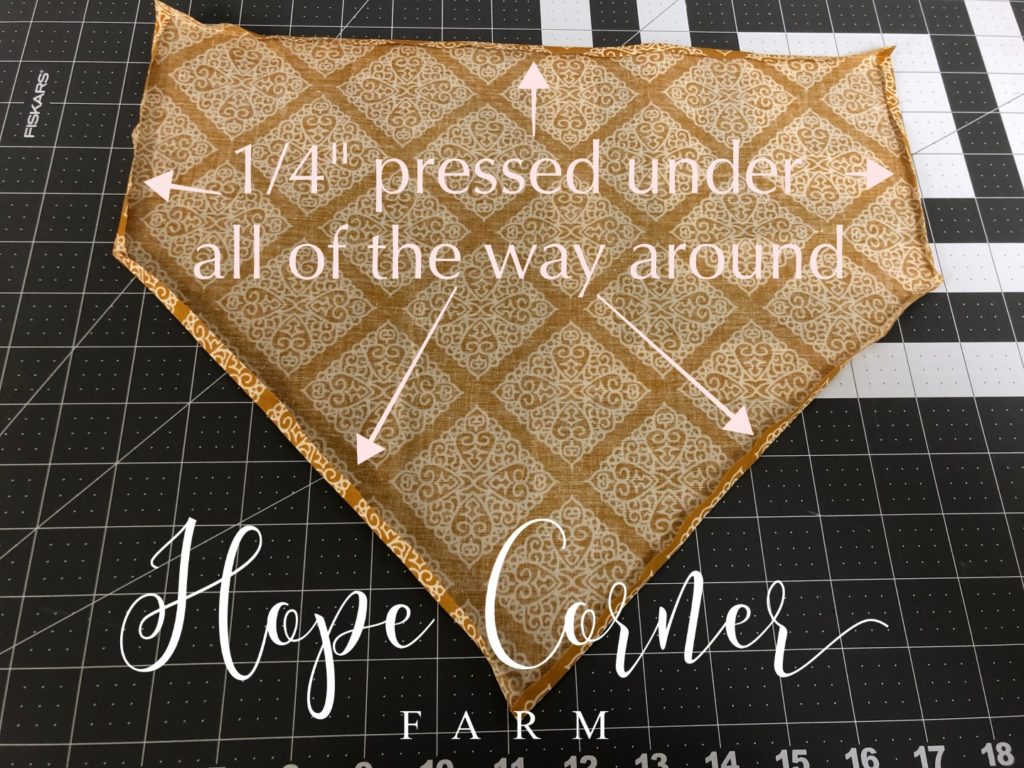
Next, press under ALL of the edges of the dog collar bandana. The edges need to be pressed under 1/4″ all of the way around. Remember to press towards the wrong-side of the fabric.
Preparing to Sew (Pinning the Bandana):
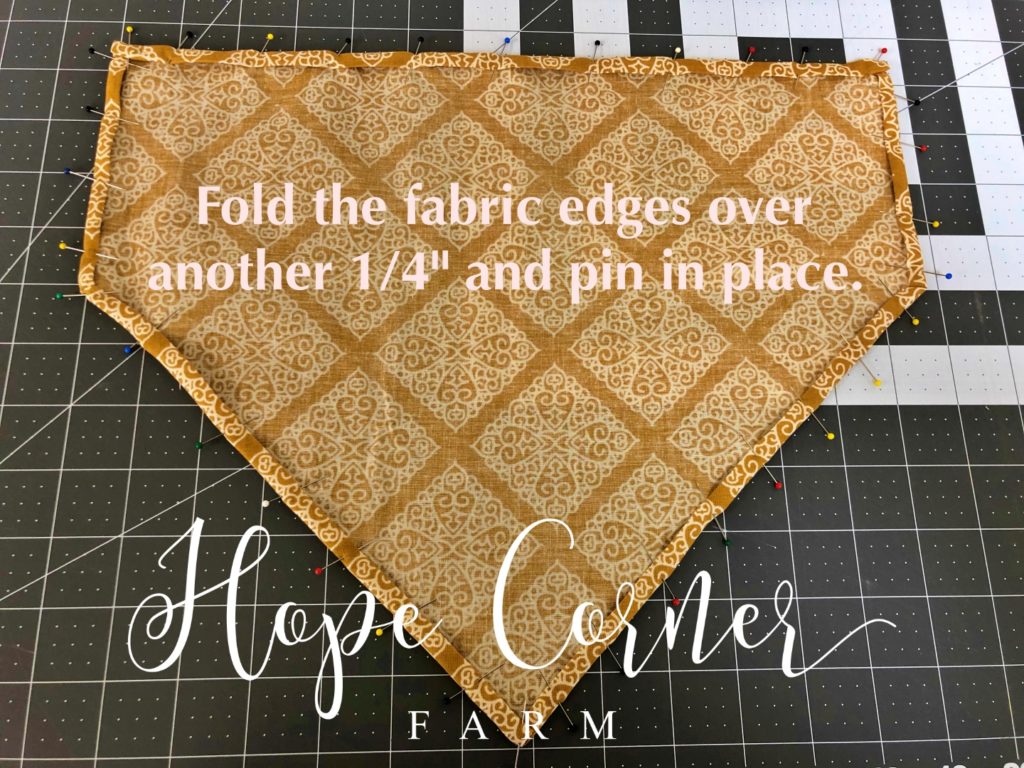
Before sewing the dog collar bandana, fold the edges of it over an additional 1/4″ and pin in place. This keeps the fraying edges tucked safely inside of the seam.
Sewing the Bandana Edges:
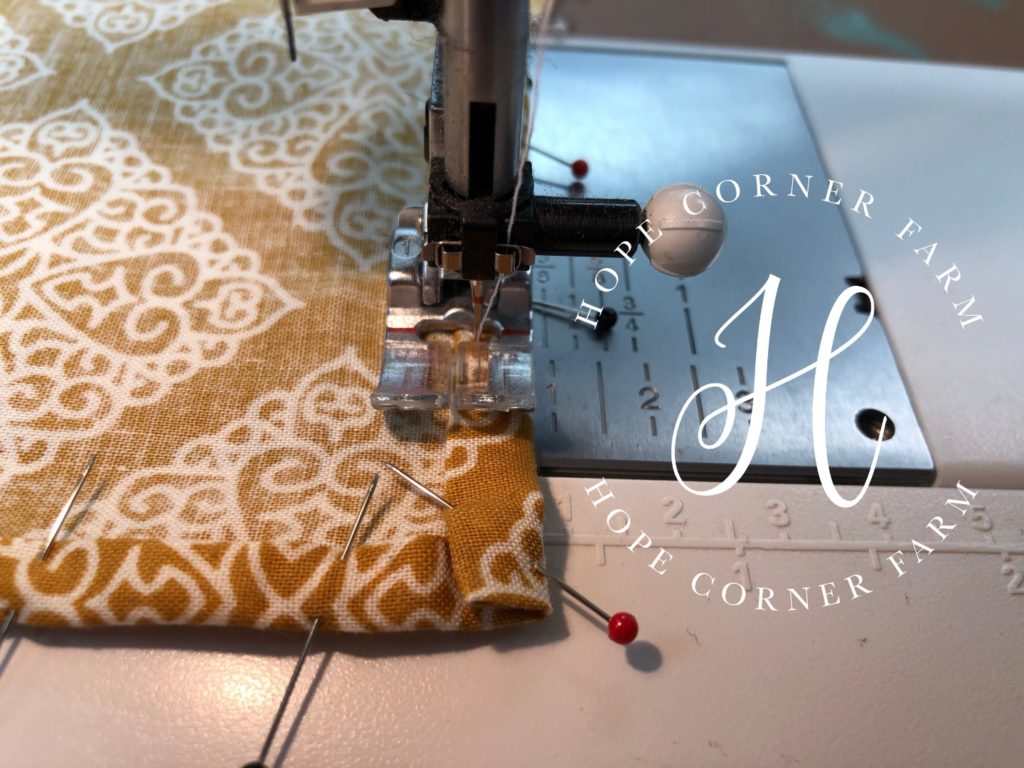
Stitch all of the way around the dog collar bandana, close to the inner edge of the pressed edge (it would be a scant 1/4″ seam allowance). Don’t forget to backstitch when starting and stopping the stitching. This keeps the bandana from falling apart.
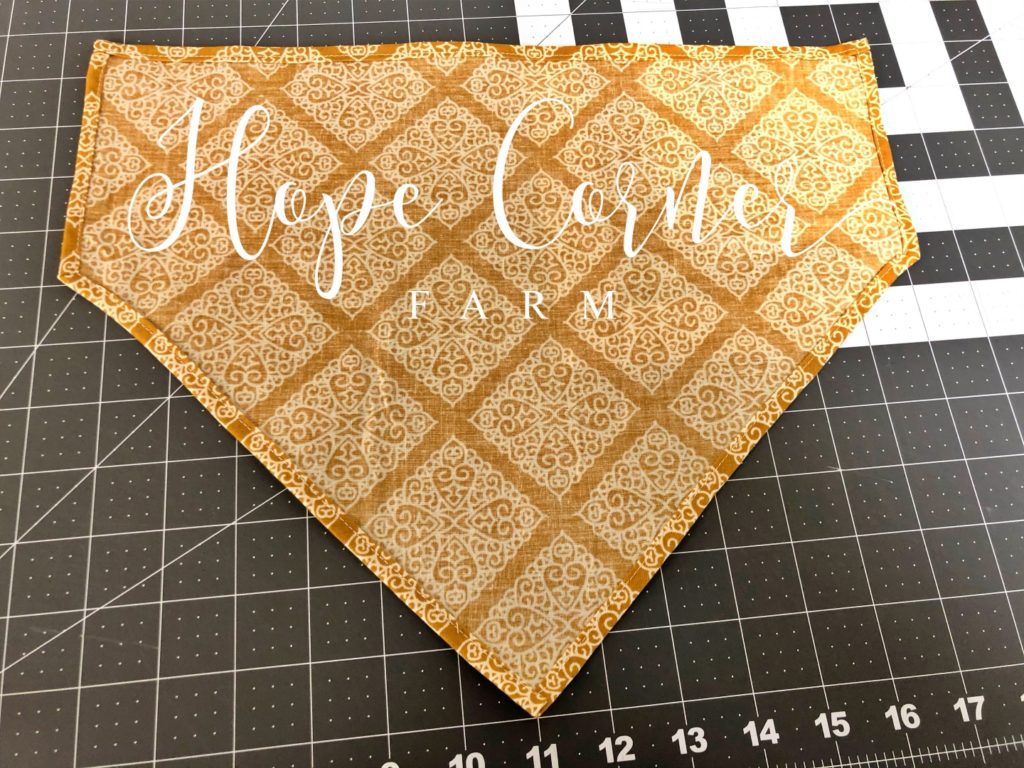
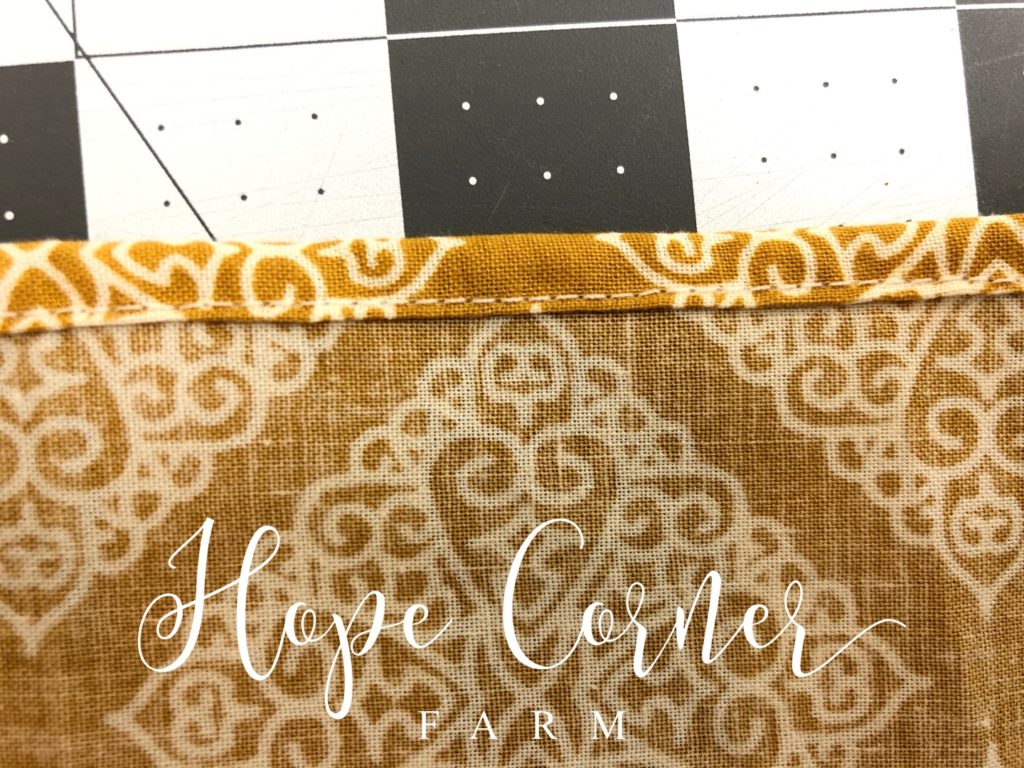
Sewing the Dog Collar Channel:
After sewing the hem around the bandana, the “channel” for the dog collar to go through needs to be sewn.
First, fold the top edge of the bandana down until it meets the corner of the 45* angle.
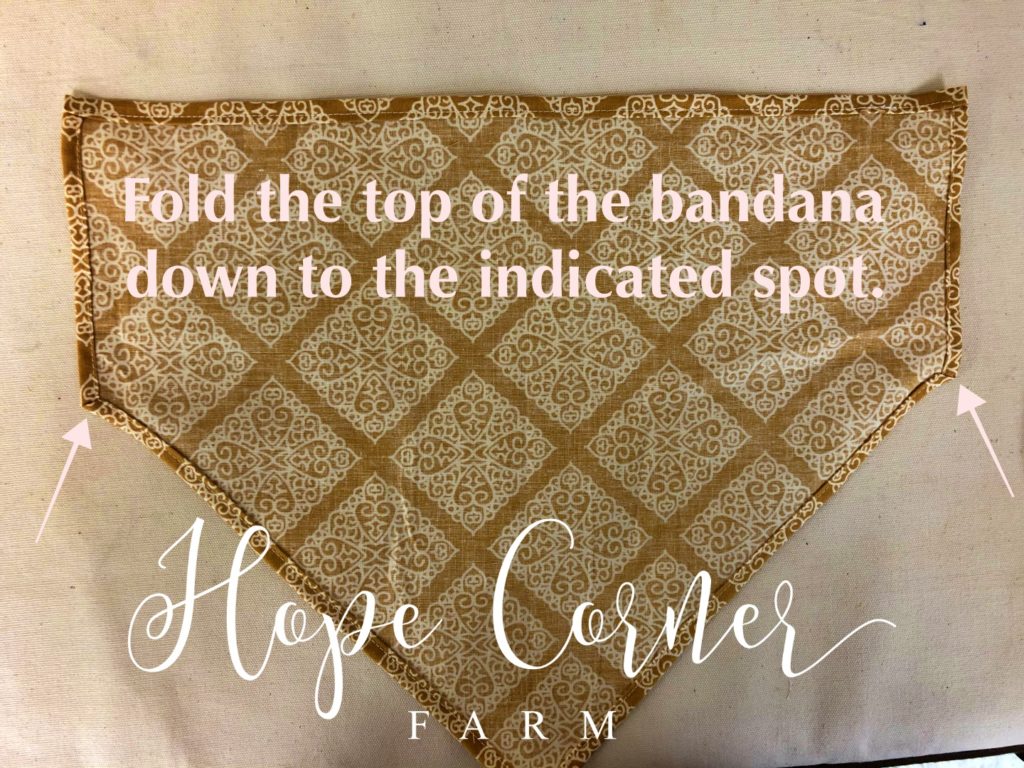
Press this fold in place.
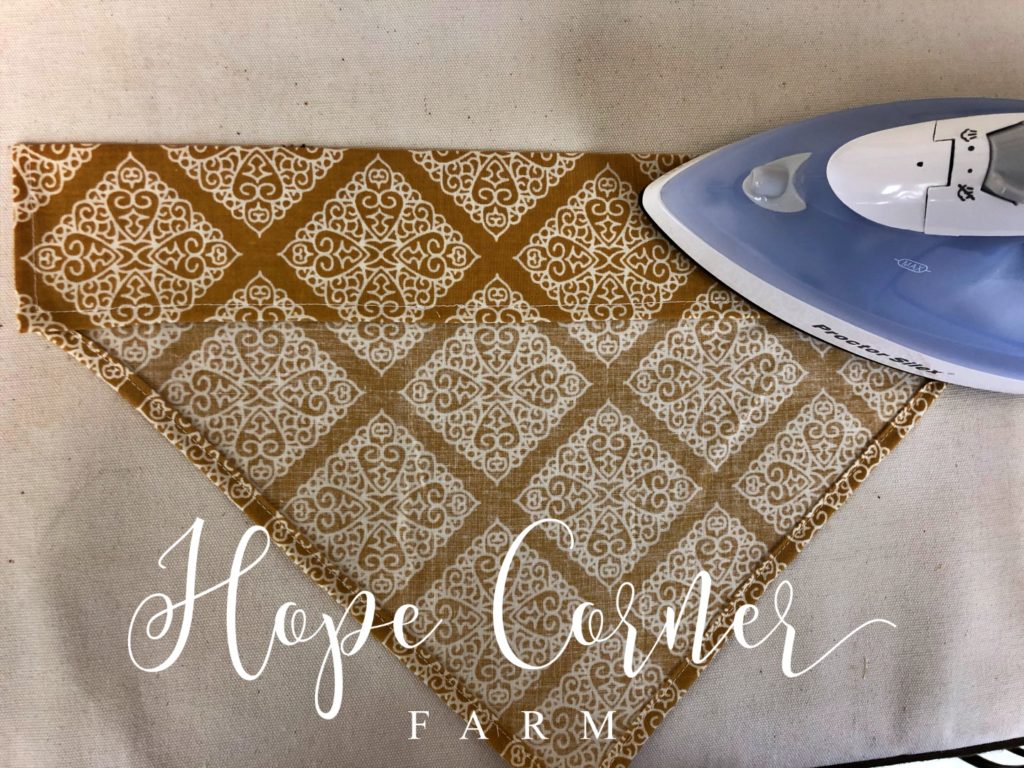
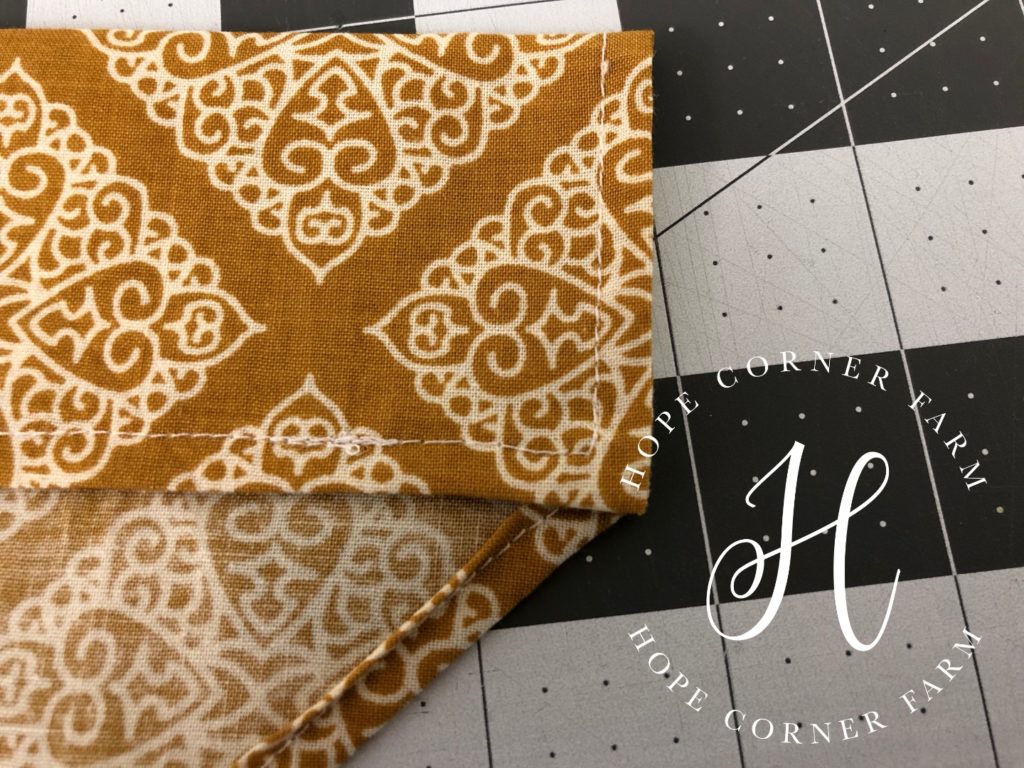
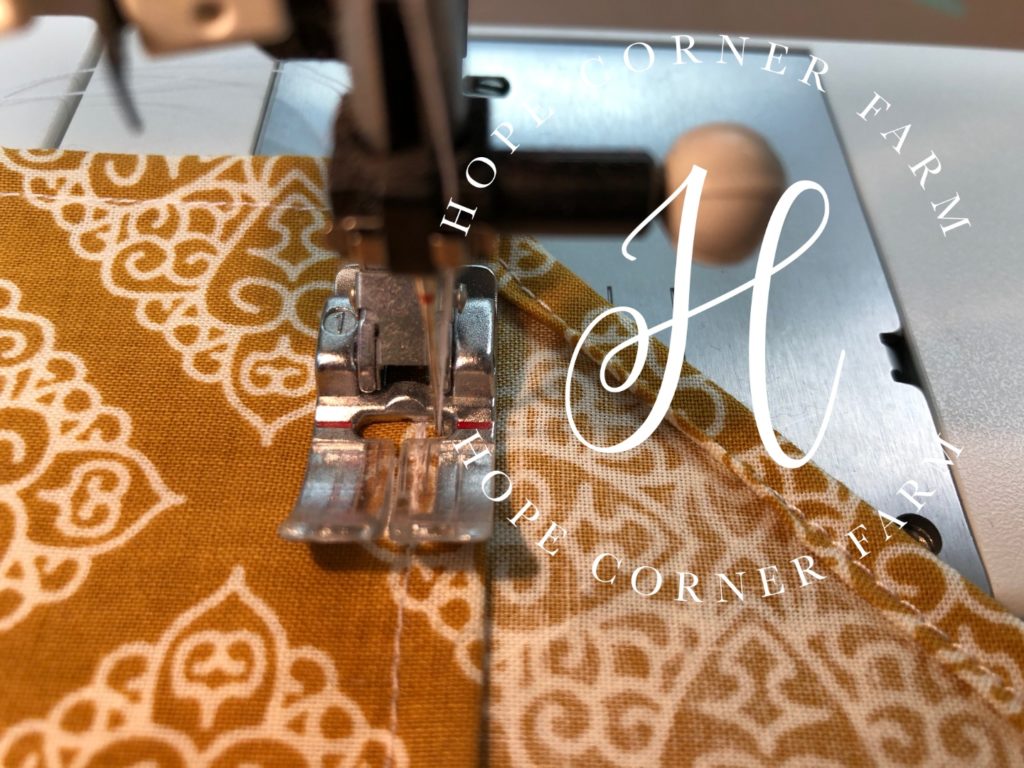
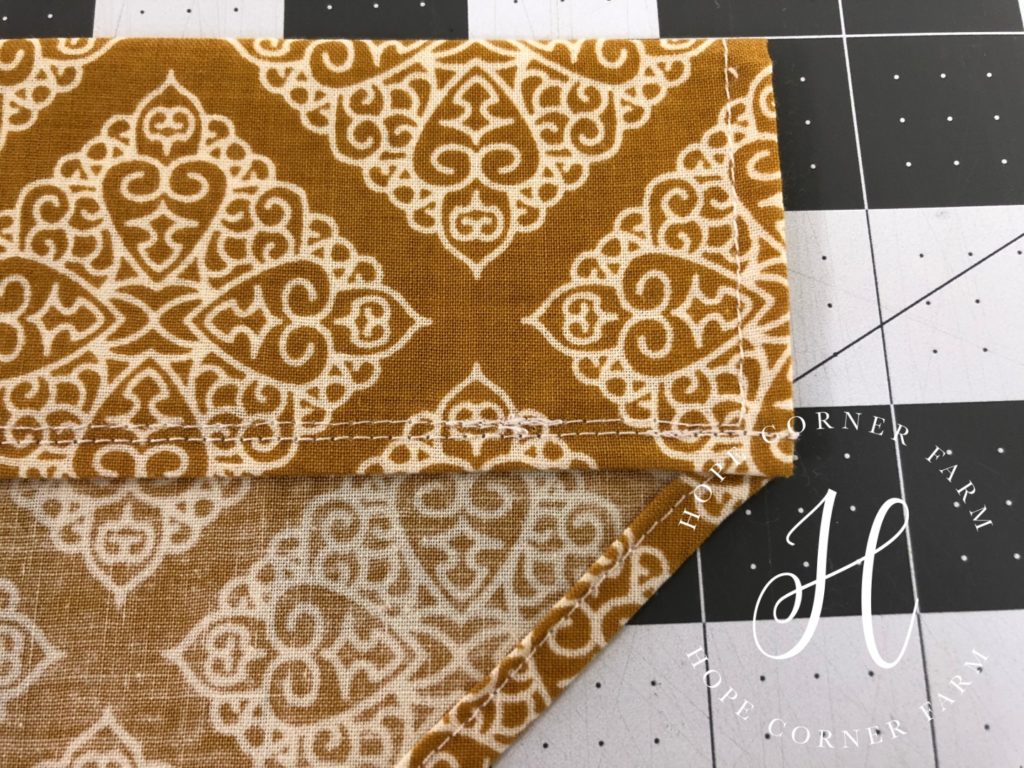
Now, sew across the bottom of the channel all of the way across the bandana. This usually ends up as a scant 1/8″ seam allowance. Don’t forget to backstitch at the beginning of the seam and at the end of the seam!
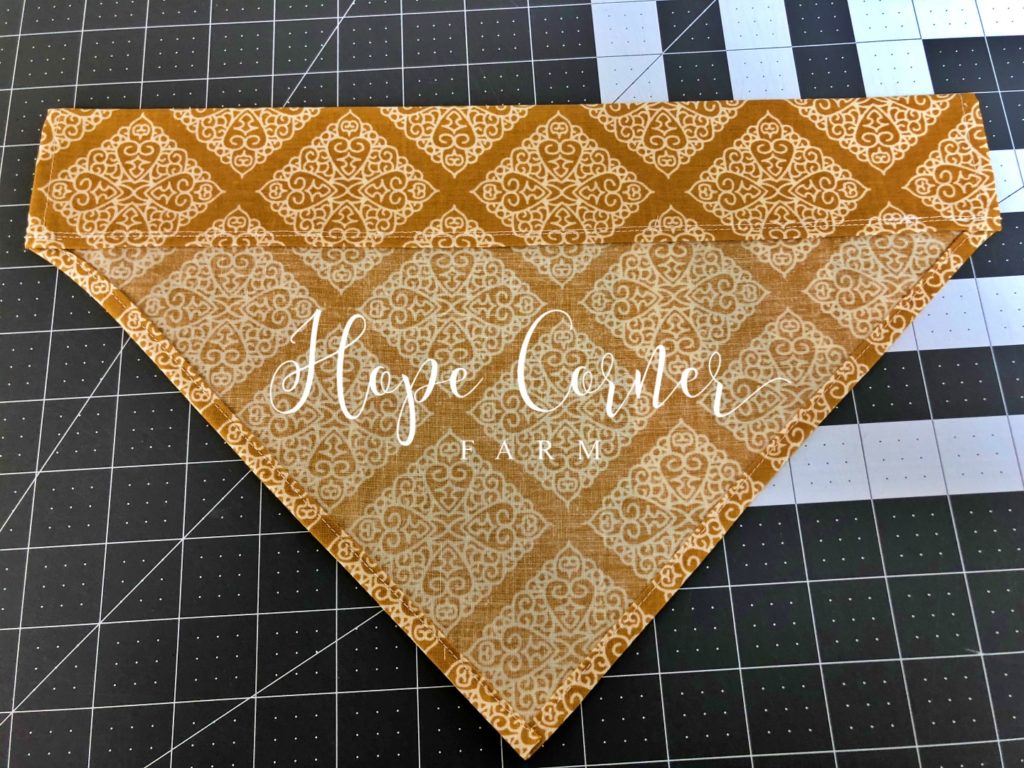
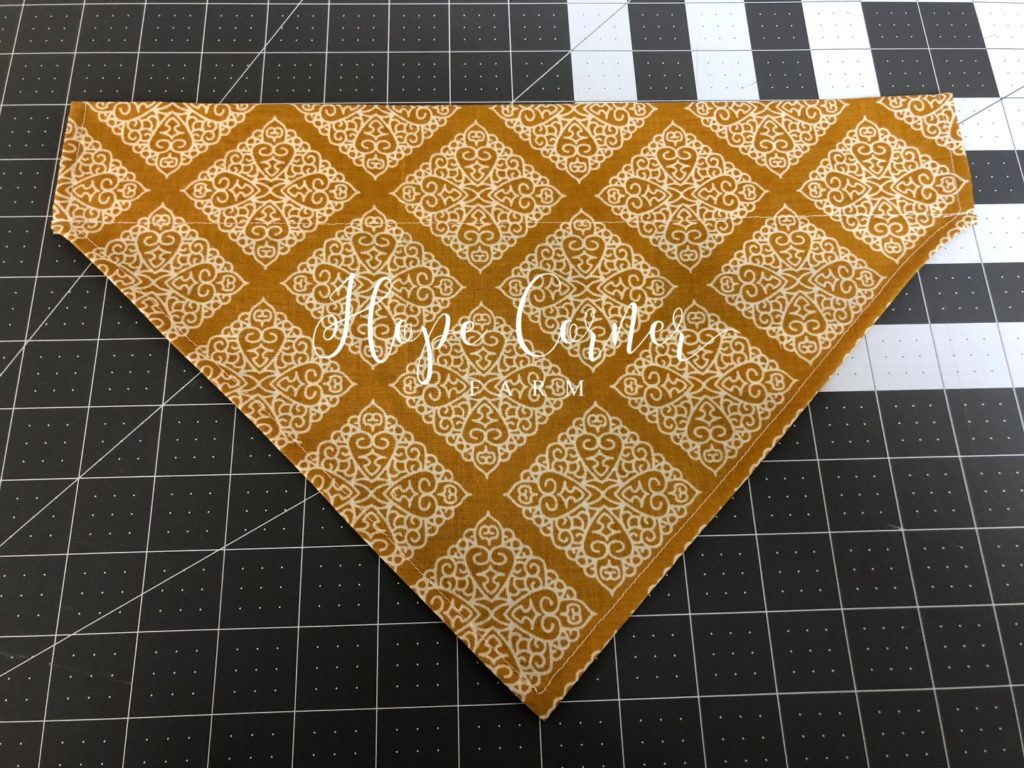
The Finished Product:
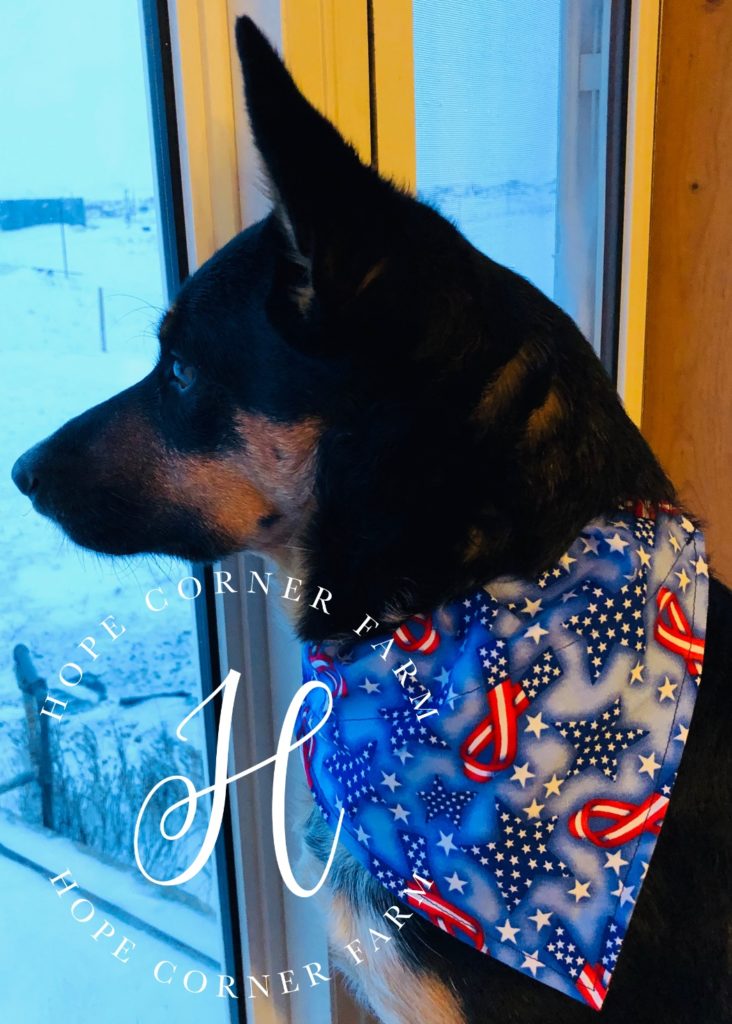
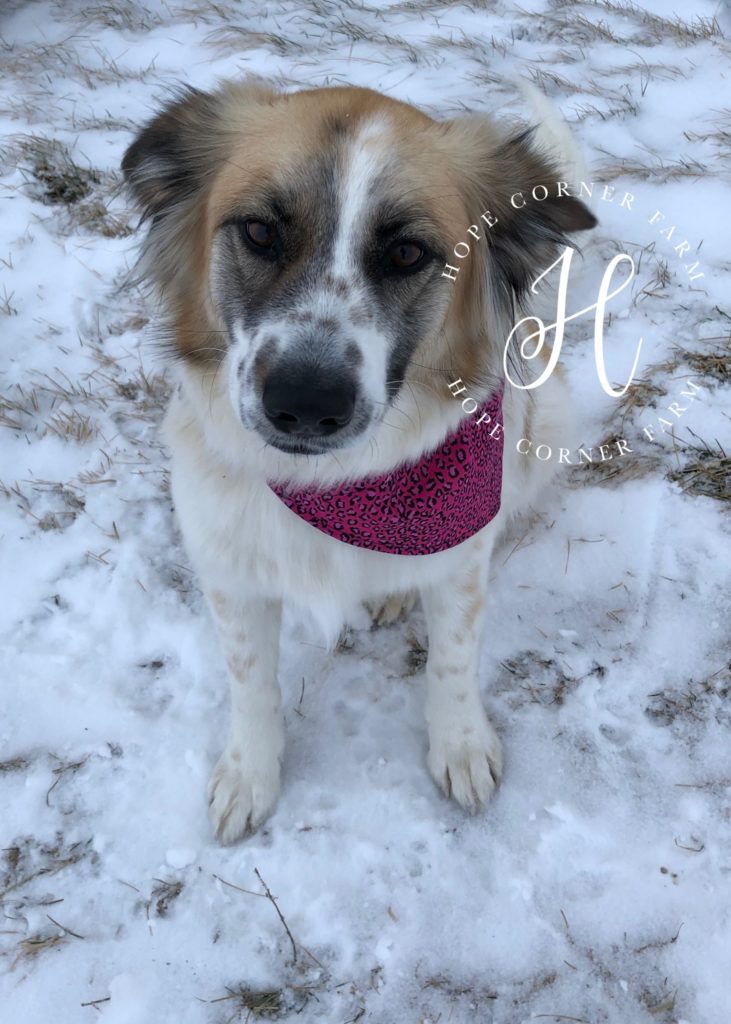
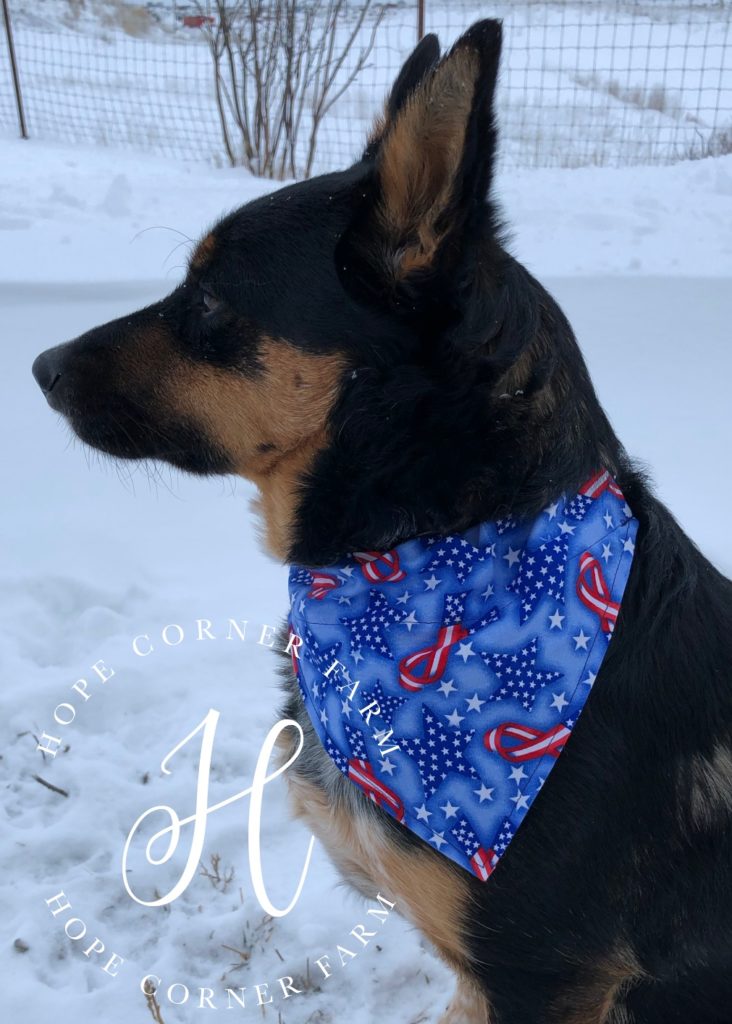
Now we have a finished bandana! Your pooch is sure to love being the most stylish pup on the block when they rock their very own dog collar bandana!
Many Blessings,


