Free Crochet Headband Pattern – The Montana

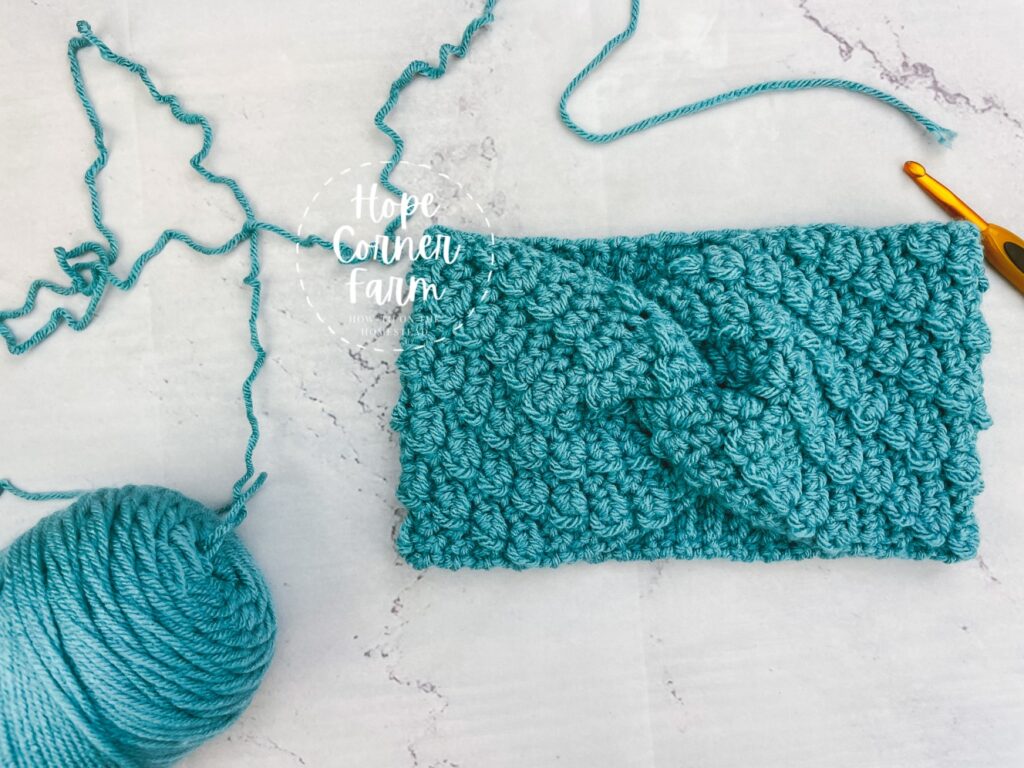
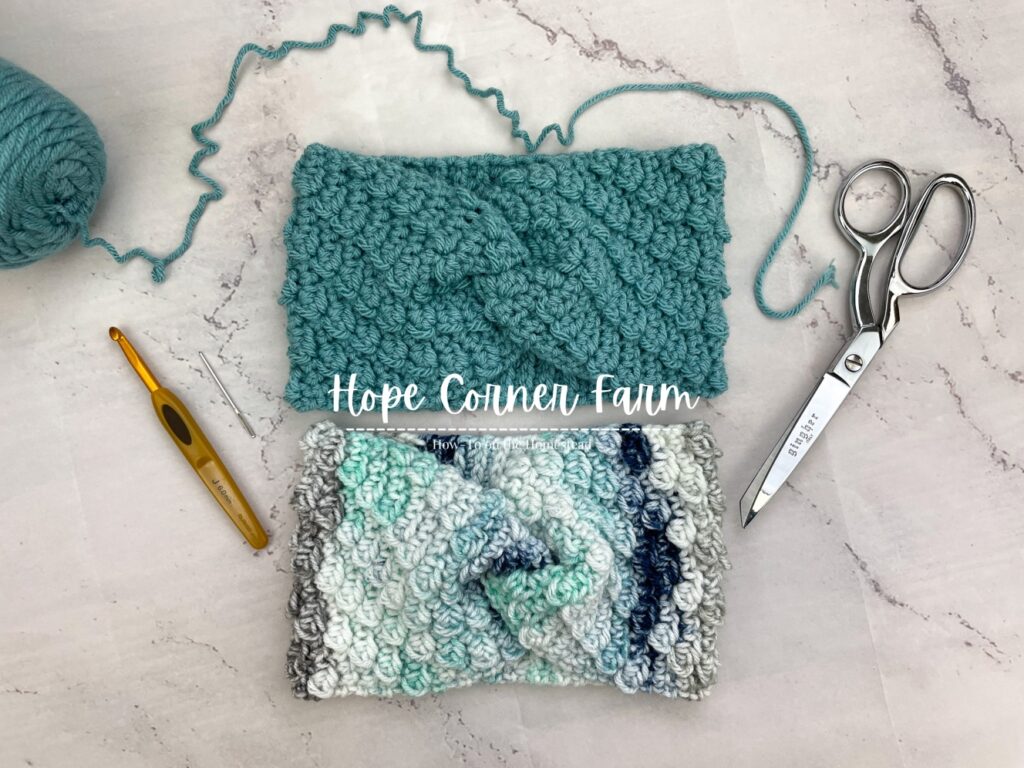
Looking for a free crochet headband pattern that is stylish and warm too? This crochet headband tutorial is perfect! Diagonal lines on the twisted crochet headband give the finished ear warmer a unique and pretty look. The stitches in this free crochet ear warmer pattern are more dense as well, so the headband is warm and cozy for that bitter Montana weather (or wherever you need to keep warm!). The Montana crochet headband pattern is available here for free in the adult size. If you want to make it in different sizes (teen, child, and infant), check out our Etsy or Ravelry listings. Let’s get crocheting!

Etsy Listing for MULTIPLE Sizes
Crochet Twist Materials Needed:
-Medium Weight (size 4) yarn of choice
-J (size 6.0 mm) crochet hook
-Yarn Needle
-Scissors
-Tape measure (for checking gauge)
Crochet Terms Used:
Slip Stitch (Sl St)
Puff Stitch (PUFF) – To PUFF stitch: Yarn Over (YO), insert your hook into/through desired stitch, yarn over again, pull through the stitch (there will now be 3 loops on your hook), yarn over, insert hook through the same stitch, YO, pull through the stitch (there will now be 5 loops on your hook), YO, pull the yarn over through all 5 loops. This completes one small puff stitch.
Crochet Headband Tips for Success:
Crochet Tip 1:
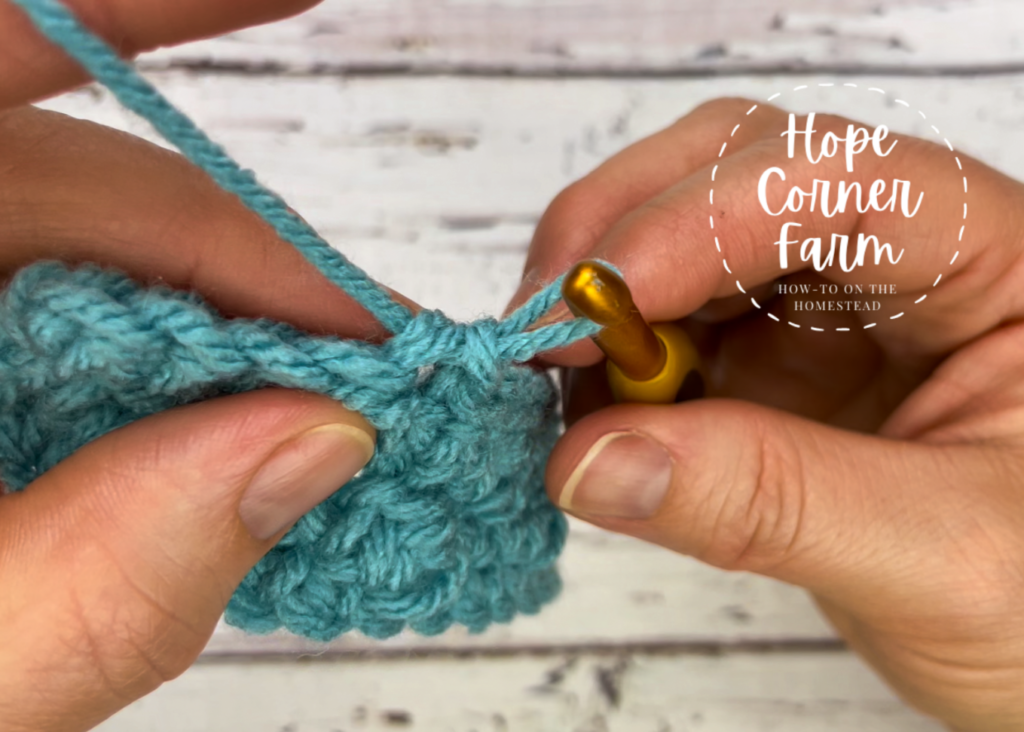
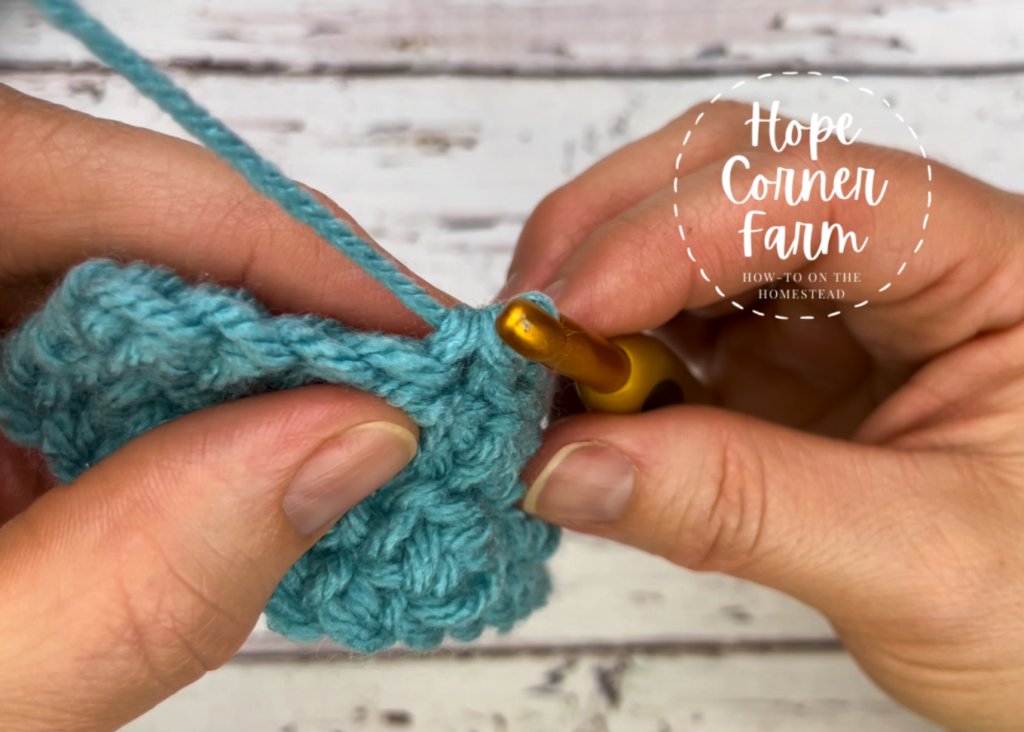
Don’t slip stitch too tightly. Make sure the tension is not too tight when slip stitching. If it is too tight, completing the next row will be difficult.
This is how the correct tension should look:
Incorrect Tension for the Slip Stitch:
Tip 2:
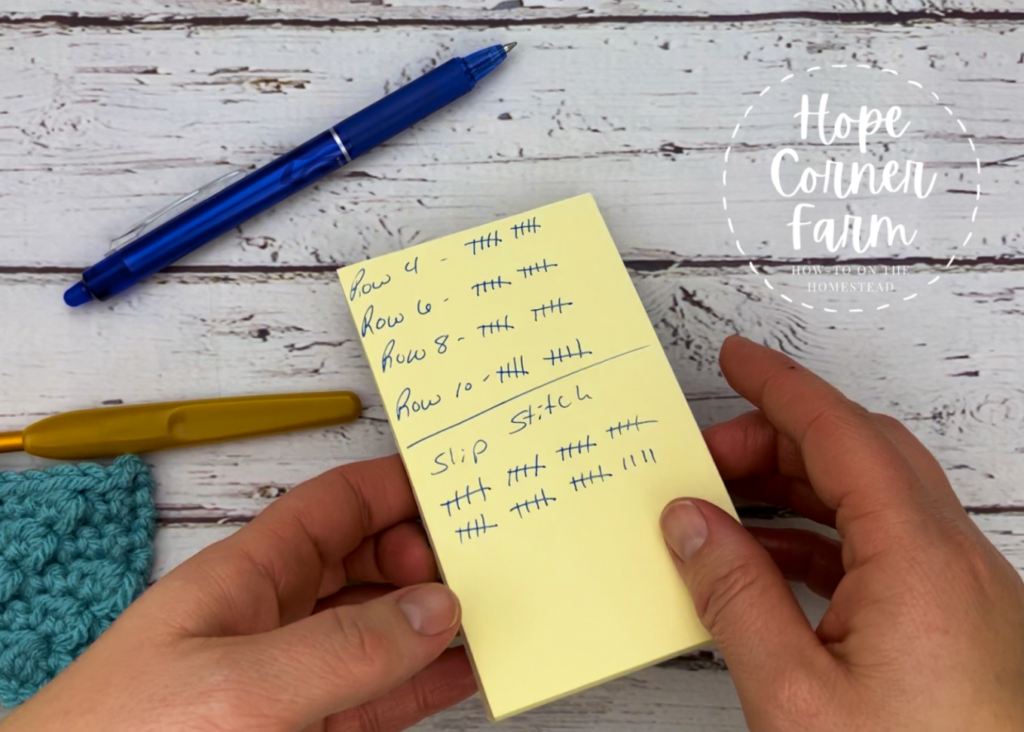
Keep track of your rows. I like to use a sticky note to keep track of where I am in the crocheting process. The following is then placed on a sticky note: Row 4, Row 6, Row 8, Row 10, and Slip Stitch. I then tally as I complete each row.
There will be ten repeats of Row 4, ten repeats of Row 6, ten repeats of Row 8, ten repeats of Row 10, and 39 repeats of Row 5 (the slip stitch row).
Crochet Tip 3:
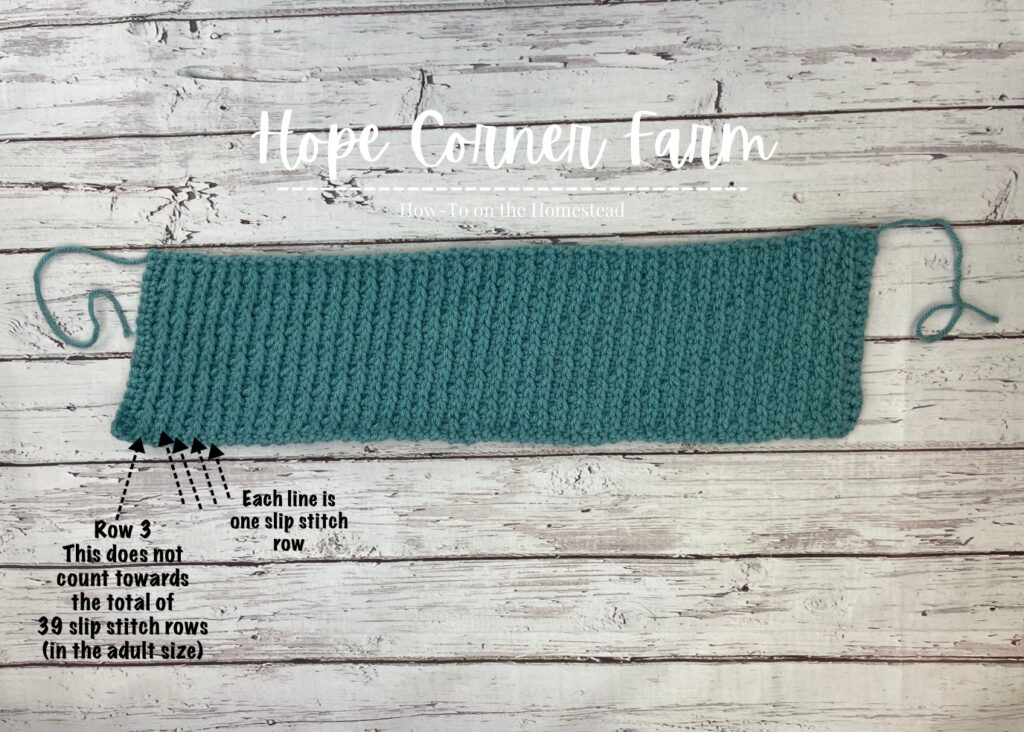
There is a way to easily count the rows if you don’t keep track (as indicated in Tip #2).
Begin by flipping the headband to the underside/inside and count the lines that appear. DO NOT COUNT THE VERY FIRST LINE – THIS IS ROW 3 WHERE WE ADD AN ADDITIONAL STITCH!
Crochet Tip 4:
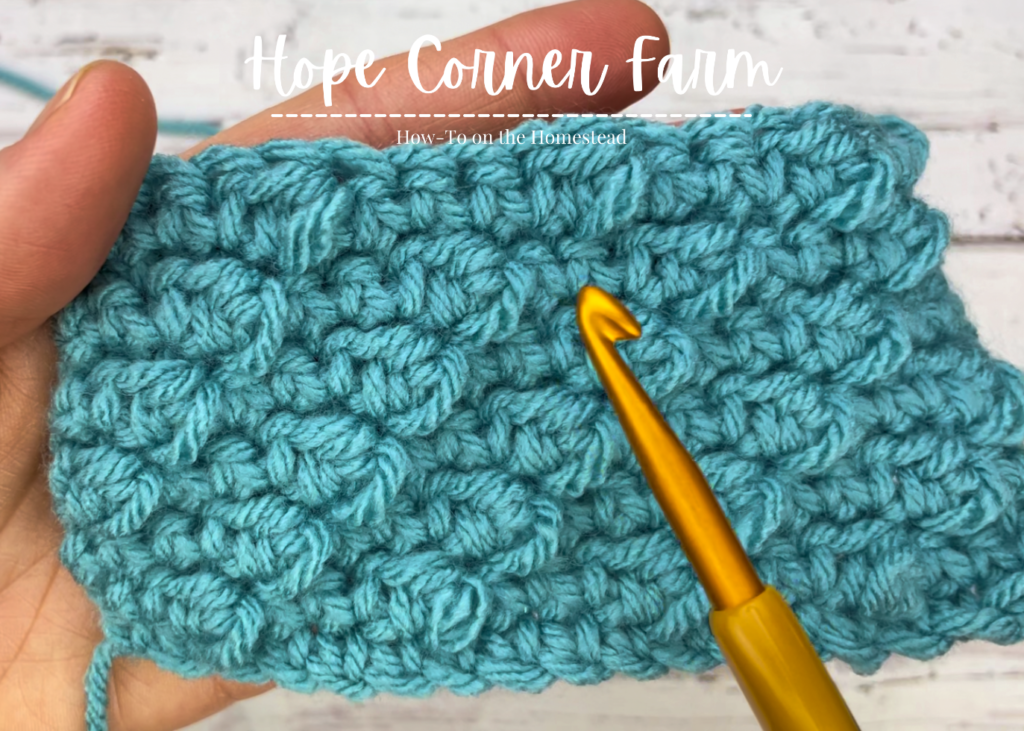
It will be pretty obvious when the stitch count is off or if you missed a stitch. If a stitch is missed or one too many stitches are added to the EVEN rows (Row 4, Row 6, Row 8, or Row 10), the diagonal lines for the crochet ear warmer will be off. See picture below (the tip of the crochet hook is pointing to the mistake):
To Start the Free Crochet Headband:
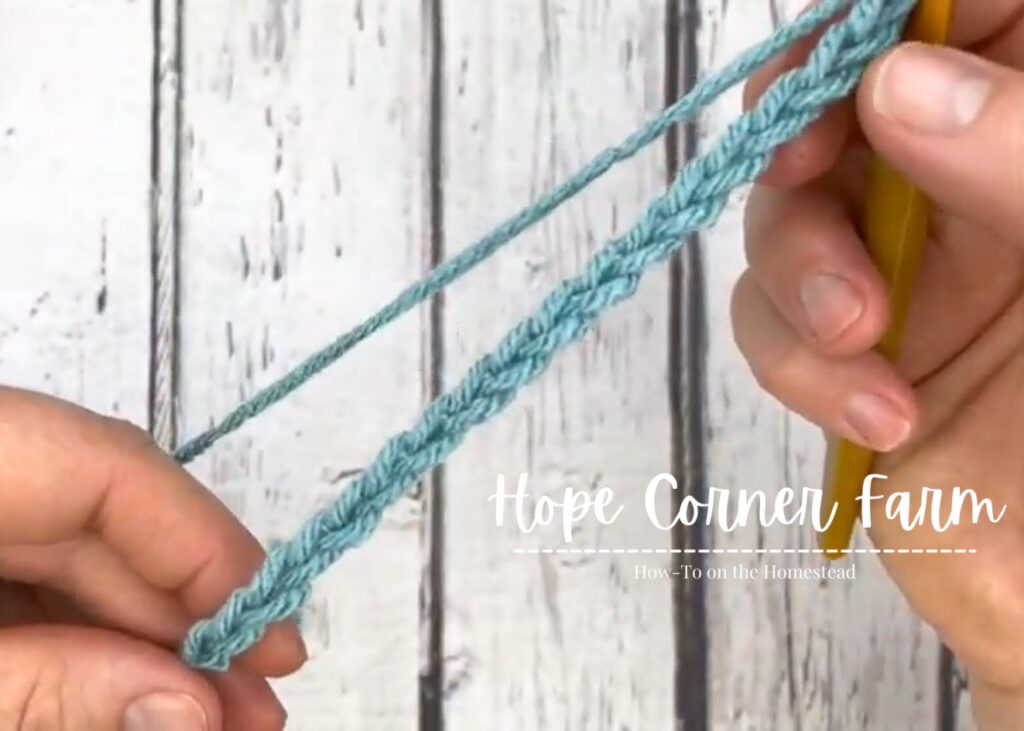
Begin by chaining 18.
Row 1
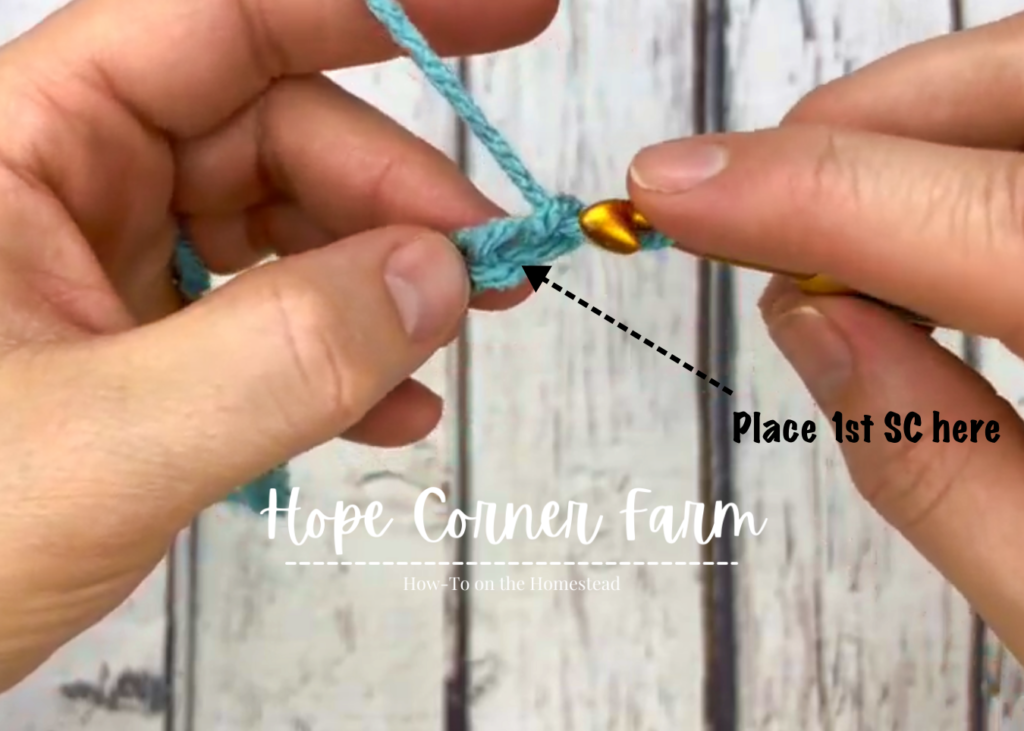
Place one single crochet in the second chain from the hook. Single crochet in each chain across (17).
Row 2 – Montana Headband
Chain 1, turn. Place one single crochet in the first stitch. PUFF, SC in next 3 stitches, PUFF, SC in next 3 stitches, PUFF, SC in next 3 stitches, PUFF, SC in last 3 stitches (17).
Row 3 – Free Crochet Headband
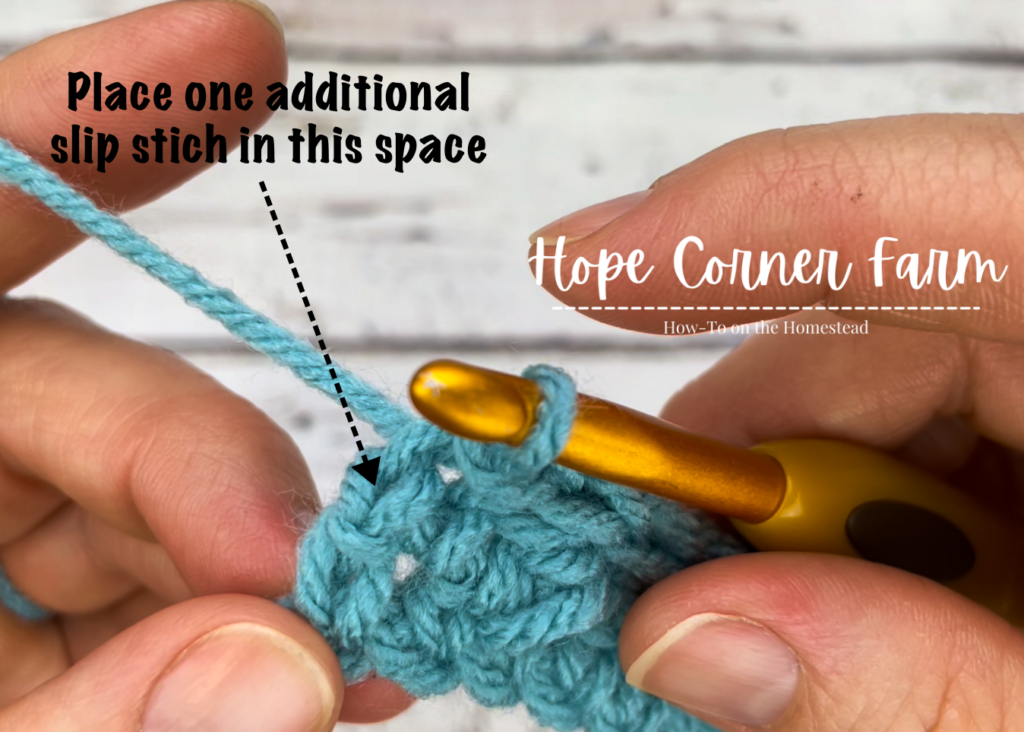
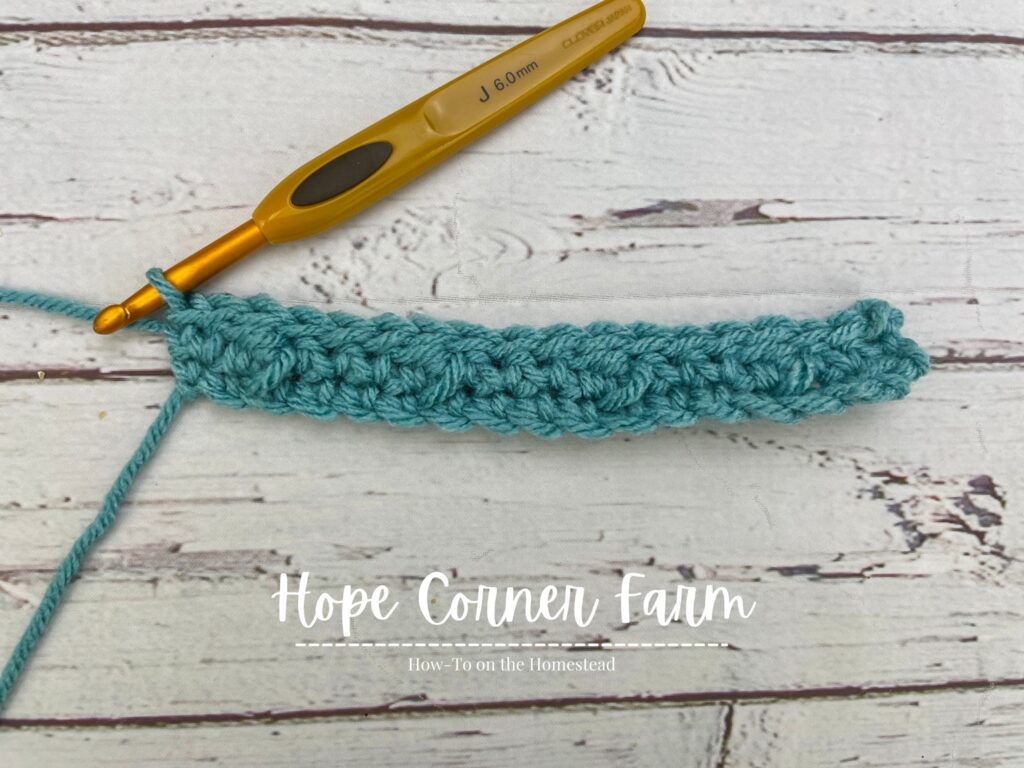
Ch 1, turn. Place one slip stitch in the first stitch. Sl St in each stitch across. Place one additional sl st into the turning chain from the previous row (see middle picture below). This will bring the stitch count back up to 18 (18).
Row 4
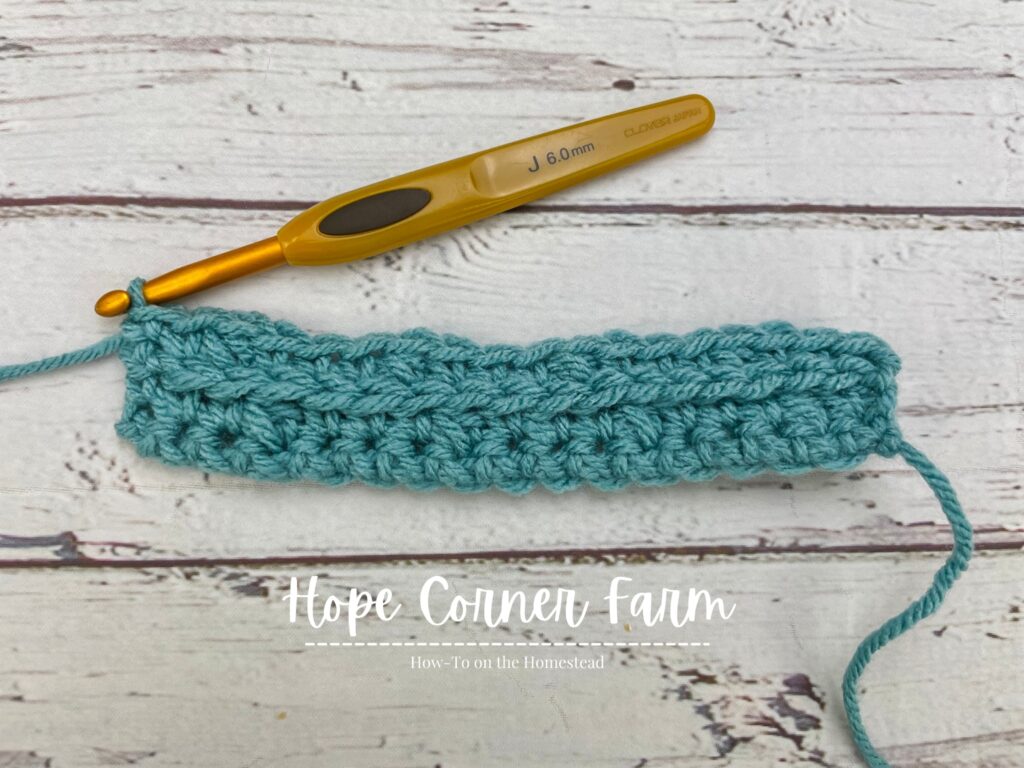
Chain 1, turn. Place one single crochet in each of the 1st three stitches, puff in next, 1 SC in each of the next 3, puff, 1 SC in next 3, puff, 1 SC in next 3, puff, 1 SC in next 2 (18).
Free Crochet Headband Row 5
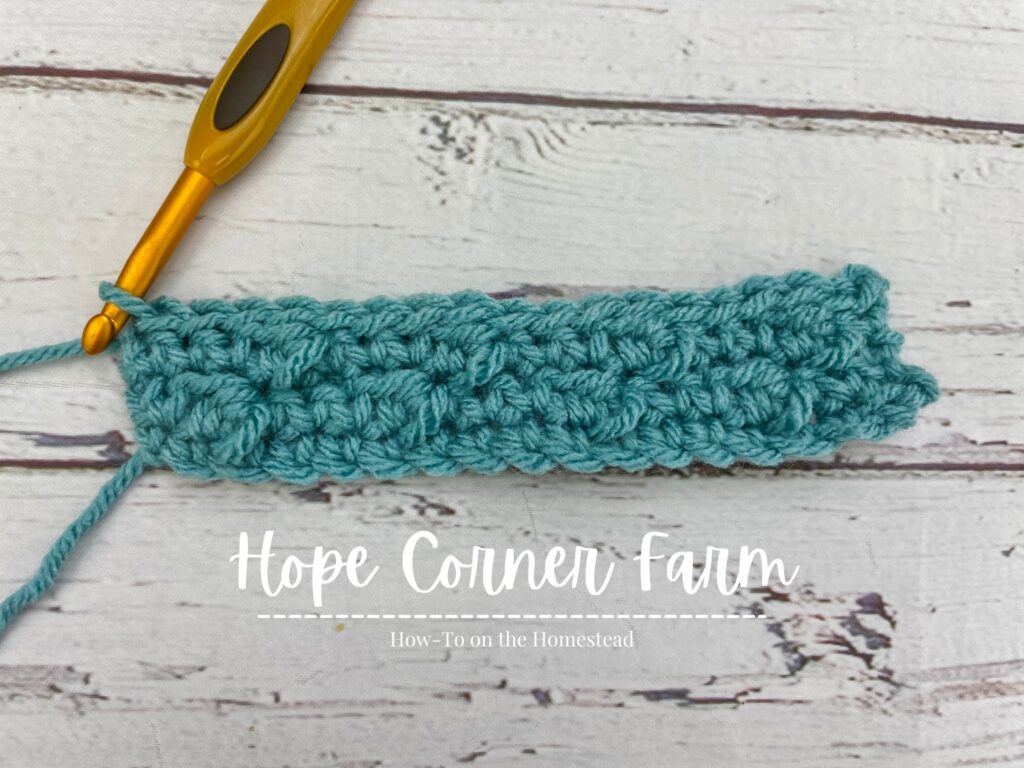
Ch 1, turn. Place one slip stitch in first stitch. Sl st in each stitch across (18).
Row 6
Chain 1, turn. Place a puff stitch in the first stitch, 1 SC in each of the next 3, puff in the next stitch, 1 SC in the next 3 stitches, puff, 1 SC in the next 3, puff, 1 SC in the next 3, puff, place 1 SC in the last stitch (18).
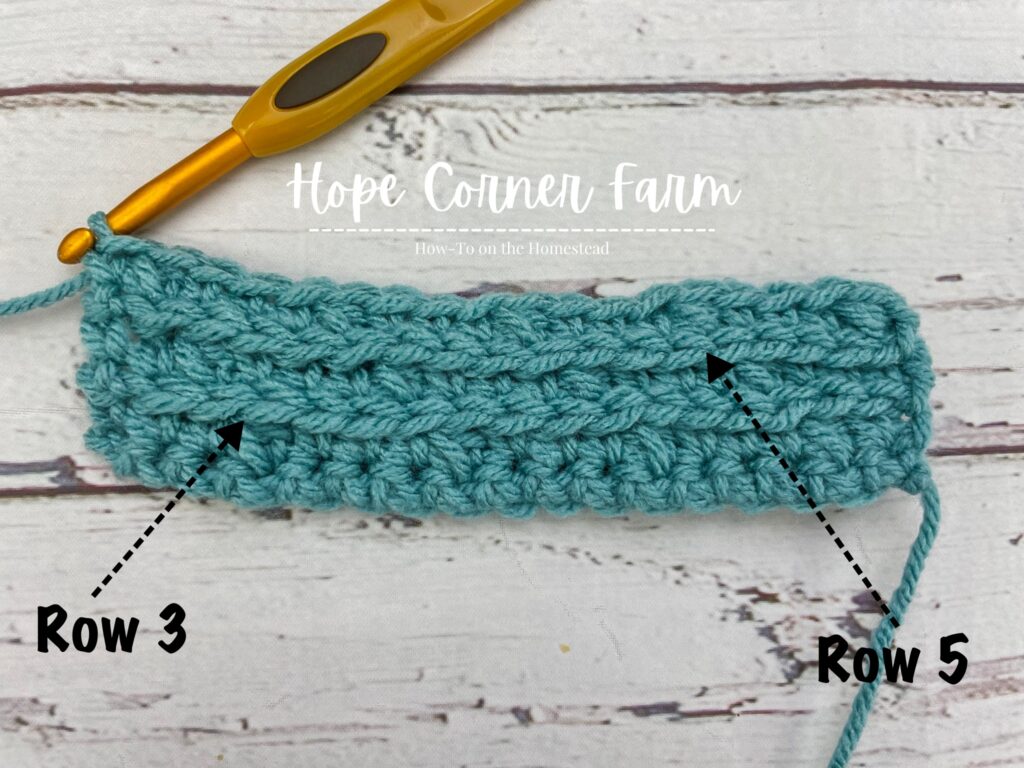
Row 7
Chain 1, turn. Place one Sl St in each stitch across (18).
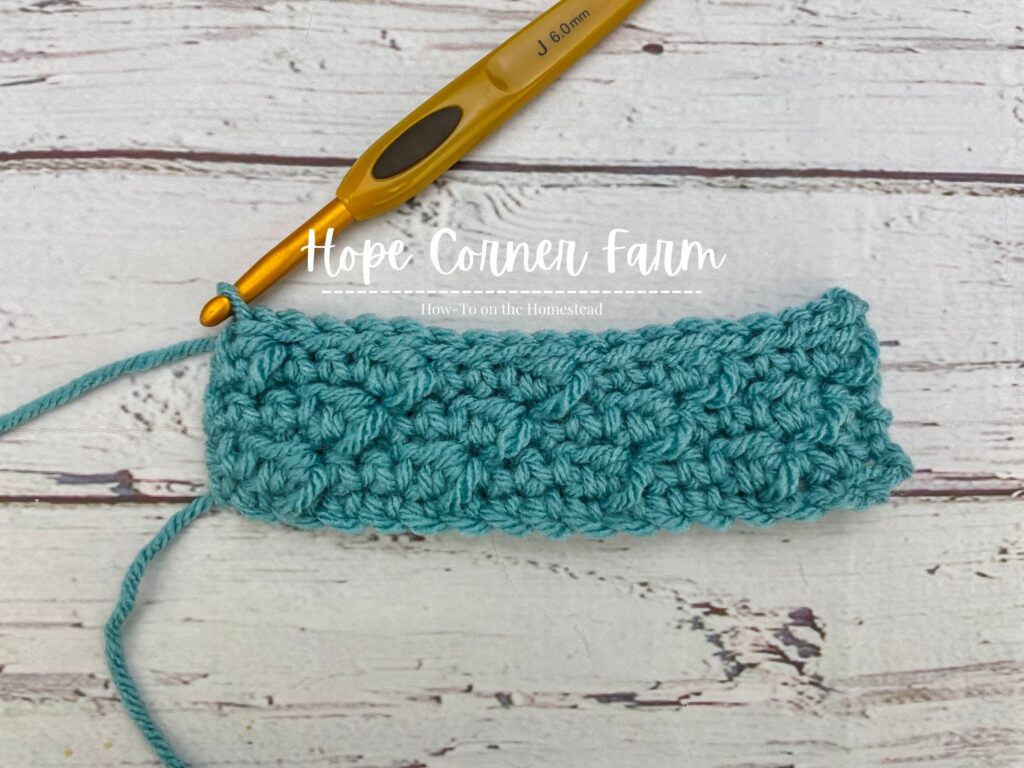
Row 8
Ch 1, turn. Place 1 SC in the first stitch, puff in next, 1 SC in each of the next 3 stitches, puff in next, 1 SC in next 3, puff, 1 SC in next 3, puff, 1 SC in the final 4 stitches (18).
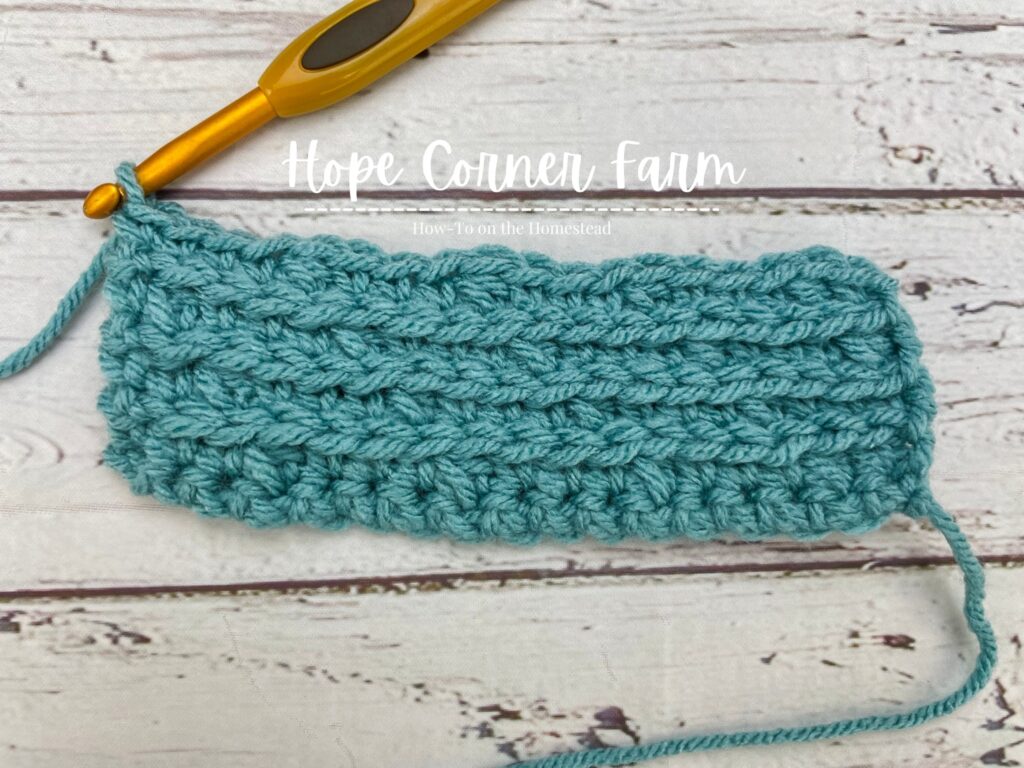
Row 9 – Free Crochet Headband Pattern
Ch 1, turn. Place one Sl St in each stitch across (18).
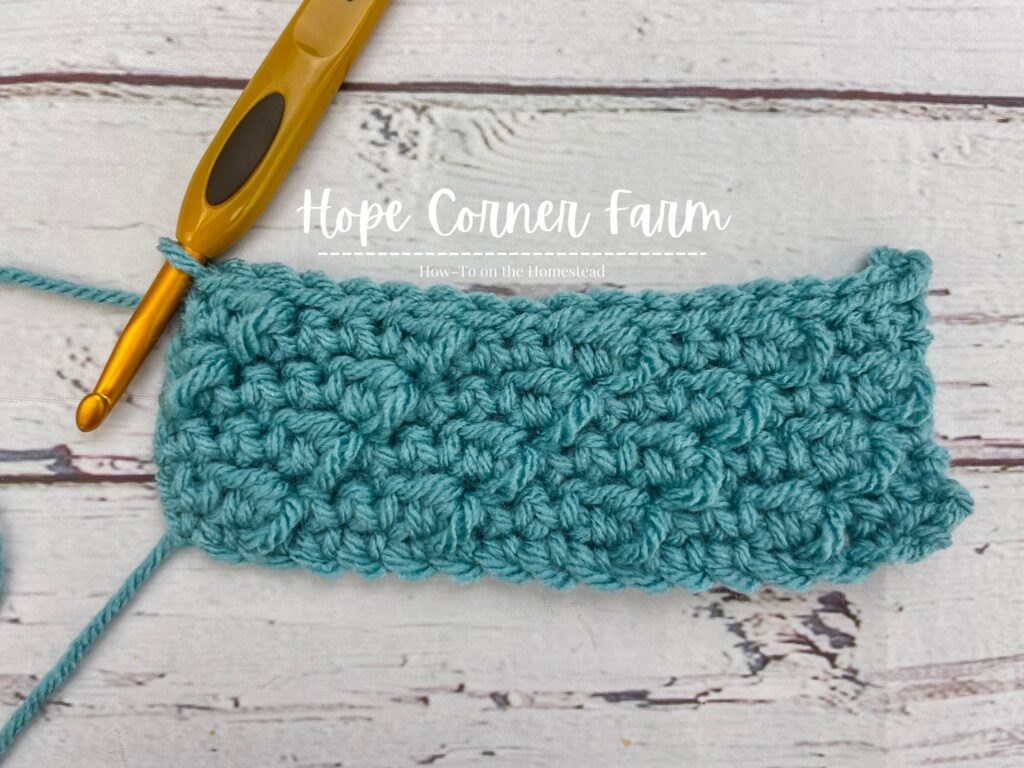
Row 10
Chain 1, turn. Place 1 SC in each of the first 2 stitches, puff in the next stitch, 1 SC in each of the next 3 stitches, puff, 1 SC in next 3, puff, 1 SC in next 3, puff, 1 SC in the final 3 stitches (18).
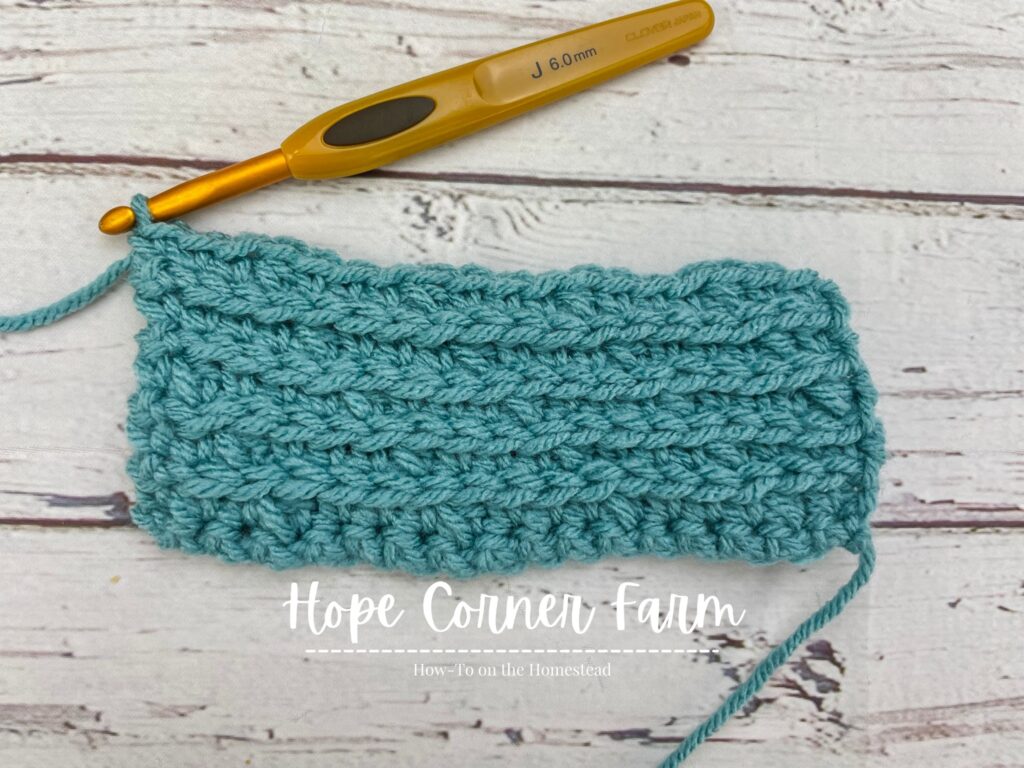
Remaining Rows of The Montana Crochet Headband
The remaining rows of this free crochet ear warmer pattern will be repeats of Row 4, Row 6, Row 8, and Row 10 (these will be even numbered rows) which will alternate with slip stitch rows (these will be odd numbered rows).
Rows 12, 20, 28, 36, 44, 52, 60, 68, & 76
Repeat ROW 4 (18).
Rows 14, 22, 30, 38, 46, 54, 62, 70, & 78
For these rows repeat ROW 6 (18).
Rows 16, 24, 32, 40, 48, 56, 64, 72, & 80
Repeat ROW 8 (18).
Rows 26, 34, 42, 50, 58, 66, 74, & 82
For these rows repeat ROW 10 (18).
ODD Numbered Rows 11-81
Repeat ROW 5 – Chain 1, turn. Place one slip stitch in each stitch across (18).
There will be 39 total slip stitch rows with Row 5’s instructions (the first slip stitch row had us pick up the extra stitch).
Row 83
Chain 1, turn. Place one single crochet in each stitch across (18).
Cut the headband free from the skein of yarn. Make sure to leave at least a 12-inch yarn tail when cutting it free.
Fasten off.
Folding the Free Crochet Headband
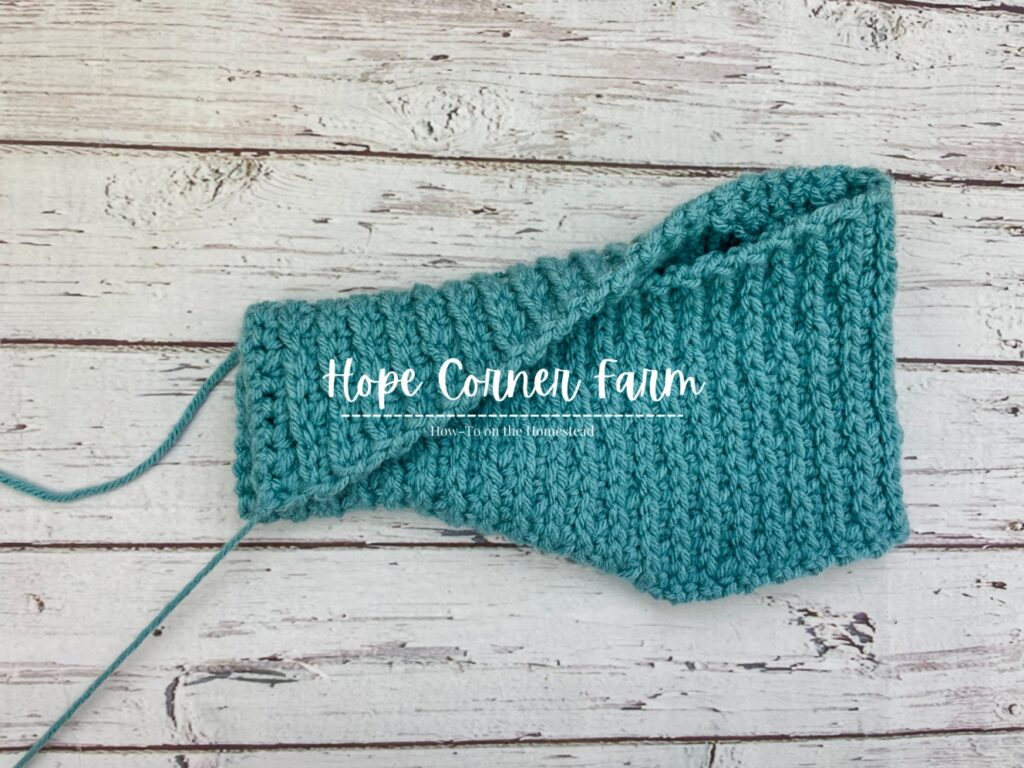
Begin by placing the headband on a flat surface with the pretty side (also known as the right side, or the side with the diagonal lines) facing up. The slip stitch side will be facing down on the flat surface.
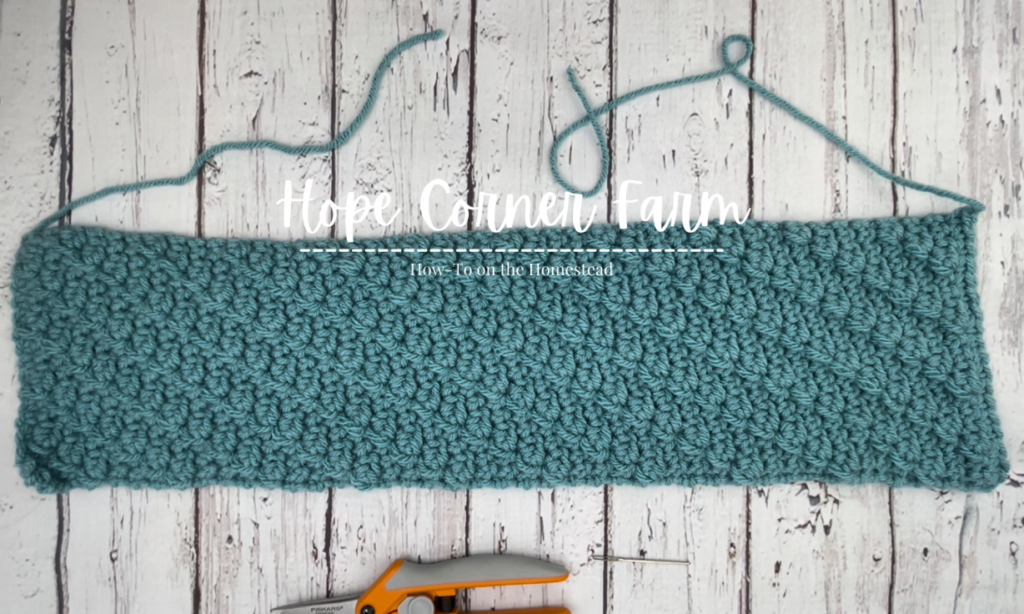
Next, match up the corner of one of the short sides with the midpoint of the opposite short side.
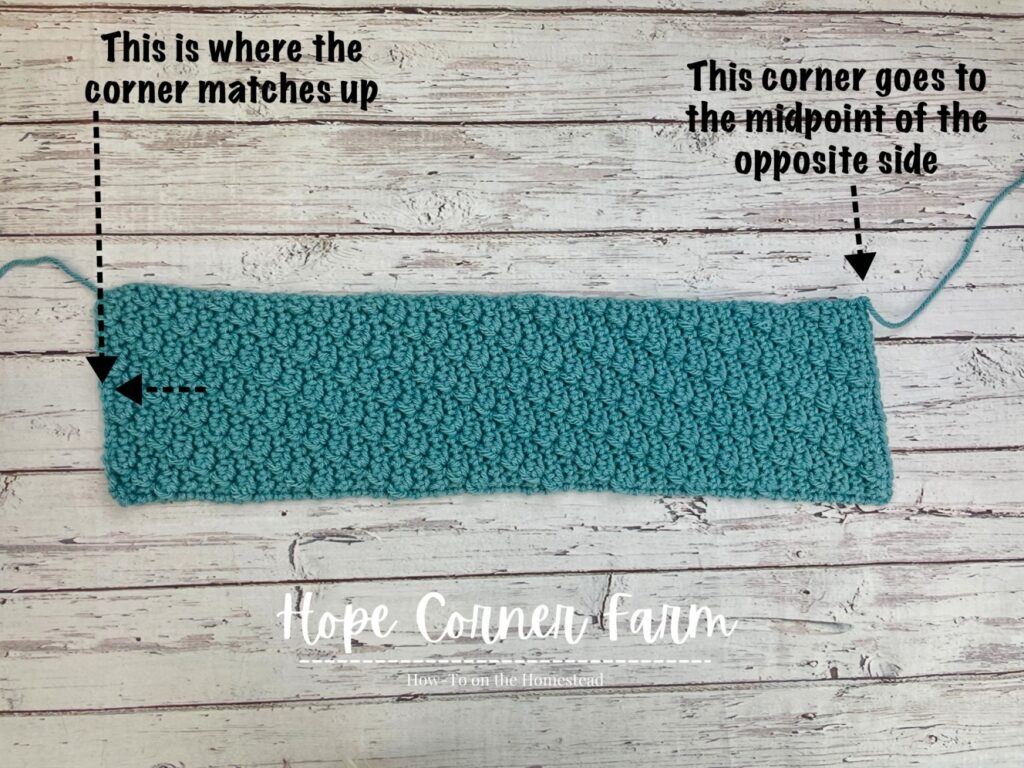
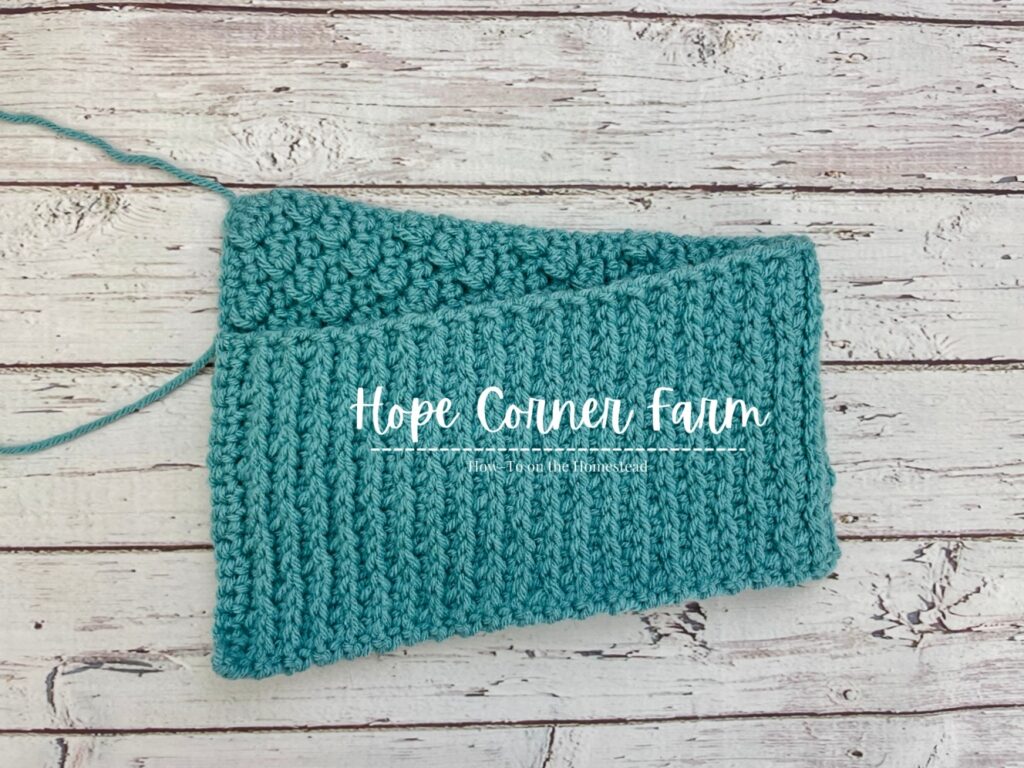
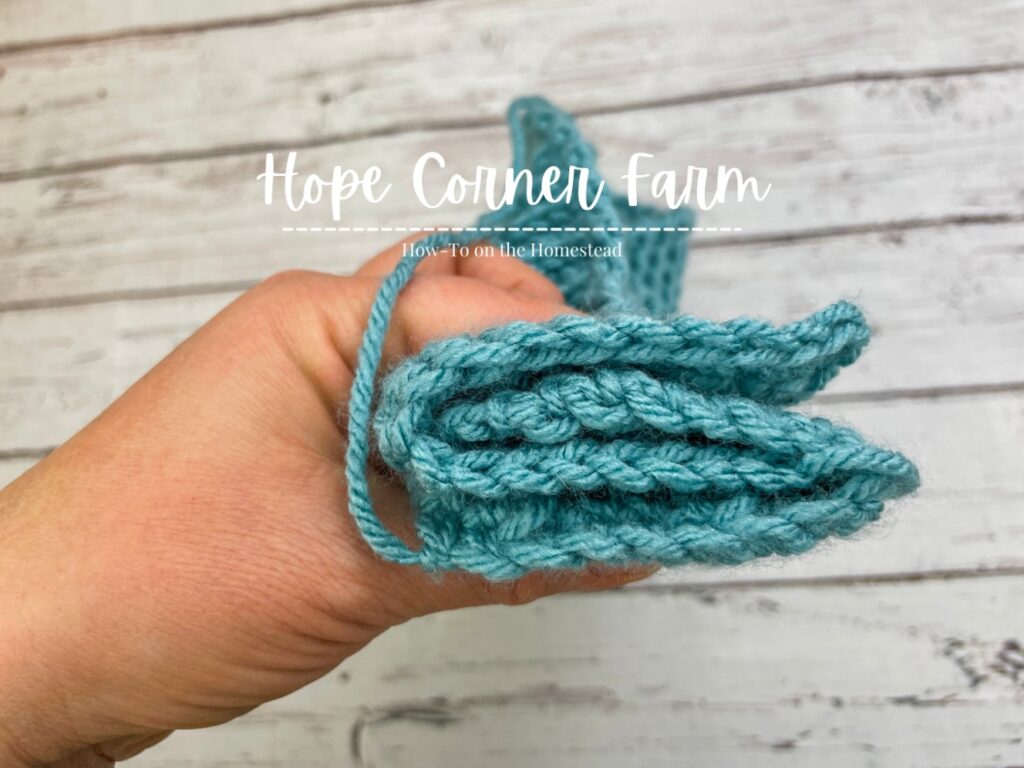
Now fold the upper part of the headband down and underneath the headband. Make sure to match up the 2 corners at the midpoint of the other side.
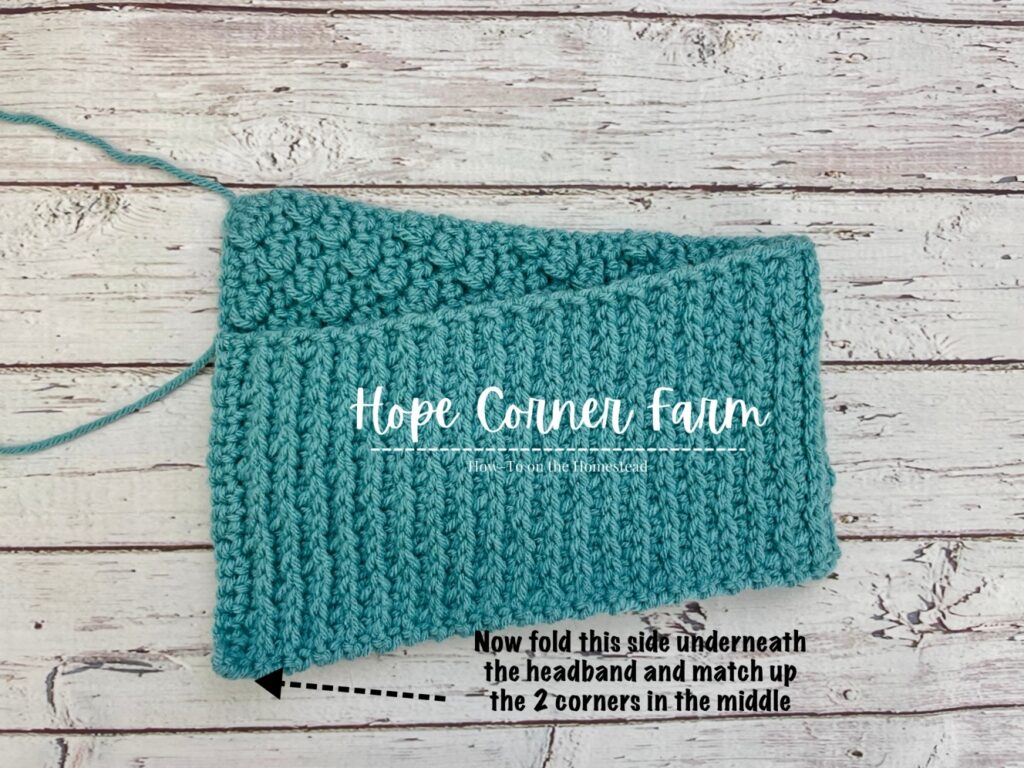
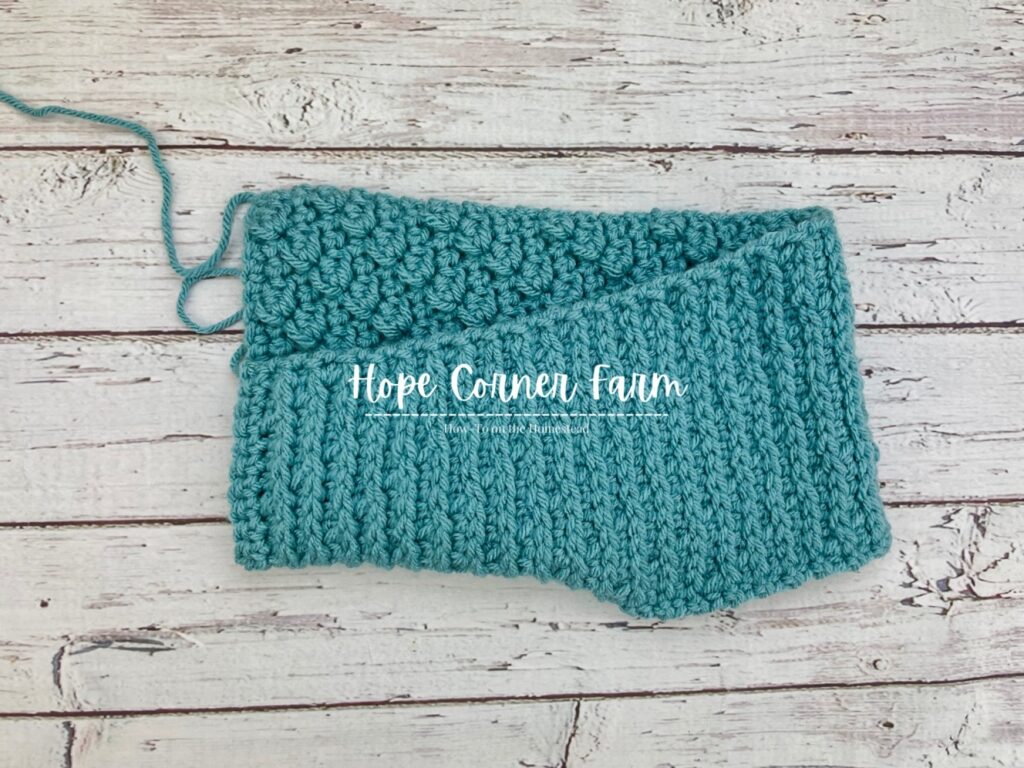
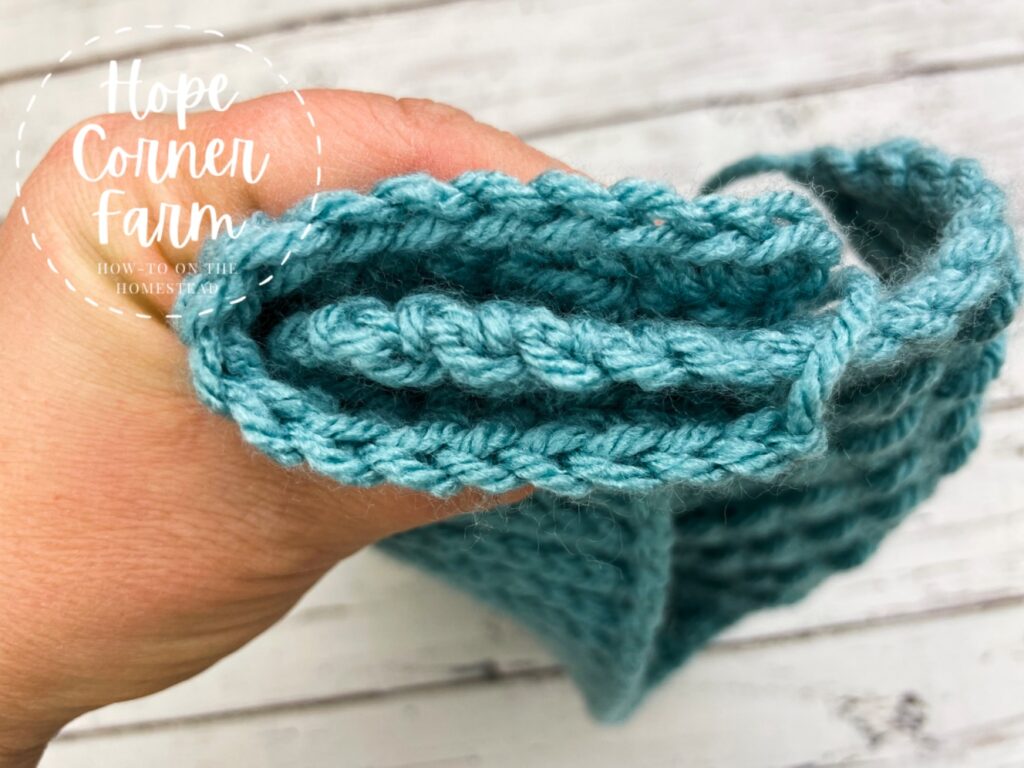
Finally, take the bottom side and fold it up and over the top of the headband. Make sure to match the two edges in the middle.
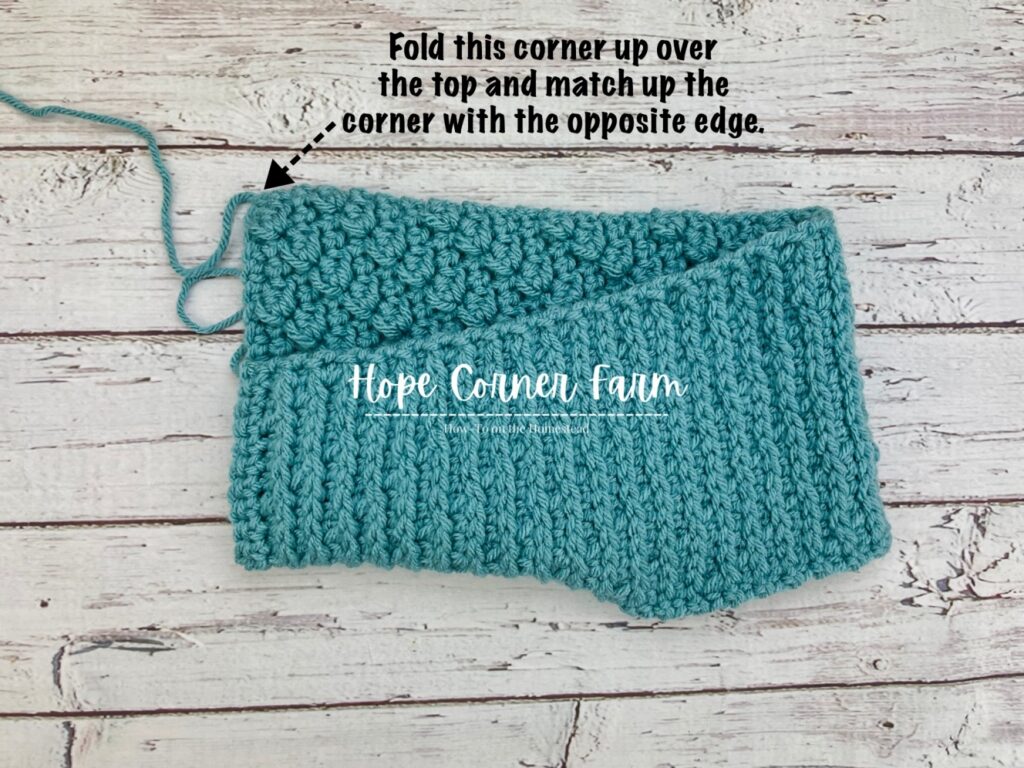
How to Sew the Free Crochet Headband
Using ONE of the yarn tails, sew across the folded edges using a running stitch. Make sure to catch all four sides when sewing!

Fasten off that yarn tail and weave in the end.
With the second yarn tail, sew across with a whip stitch over the edge of the seam. Again, make sure to catch all four edges with the stitching. Fasten off and weave in end.
Turning the Montana Headband
After sewing the free crochet headband and weaving in the ends, now it is time to turn it right-side out. You will need to mess with it to get it laying perfectly flat!
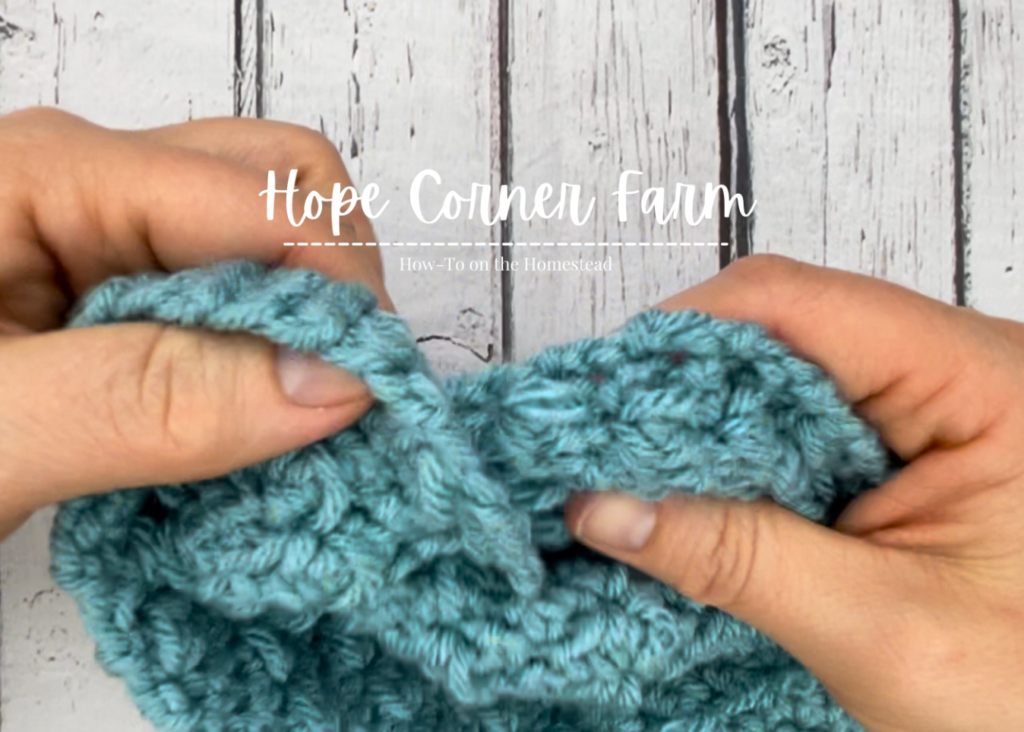
Now your crochet ear warmer is complete! Stay warm and stylish!
COPYRIGHT STATEMENT: This pattern is copyrighted in 2022 by Hope Corner Farm. Sharing information (photos and text) from this pattern is prohibited unless permission is specifically given by Hope Corner Farm. Selling items made from this pattern is permitted as long as a design reference is made to Hope Corner Farm (Ex. Pattern by Hope Corner Farm).
Video Tutorial for the Free Crochet Headband – The Montana
Free Crochet Headband Patterns? Look here!
Or this one from Melanie Ham

