How to Chain Stitch in Crochet
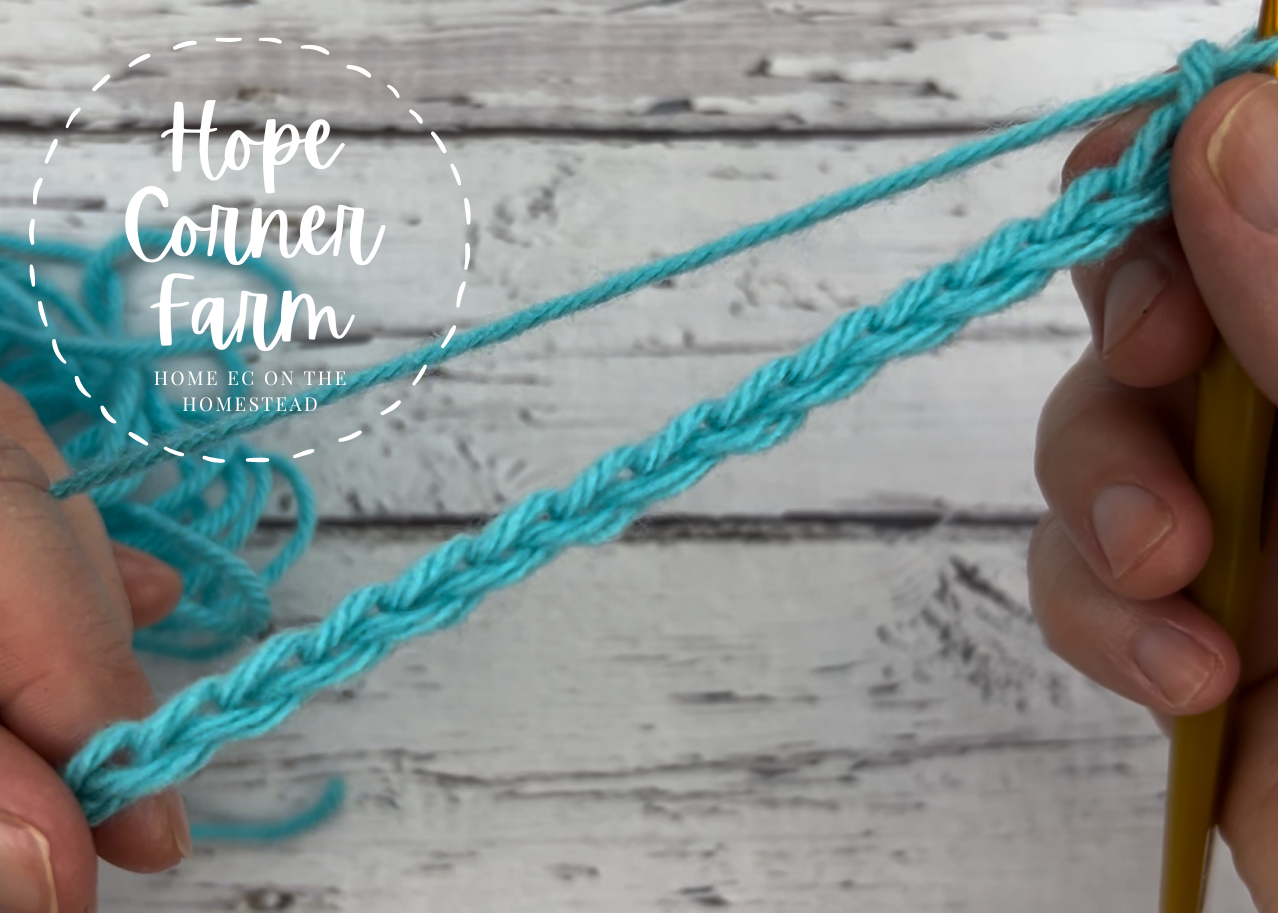
After learning how to create a slip knot in crochet, the next step to creating a crocheted project is the chain stitch. The chain stitch in crochet is a foundational stitch/skill that all crocheters need to learn, and it is a simple stitch to master. Let’s get learning how to chain stitch in crochet!
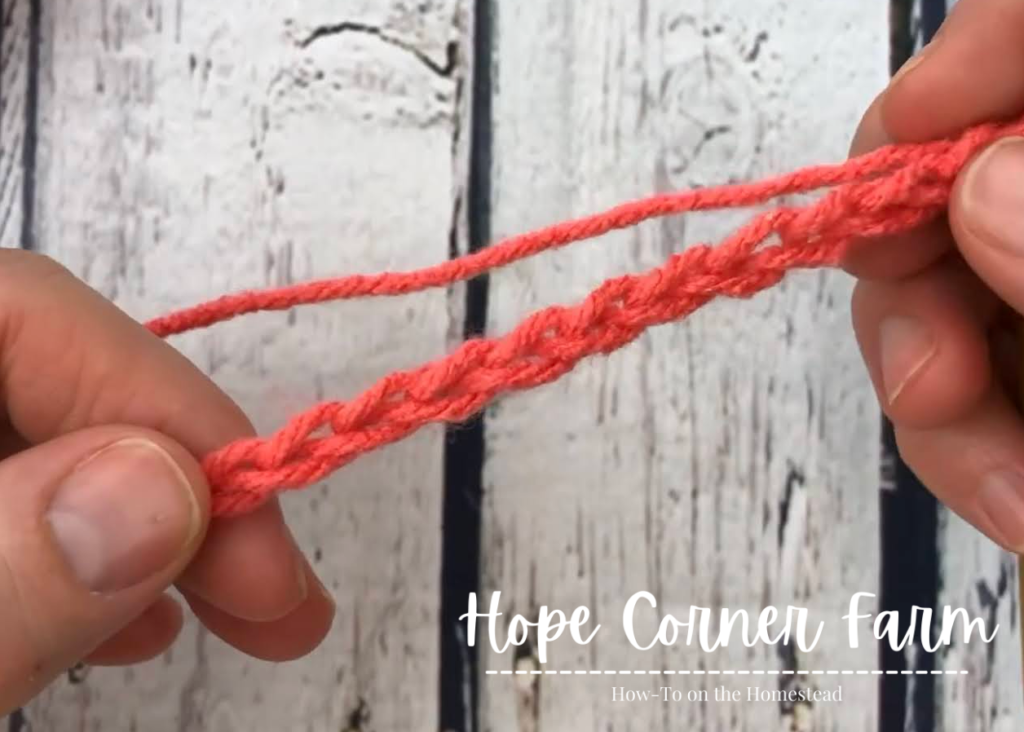
How to Chain Stitch in Crochet – Step One:
First, begin by placing a slip knot onto the hook and gently tighten the slip knot (don’t over-tighten the knot. The hook should be able to easily slip through the knot).
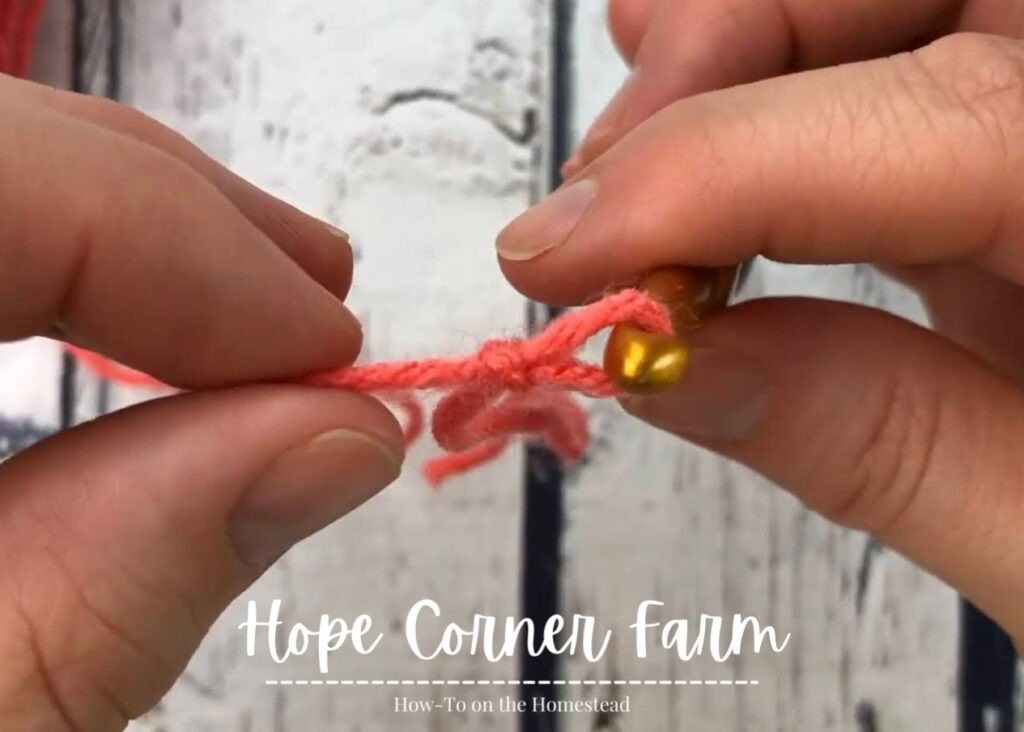
If you need to see how to create a slip knot, check out this post:
Step Two:
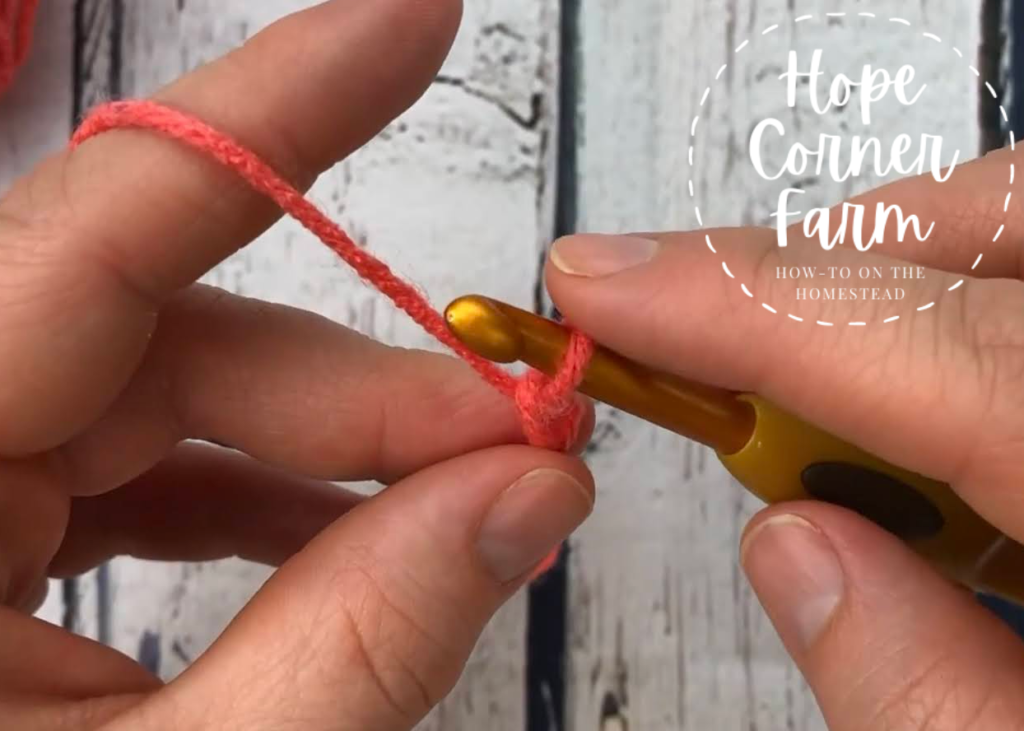
Secondly, begin by yarning over (do this by going under and then up behind the yarn that is attached to the skein/ball).
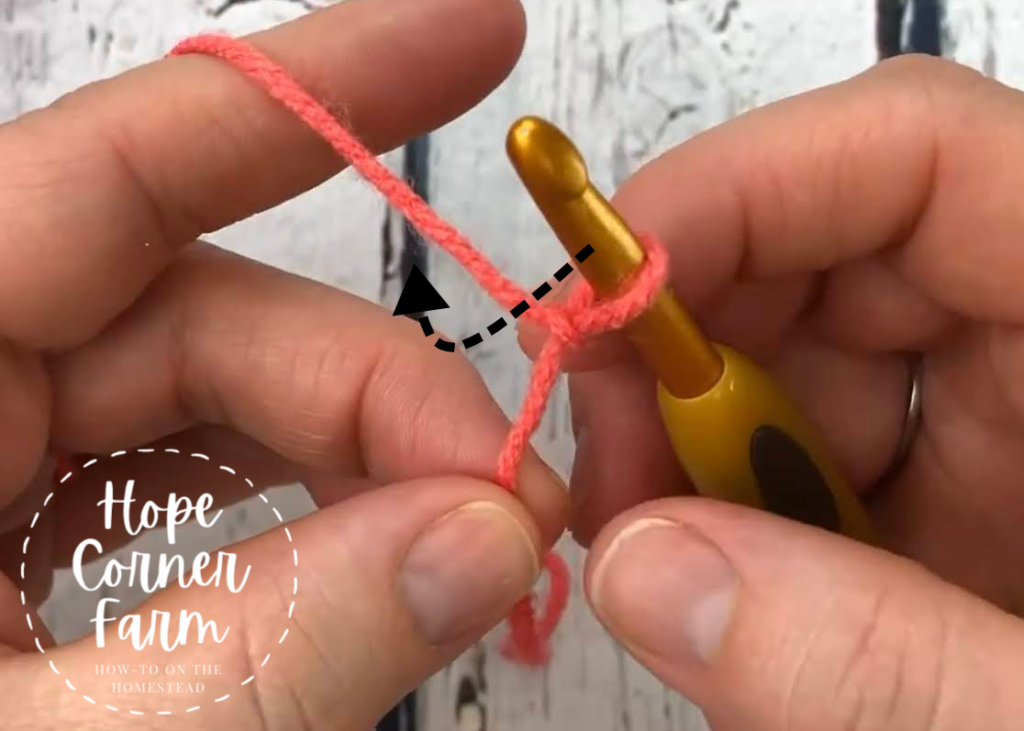
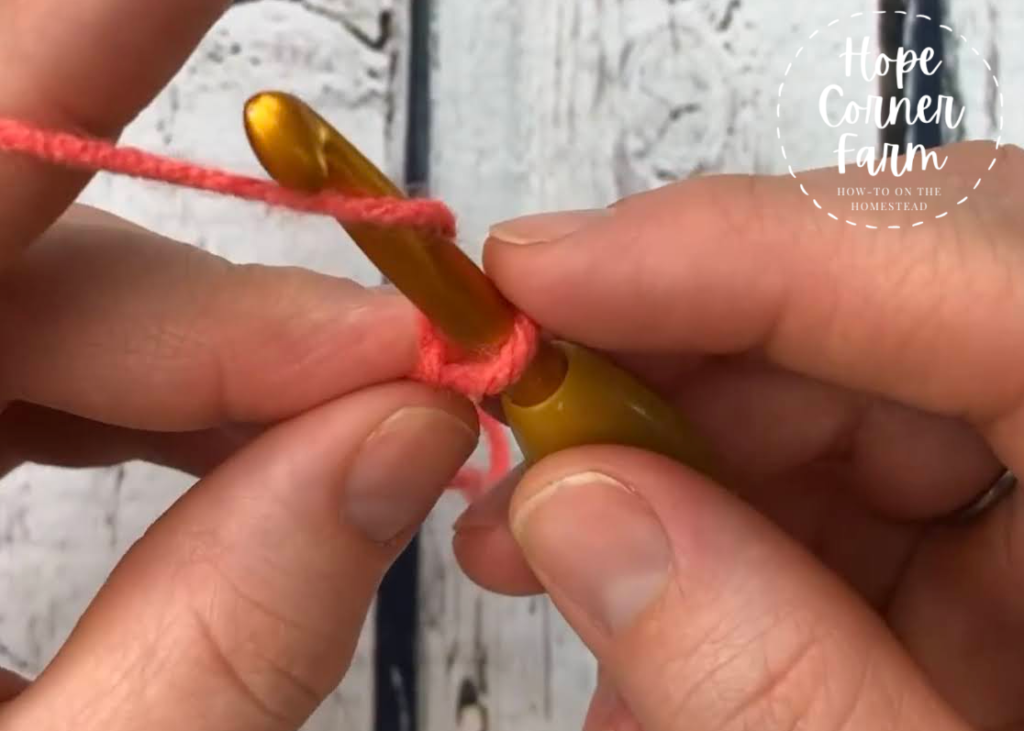
In addition, notice how the hook rotates slightly as you yarn over (see pictures above and notice how the hook rotated in those pictures).
Step Three:
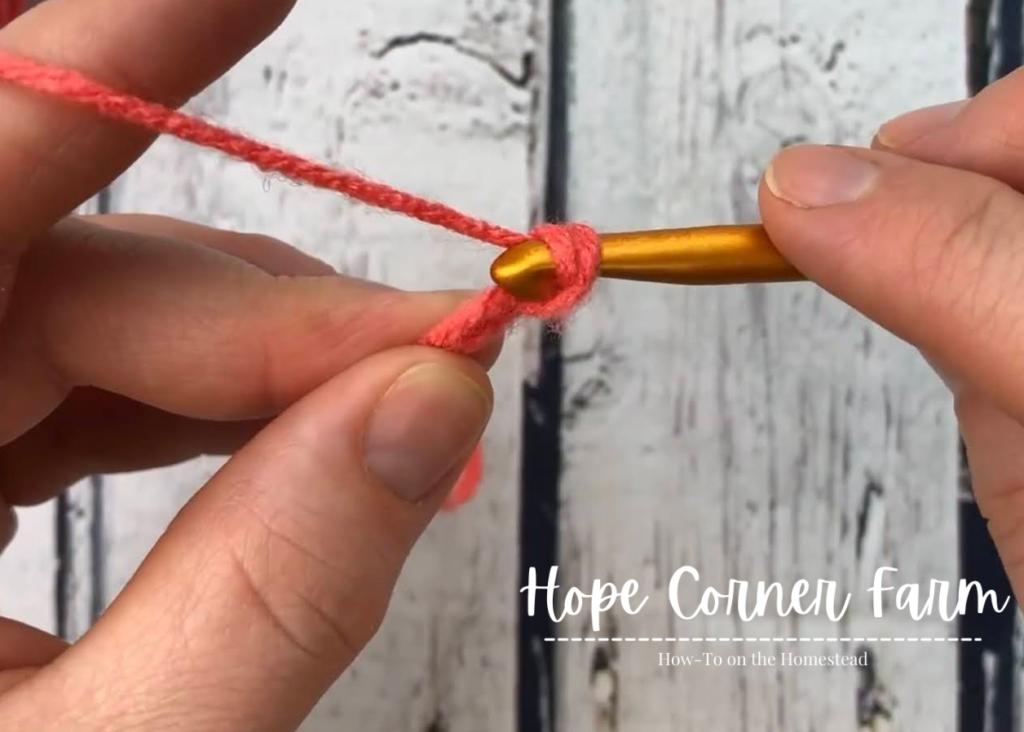
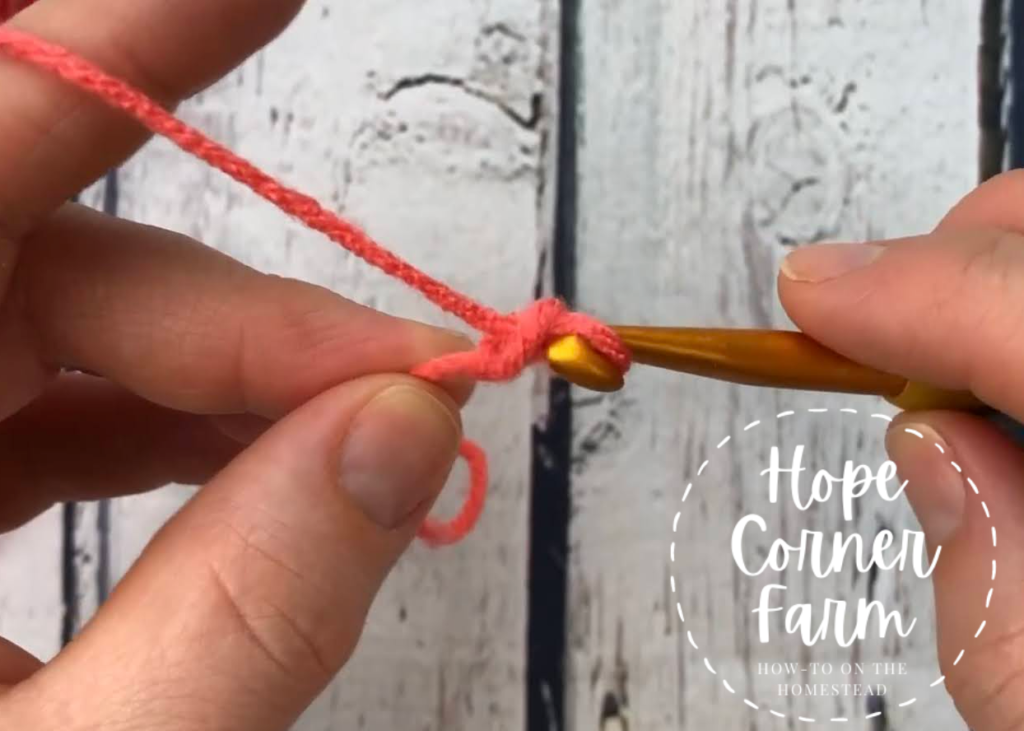
Next, with the nook of the crochet hook rotated down, pull the yarn over through the slip knot on the hook.
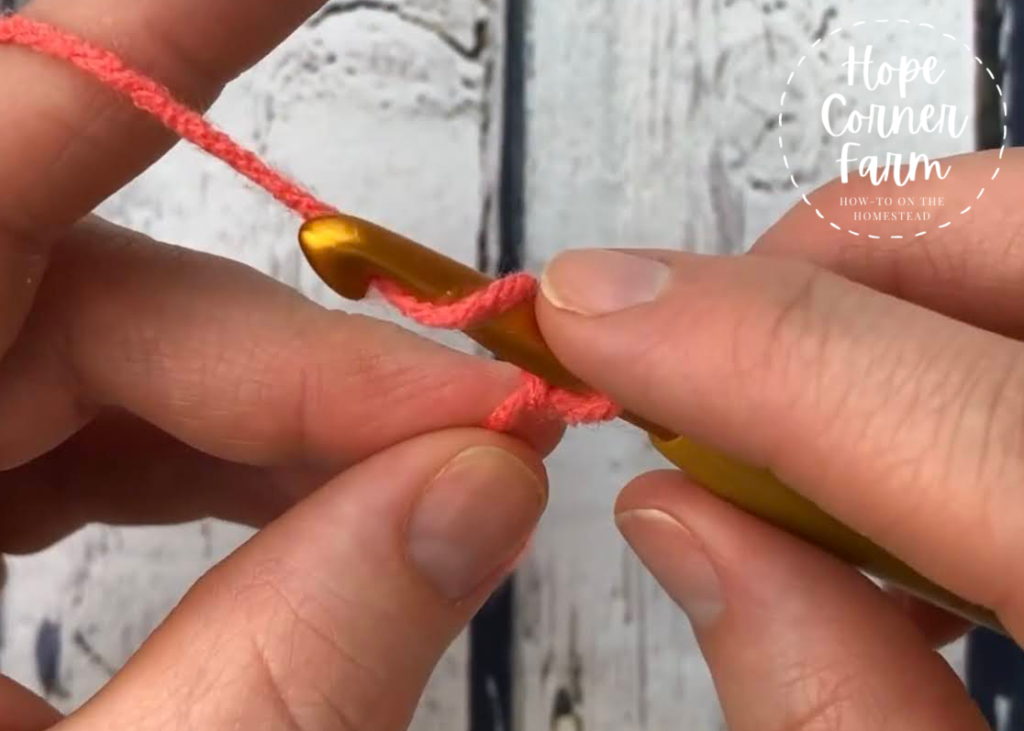
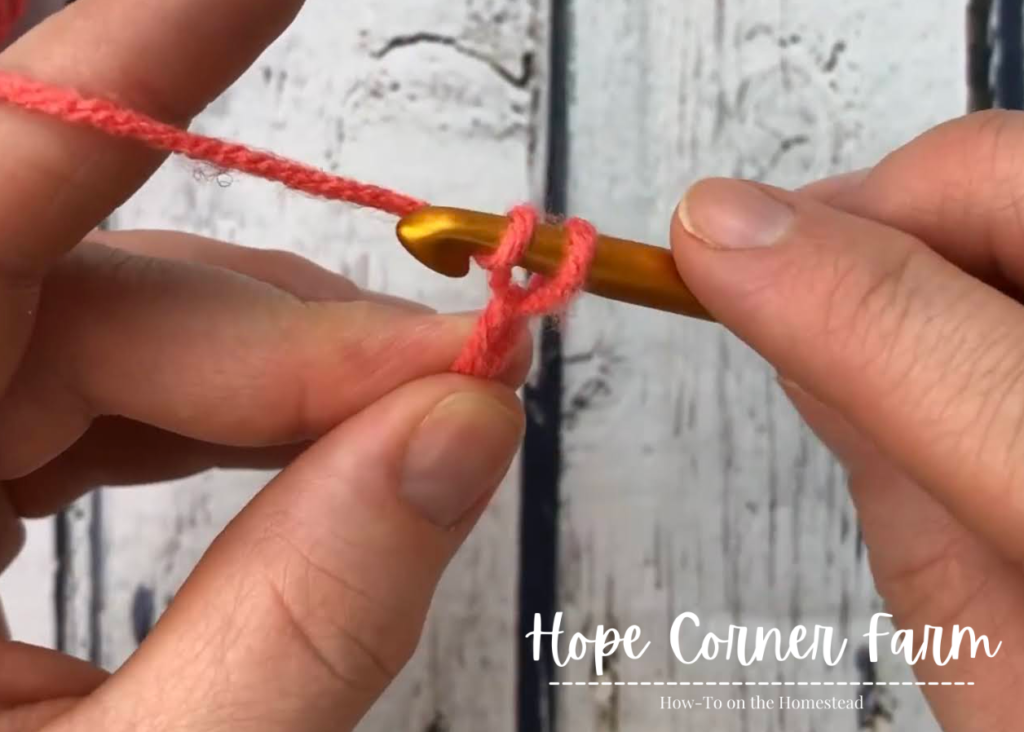
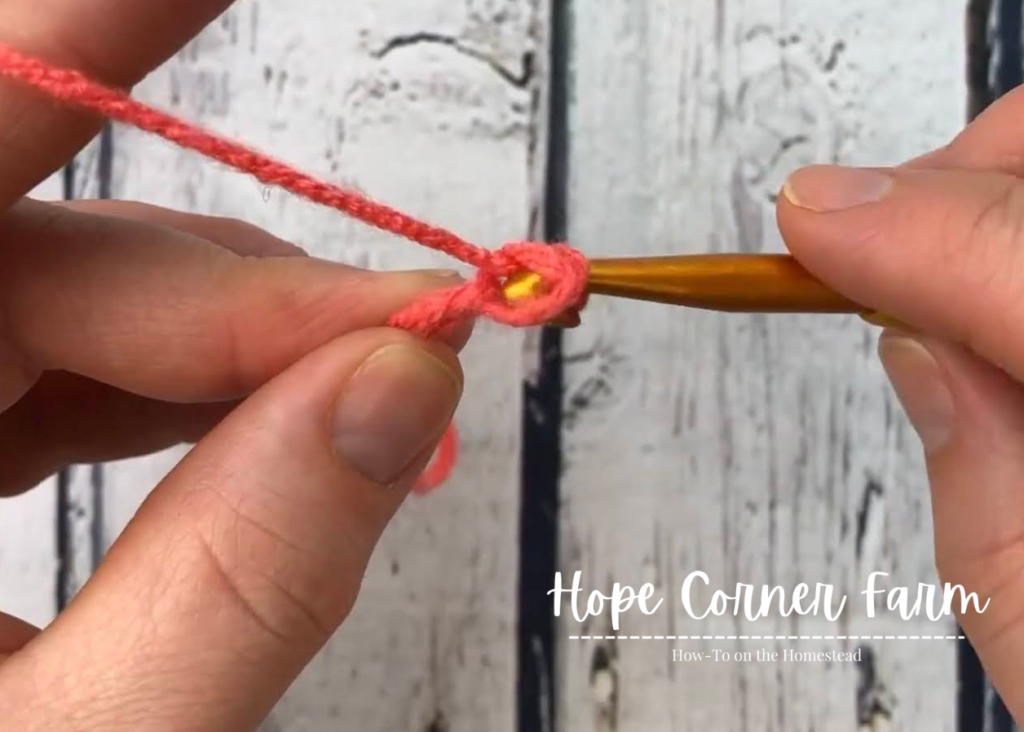
Step Four:
After the yarn is completely pulled through the loop you have successfully completed one chain stitch!
Wrapping it Up:
Similarly, you complete each subsequent chain by repeating the exact same steps!
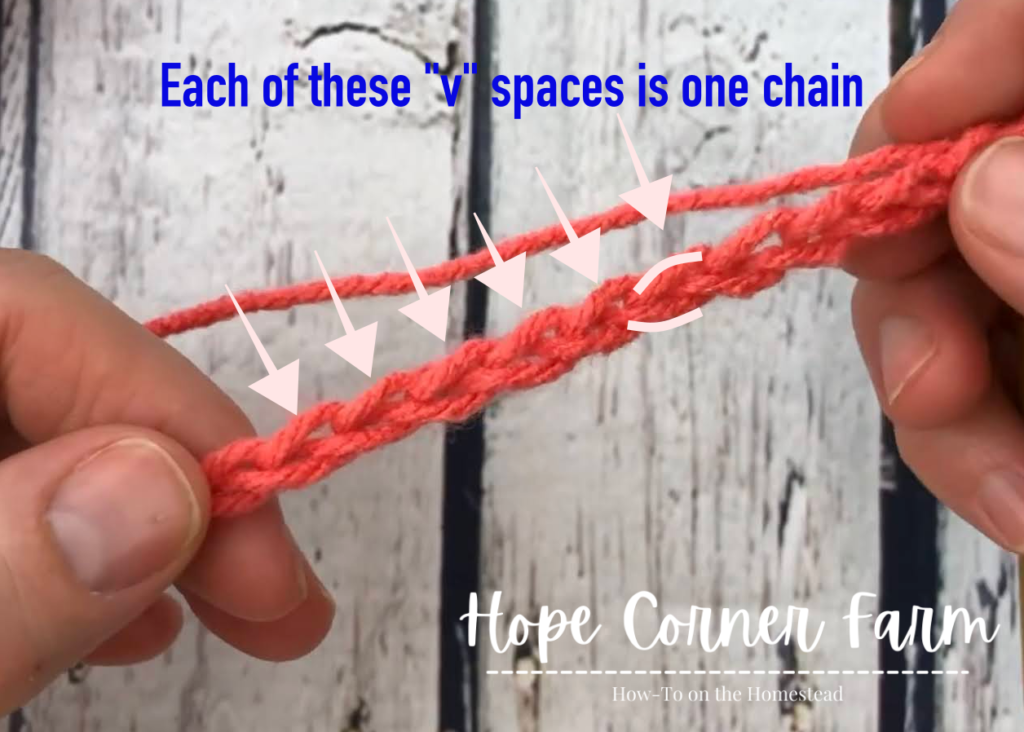
In addition, to count the number of chains, simply count each “v” on the chain. One “v” equals one chain (see the picture below).
How to Slip Knot and Chain in Crochet Video:
Finally, if you need to see this stitch completed in a slow-paced video, please check this one out!
Now you are ready to learn more crochet stitches! I warn you…this can become a very addicting hobby! I spend a majority of my free time crocheting! Hopefully you come to enjoy crocheting as much as I do!
Many Blessings,

Looking for crochet projects that use the chain stitch? Check these out!

