How to Slip Knot in Crochet

Most crocheted projects start with a slip knot. Being able to get the yarn properly on the hook is the most basic skill to learn. Learning how to slip knot in crochet is a fairly easy technique to conquer. Once you’ve mastered this, you can begin a number of fun projects! Let’s get crocheting.

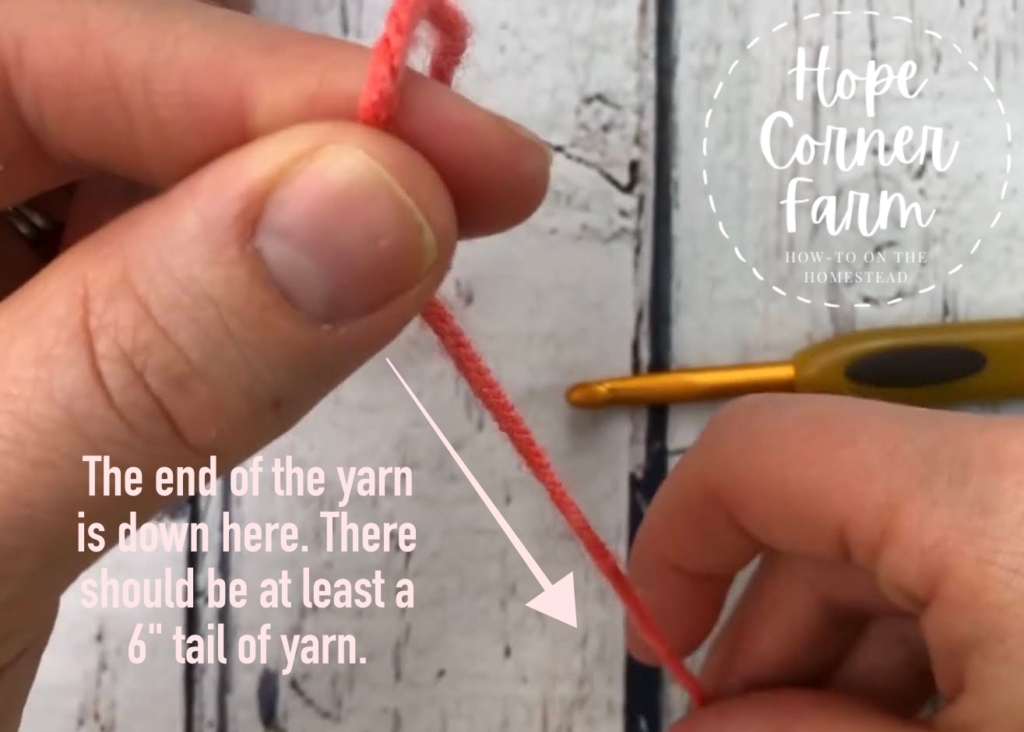
How to Slip Knot in Crochet – Step One:
Begin by draping the yarn over the index finger. Leave a tail of at least 6″ hanging down from the finger.
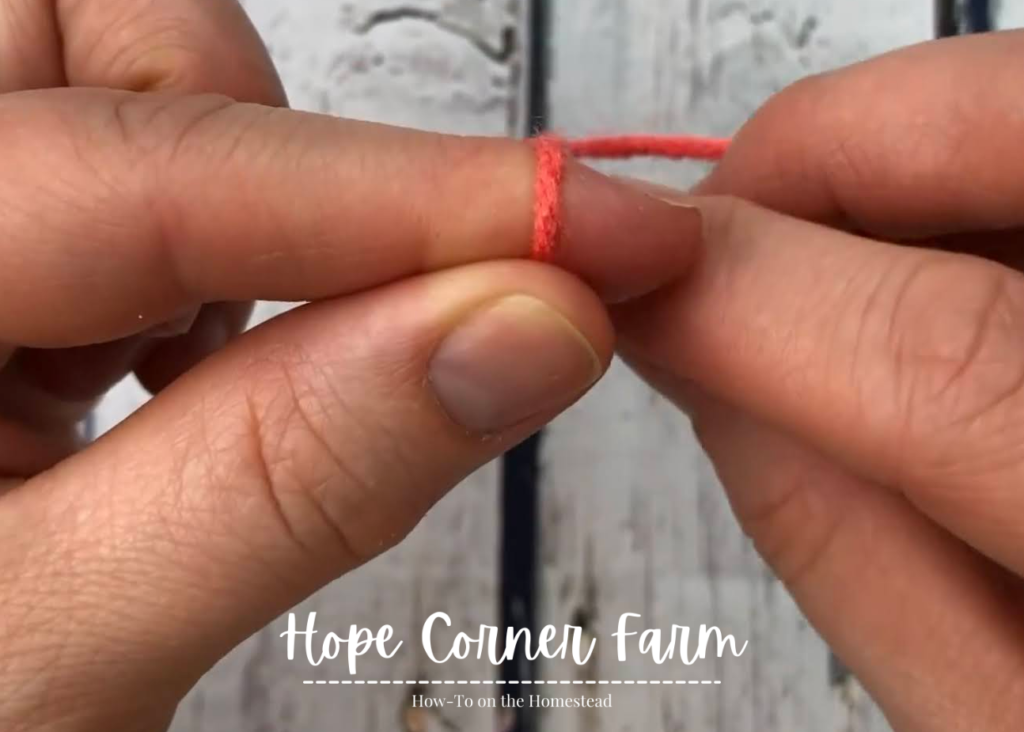
Step Two:
Pinch with the thumb to hold the yarn in place.
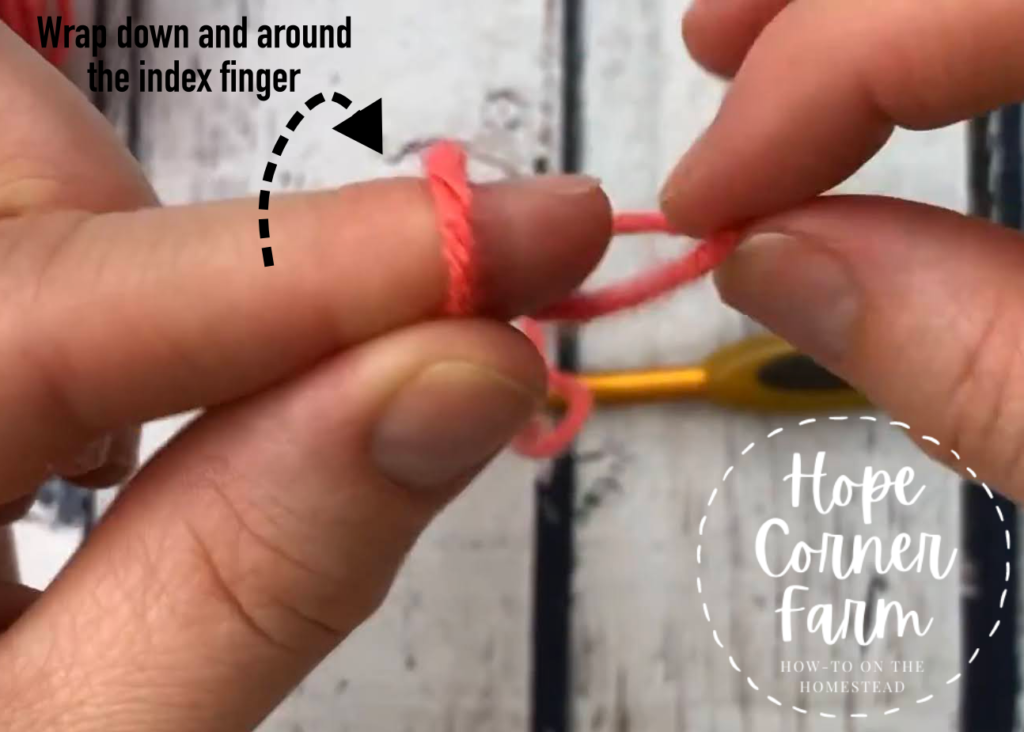
Step Three:
Grab onto the end of the yarn that is till attached to the skein and wrap it down, around, under, and back up to the top of the index finger.
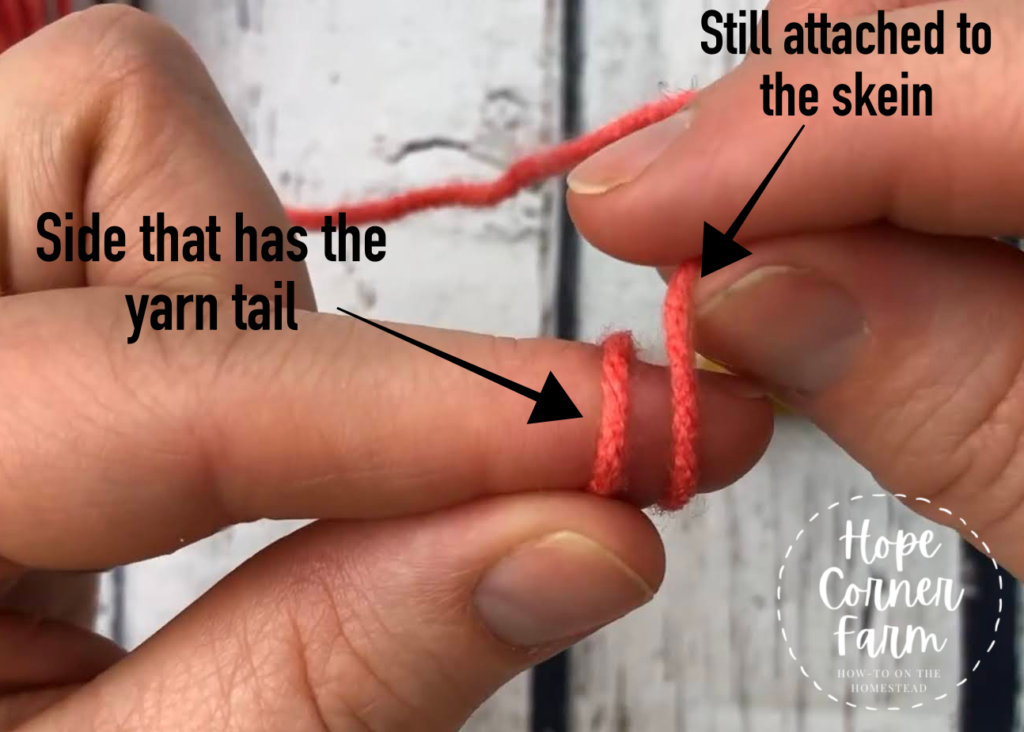
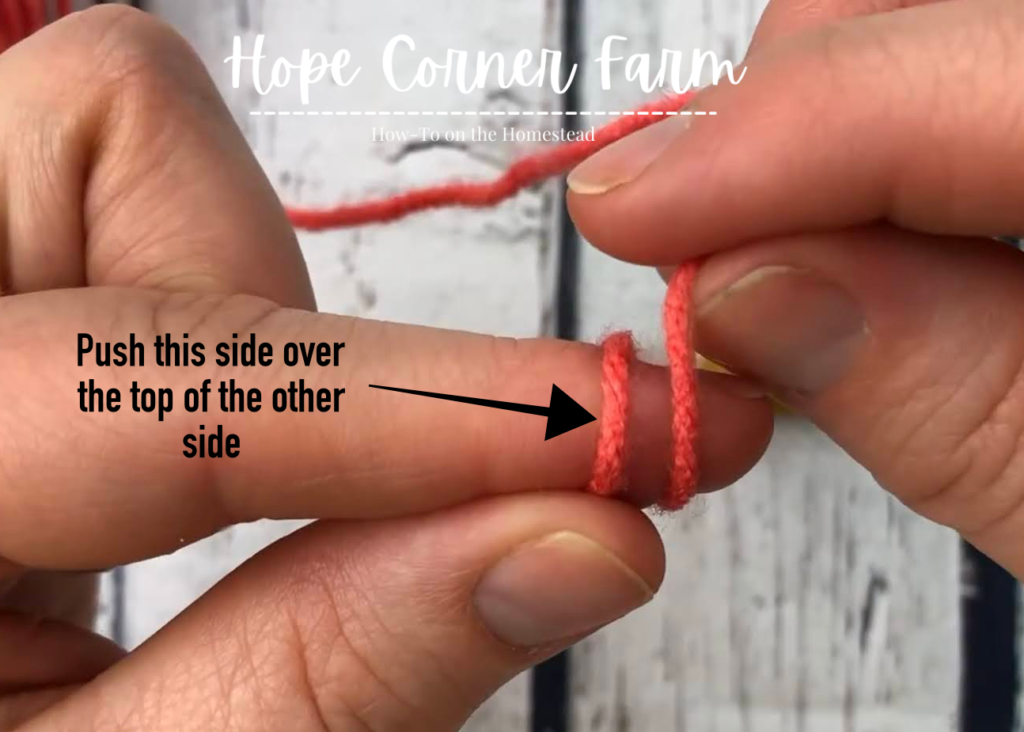
Step Four:
Take the side closest to the palm (the yarn tail side) over the top of the yarn that is still attached to the skein.
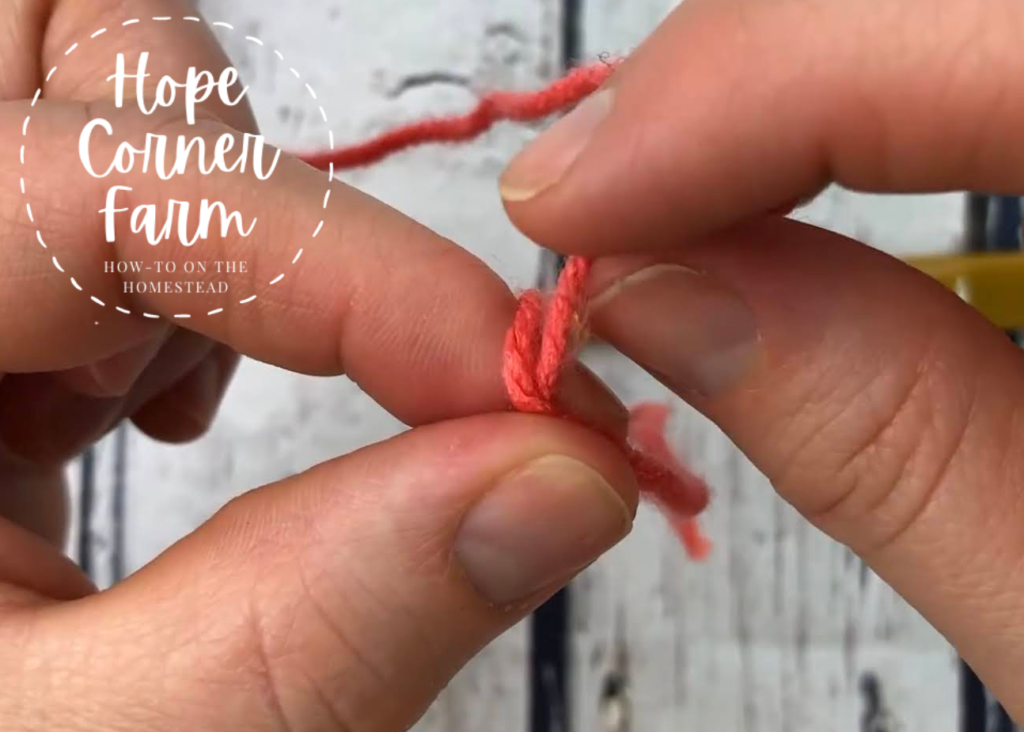
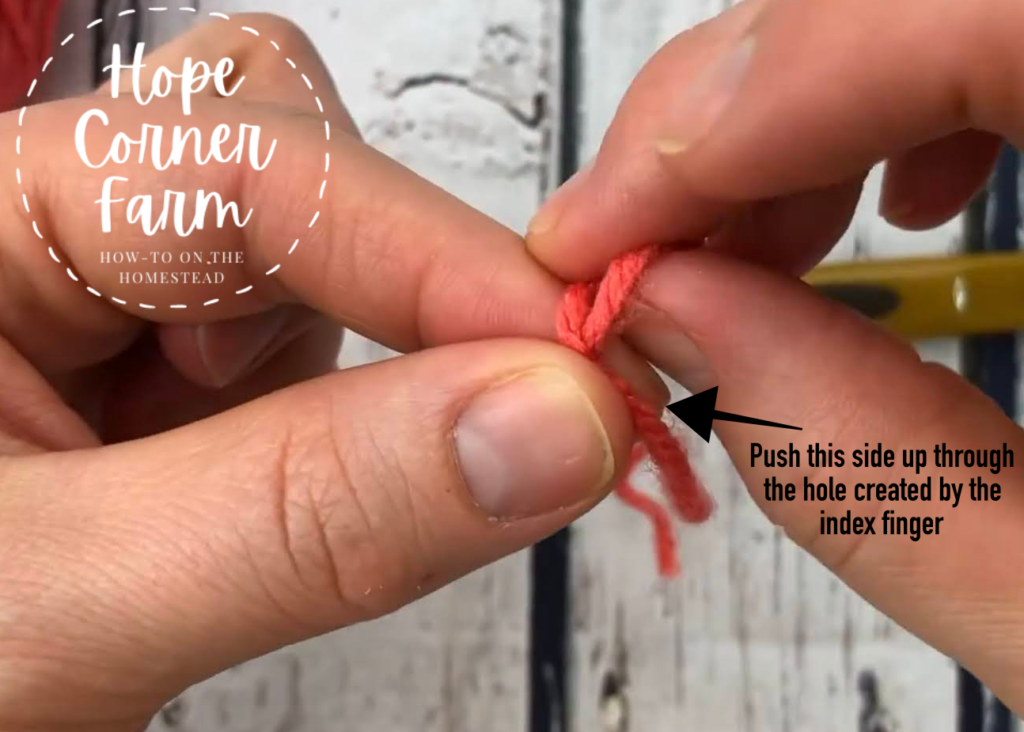
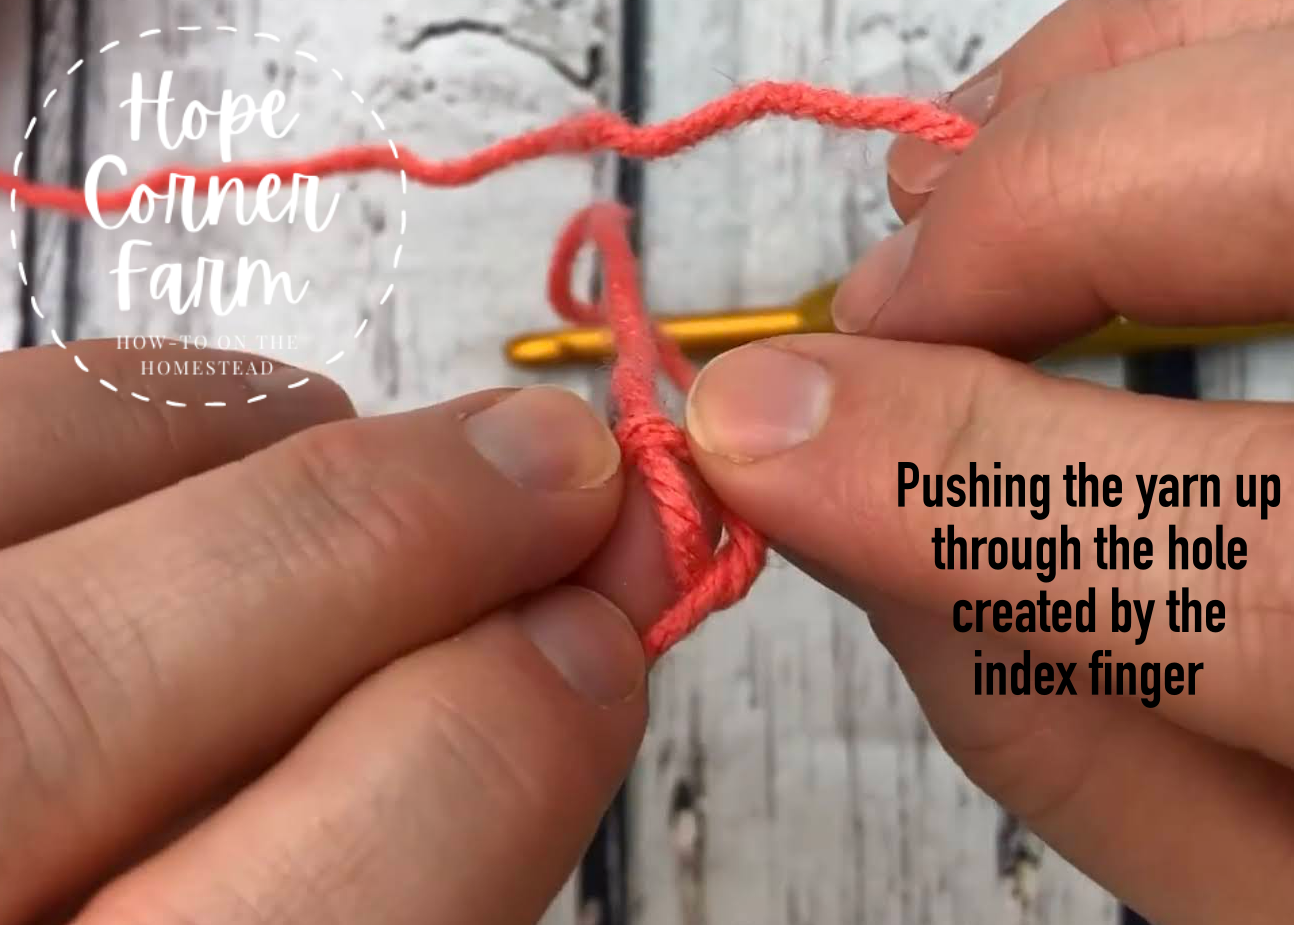
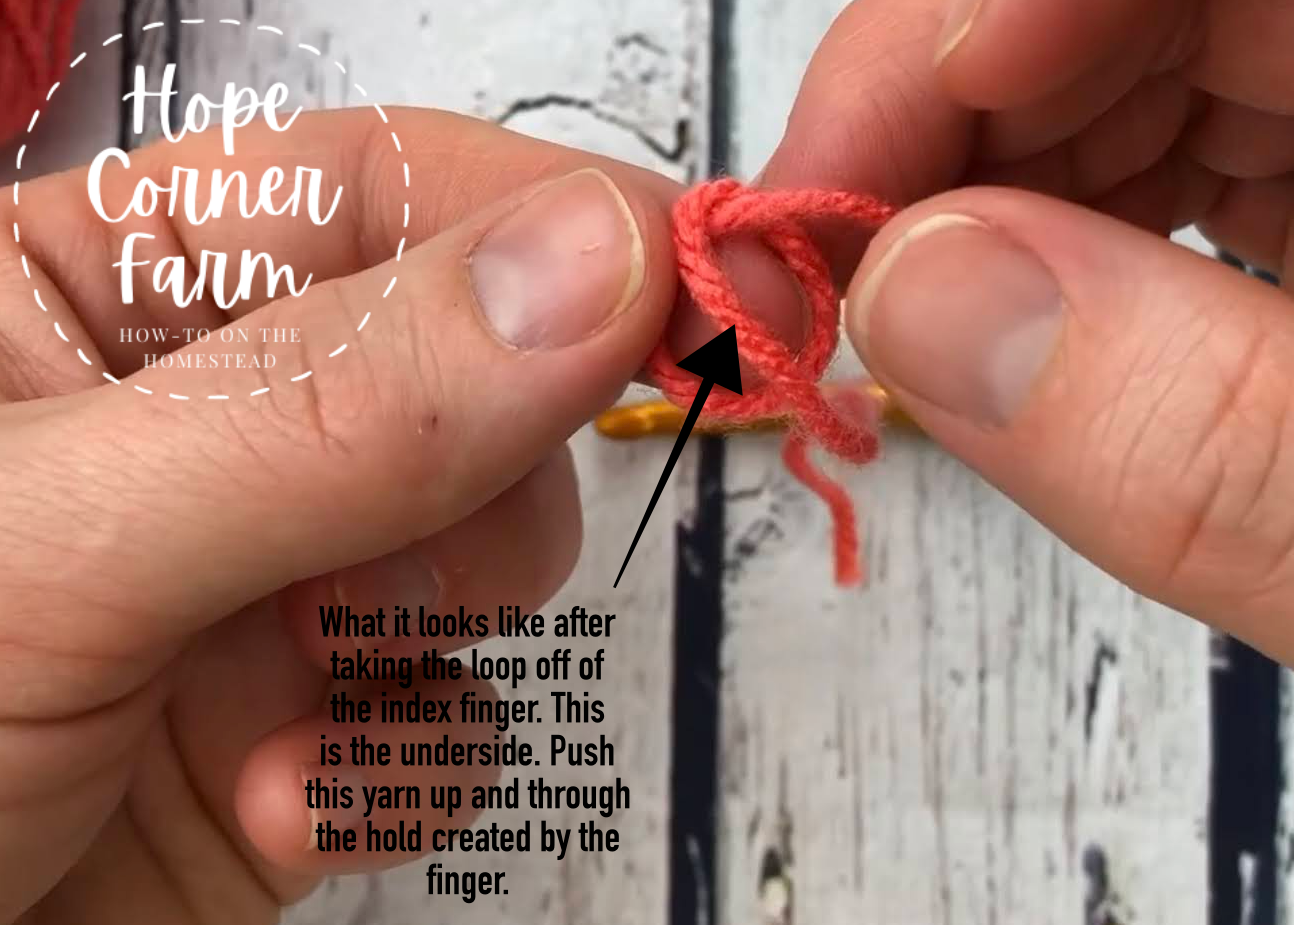
How to Slip Knot in Crochet – Step Five:
Push the yarn tail side up and through the hole that has been created by the index finger.
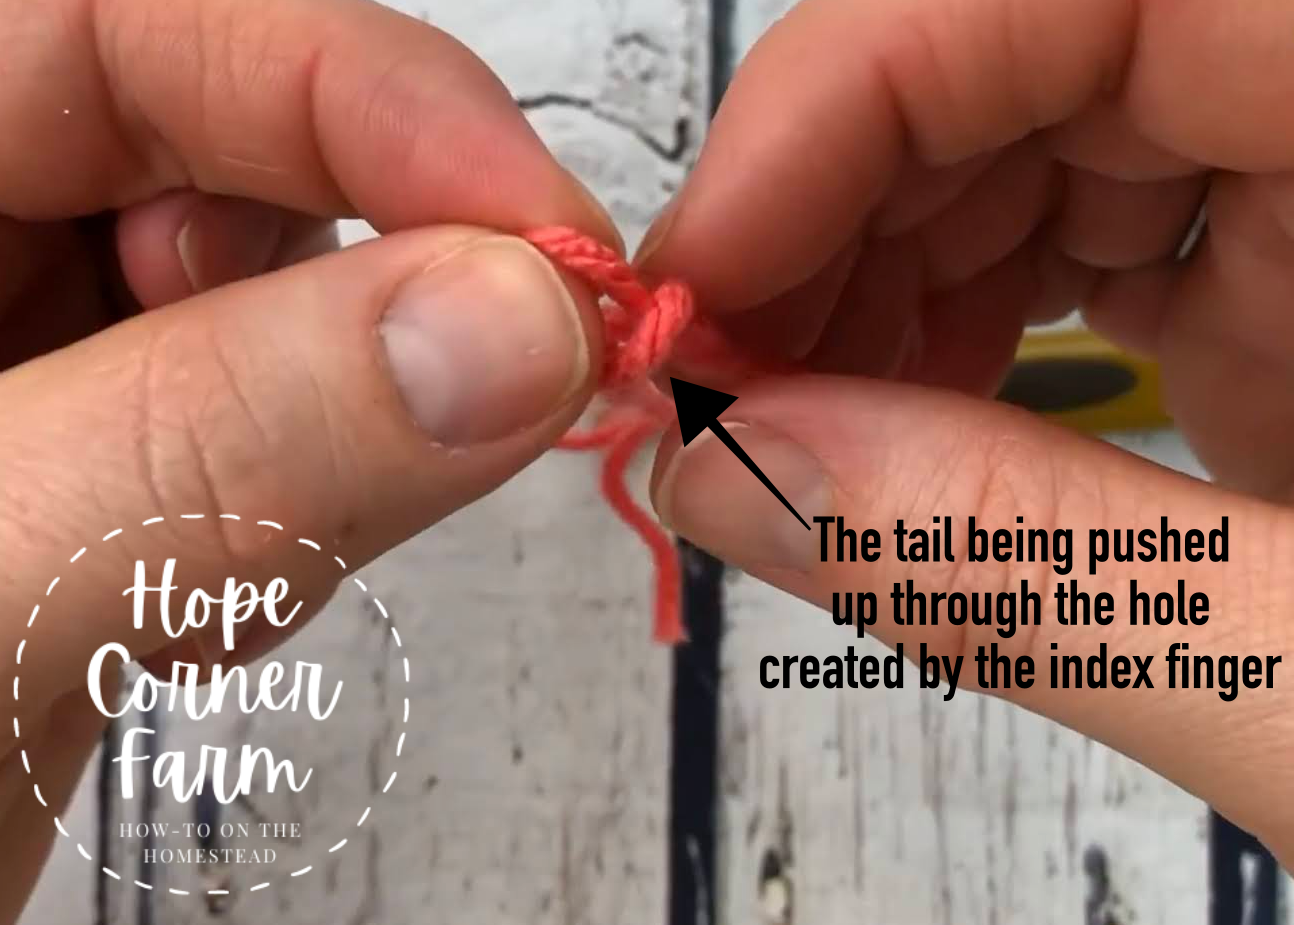
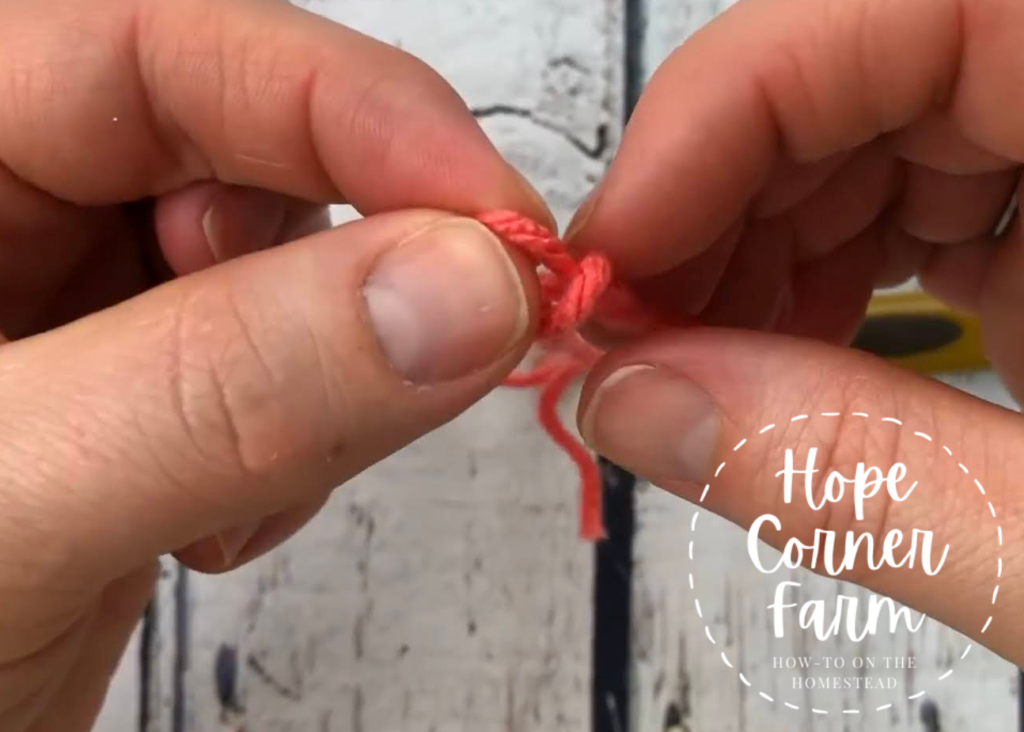
Step Six:
Grab onto the loop that came through the hole.
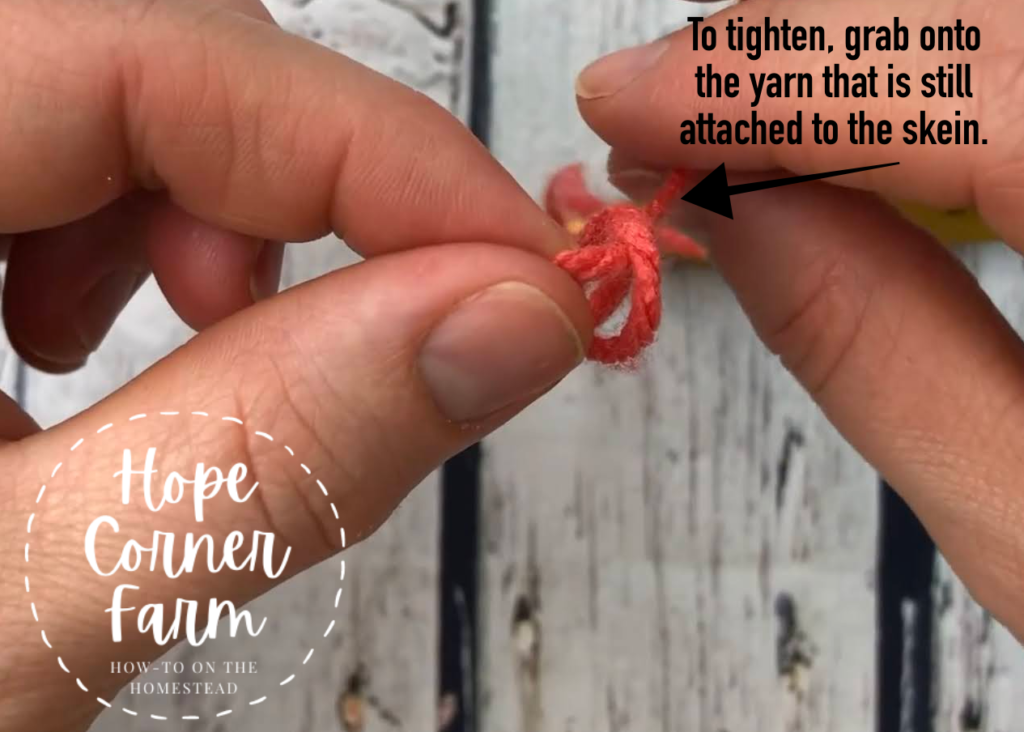
Step Seven:
To tighten the slip knot, grab onto the yarn that is still attached to the skein of yarn and gently pull.
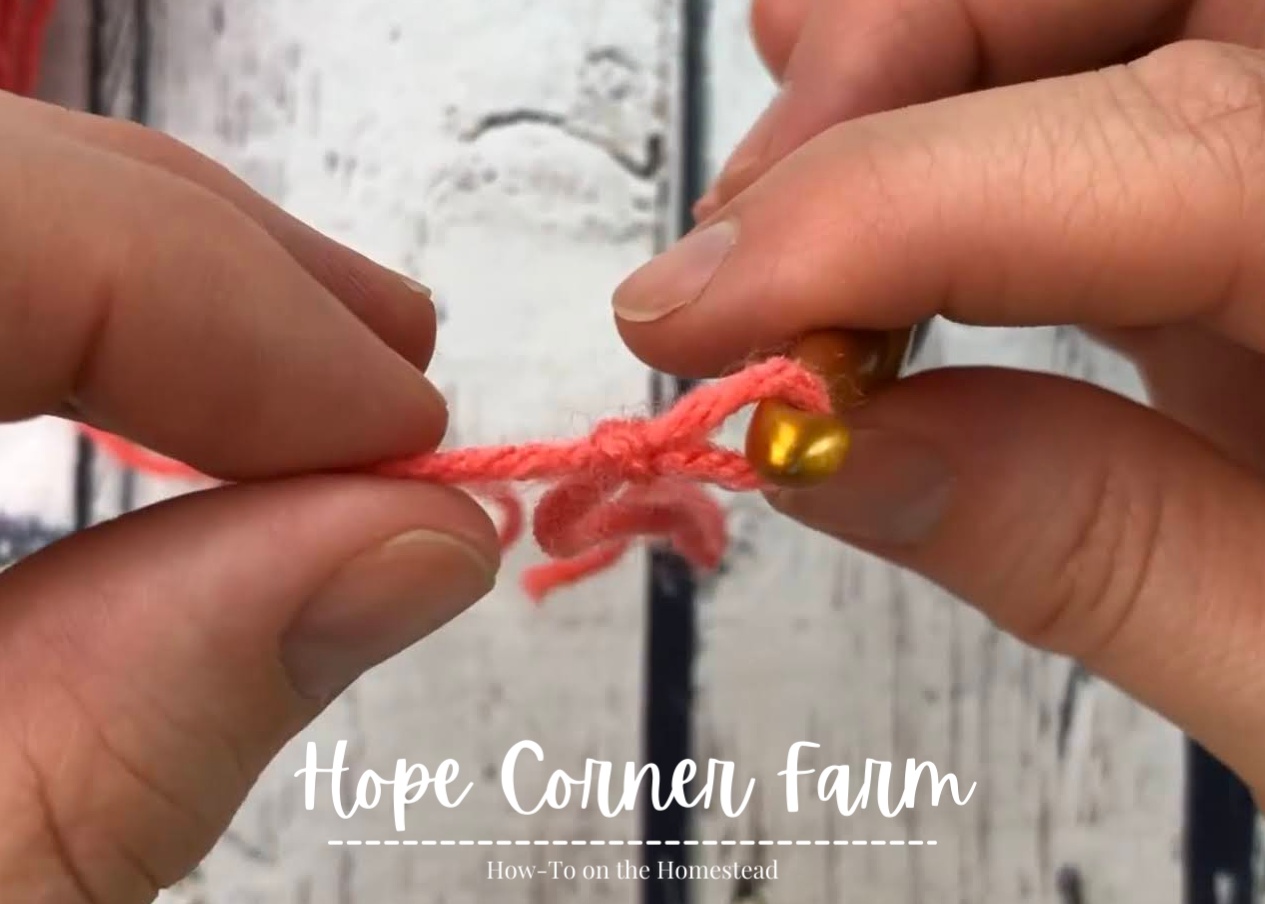
Step Eight:
The knot should now look like this:

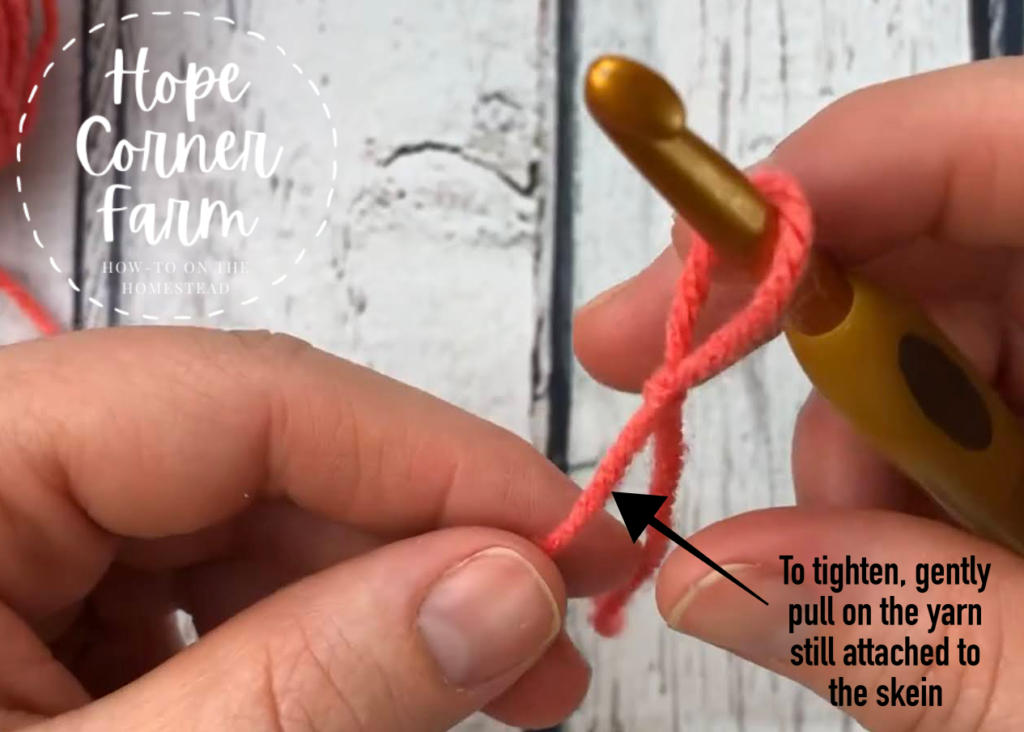
Place the knot onto the crochet hook. Tighten the slip knot by gently pulling on the yarn that is still attached to the skein. Do not over tighten the knot. The hook should be able to easily slide through the loop on the hook.
This is what a proper slip knot looks like! Now we are ready to get crocheting!

How to Slip Knot in Crochet Video Tutorial:
Crochet Patterns that Use the Slip Knot:
Many Blessings,