
How to Floret Stitch in Crochet


The Floret Stitch is a beautifully simple crochet stitch that creates a soft, textured fabric with a subtle woven look. It’s an easy two-row repeat that works up quickly, making it perfect for beginners as well as experienced crocheters looking for a relaxing stitch pattern. In this tutorial, you’ll find step-by-step written instructions, a detailed photo guide, and a full video tutorial to help you learn the Floret Stitch with confidence. Whether you want to make blankets, scarves, dishcloths, or other cozy projects, this stitch is a versatile favorite you’ll come back to again and again.


First, check out our video tutorial on our You Tube Channel! Subscribe to get the latest crochet fun from Hope Corner Farm Crochet!
What Is the Floret Stitch in Crochet?
The Floret Stitch is an easy, textured crochet stitch created by alternating slip stitches and half double crochet stitches across each row, then offsetting them in the next row with a row of double crochet stitches. This simple two-row repeat gives the fabric a soft, woven appearance that looks more intricate than it really is. The Floret Stitch works up quickly, lies flat, and has a lovely drape, making it perfect for both beginners and experienced crocheters. It’s especially popular for projects like blankets, dishcloths, scarves, and lightweight garments because of its smooth texture and versatility.
Crochet Techniques Used in the Floret Stitch:
Foundation Double Crochet (FDC)
What You’ll Need to Crochet the Floret Stitch:
Crochet hook of choice (I used a J (6.0mm) crochet hook for this tutorial)
Yarn weight and color of choice (I used a medium weight – size 4 yarn for this tutorial)
How to Start the Floret Stitch in Crochet:
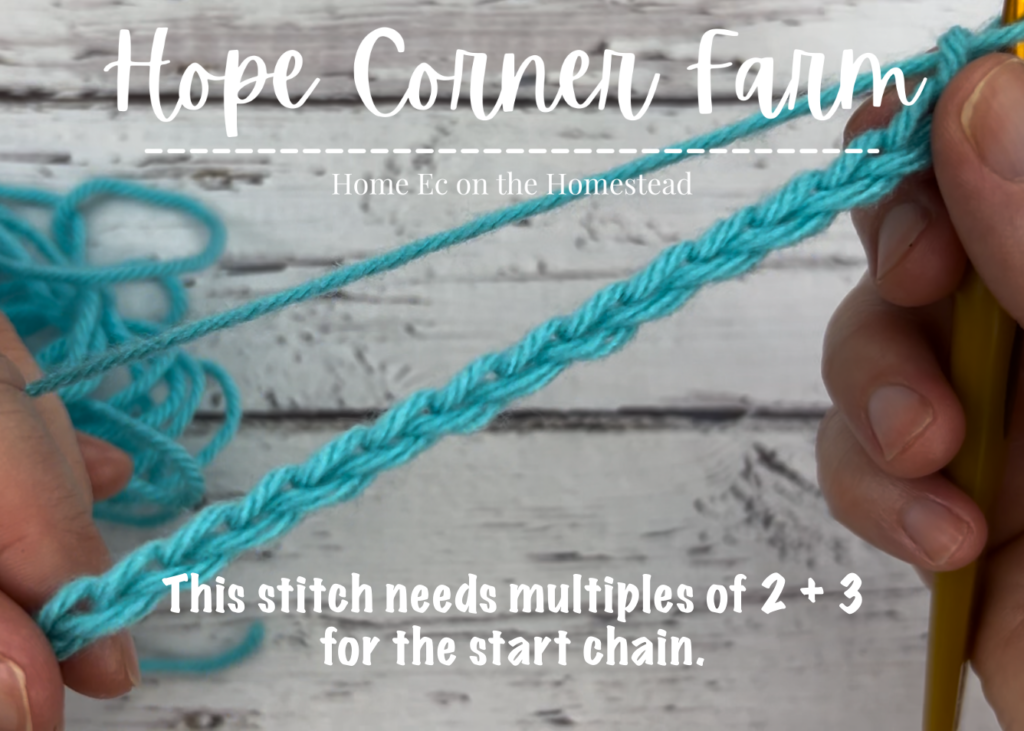
The Floret Stitch requires multiples of 2 + 3 for the start of the stitch. This is if you use a chain start. For Example, you could chain 15 to start. This would give you a row of 11 when completed.
This stitch could also start with a Foundation Double Crochet Stitch to start. If this option is chosen, if we wanted the same stitch count of 11, we would need to FDC 11 times. This start option eliminated the chain start AND also eliminates Row 1.
Again, if choosing to start the Floret Stitch with a Foundation Double Crochet Stitch, you will FDC the desired number of stitches and then skip to Row 2 for the Floret Stitch!
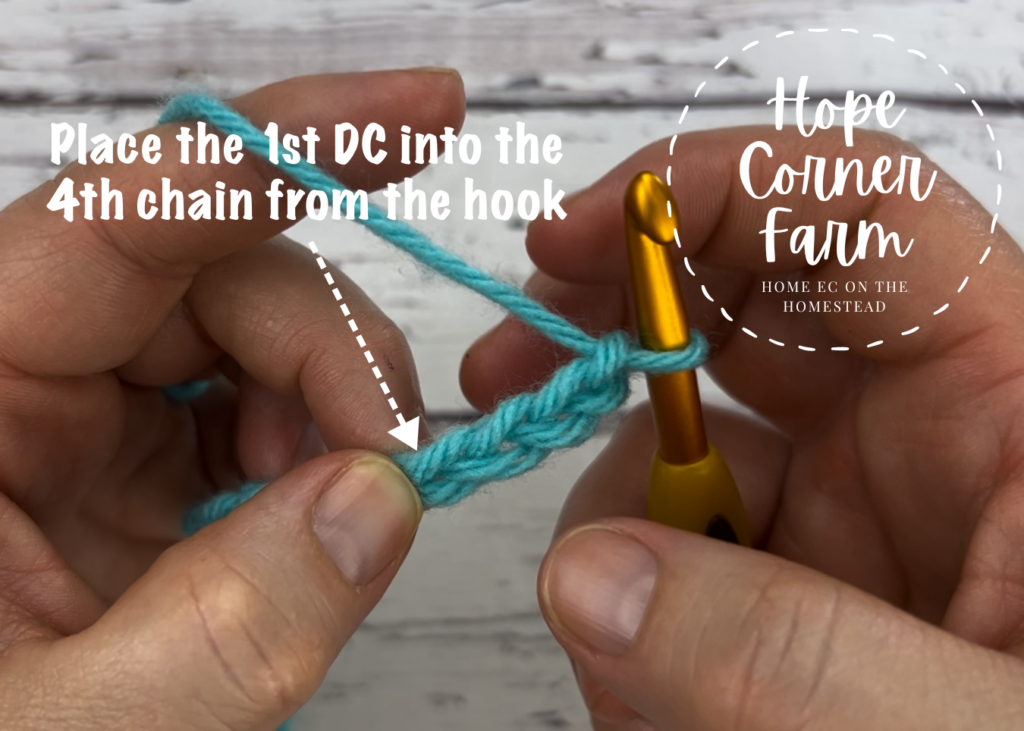
Row 1:
Place a Double Crochet stitch in the 4th chain from the hook.
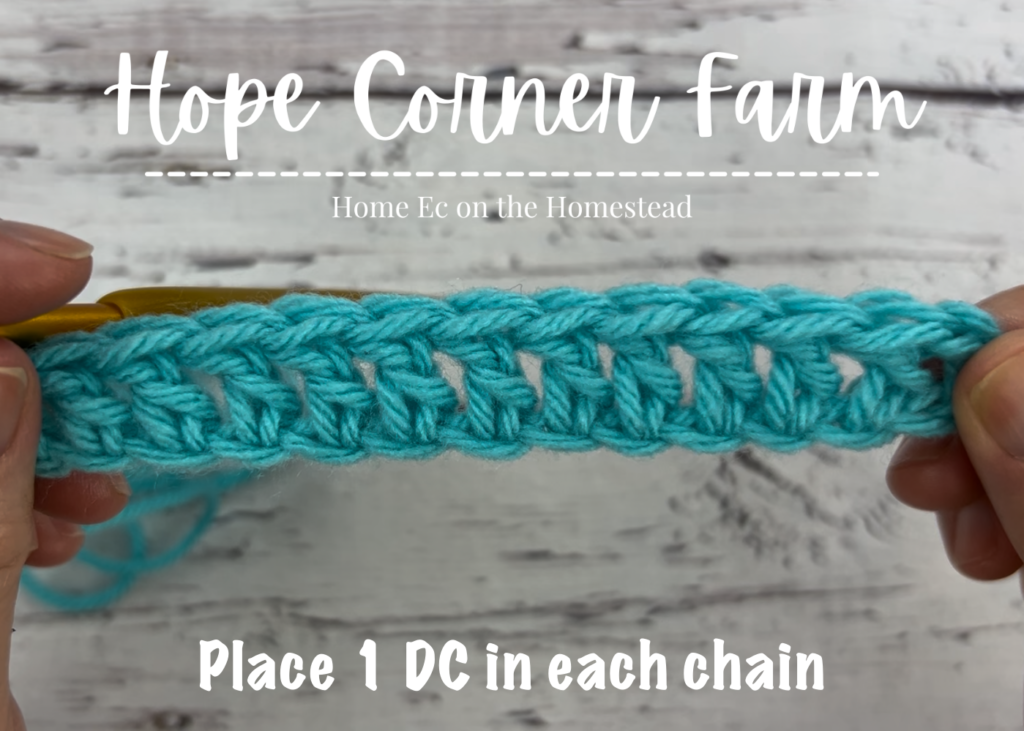
Place one DC in each chain across. There should be an odd number of stitches at the end of the row.
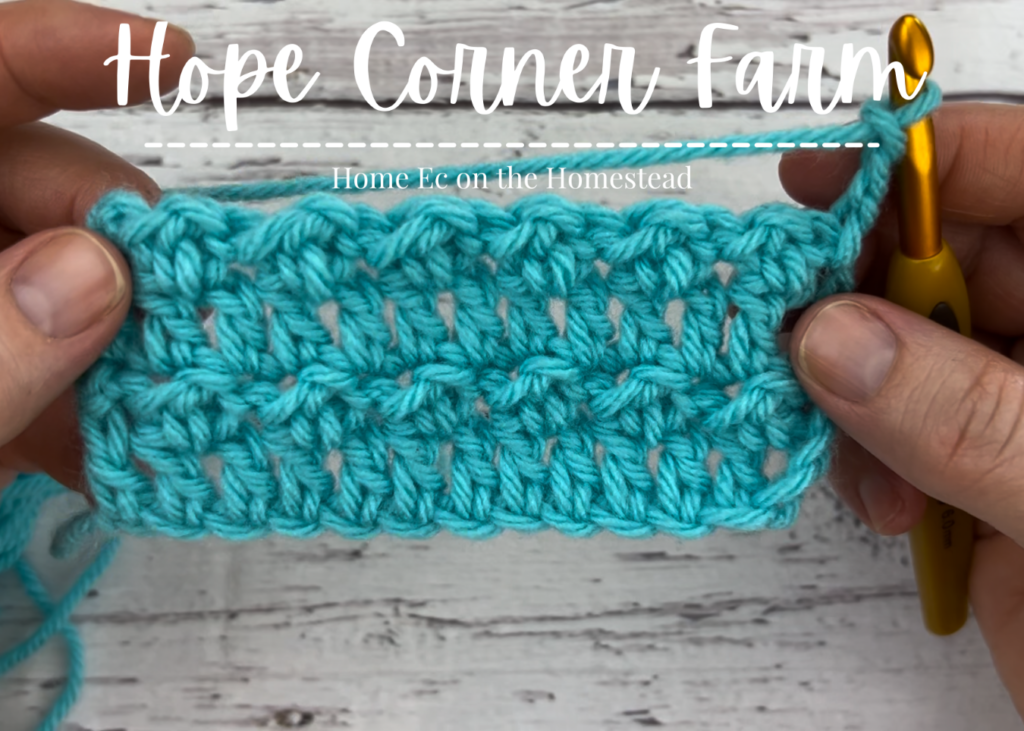
Row 2 – How to Floret Stitch in Crochet:
To start, chain 1 and turn.
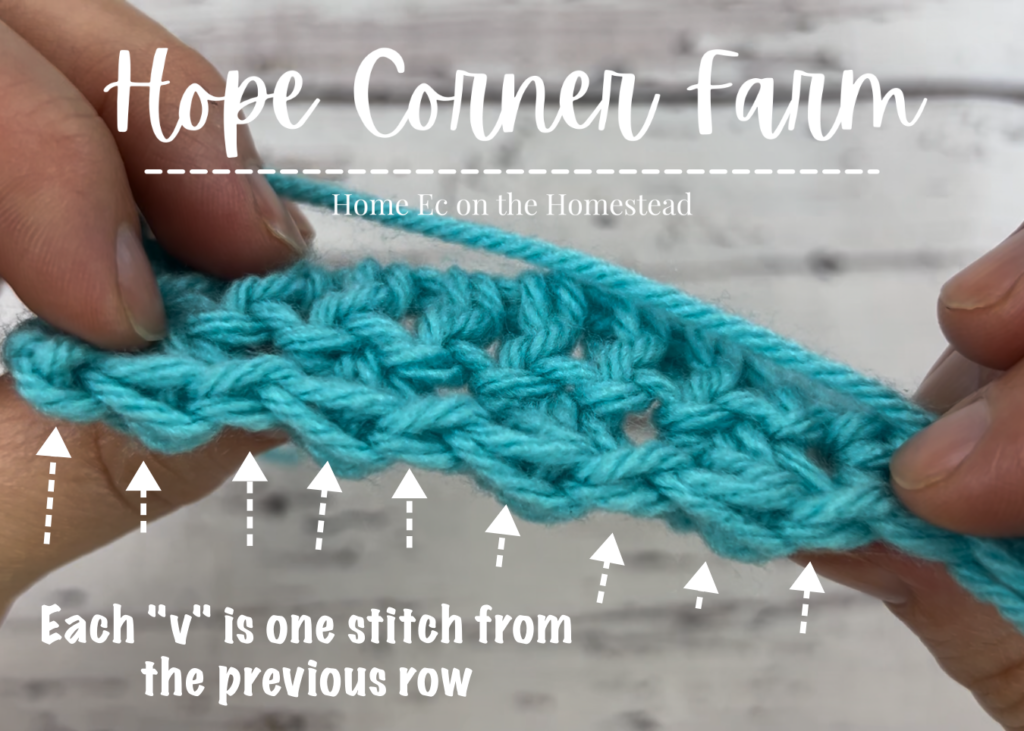
Place a Half Double Crochet stitch in the next stitch.
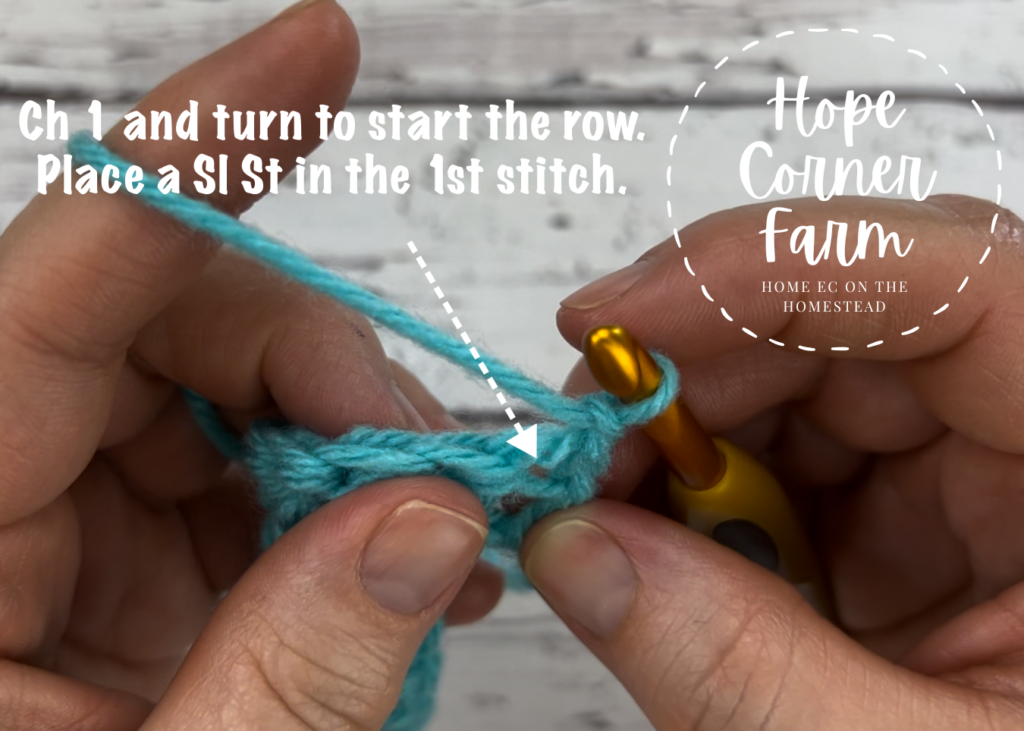
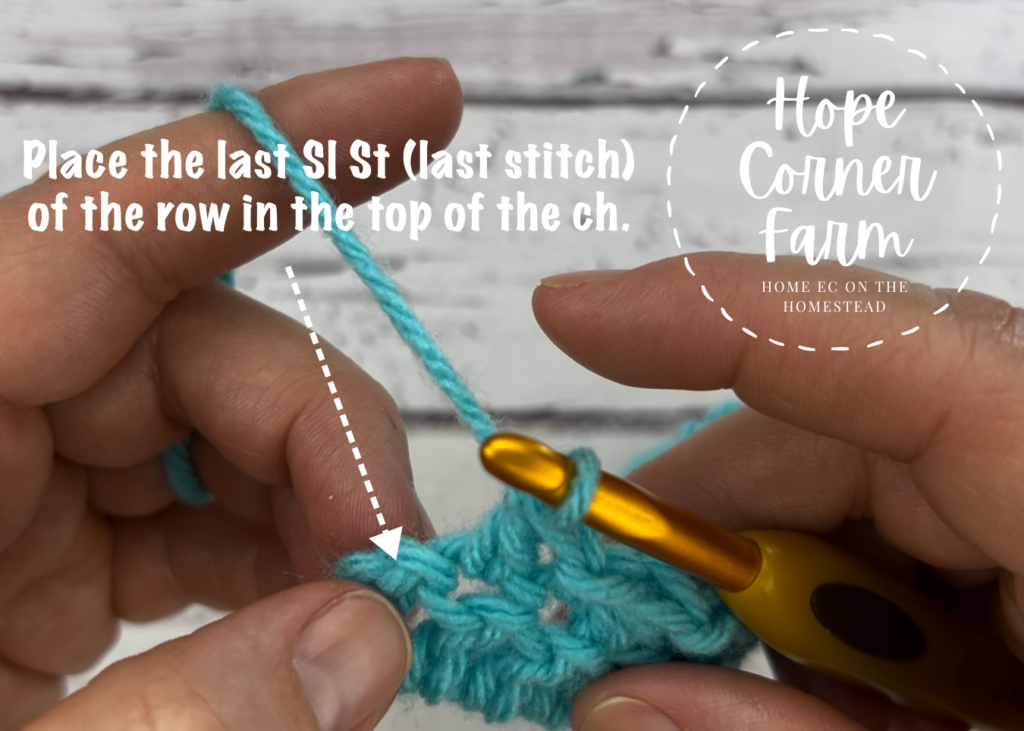
For the remainder of the row, alternate a (Sl St, HDC) until the last stitch. The row should end with a Slip Stitch.
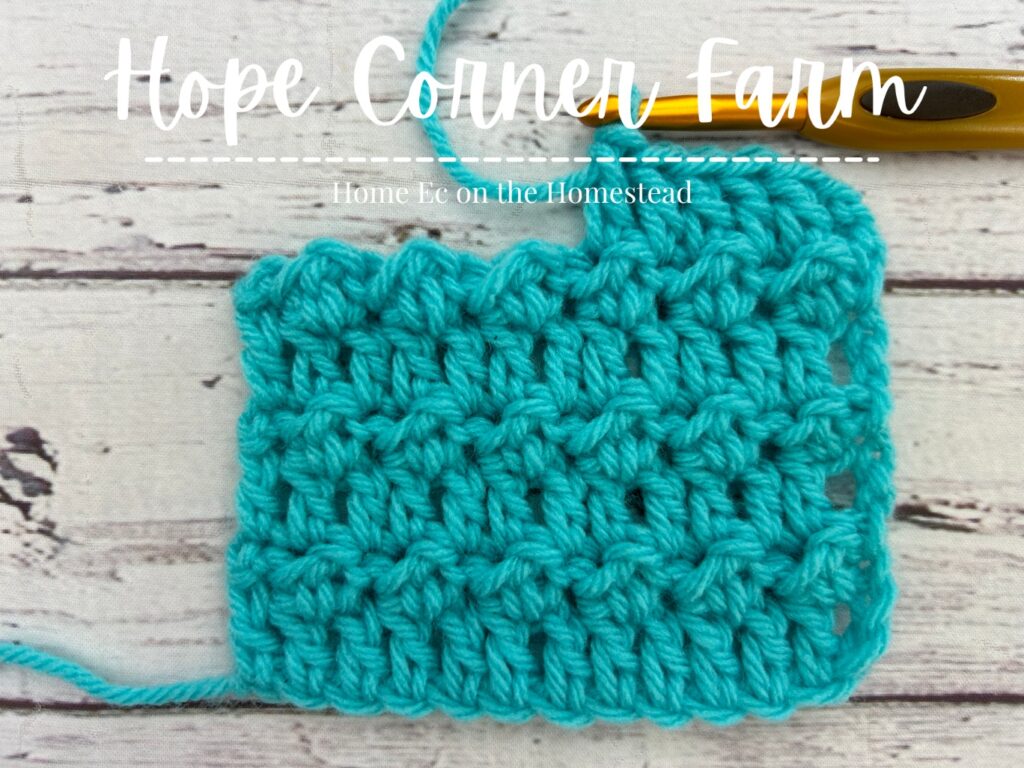
Row 3:
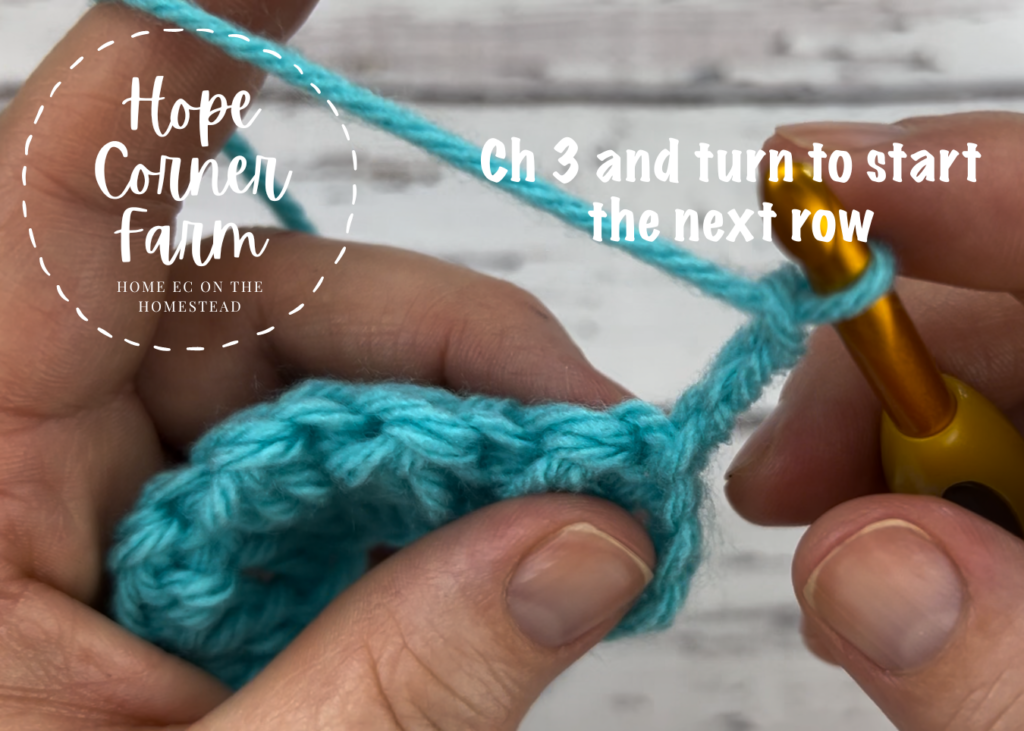
To start this row, chain 3 and turn.
Place a DC in the 2nd stitch from the hook.
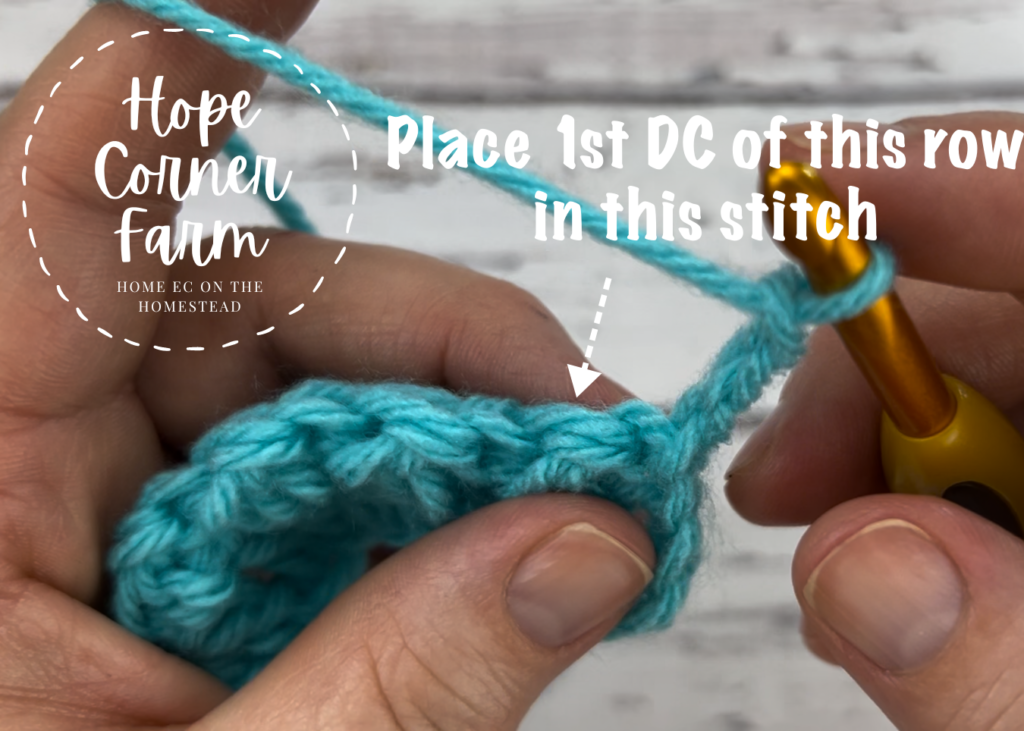
Put one DC in each remaining stitch across the row.

Remaining Rows:
For any remaining rows using the Floret Stitch will alternate Row 2 followed by Row 3.
For example: Row 4 = Row 2 repeat and Row 5 = Row 3 repeat.
And that is How to Floret Stitch in Crochet! I hope you found this tutorial helpful! Have a blessed day!
Video Tutorial: Learn the Floret Stitch
Step-by-Step Written Instructions for the Floret Stitch
Floret Stitch Quick Guide 🧶
- Foundation: Chain a multiple of 2 + 3
- Row 1: In 4th chain from hook → DC. DC in each chain across.
- Row 2: Ch 1 & turn. (1 HDC, 1 Sl St in next st.) Repeat across. End with 1 Sl St.
- Row 3: Ch 3 & turn (chain 3 counts as a DC). Place DC in 2nd stitch from hook. Place a DC in each stitch across.
- Repeat Rows 2 & 3 until your piece is the size you want.
✨ Always end your project with a repeat of row 3 to make it look even!
Tips for Crocheting the Floret Stitch
When working the Floret Stitch, the key to success is keeping your stitches consistent and your turning chain tight. Be careful not to crochet too tightly, especially on the double crochets, or the fabric may lose its soft drape. Using a smooth, medium-weight yarn makes it easier to see your stitches and helps the texture stand out beautifully. For best results, swatch a few practice rows first before starting a larger project.
Best Projects for the Floret Stitch
The Floret Stitch is perfect for projects that call for soft texture and a smooth, even fabric. Its subtle woven look makes it ideal for baby blankets, throws, scarves, dishcloths, washcloths, and lightweight garments. Because the stitch lies flat and doesn’t have large gaps, it’s also great for home décor projects like cushion covers or table runners. Whether you’re making something cozy or decorative, the Floret Stitch adds a polished finish to any crochet project.

Many Blessings,


Looking for Fun Crochet Projects? Check These Out!
👉 Looking for more crochet stitches to try? Check out my tutorials for the Extended Moss Stitch, Herringbone Double Crochet, Even Moss Stitch, and the Granny Ripple Stitch for step-by-step photos, written instructions, and videos.