
How to Foundation Single Crochet

The Foundation Single Crochet stitch can be pretty intimidating at first. I found myself really confused by where to place my hook, how to fix the tension, and just how to foundation single crochet in general! Once I figured it out I can say without hesitation that I will always use this for starting crochet projects (if I can). The Foundation Single Crochet Stitch (FSC) is actually pretty easy to create, so let’s grab a hook and some yarn and get crocheting!
Materials Needed for the Foundation Single Crochet Stitch:
-Crochet hook
-Yarn
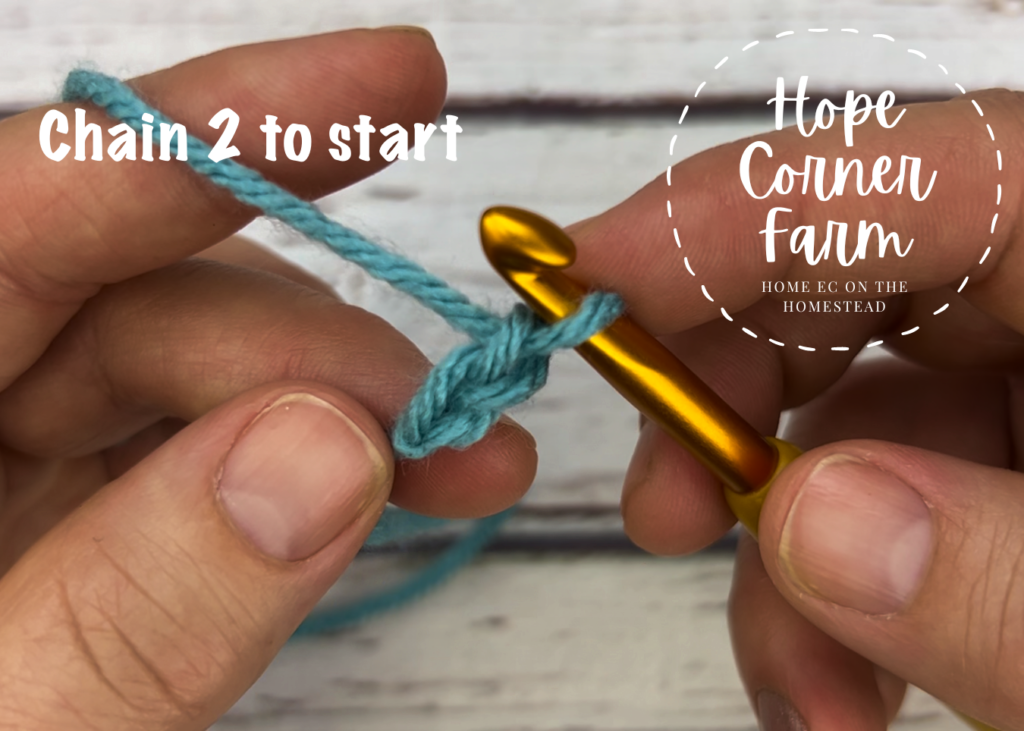
To Start:
Begin by chaining 2.
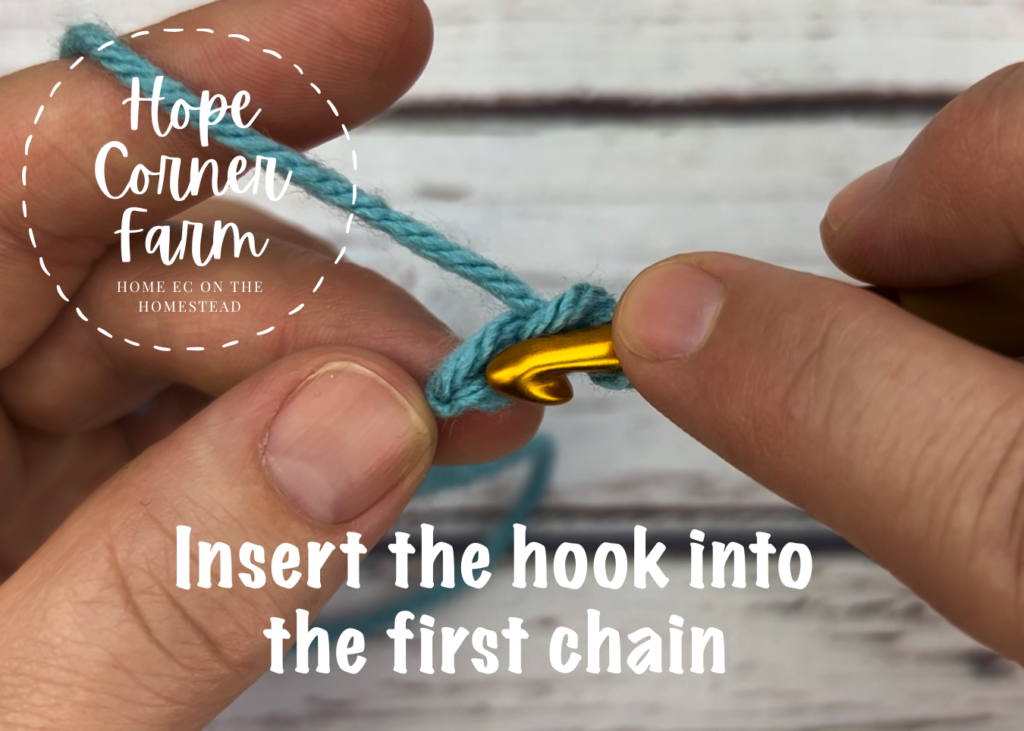
Step 2:
Insert the hook into the first chain. I like to put 2 “legs” of the chain on the top of the hook, and 1 “leg” on the bottom of the hook.

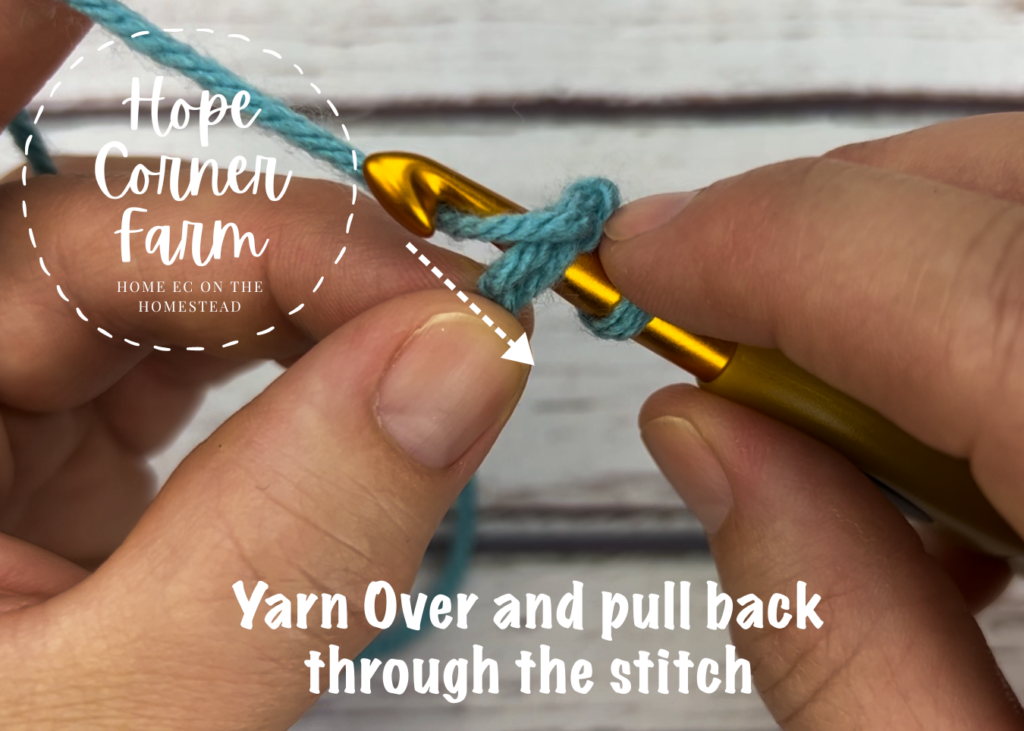
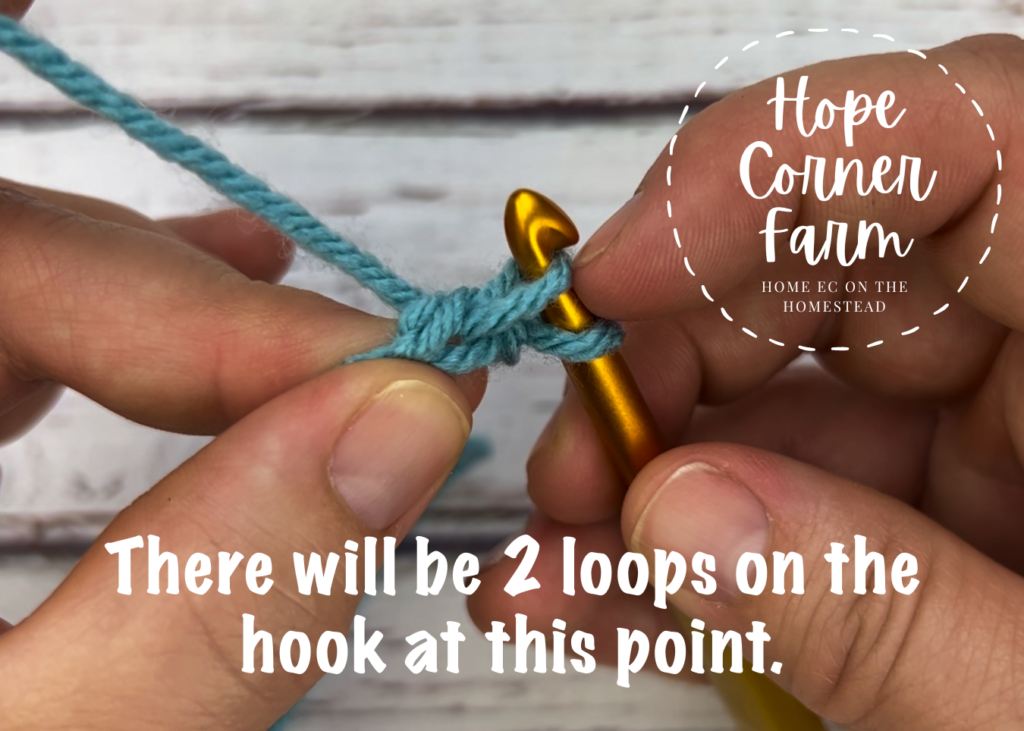
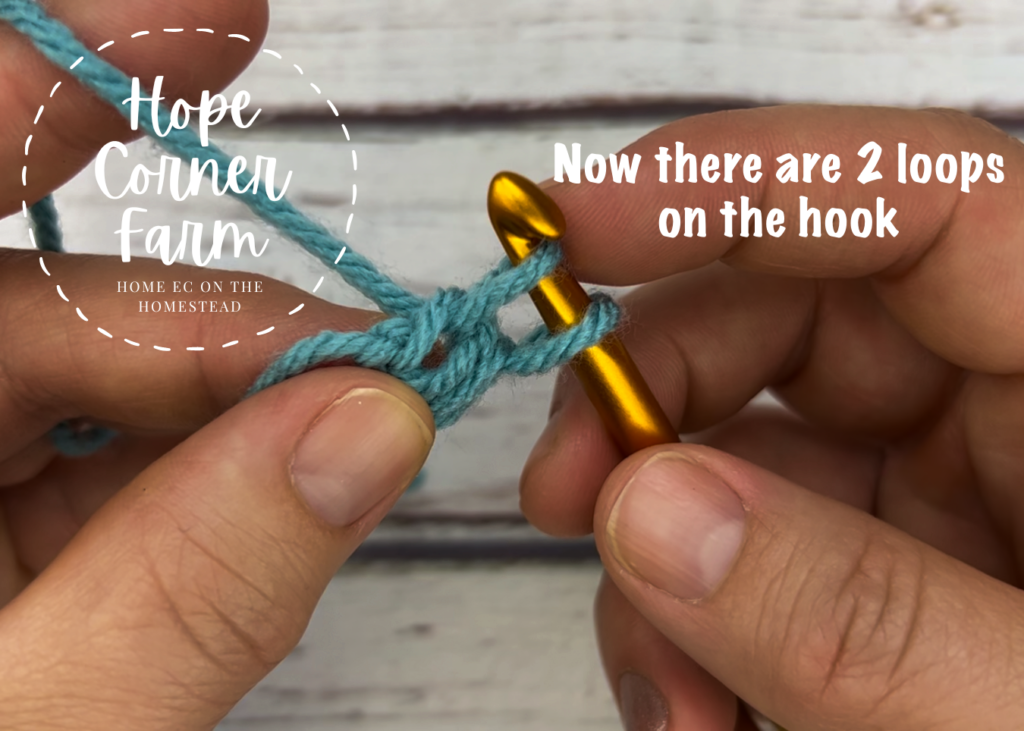
Step 3:
Yarn Over and pull back through the stitch. There will be 2 loops on the hook at this point.
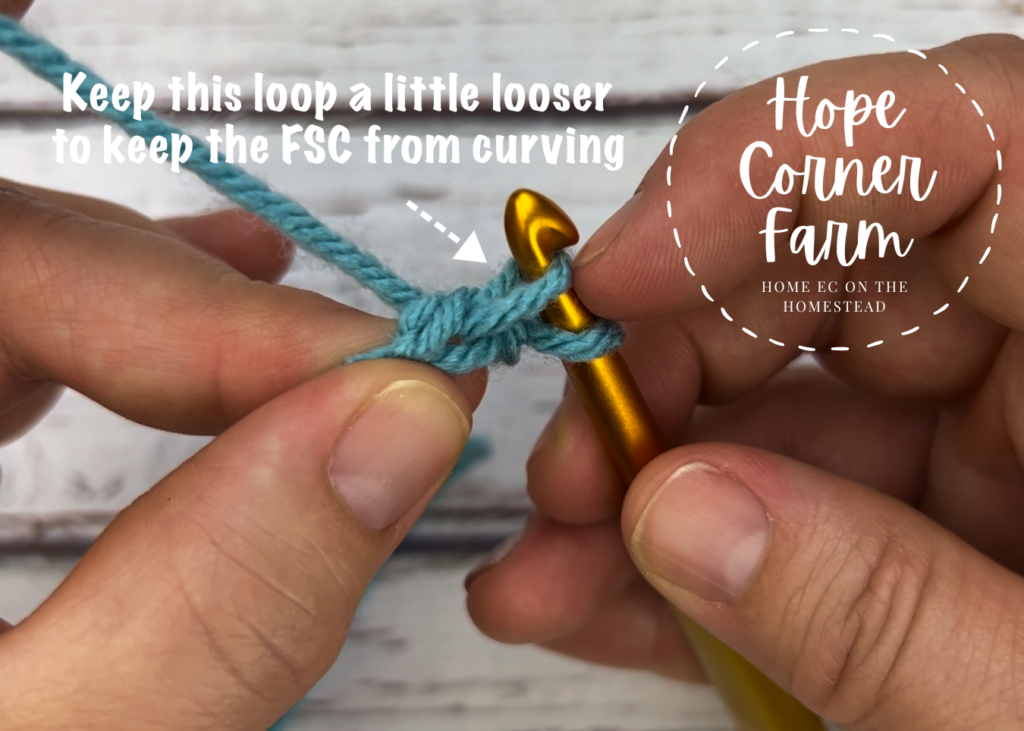
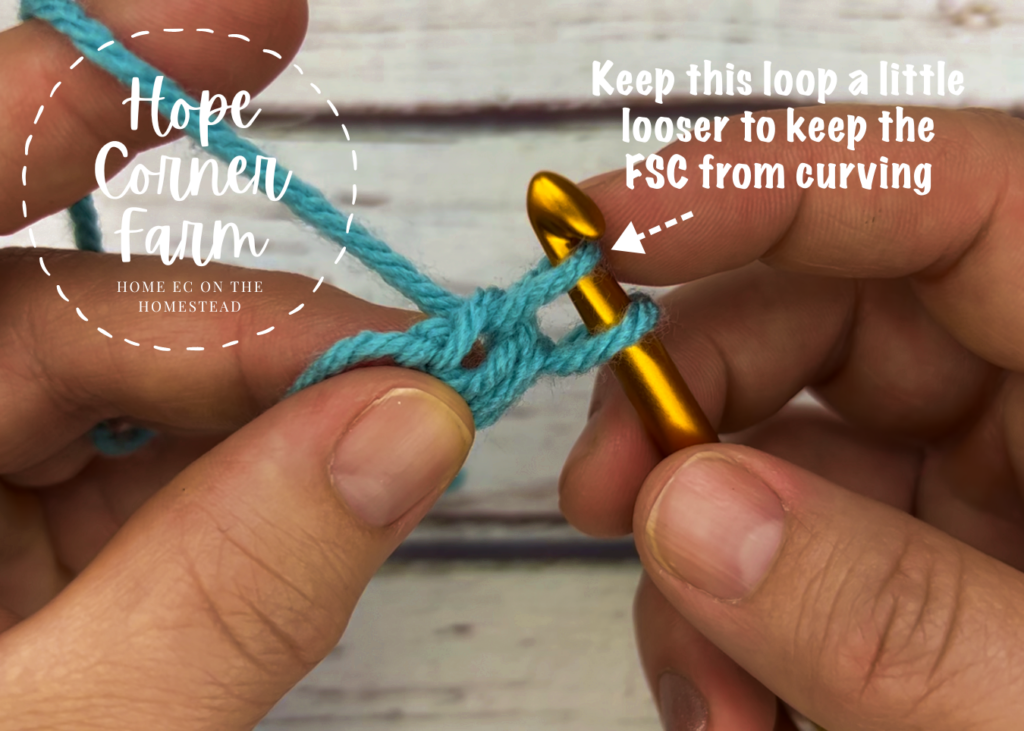
A tip at this point: Keep the loop you just made (the one now closest to the hook part of the hook) a little looser. This will help to keep your FSC from curving like a rainbow.
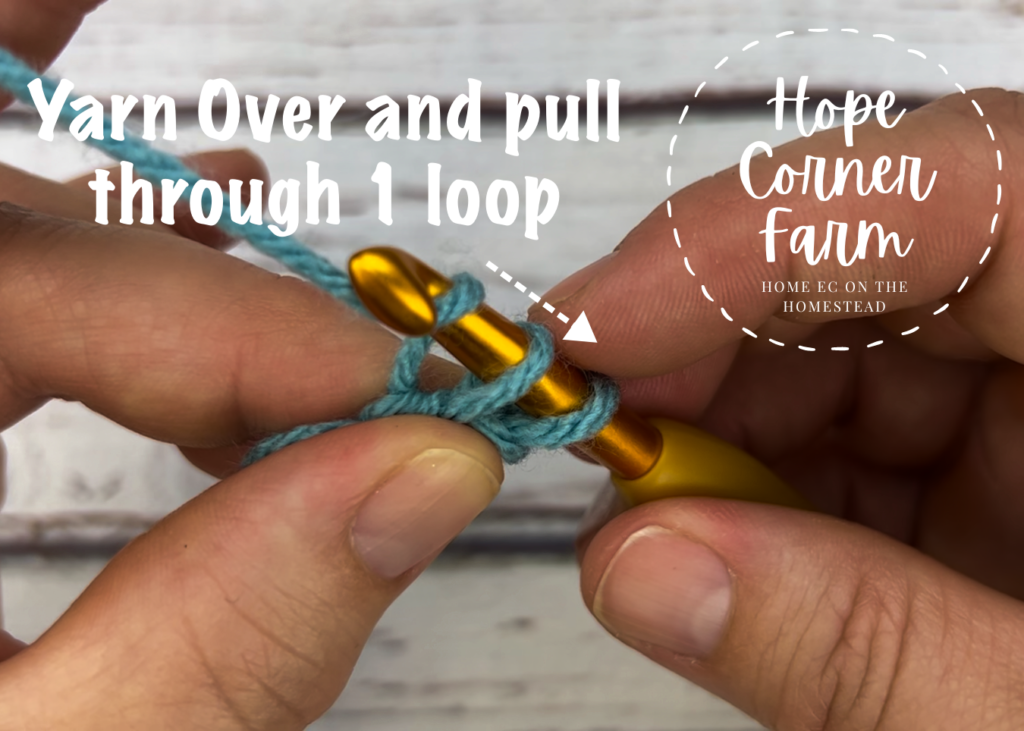
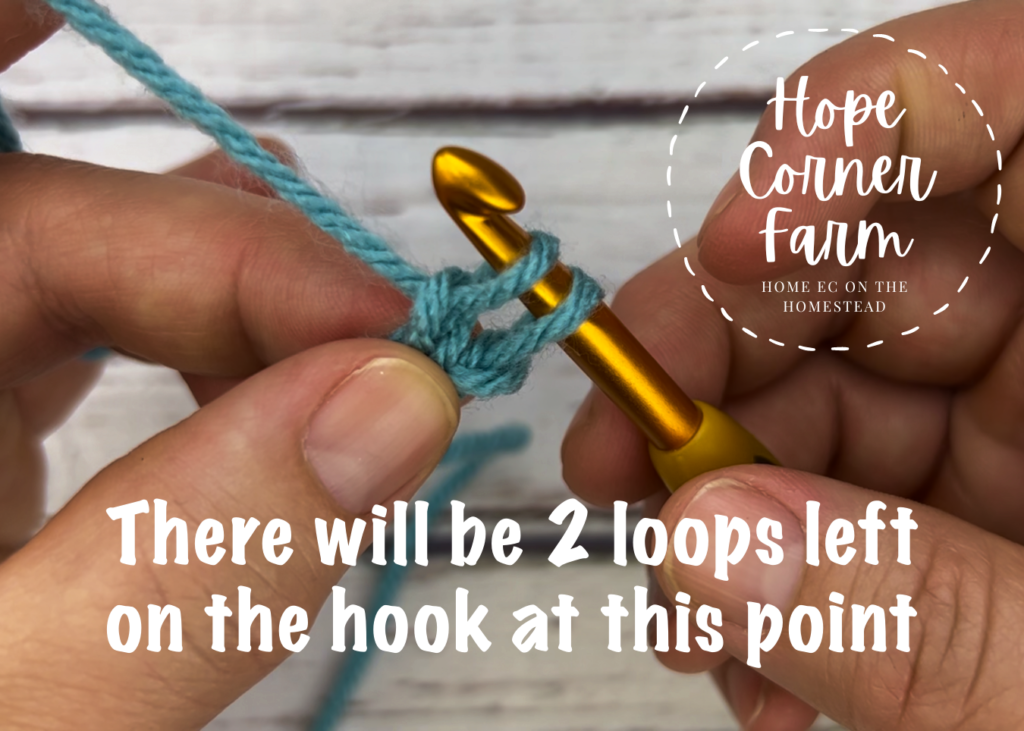
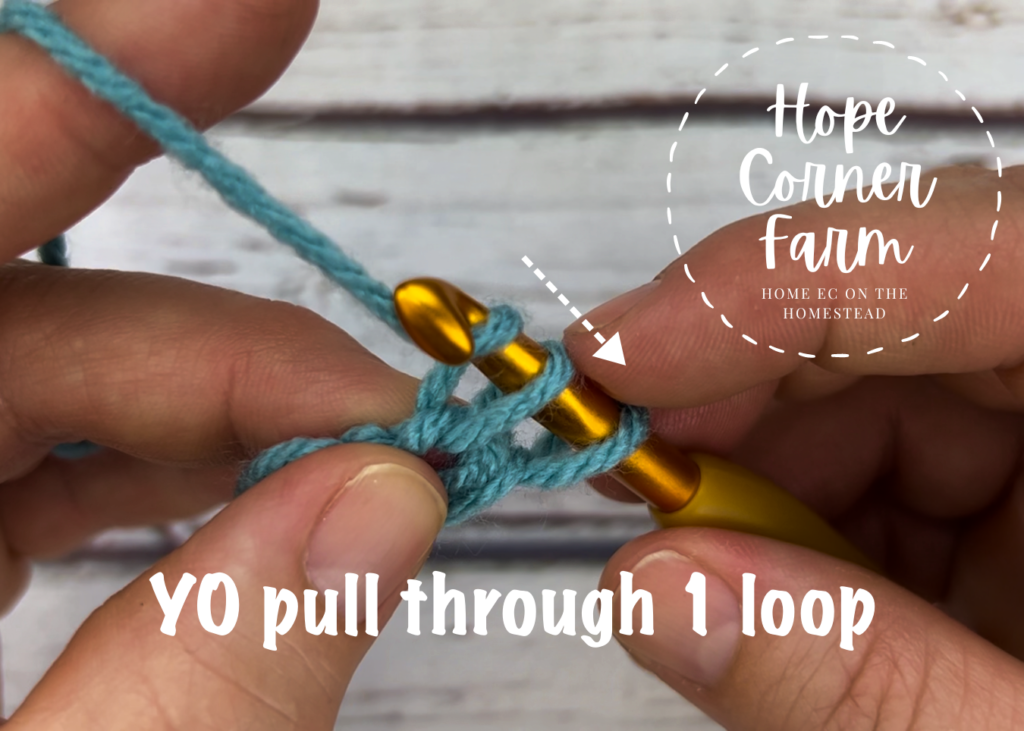
FSC Step 4:
YO again and pull through the first loop only. There will be 2 loops on the hook at the end of this step.
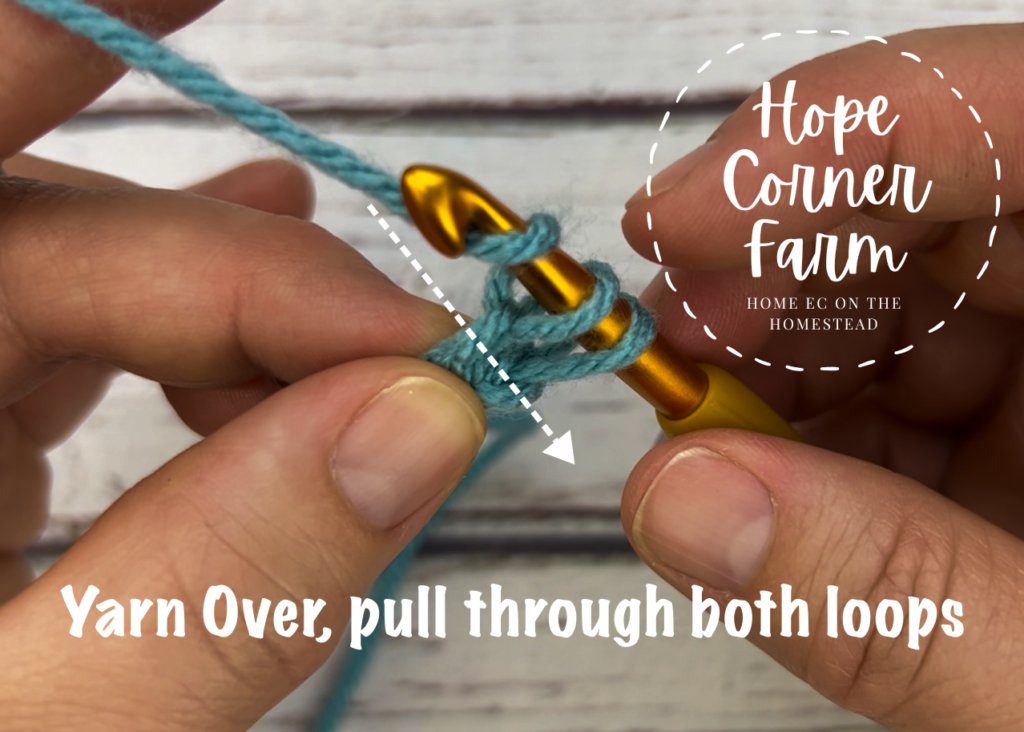
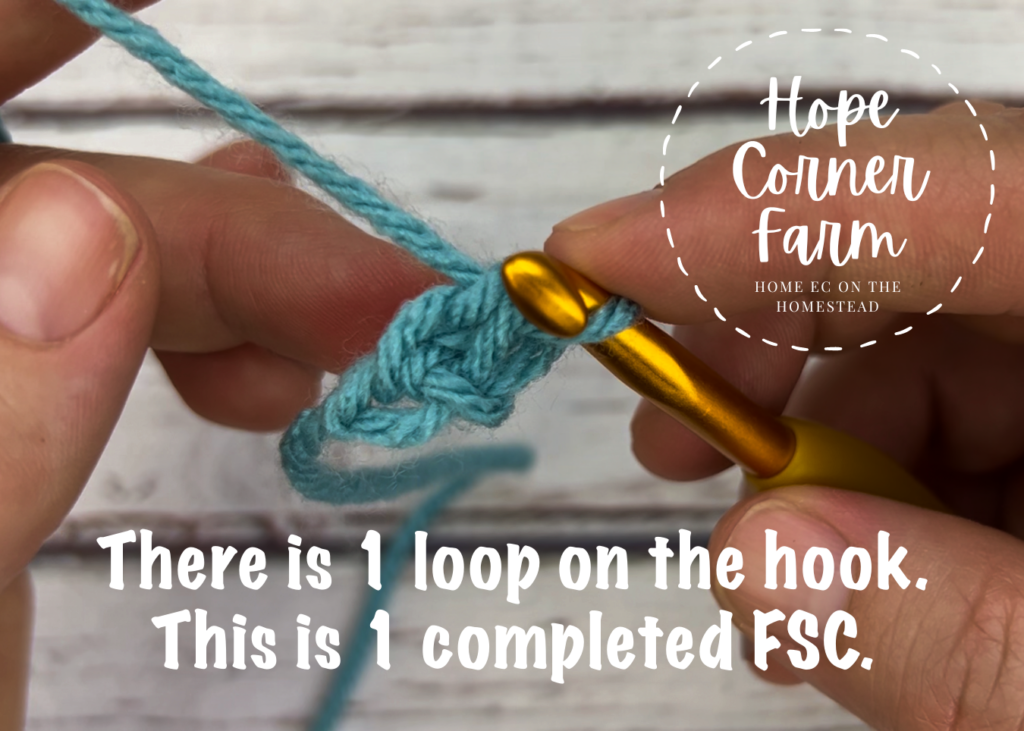
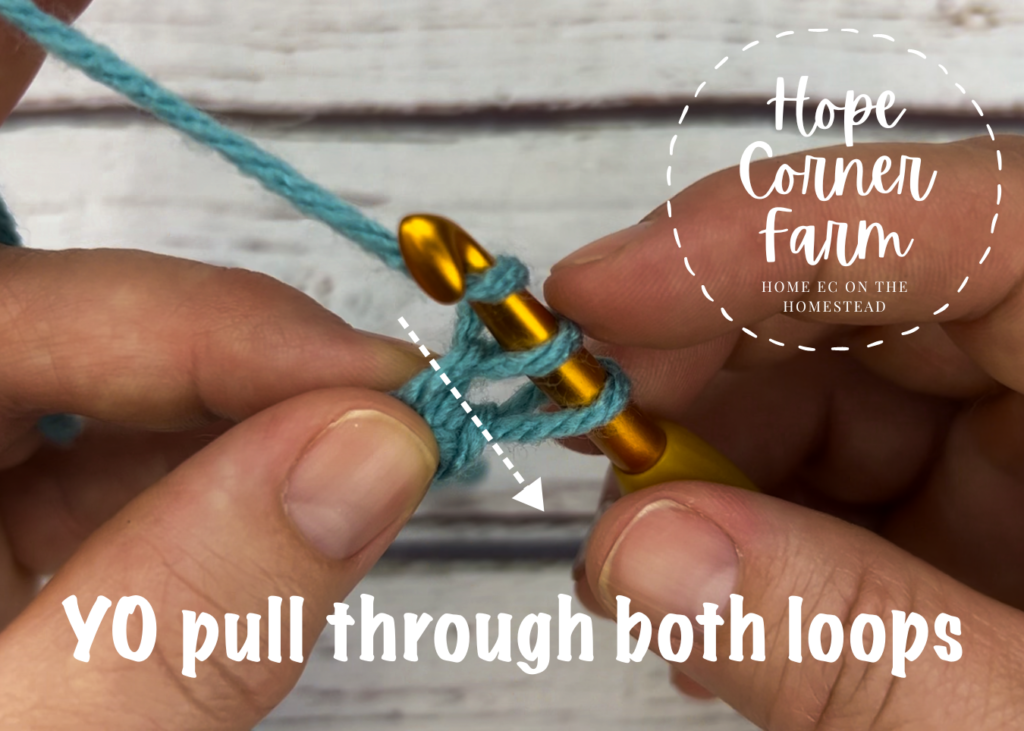
Step 5:
Yarn Over and pull through both loops. There is 1 loop on the hook at the end of this step. This completes one FSC.
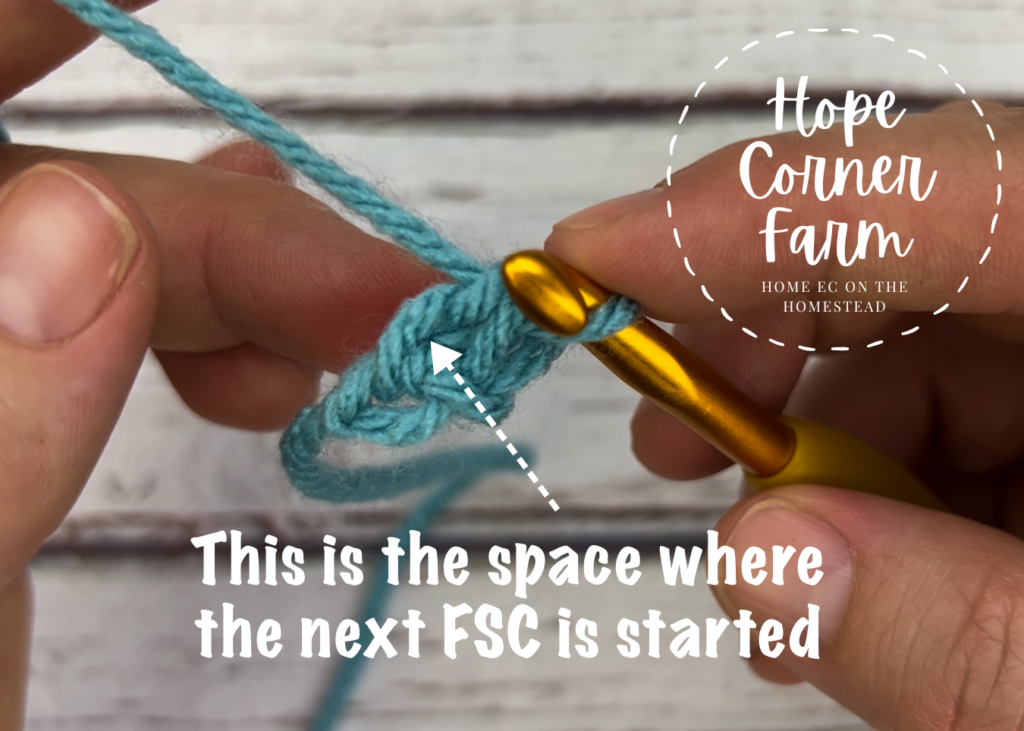
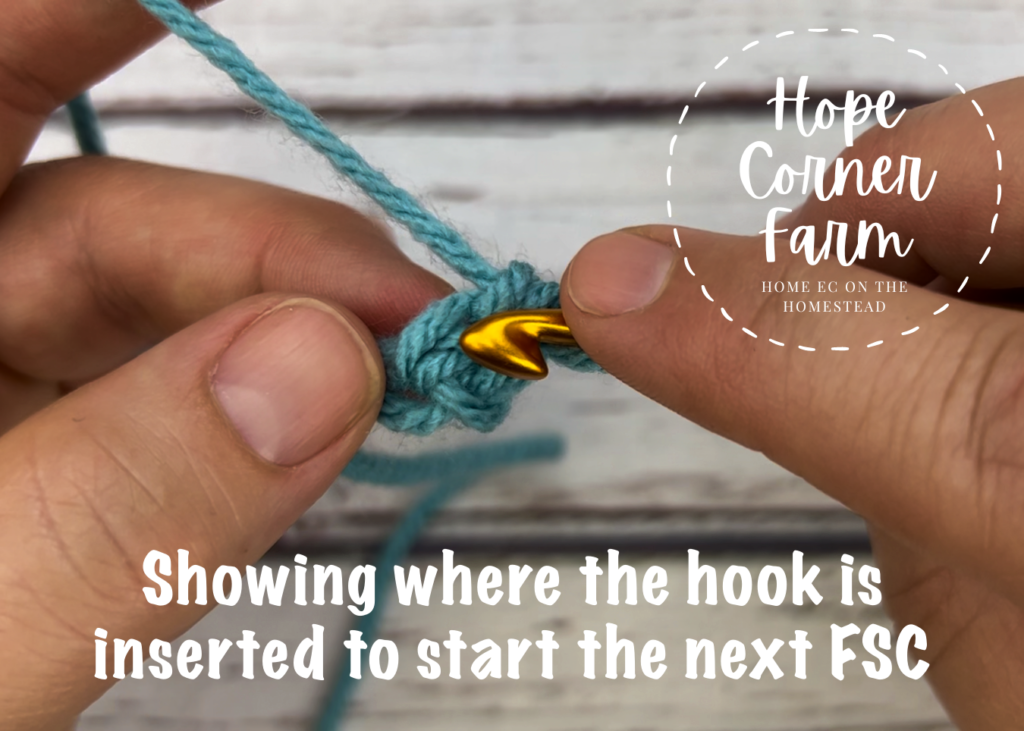
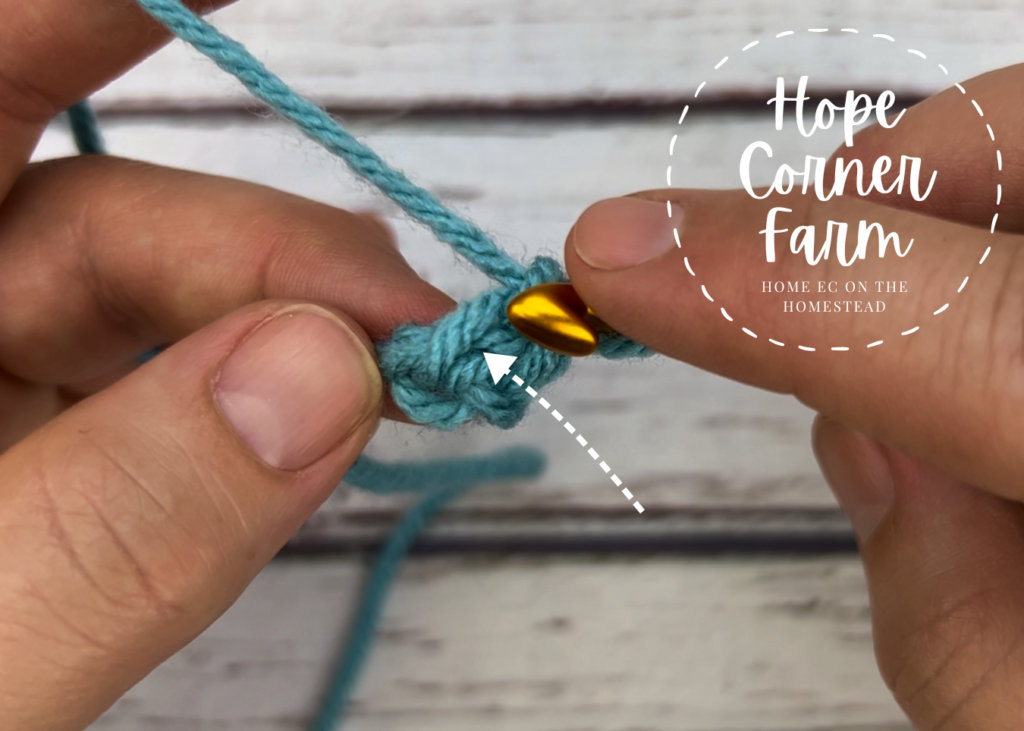
Additional Foundation Single Crochet Stitches – Step 1:
Begin by inserting the hook into the previously completed FSC. Placement of the crochet hook is key for success with this stitch. See the pictures below for correct hook placement.
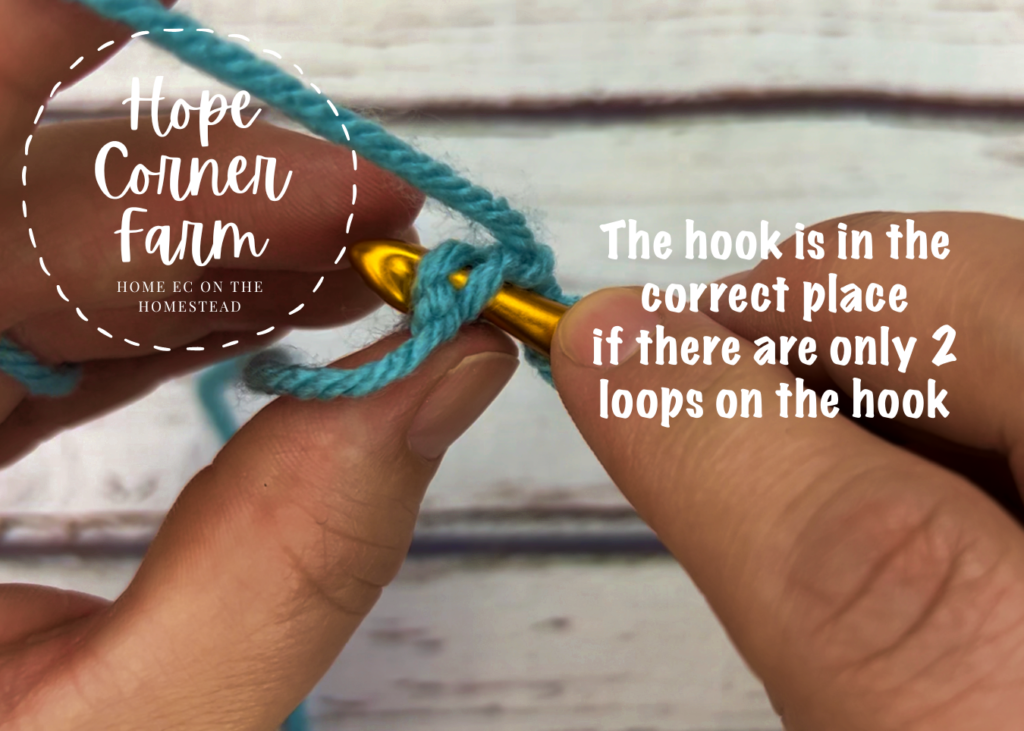
Step 2 – Additional Stitches:
Yarn Over and pull through the stitch. There will be 2 loops on the hook at the end of this step.
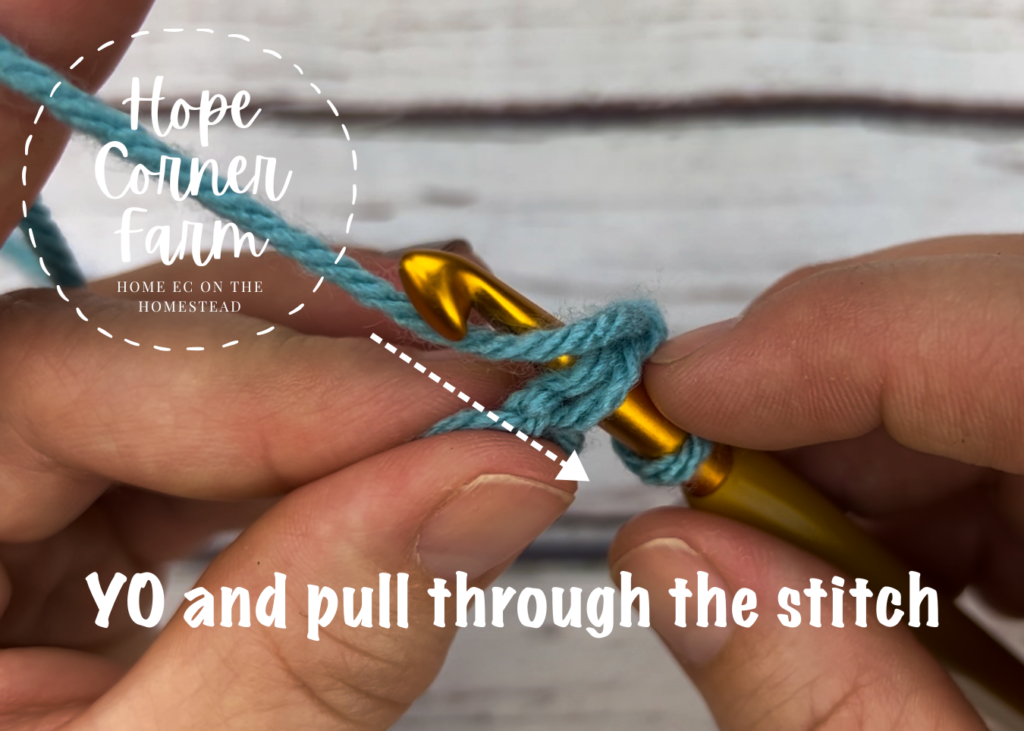
Remember, to help keep the foundation single crochet stitches from curving, keep the loop that was just created (the one closest to the hook part of the hook) a little looser.
More FSC – Step 3:
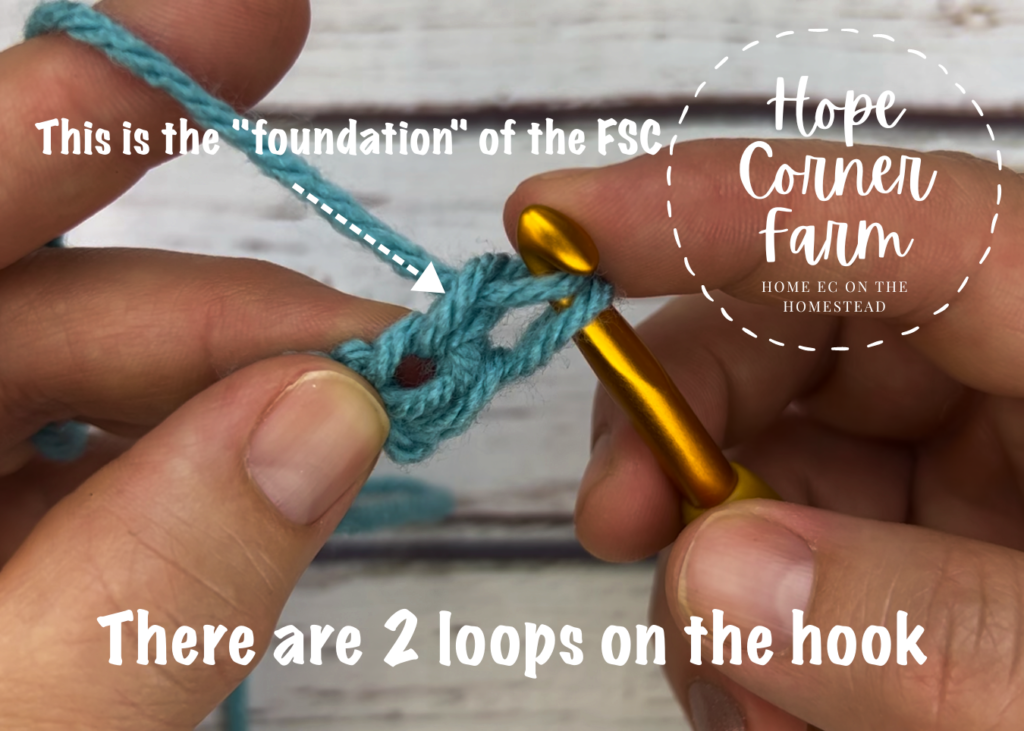
YO and pull through one loop only. This creates the foundation of the FSC. There will be 2 loops on the hook at the end of this step.
Step 4:
Yarn Over and pull through both loops. This completes another FSC.

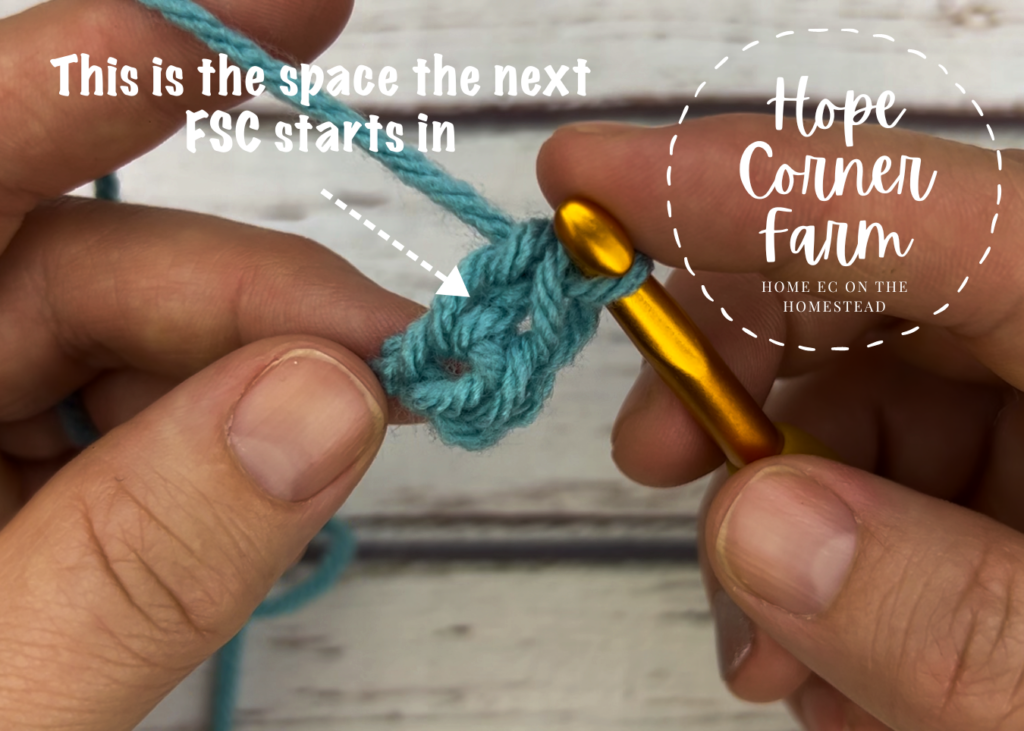
Tips for the Foundation Single Crochet Stitch:
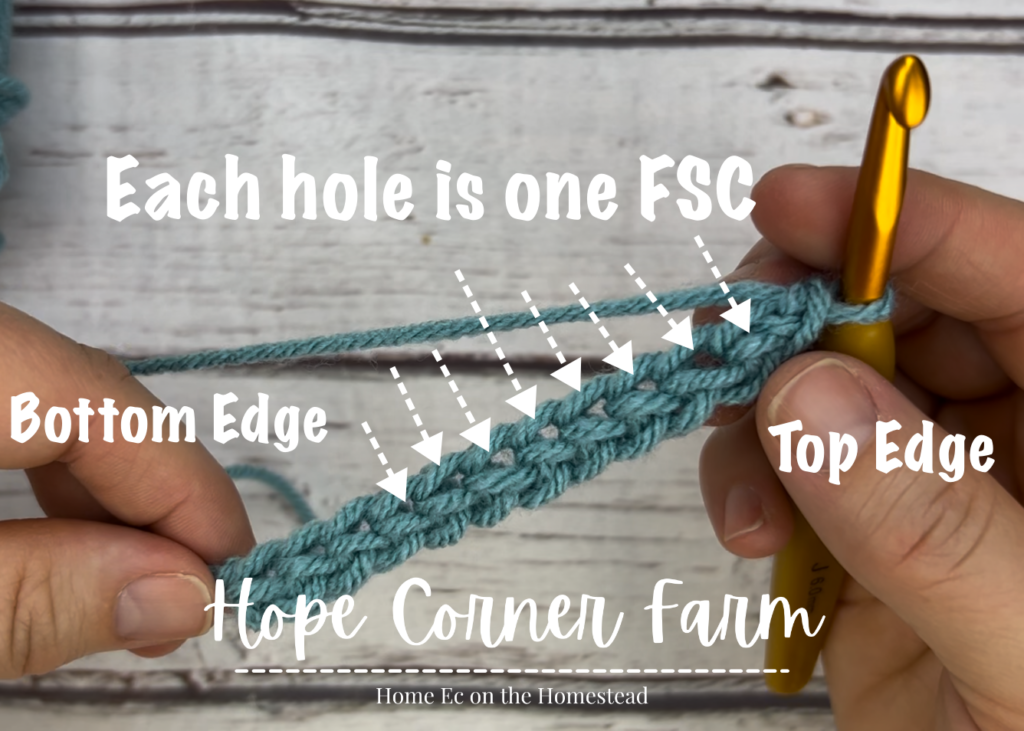
Placement of the hook for the first part of each new stitch is key. See the picture below to see what that space looks like.
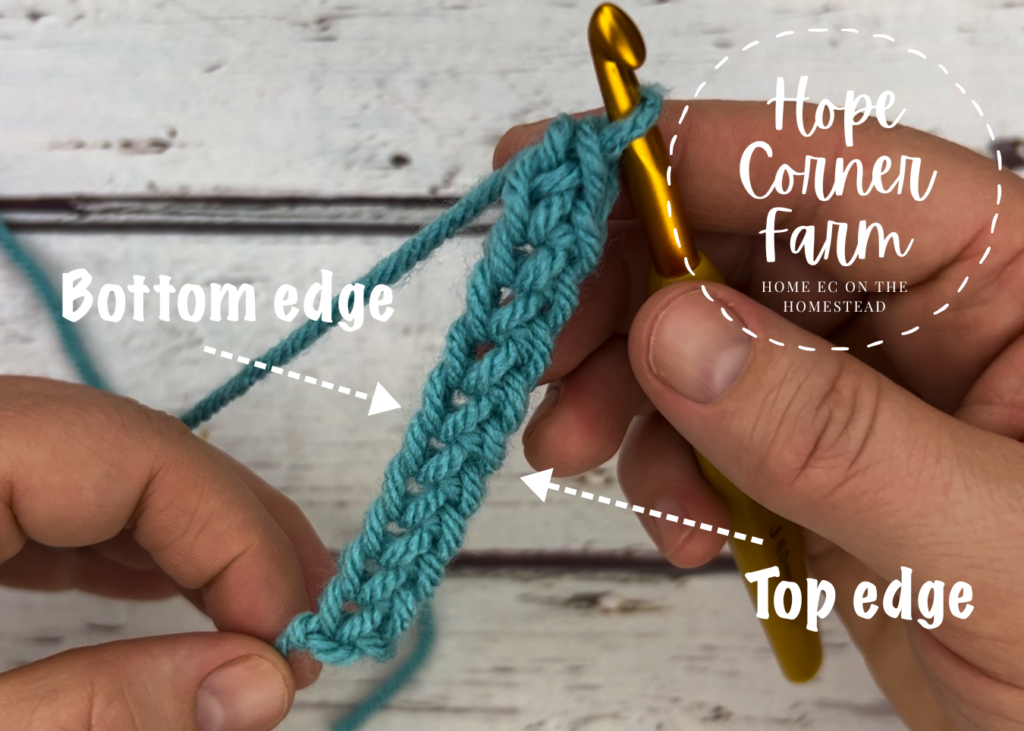
Know which edge is the bottom edge and which edge is the top edge.
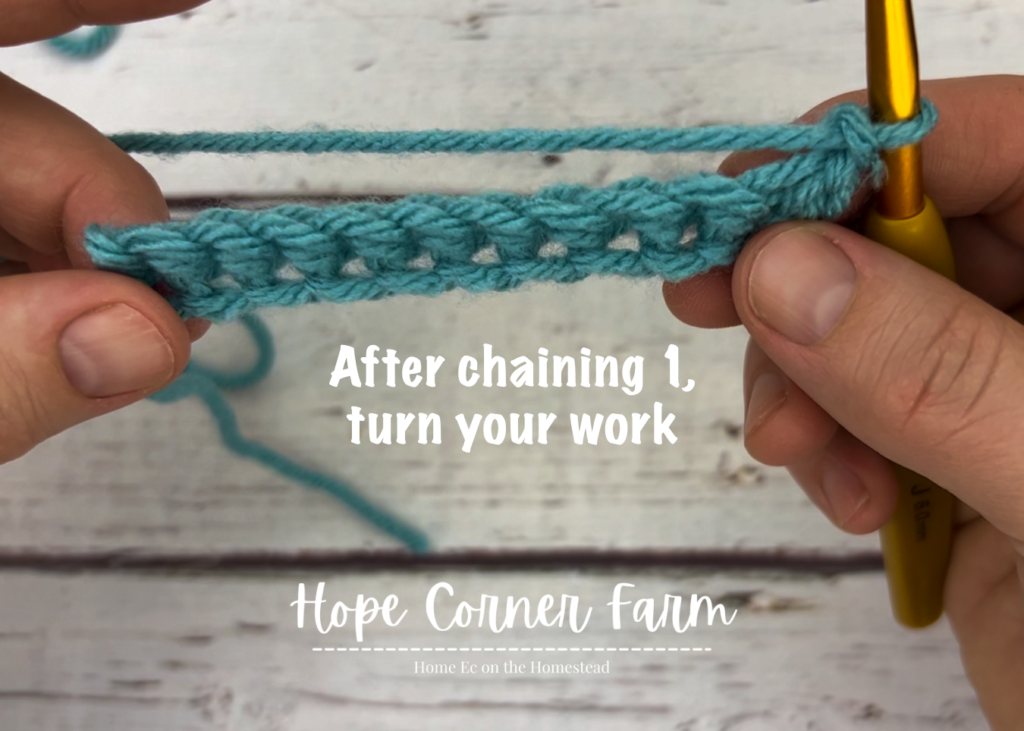
How to Go to the Next Row:
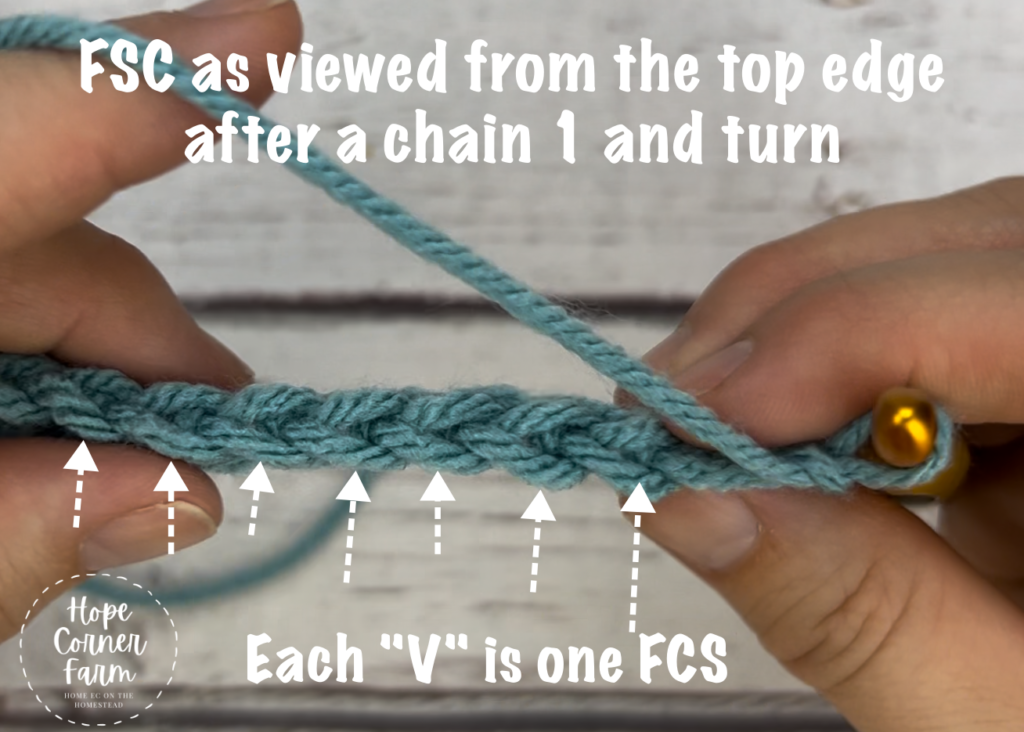
Once you have created the desired number of FSCs, you are ready to go to the next row. To do this, chain 1 and then turn.

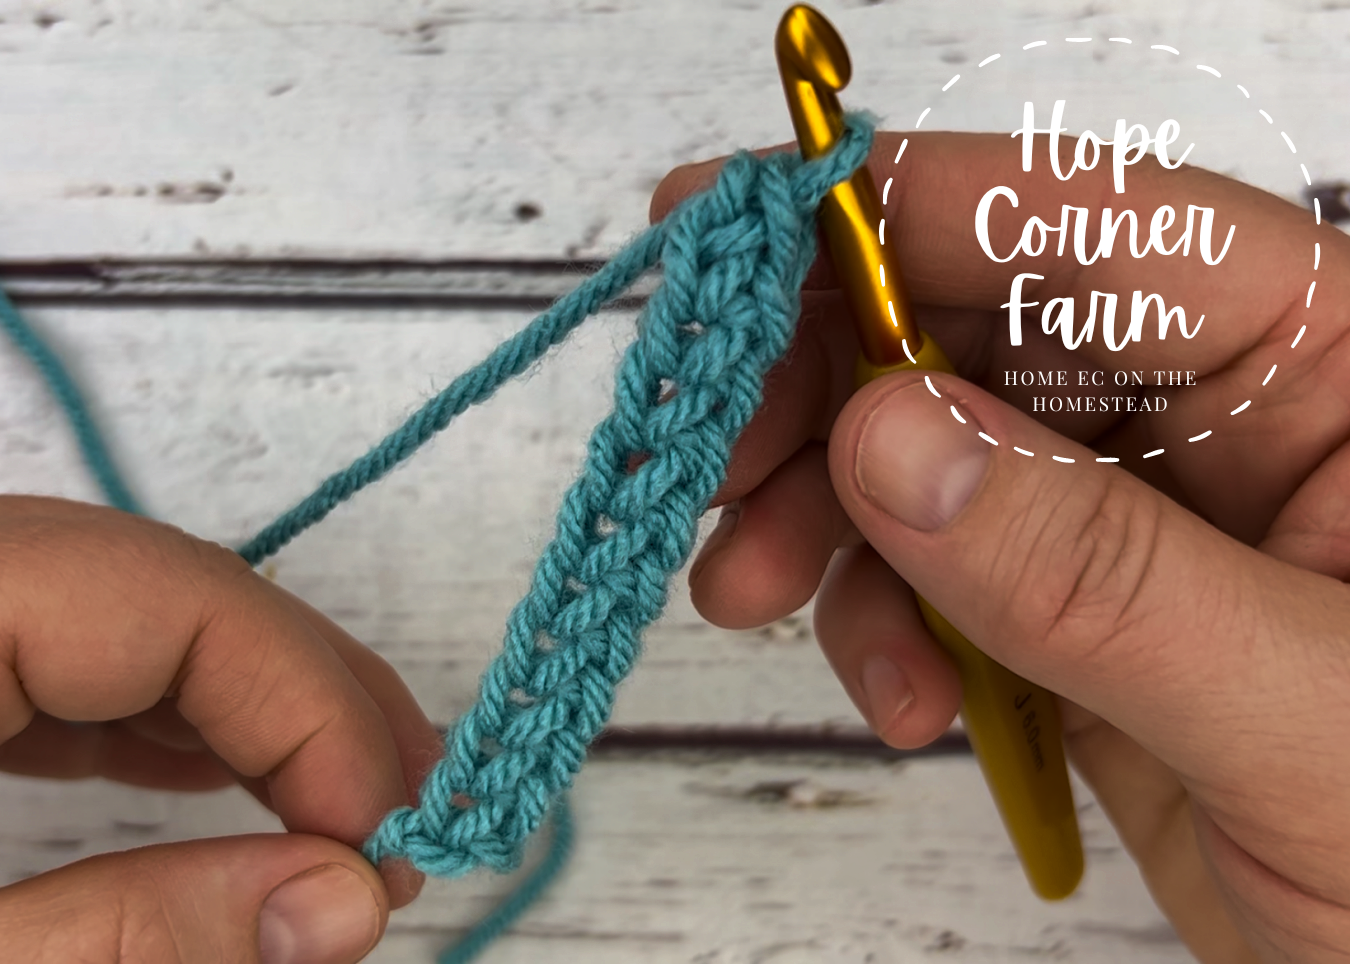
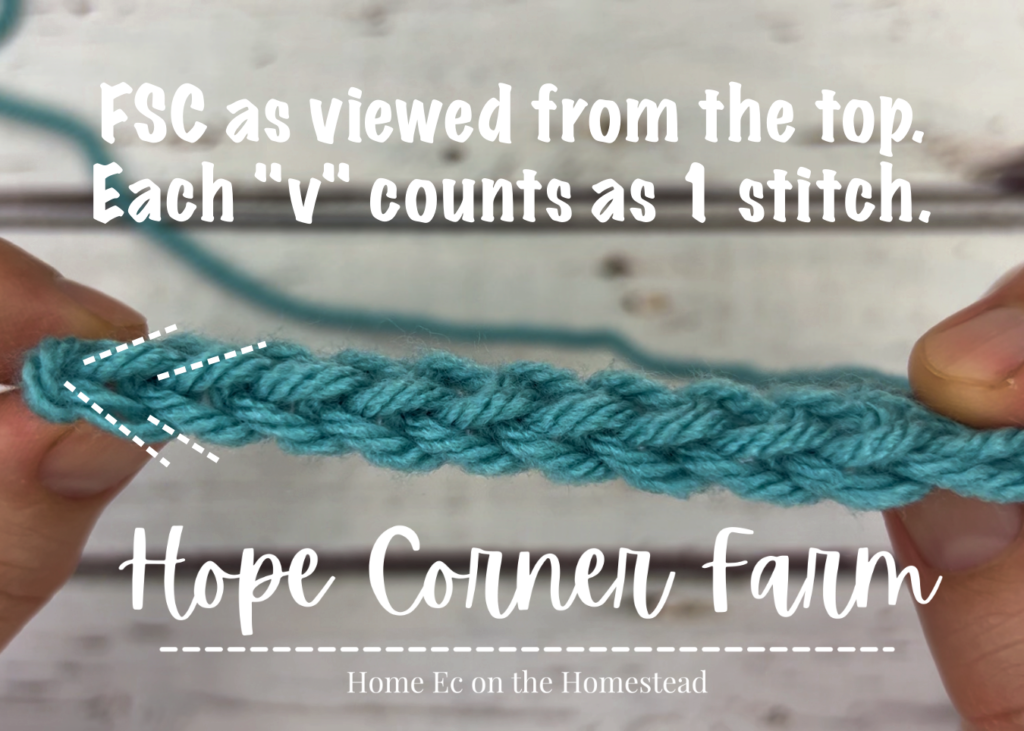
How to Count Foundation Single Crochet Stitches:
When looking at the top edge of the Foundation Single Crochet, each “v” that is seen is counted as one FSC.
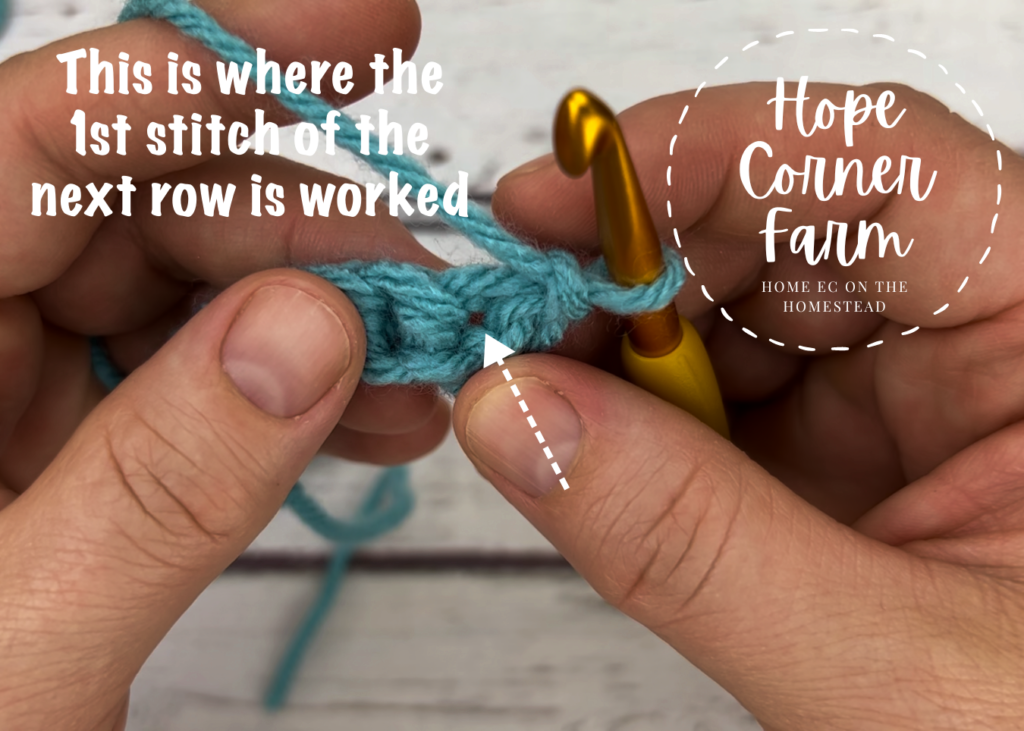
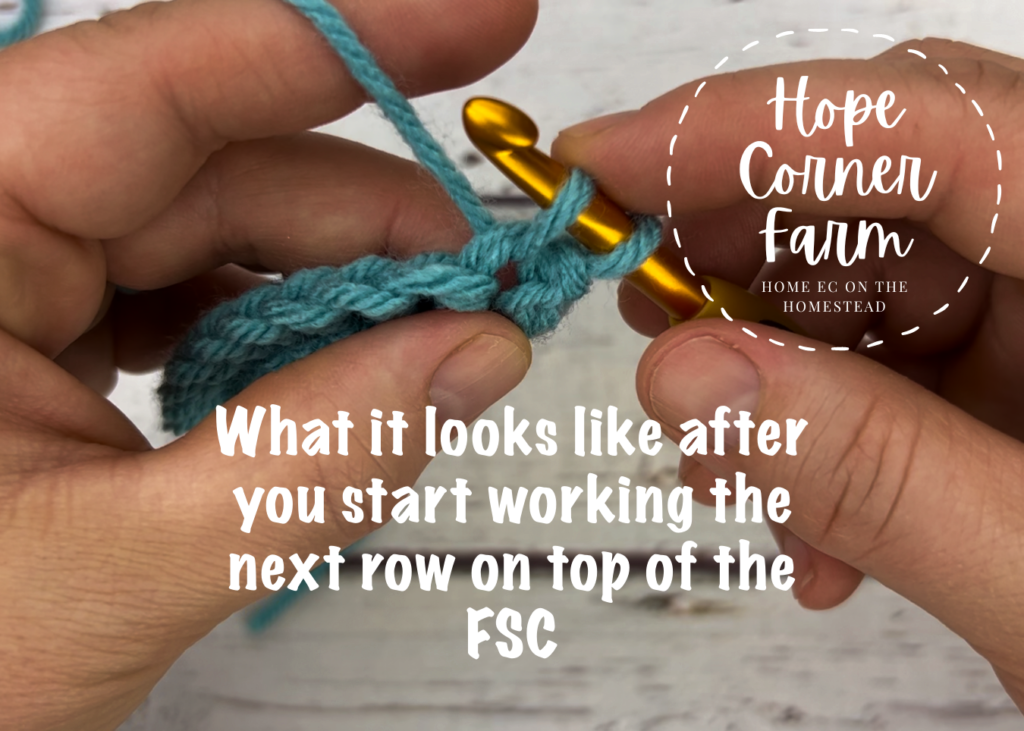
Placement of the 1st Stitch in the Next Row:
Additionally, placement of the next row can sometimes be a little tricky. See the pictures below to see where to place the 1st stitch of the next row.
And that’s how to Foundation Single Crochet Stitch! I hope you guys found this helpful!

Video Tutorial:
Many Blessings,

Looking for fun crochet projects to try? Check these out!
Free & Easy Crochet Ear Warmer Pattern from Hope Corner Farm