
How to Stacked Single Crochet Stitch
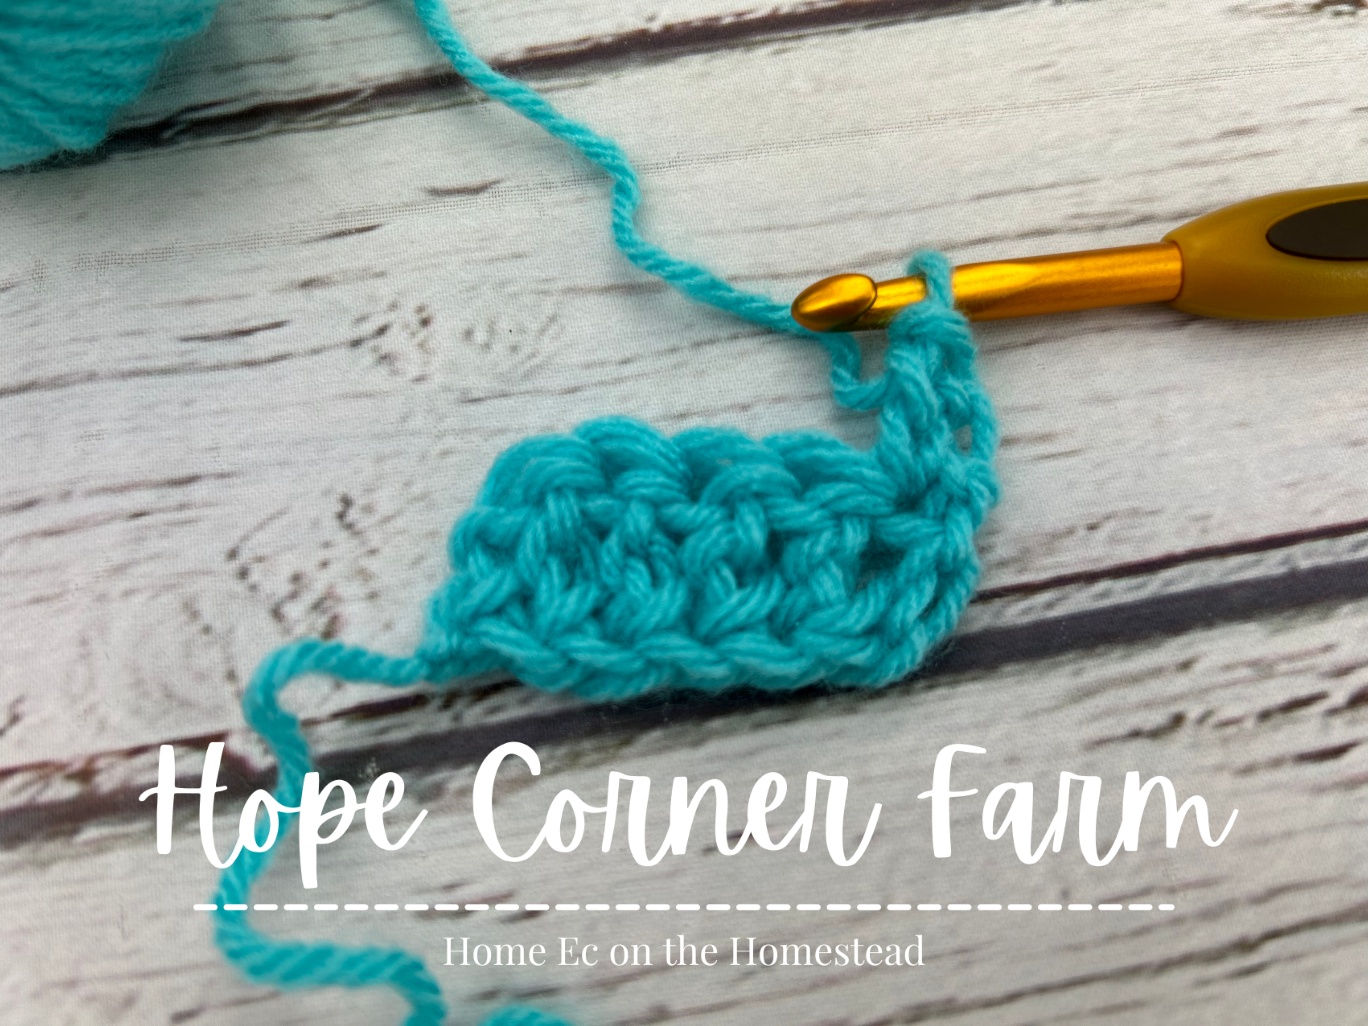

Looking for a way to create a straight edge to your crochet projects? The Stacked Single Crochet Stitch gives a nice clean, straight edge to your work. Knowing where to place the crochet hook is key with this stitch. Follow along and learn how to stacked single crochet stitch! Let’s grab a hook and some yarn and get crocheting!


First, check out our video tutorial on our You Tube Channel! Subscribe to get the latest crochet fun from Hope Corner Farm Crochet!
Materials Needed:
-Crochet hook of choice
-Yarn of choice
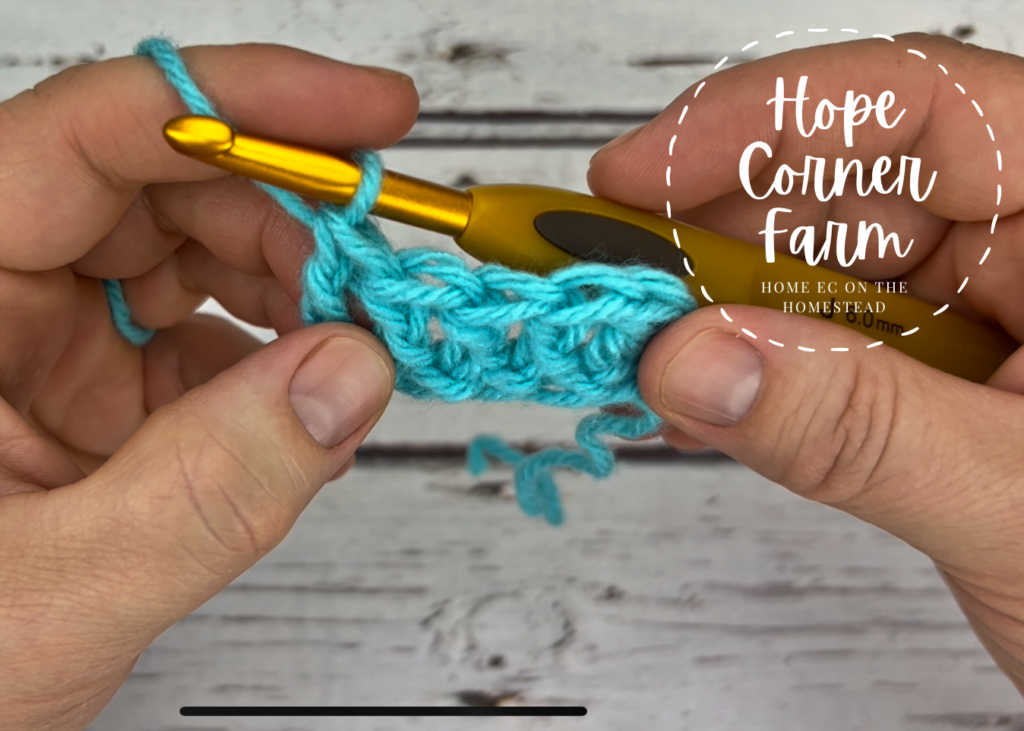
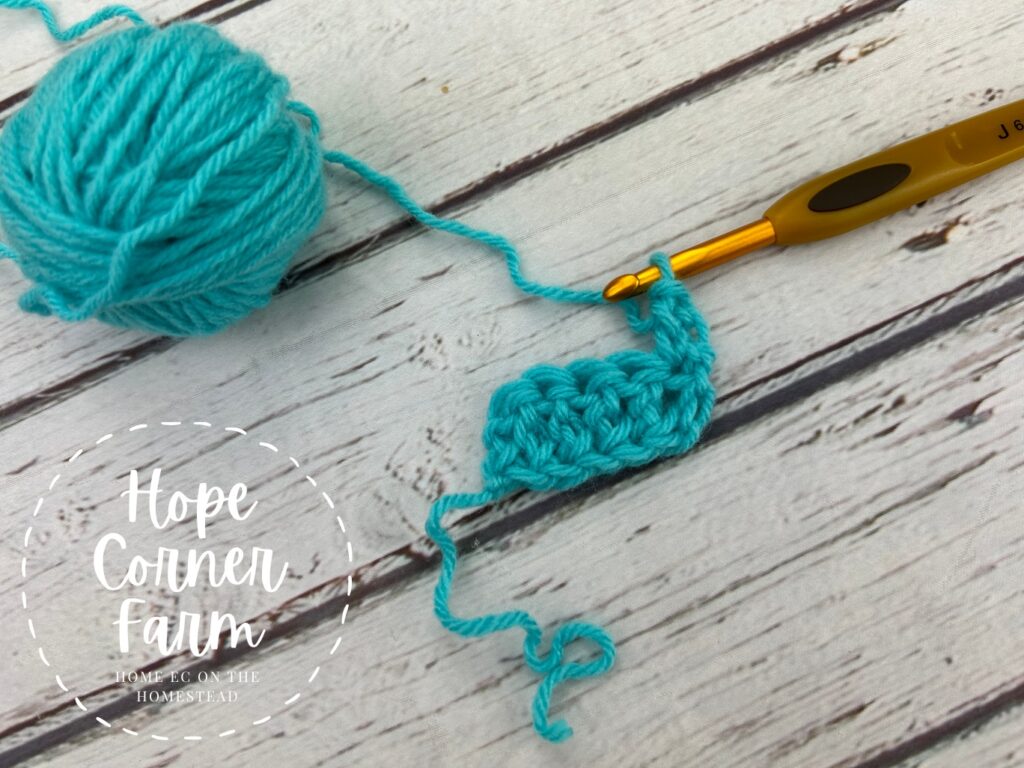
To Start:
The Stacked Single Crochet stitch is a replacement for chaining and turning when going to another row, so to start this stitch you need at least a row of crochet to start. In this example, I have a row of Foundation Double Crochet stitches (FDC).
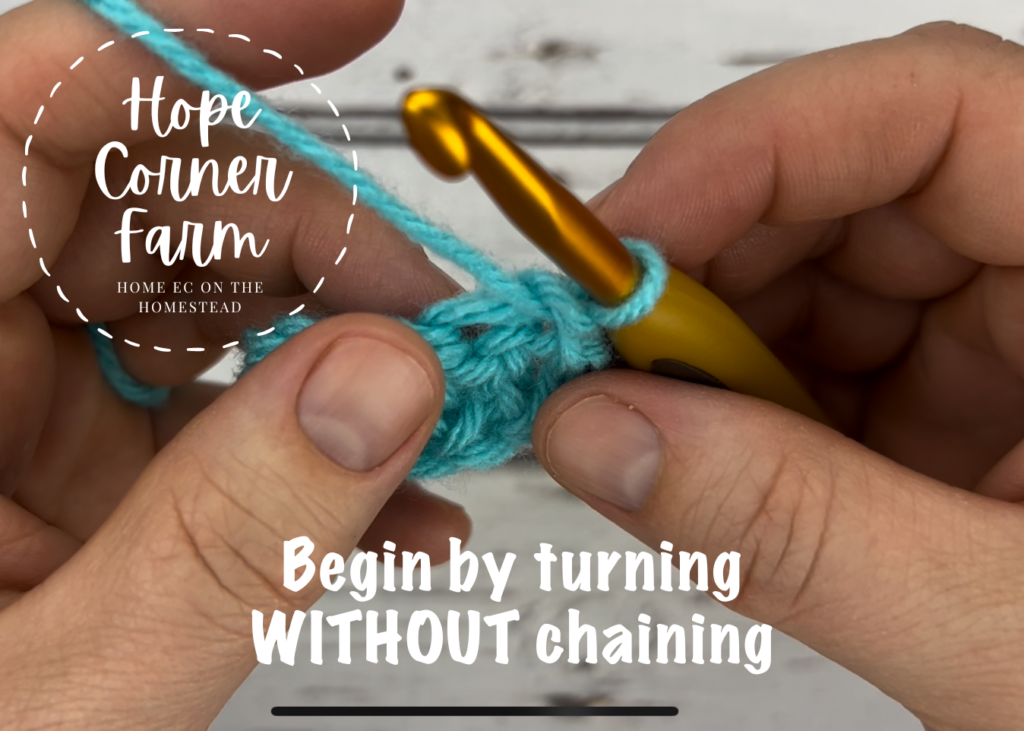
How to Stacked Single Crochet – Step 1:
Begin by turning WITHOUT chaining.
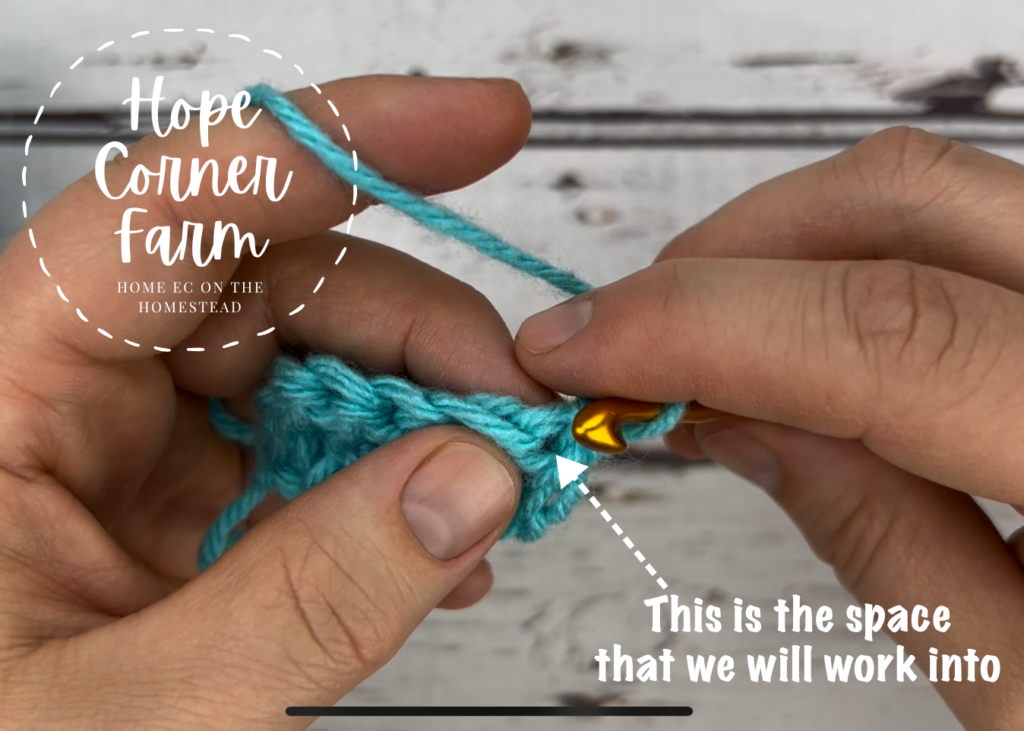
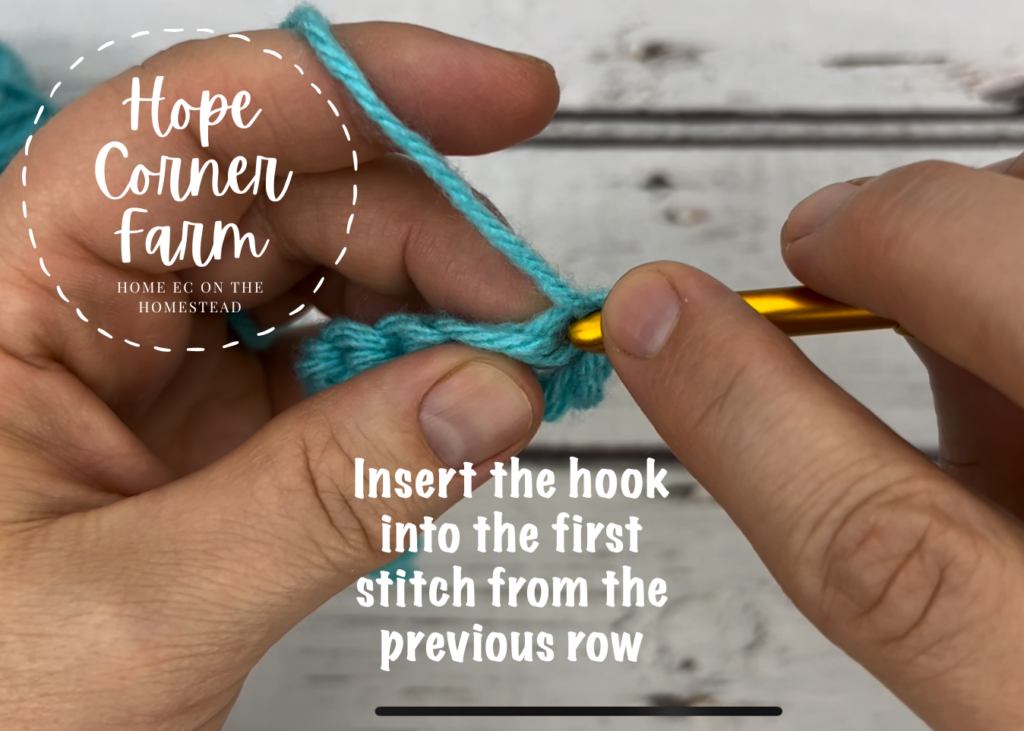
Step 2:
WITHOUT chaining, insert the hook into the first stitch.

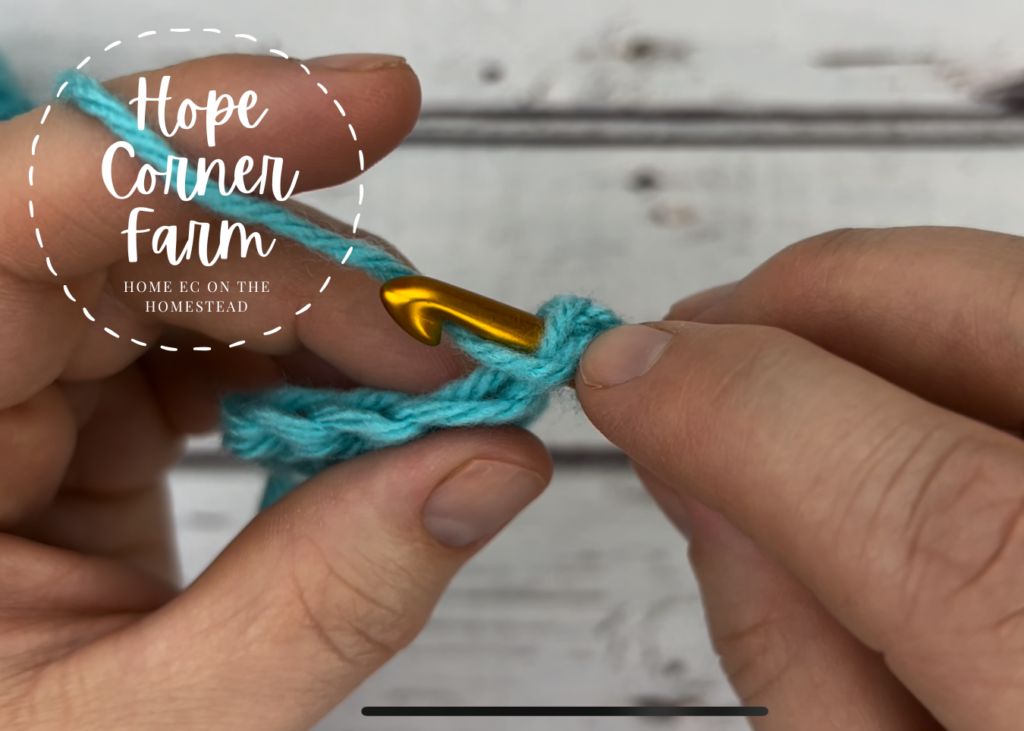
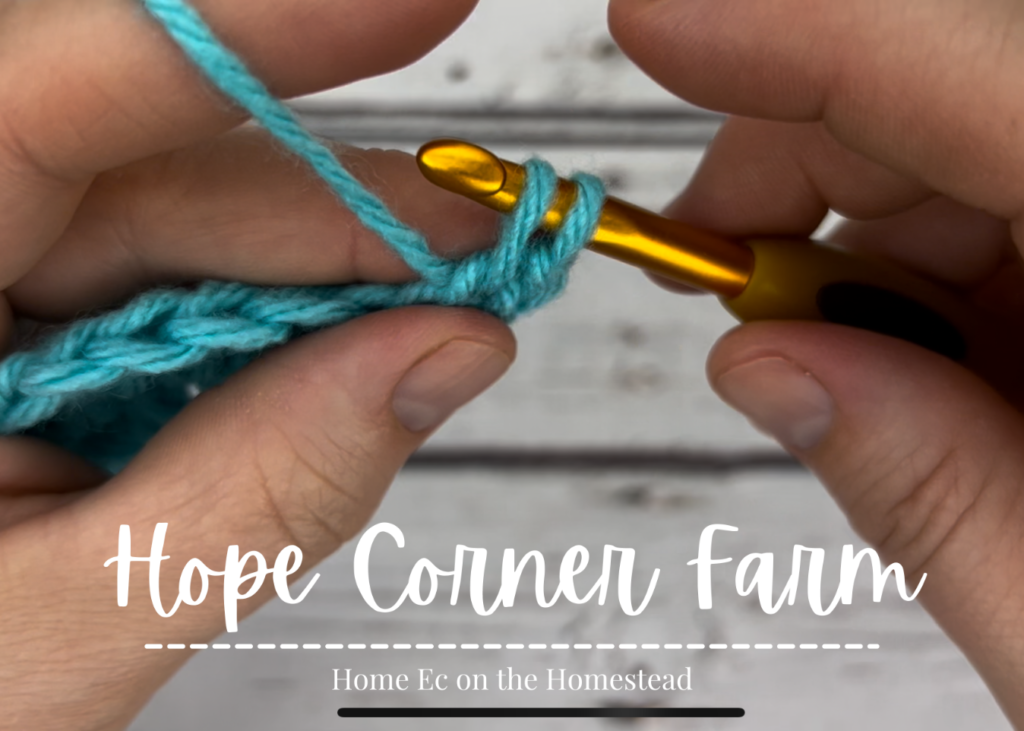
Stacked Single Crochet Stitch – Step 3:
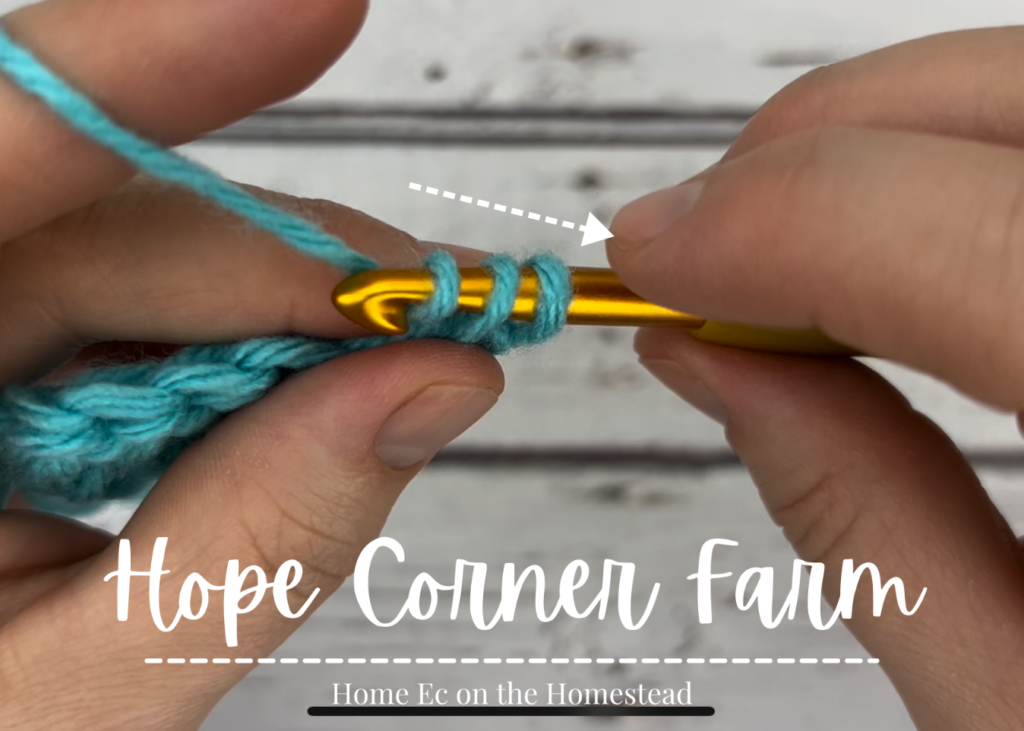
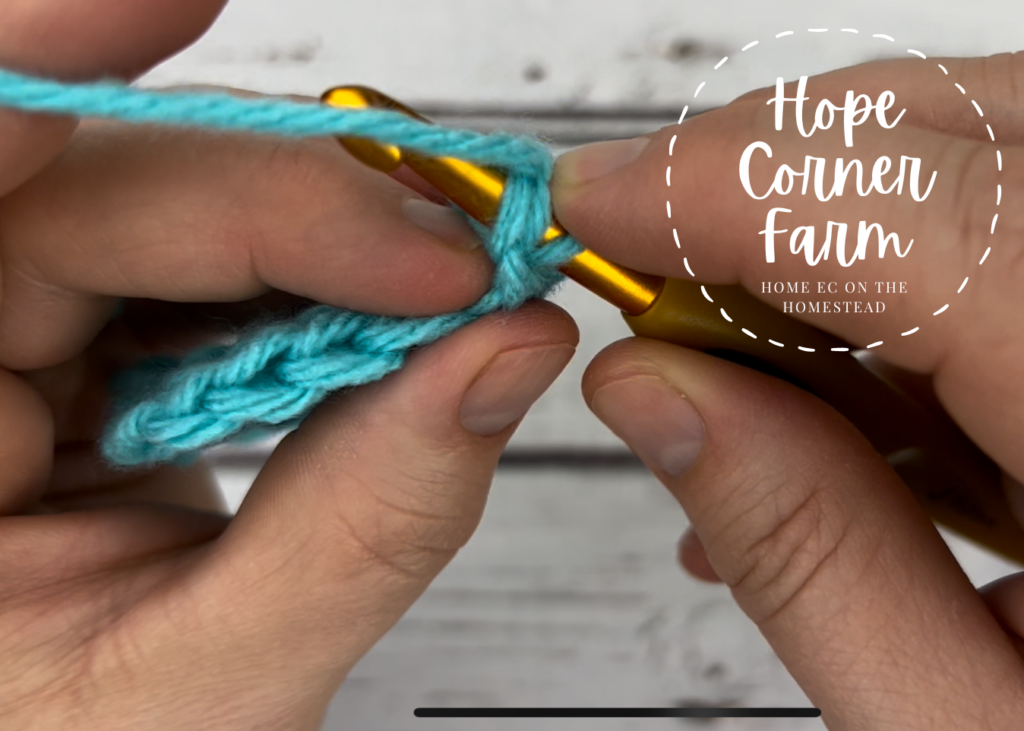
Yarn Over and pull back through the stitch. There will be 2 loops on the hook at this point.
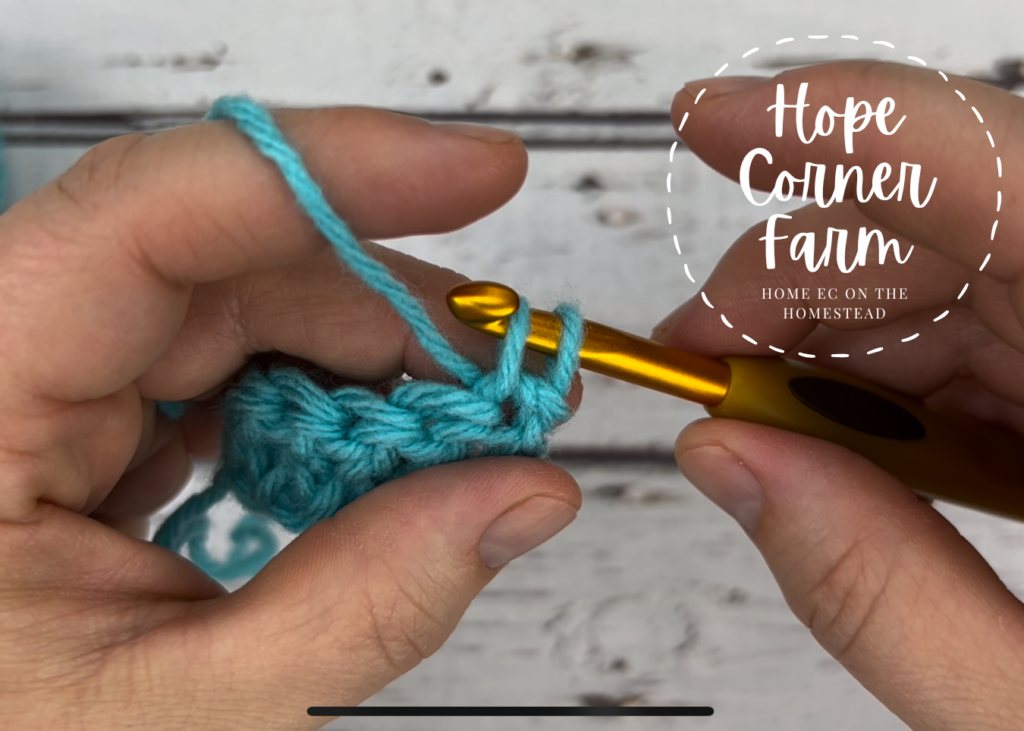
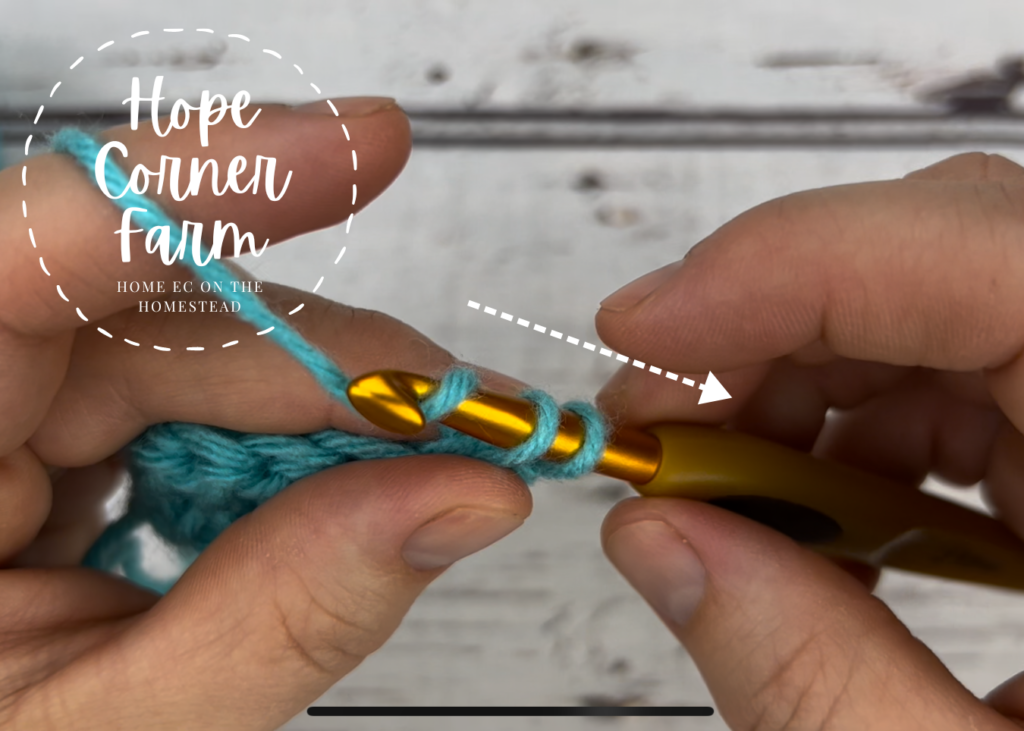
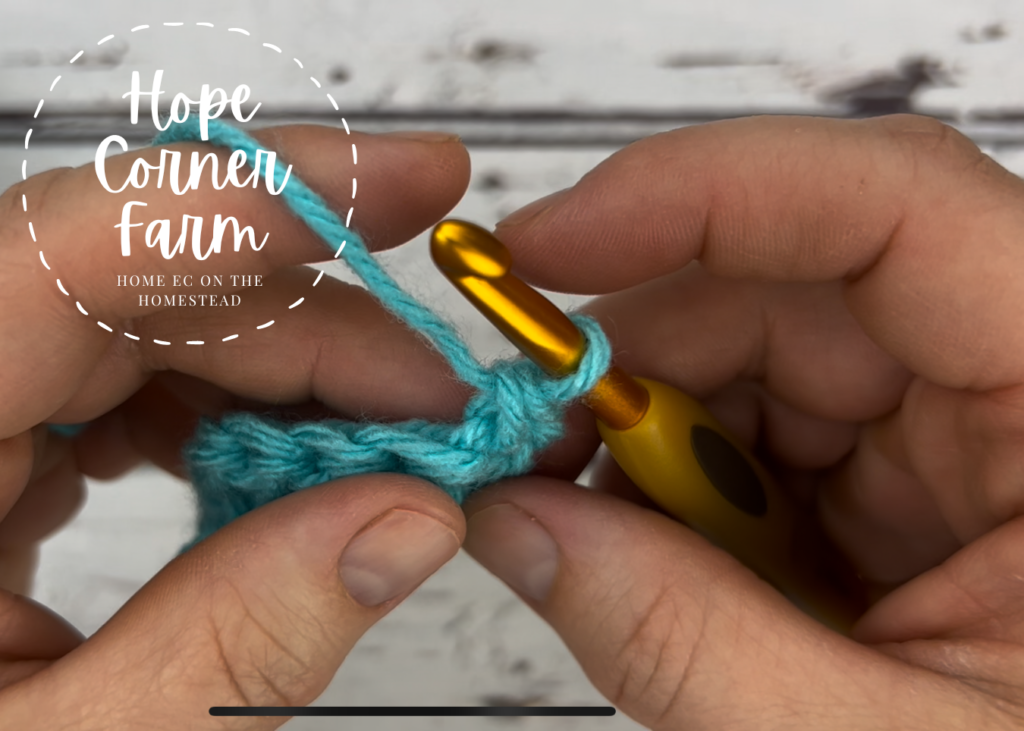
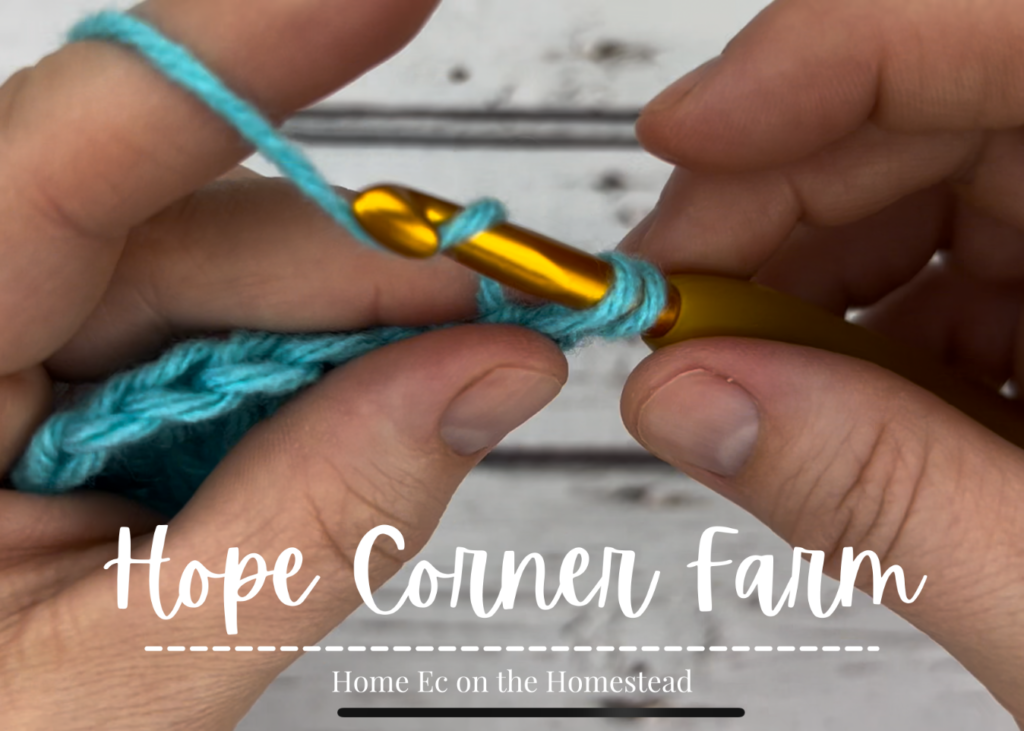
Step 4:
YO and pull through both loops. There will be one loop left on the hook at this point. This is a completed single crochet.
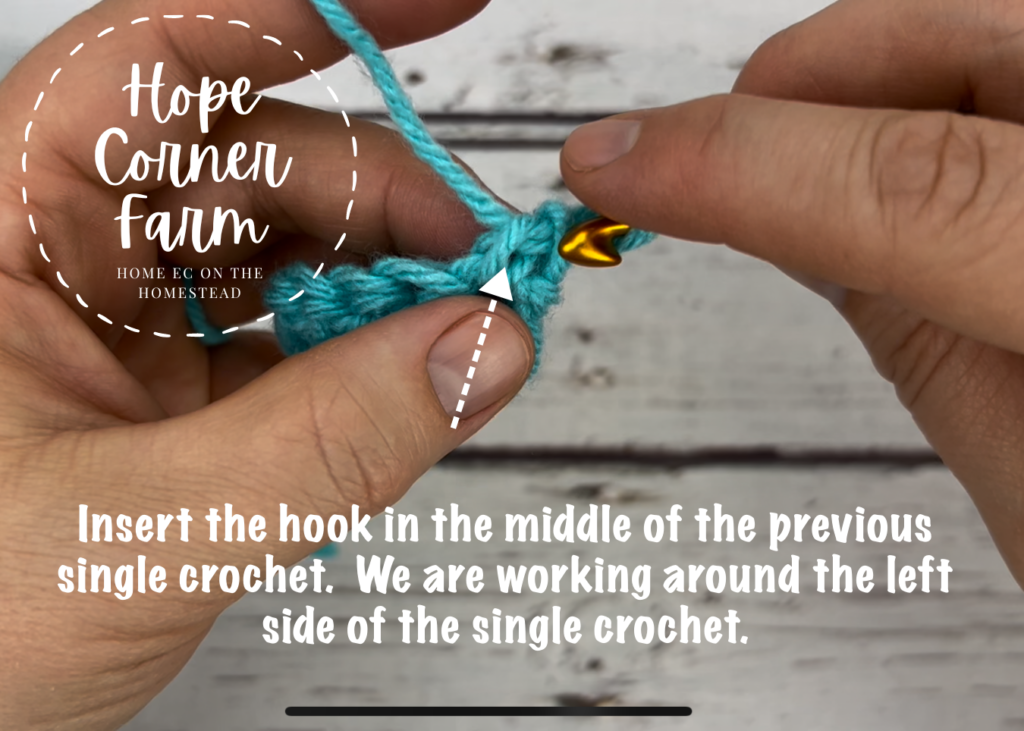
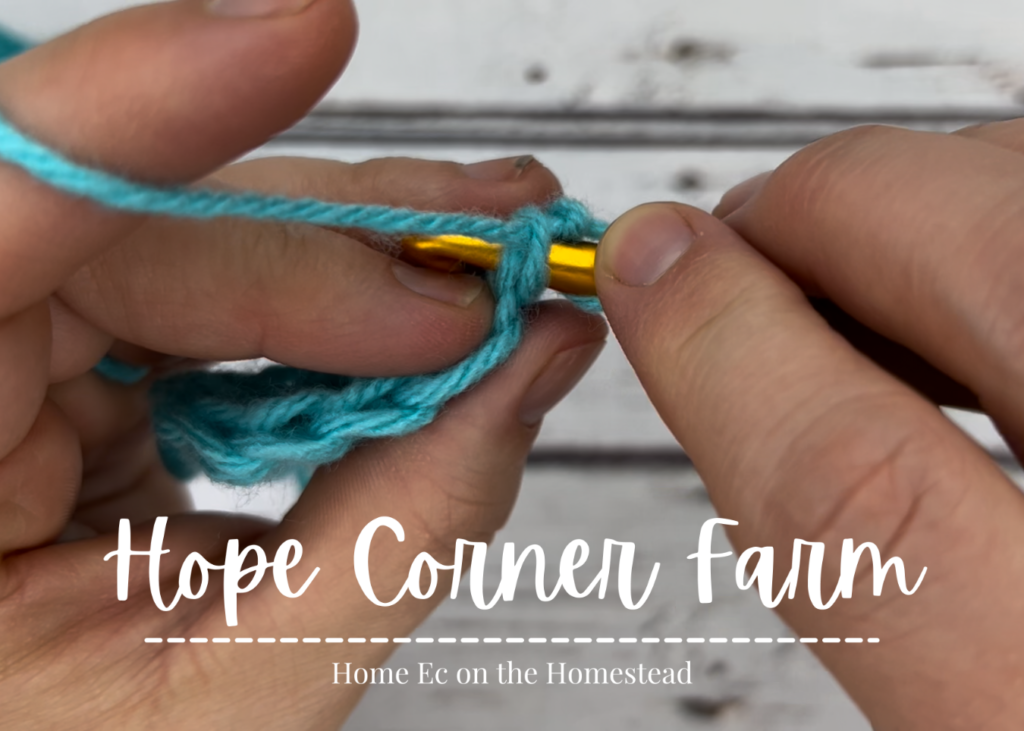
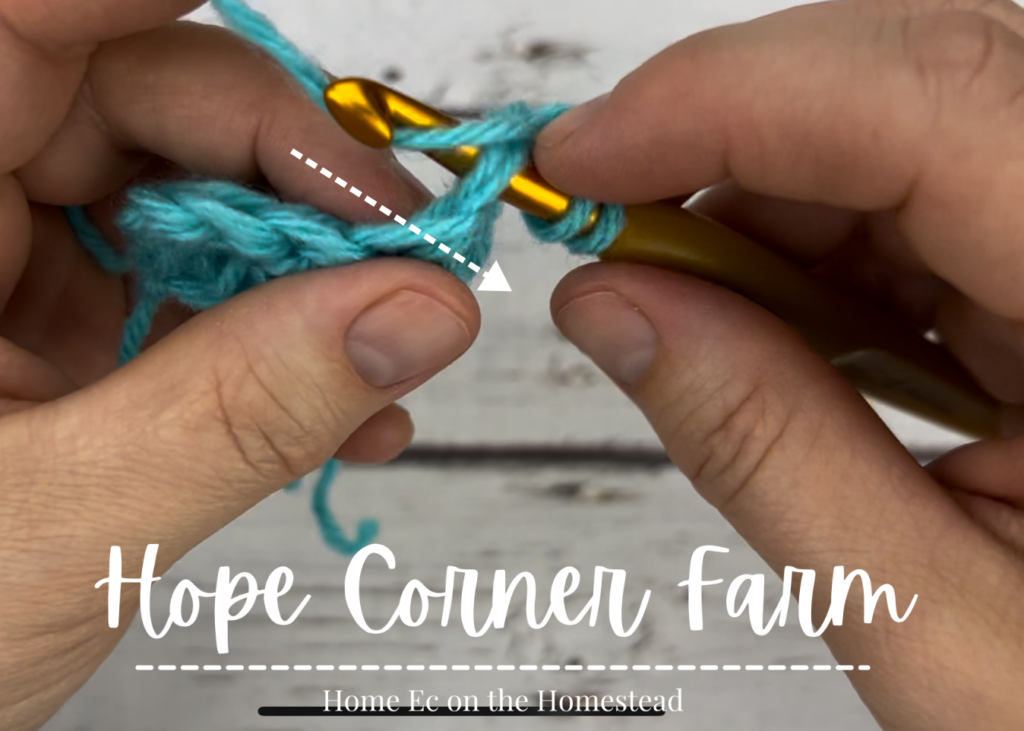
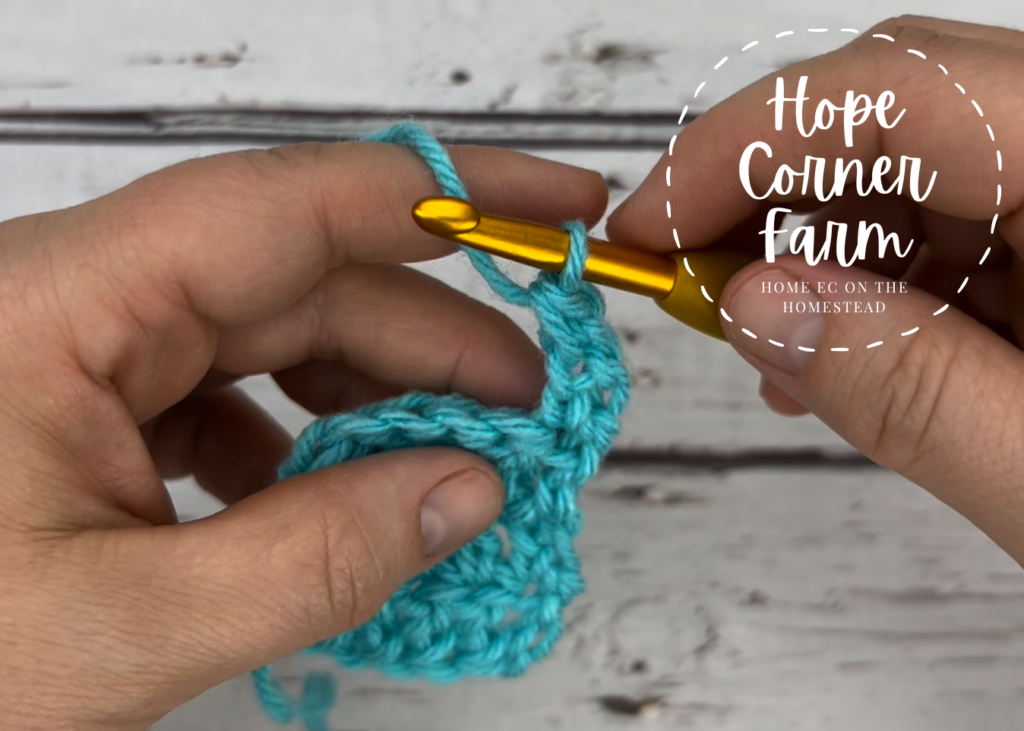
How to Stacked Single Crochet Step 5:
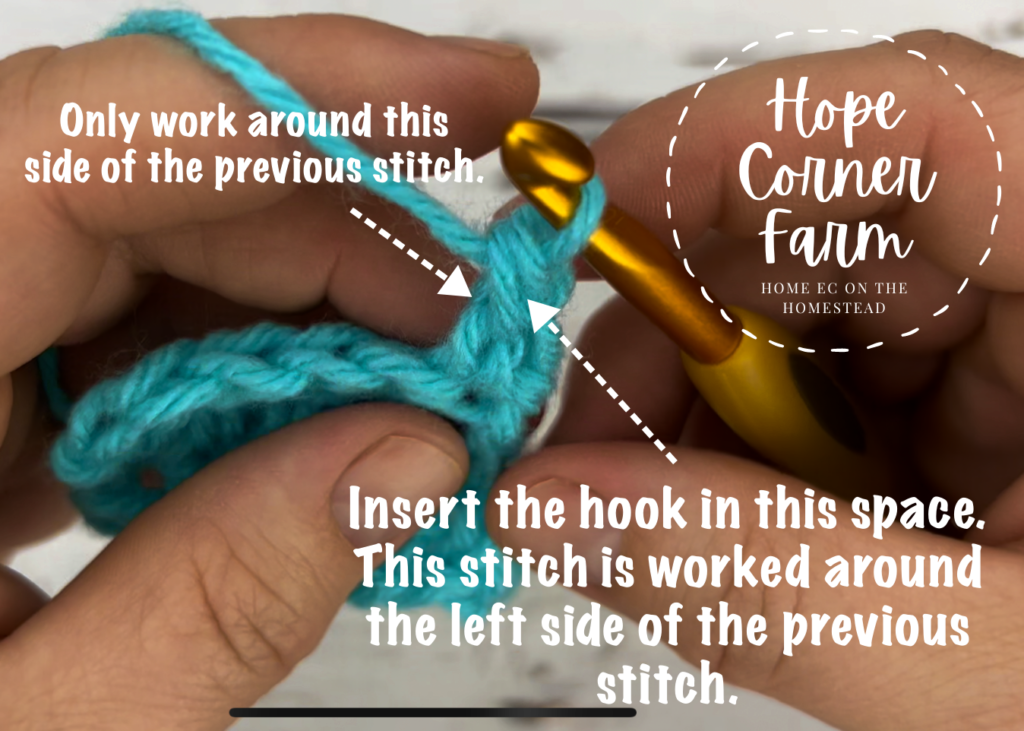
The second or STACKED single crochet will be worked around the left side or left leg of the previous single crochet.
Insert the hook in the middle of the previous single crochet stitch. Work around the LEFT side or left leg of the previous single crochet stitch.
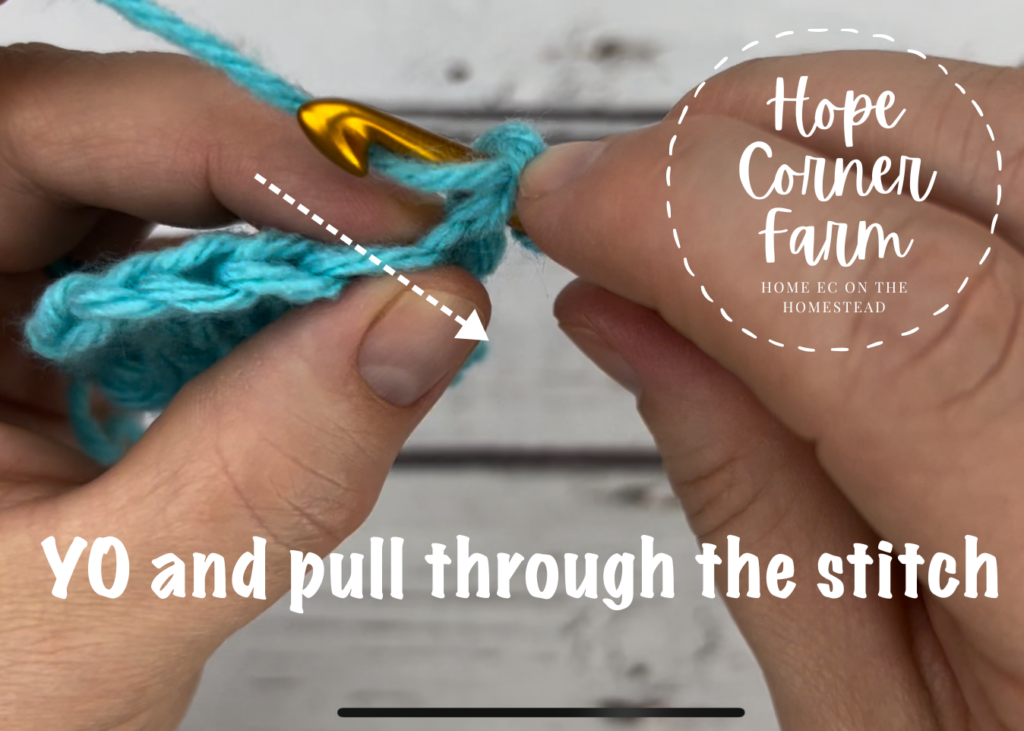
Step 6:
Yarn Over and pull through the stitch. There will be 2 loops on the hook at this point.
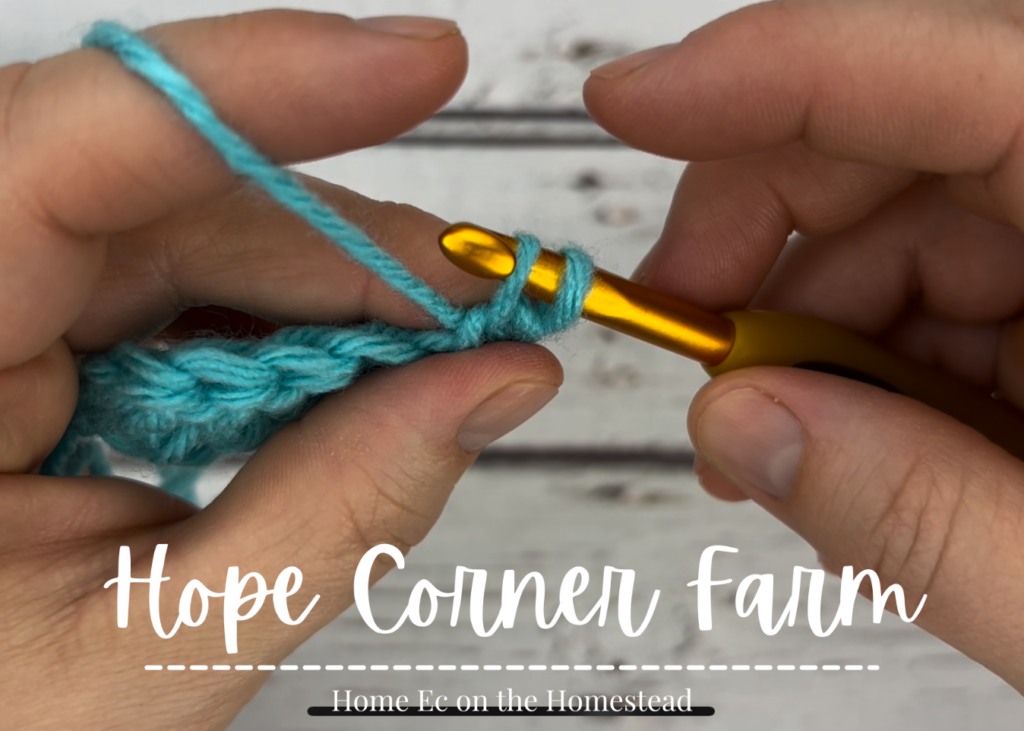
Stacked Single Crochet – Step 7:
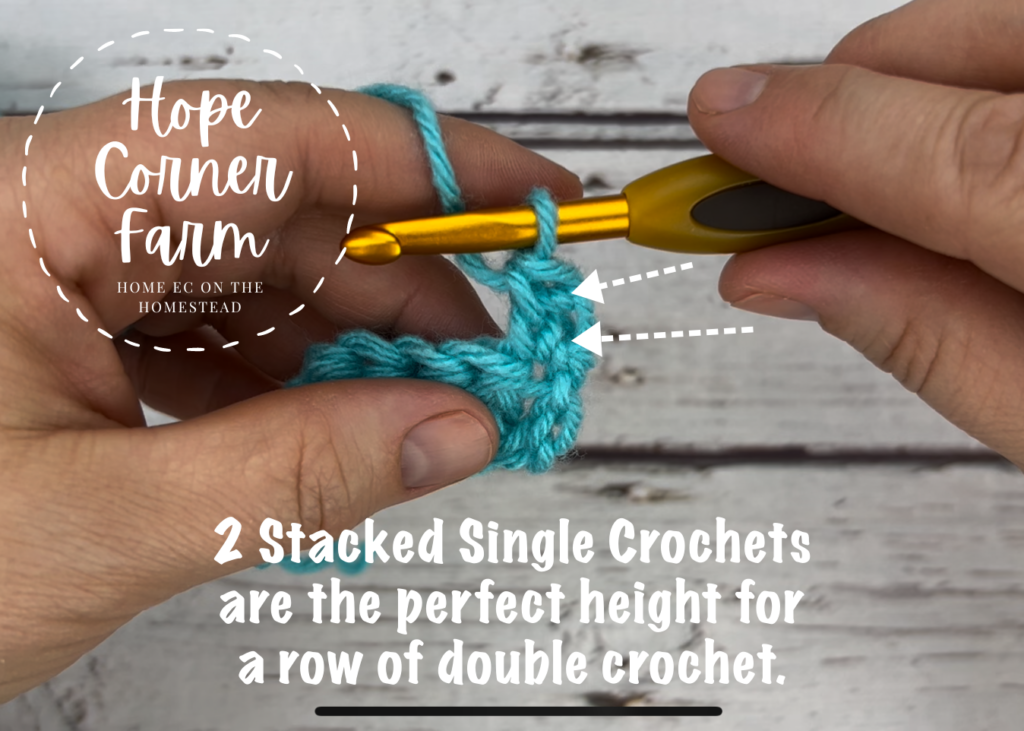
YO and pull through both loops. There will be 1 loop on the hook at the end of this step. This completes a second single crochet that is stacked on top of the previous single crochet.
At this point the stacked single crochets are tall enough for a row of DOUBLE CROCHETS.
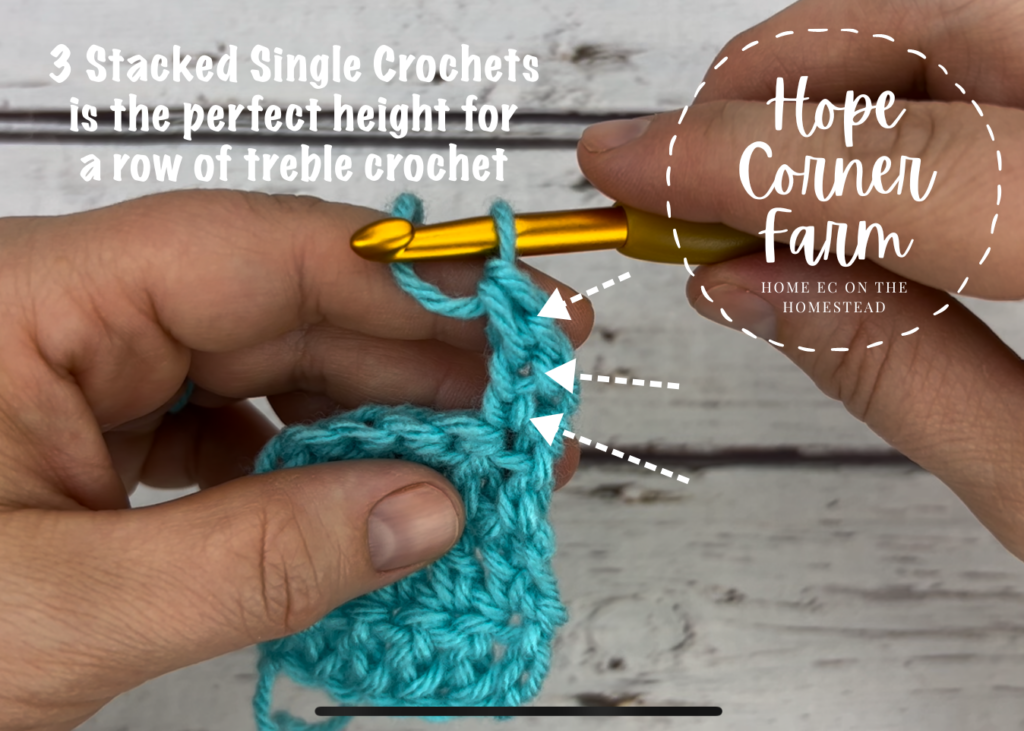
Step 8 – For a Row of Treble Crochet:
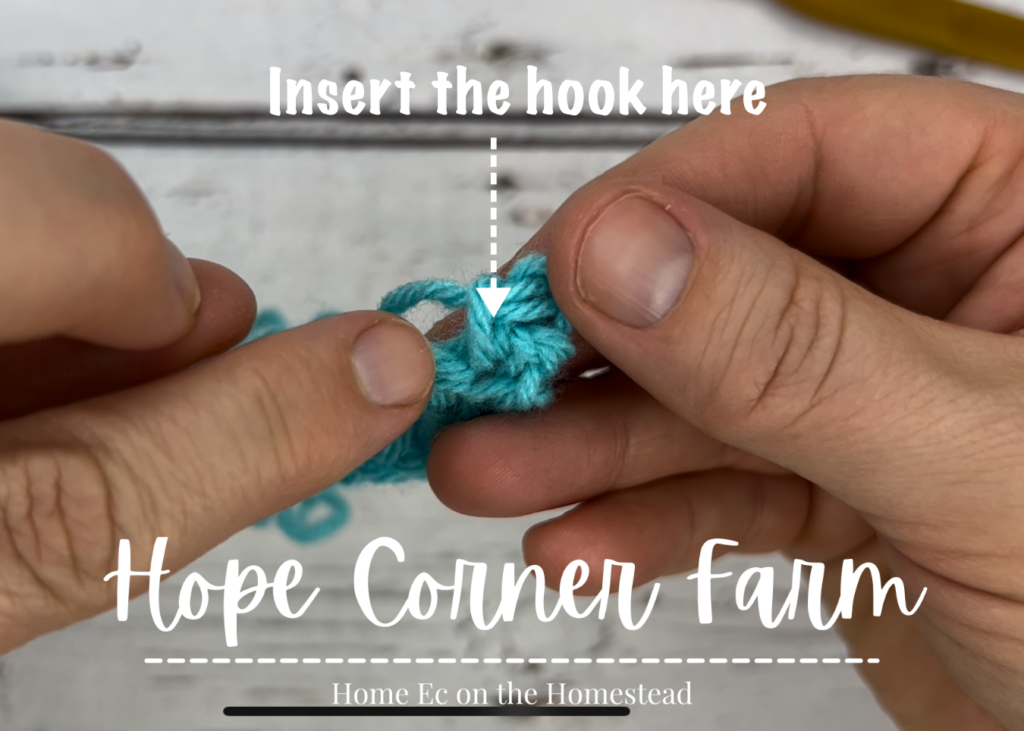
This step is only needed if your row of stitching is a TREBLE CROCHET or higher.
Just as in previous Stacked Single Crochets, insert the hook into the previous ST sc. This stitch will be worked around the left leg of the previous SC.
How to Stacked Single Crochet – Step 9:
Next, yarn over and pull through the stitch. There will be 2 loops on the hook at this point.
Step 10:
Finally, yarn over and pull through both loops. There will be 1 loop on the hook at this point. This completes another Stacked Single Crochet Stitch.
With 3 stacked single crochets, this is now tall enough for use with a row of TREBLE CROCHETS.
Video Tutorial:
And that’s how to stacked single crochet stitch!
Many Blessings,


Looking for fun crochet projects? Check these out!
The Sweetgrass Ear Warmer from Hope Corner Farm
Crochet Poncho from Made with a Twist
©2023 Hope Corner Farm. All Rights Reserved