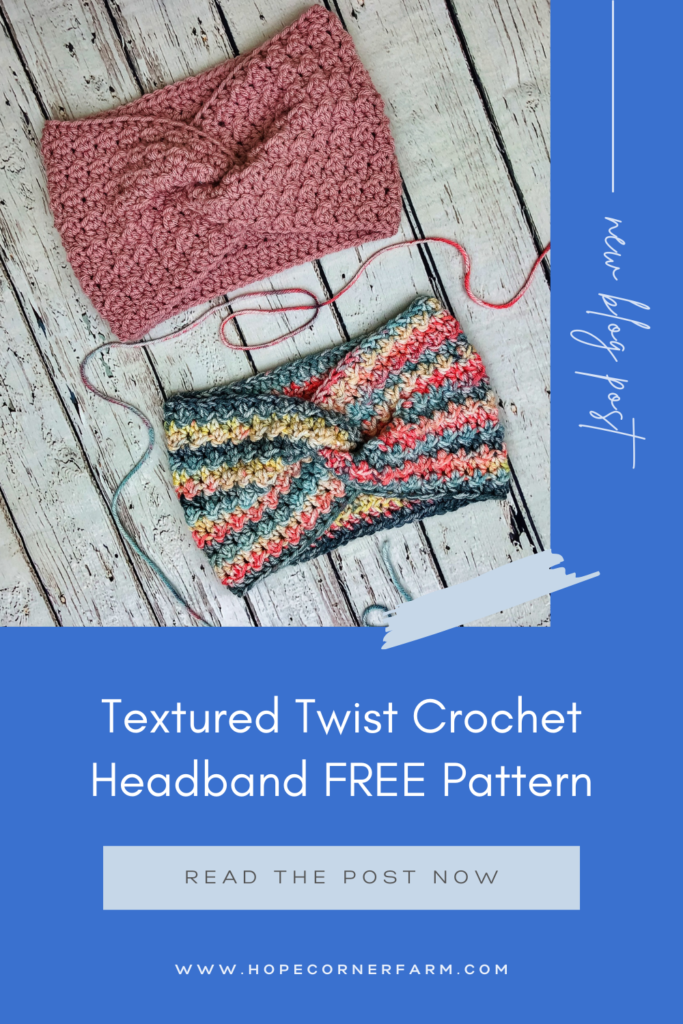
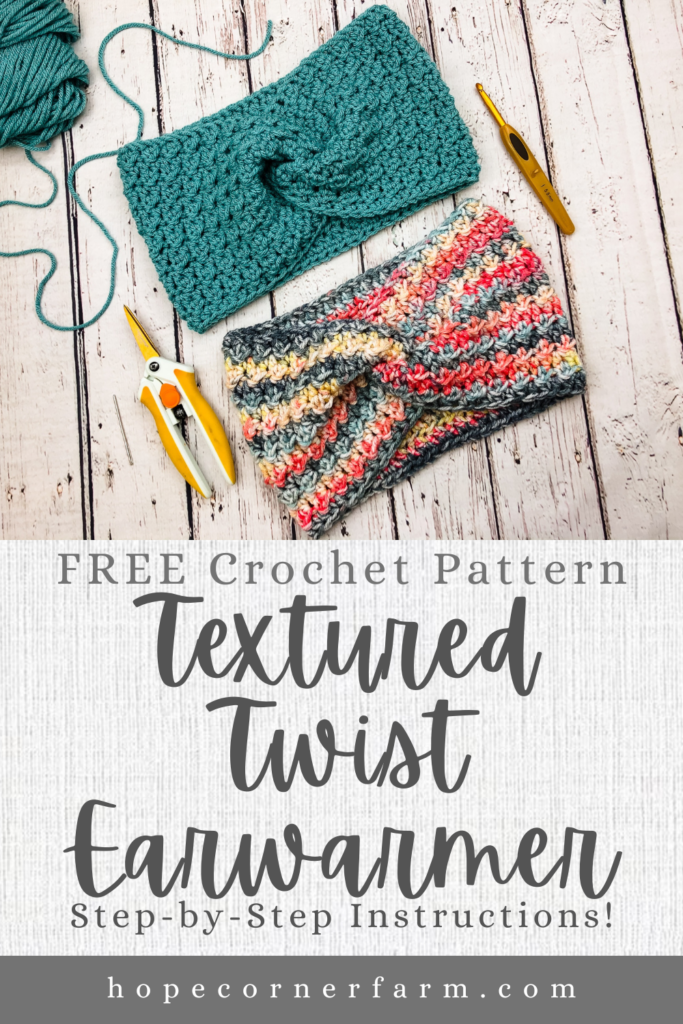
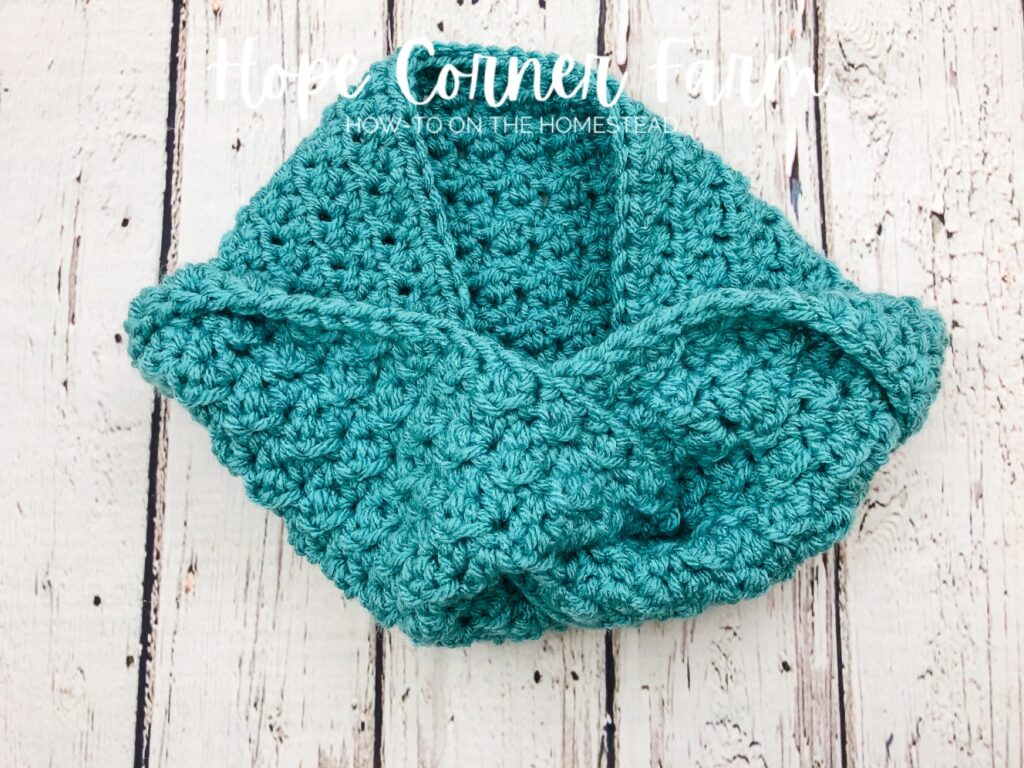
Textured Twist Crochet Headband Free Pattern
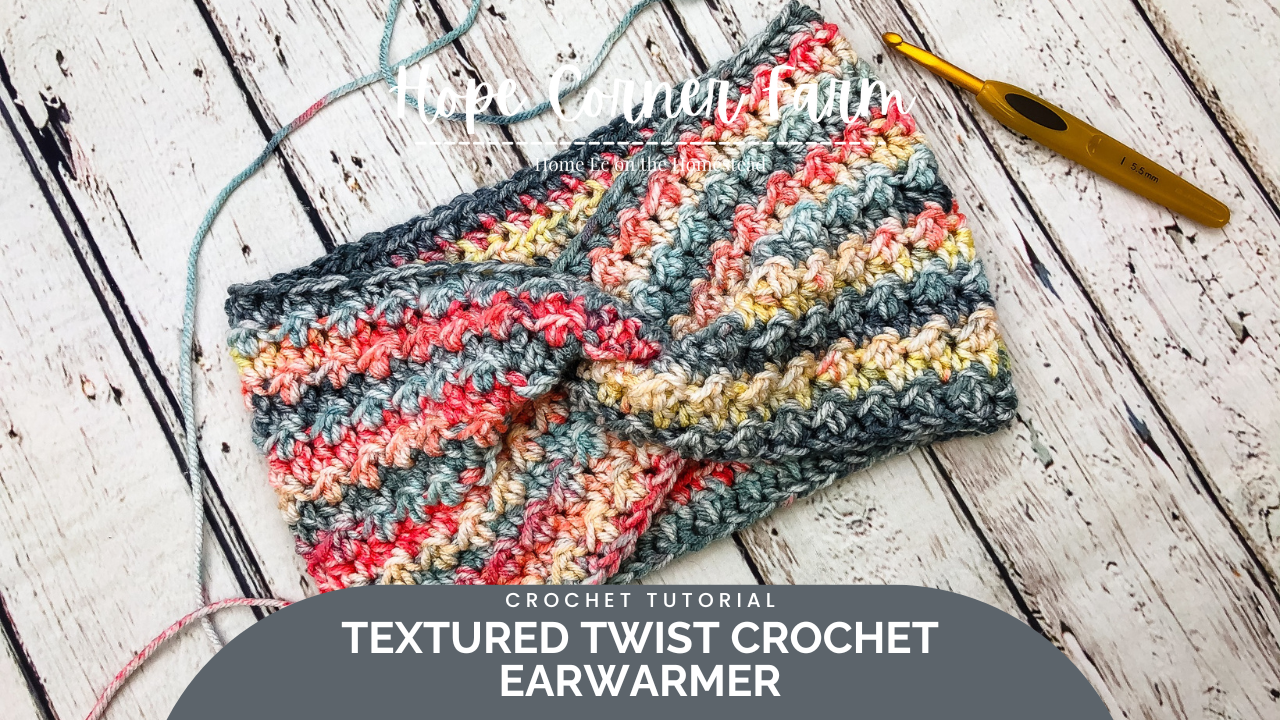

The only thing I really love about winter is all of the fun, warm accessories that I can crochet and wear. While I am normally a hat person, lately I have grown really fond of headbands or ear warmers. Infinity twist crochet headbands are in fashion right now, so I jumped on the bandwagon and created my own version of this trendy accessory. I am sharing my Textured Twist Crochet Headband Pattern here today! Hopefully you love this simple twisted ear warmer as much as I do!


First, check out our video tutorial on our You Tube Channel! Subscribe to get the latest crochet fun from Hope Corner Farm Crochet!
Materials Needed for the Textured Twist Crochet Headband:
Medium weight (size 4) yarn
Size I (5.5 mm) crochet hook
Tapestry (yarn) needle
Scissors
Measuring tape
Crochet Terms Used:
Foundation Single Crochet (FSC)
To Start the Textured Twist Crochet Headband:
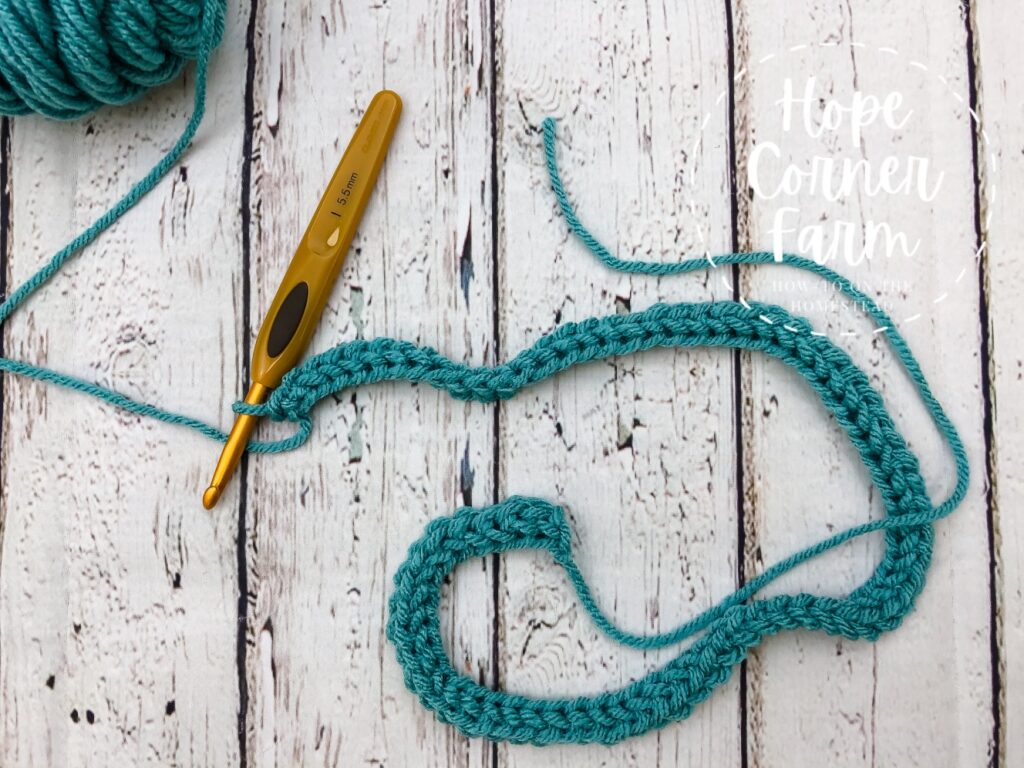
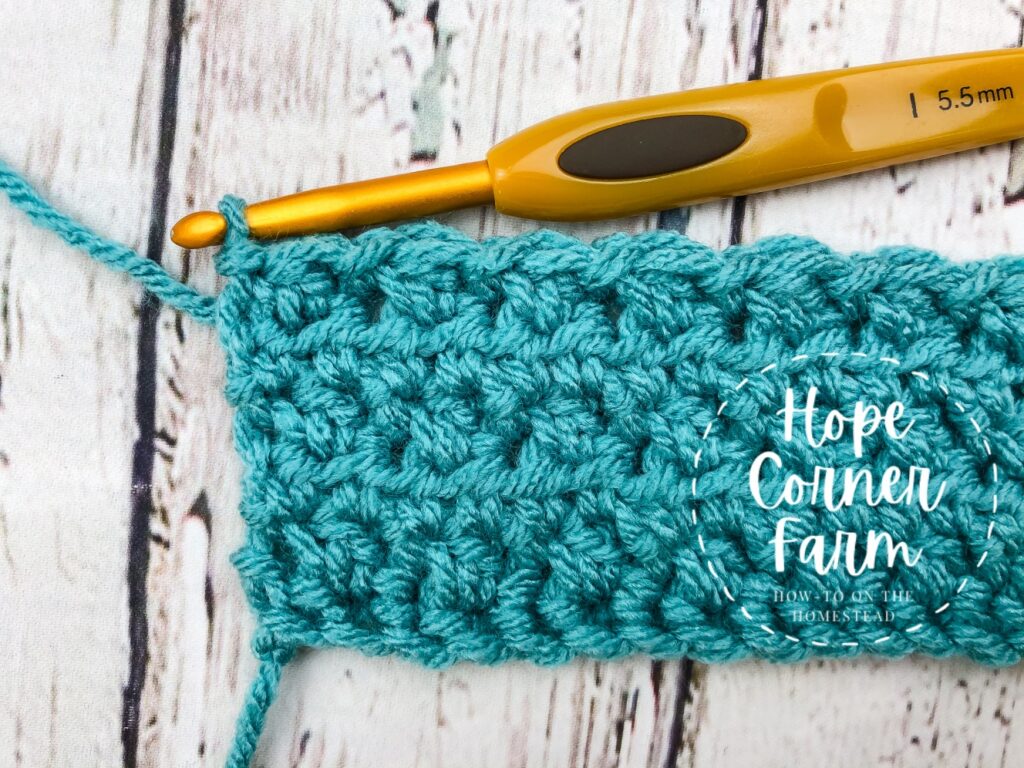
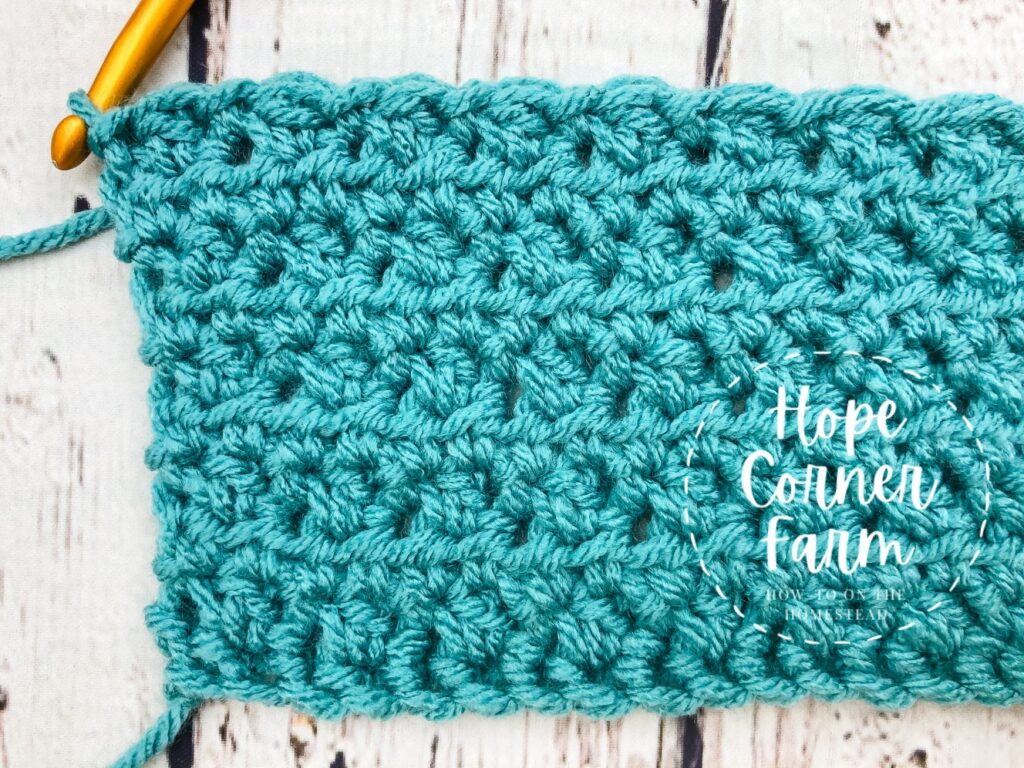
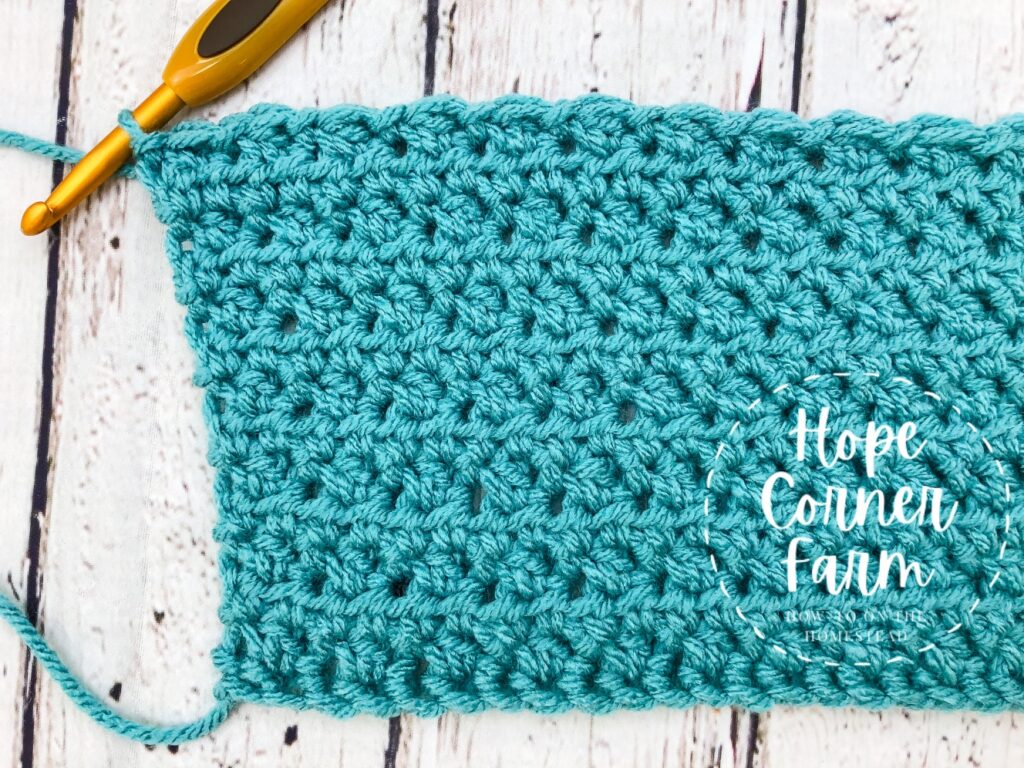
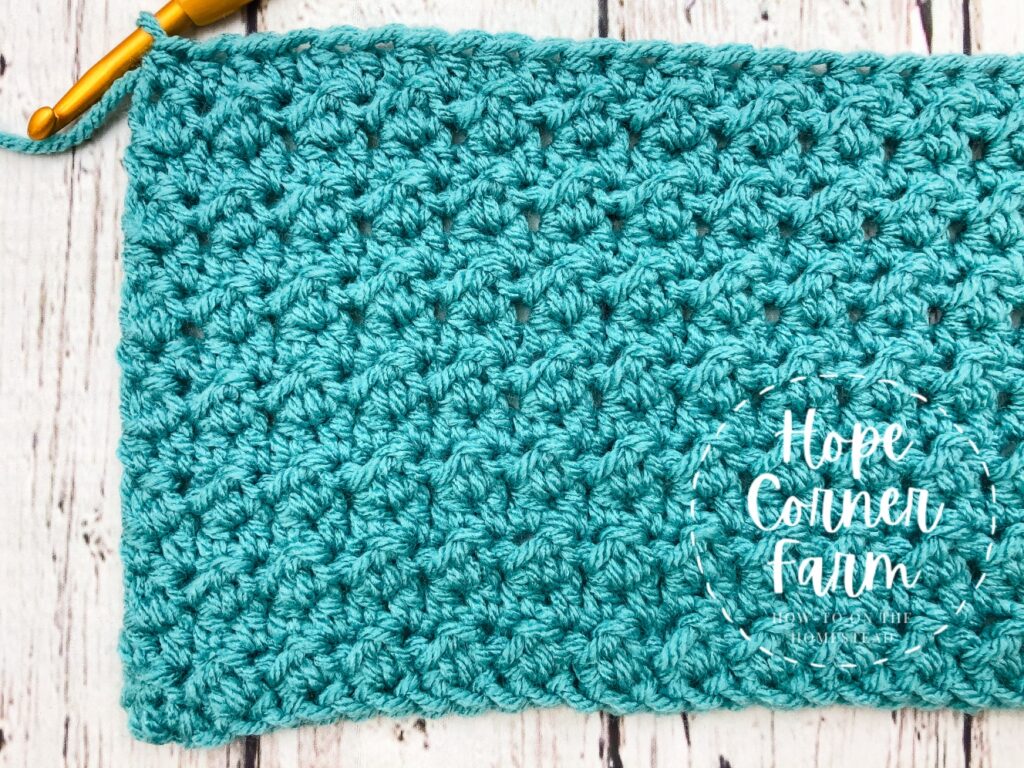
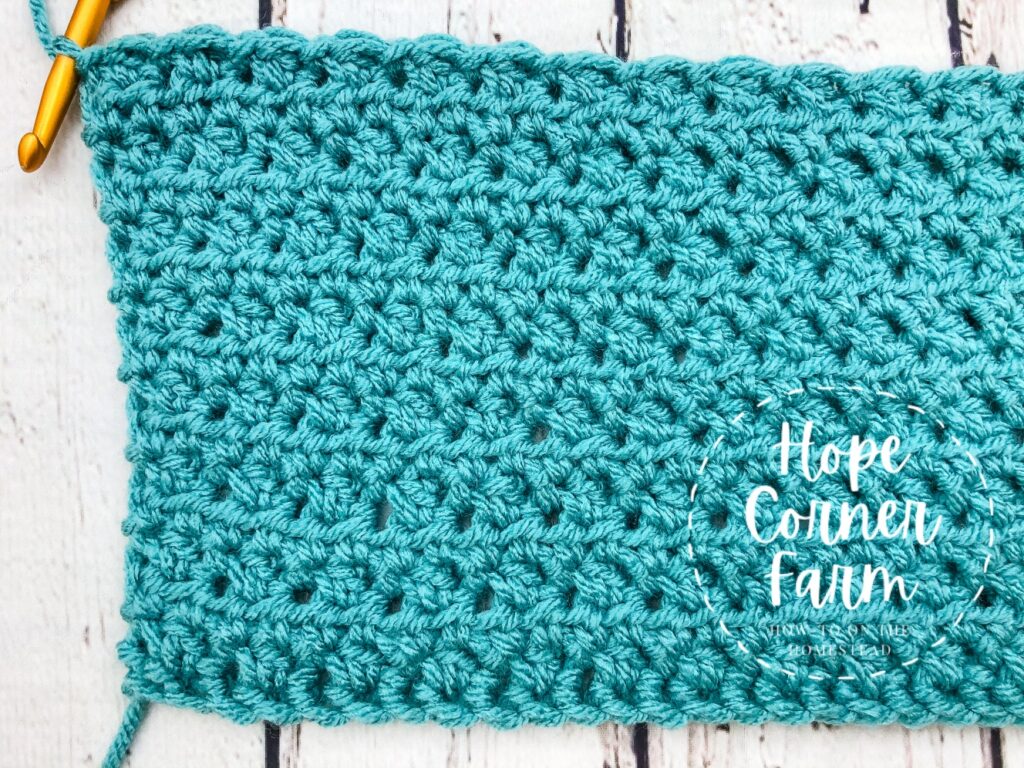
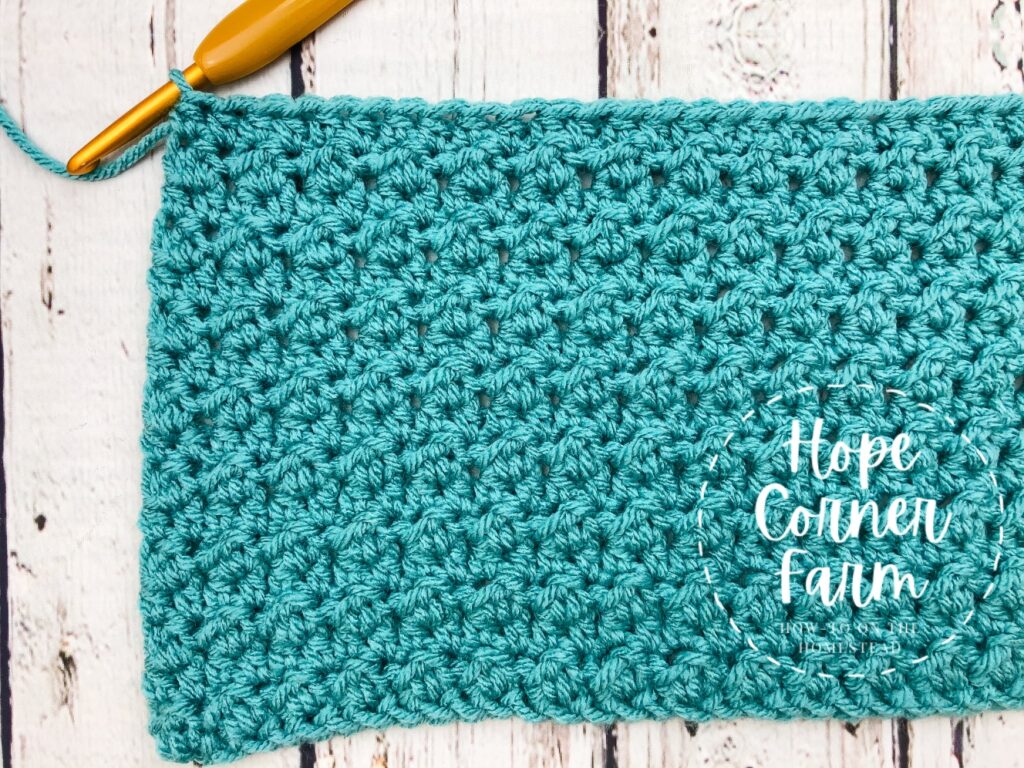
To begin the Textured Twist Crochet Headband (or ear warmer), foundation single crochet (FSC) 72 times.
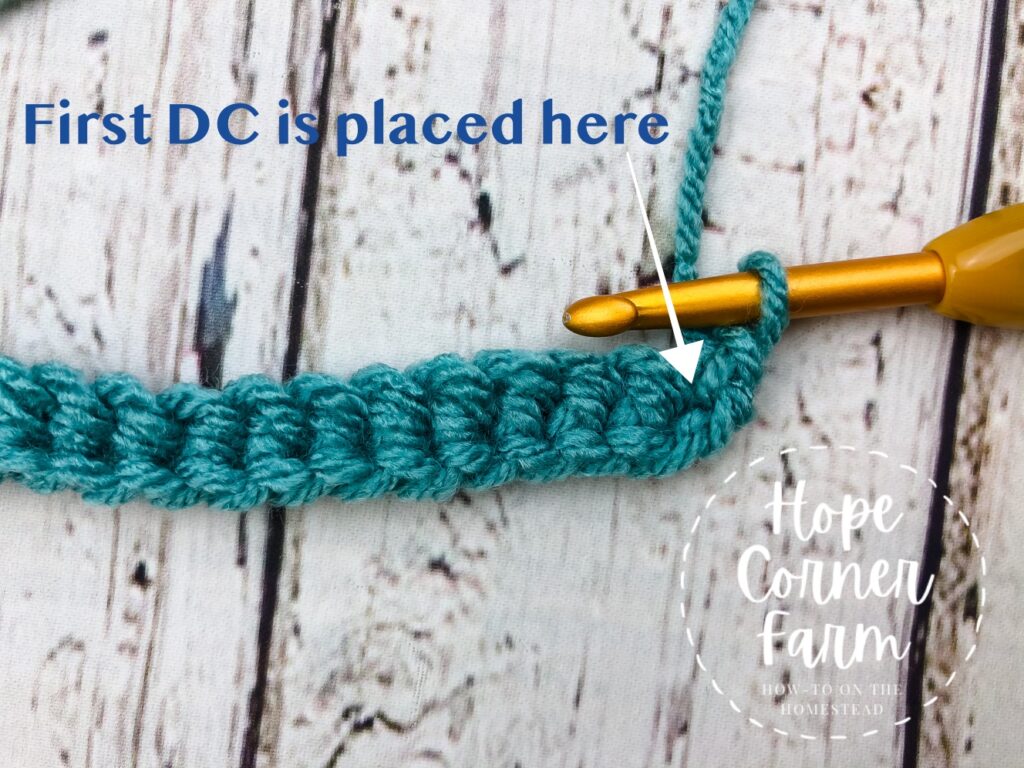
Row 1:
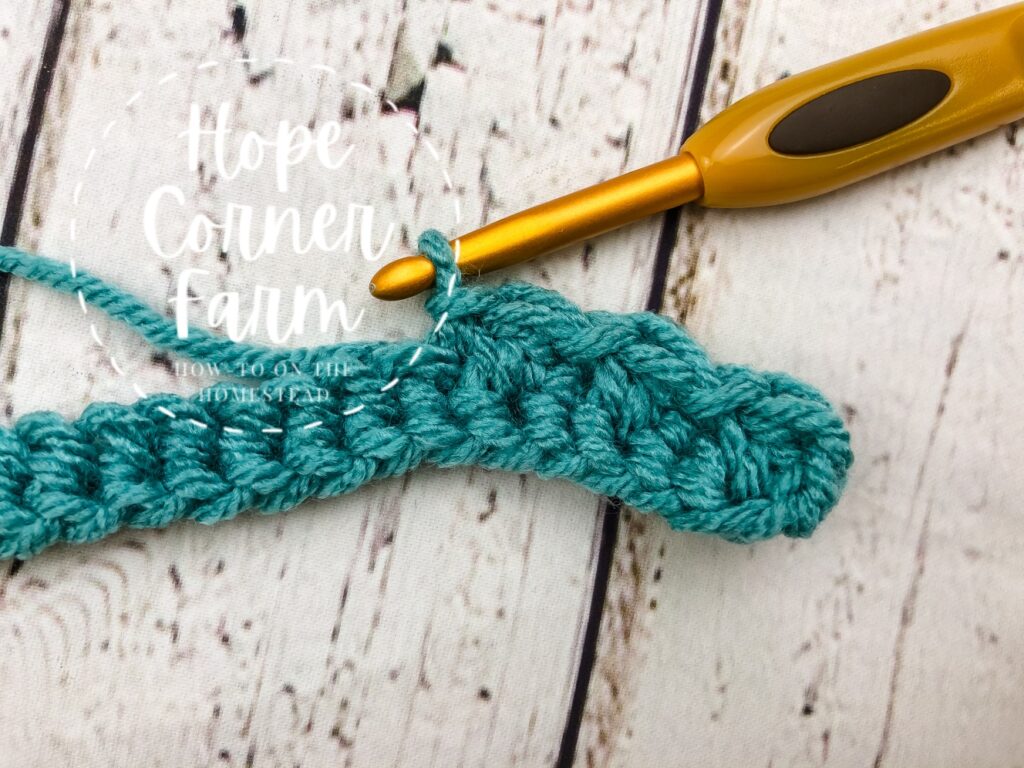
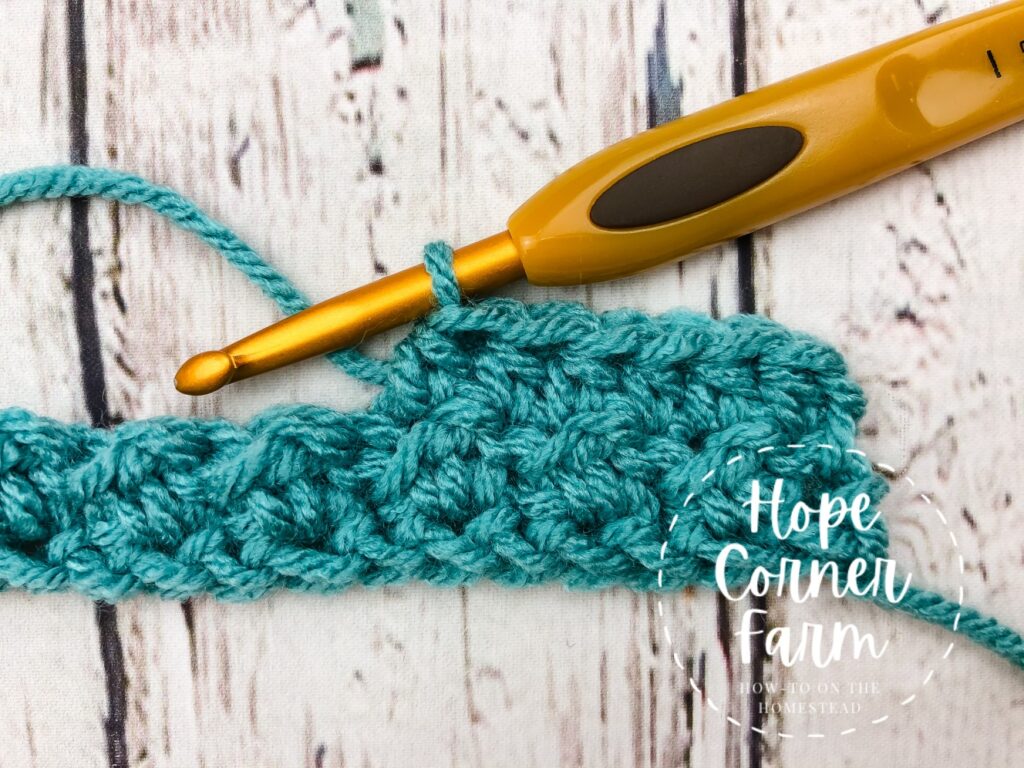
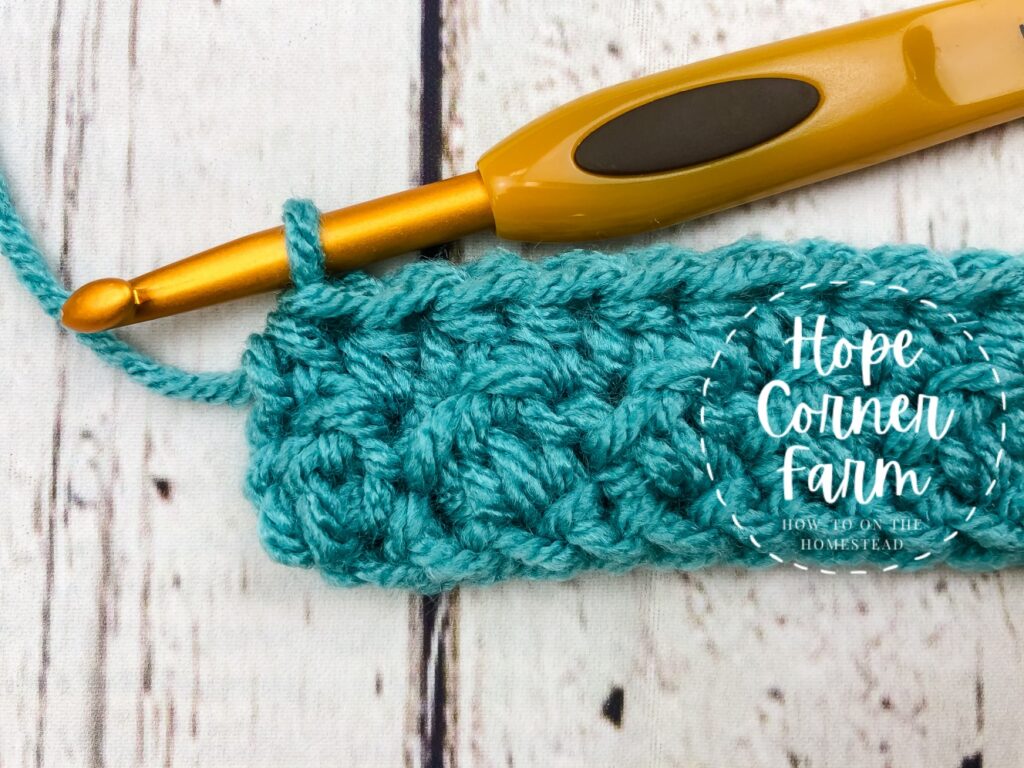
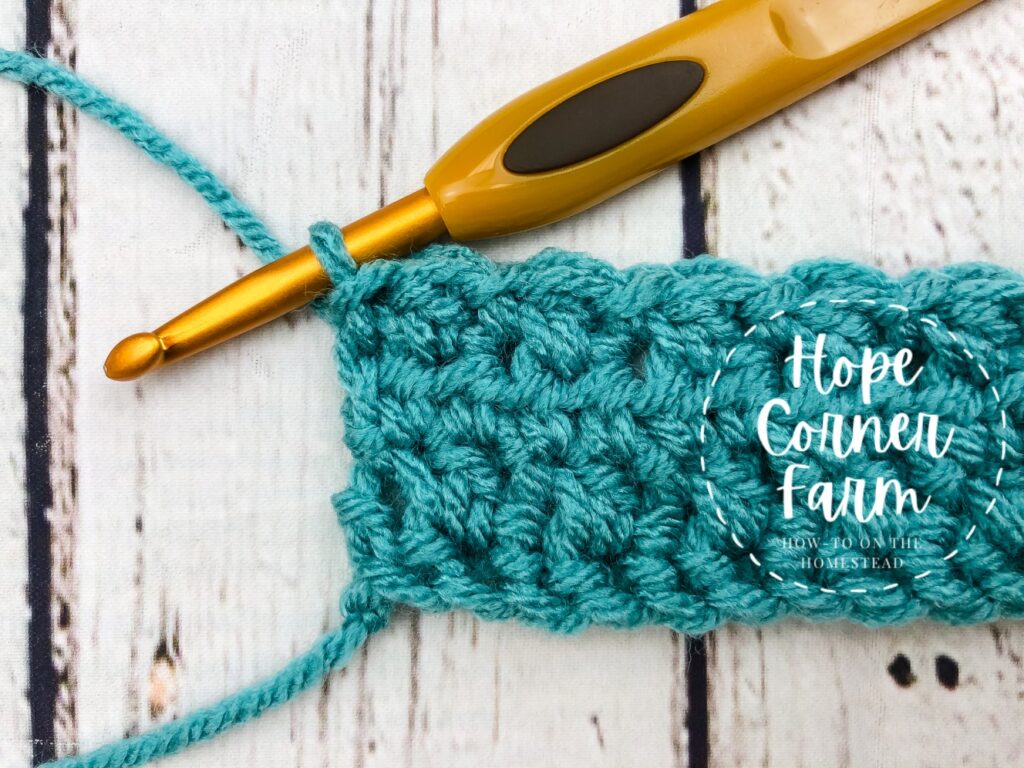
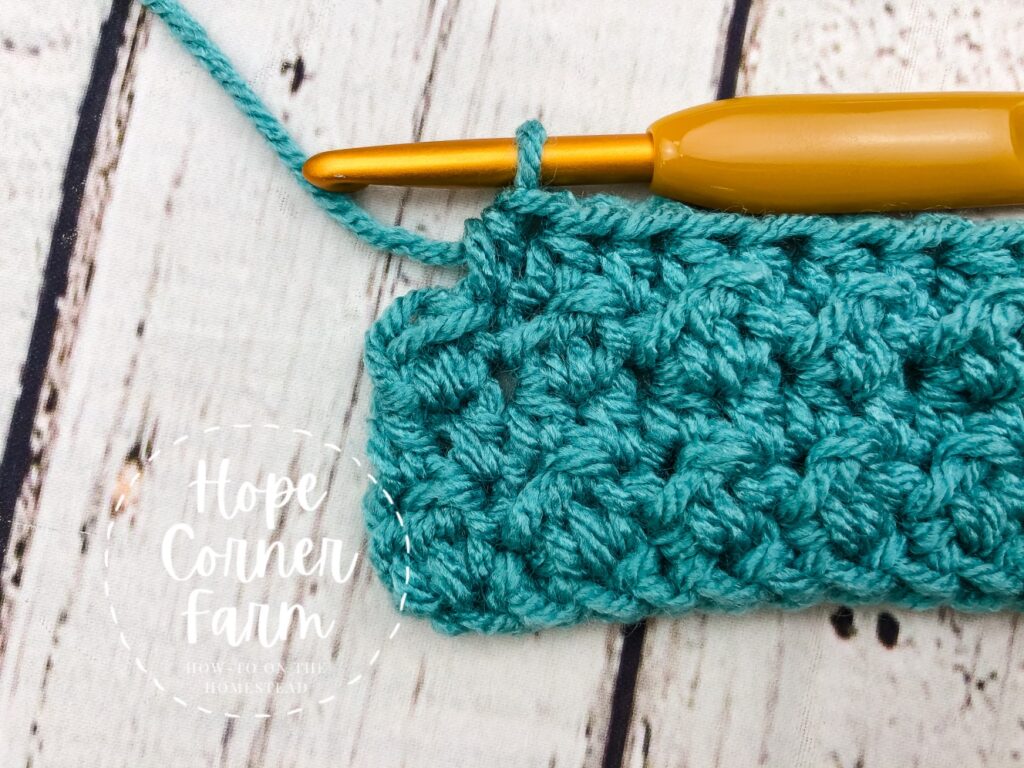
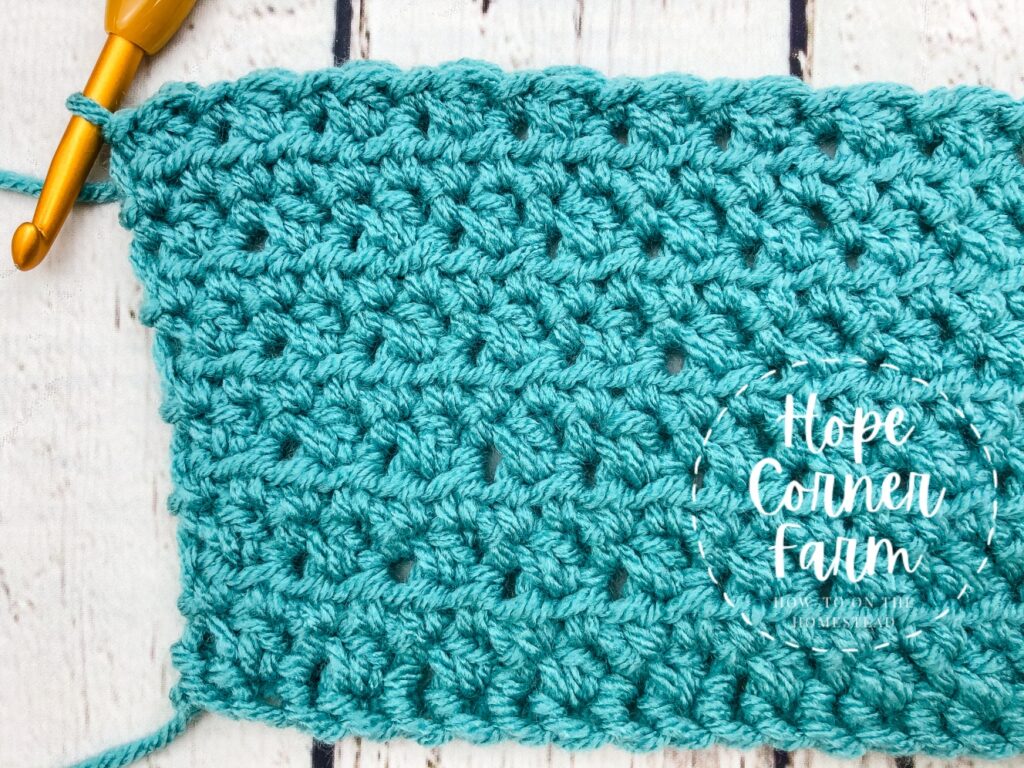
Chain 1, turn. In the first stitch, place a DC. Sl st into the next stitch. (DC in next, Sl st in next). Repeat the instructions in the ( ) across the row. (72)
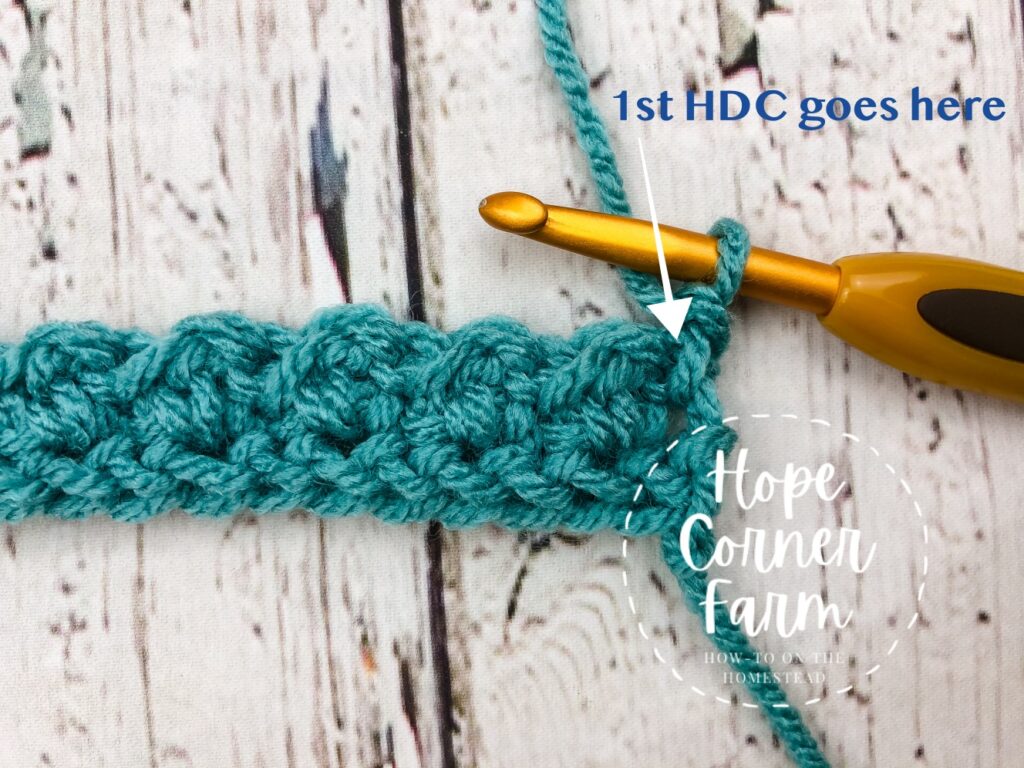
Row 2:
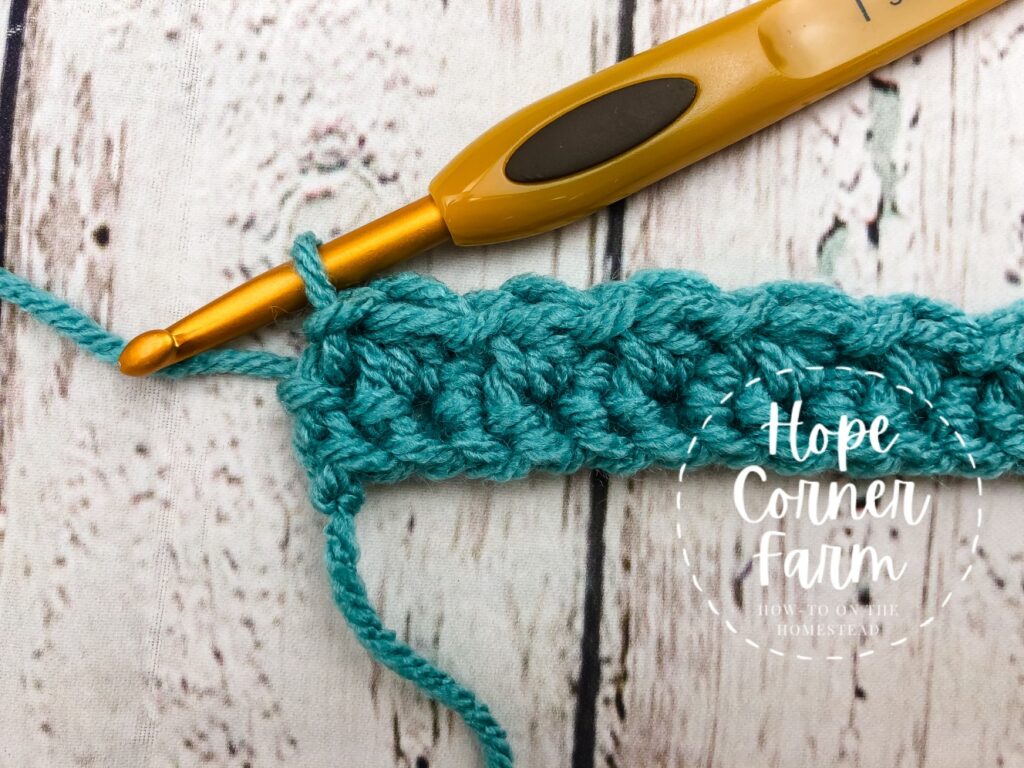
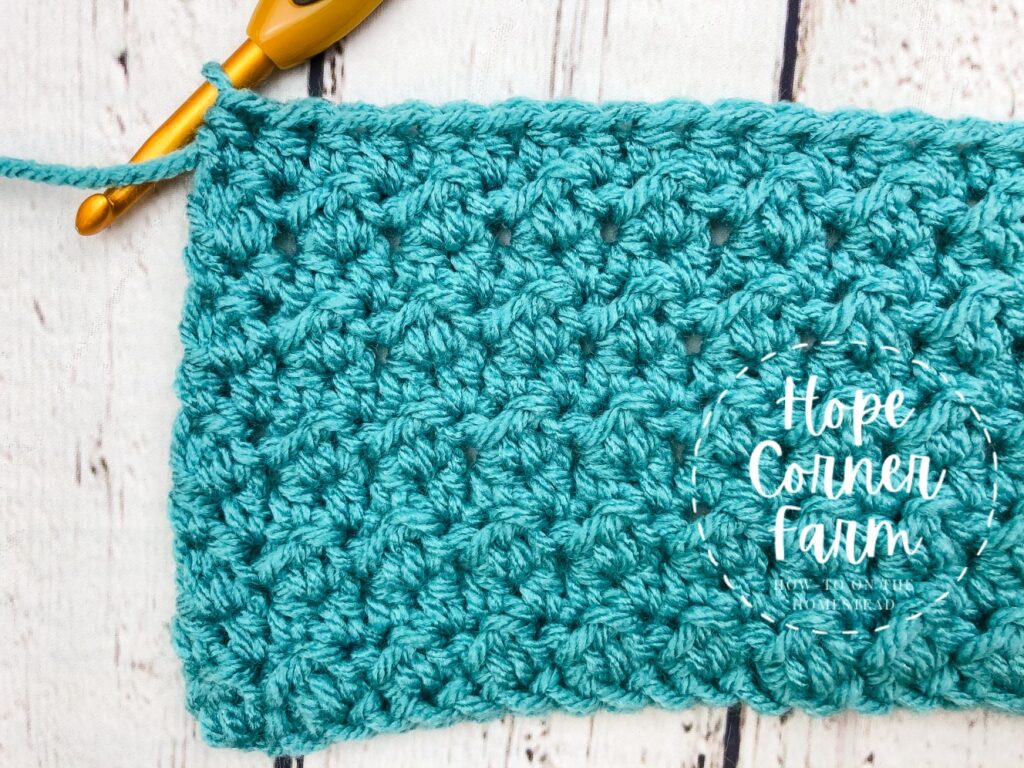
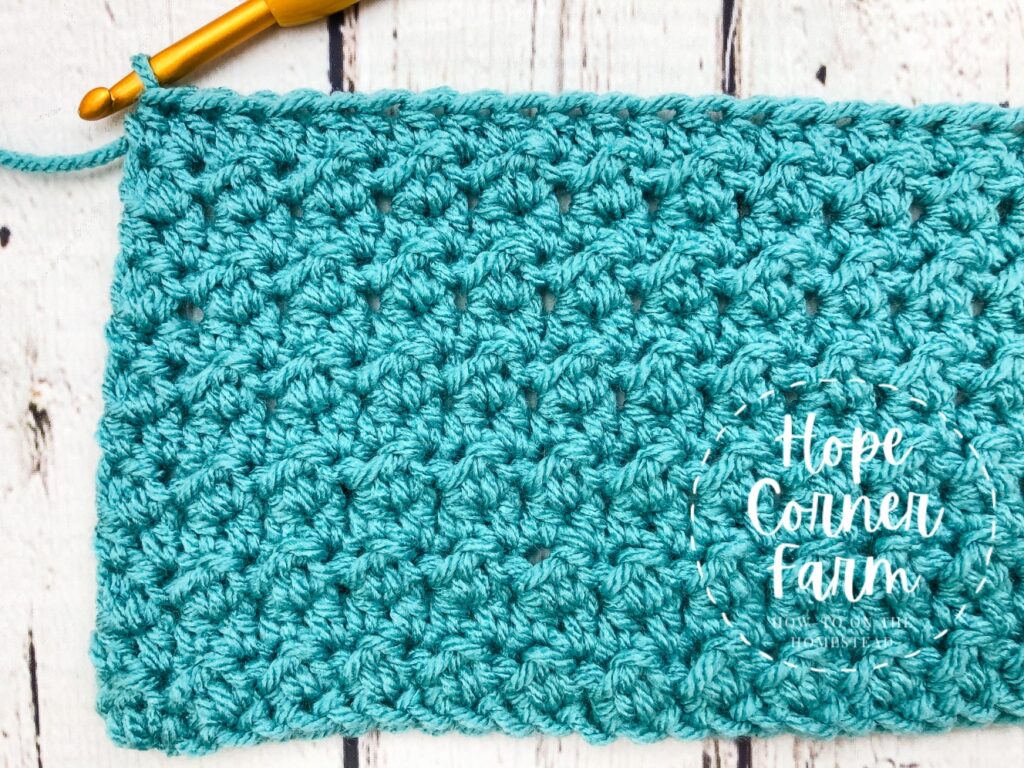
Chain 1, turn. HDC in first stitch and in each stitch across. (72)
Row 3:
Repeat of Row 1 – Chain 1, turn. In the first stitch, place a DC. Sl st into the next stitch. (DC in next, Sl st in next). Repeat the instructions in the ( ) across the row. (72)
Row 4:
Repeat of Row 2 – Chain 1, turn. HDC in first stitch and in each stitch across. (72)
Row 5:
Repeat of Row 1 – Chain 1, turn. In the first stitch, place a DC. Sl st into the next stitch. (DC in next, Sl st in next). Repeat the instructions in the ( ) across the row. (72)
Row 6:
Repeat of Row 2 – Chain 1, turn. HDC in first stitch and in each stitch across. (72)
Row 7:
Repeat of Row 1 – Chain 1, turn. In the first stitch, place a DC. Sl st into the next stitch. (DC in next, Sl st in next). Repeat the instructions in the ( ) across the row. (72)
Row 8:
Repeat of Row 2 – Chain 1, turn. HDC in first stitch and in each stitch across. (72)
Row 9:
Repeat of Row 1 – Chain 1, turn. In the first stitch, place a DC. Sl st into the next stitch. (DC in next, Sl st in next). Repeat the instructions in the ( ) across the row. (72)
Row 10:
Repeat of Row 2 – Chain 1, turn. HDC in first stitch and in each stitch across. (72)
Row 11:
Repeat of Row 1 – Chain 1, turn. In the first stitch, place a DC. Sl st into the next stitch. (DC in next, Sl st in next). Repeat the instructions in the ( ) across the row. (72)
Row 12:
Repeat of Row 2 – Chain 1, turn. HDC in first stitch and in each stitch across. (72)
Row 13:
Repeat of Row 1 – Chain 1, turn. In the first stitch, place a DC. Sl st into the next stitch. (DC in next, Sl st in next). Repeat the instructions in the ( ) across the row. (72)
Row 14:
Repeat of Row 2 – Chain 1, turn. HDC in first stitch and in each stitch across. (72)
Row 15:
Repeat of Row 1 – Chain 1, turn. In the first stitch, place a DC. Sl st into the next stitch. (DC in next, Sl st in next). Repeat the instructions in the ( ) across the row. (72)
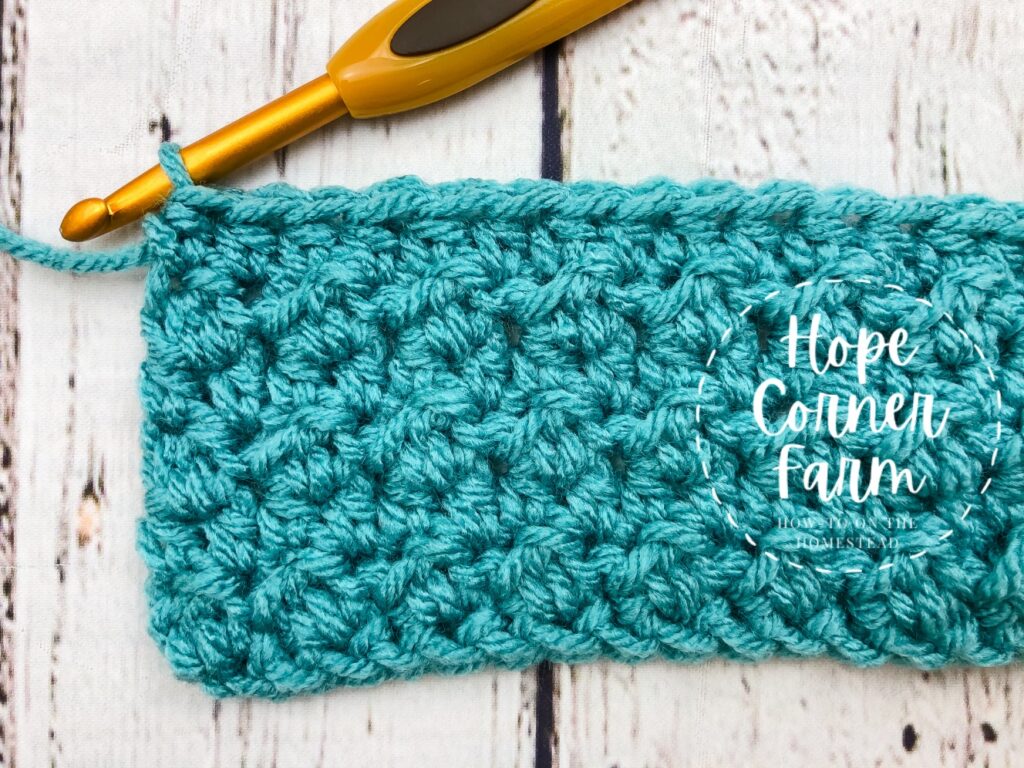
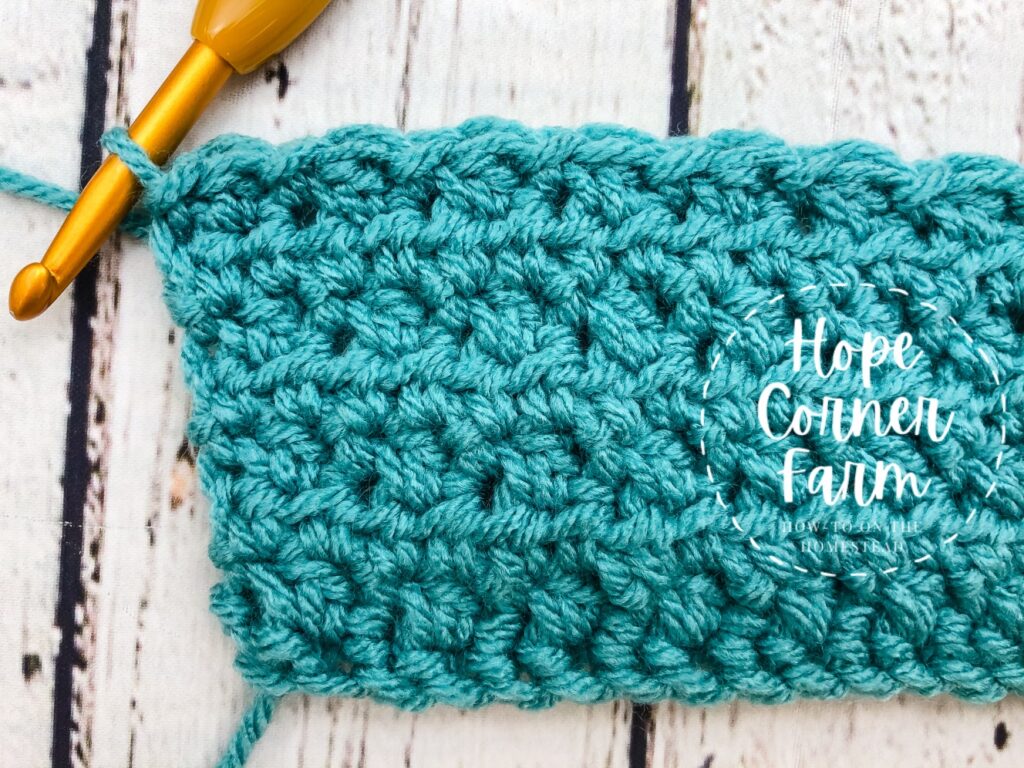
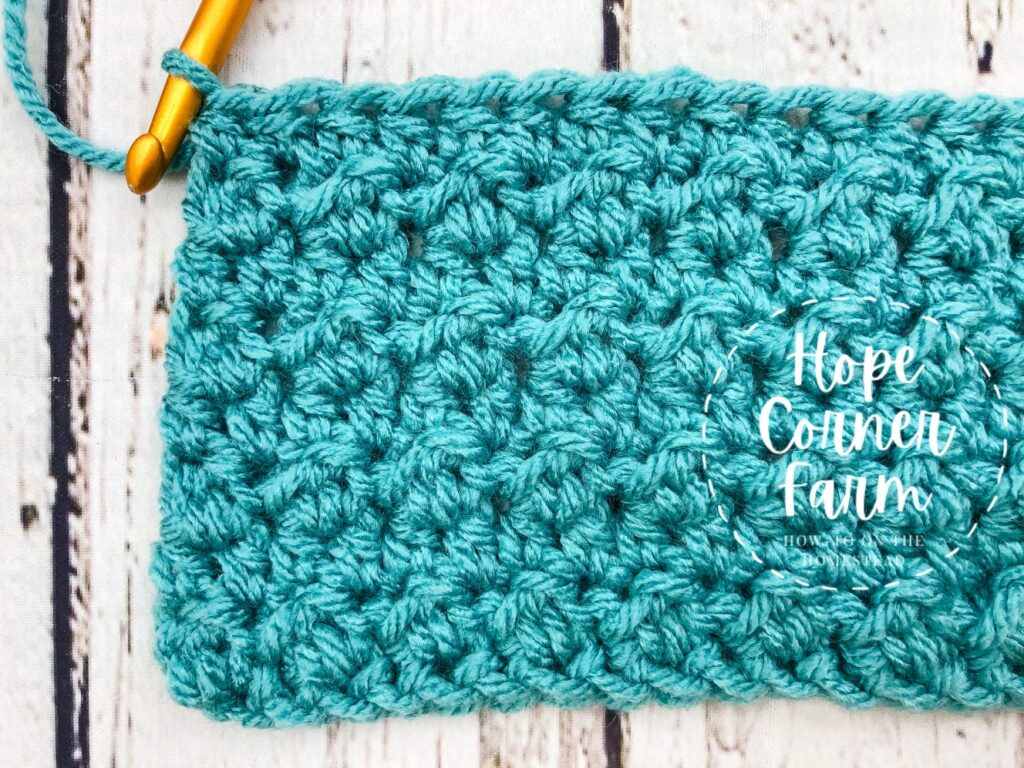
Row 16:
Repeat of Row 2 – Chain 1, turn. HDC in first stitch and in each stitch across. (72)
Finishing the Textured Twist Crochet Headband:
Cut the headband from the skein of yarn leaving a long tail (at least 10″ long).
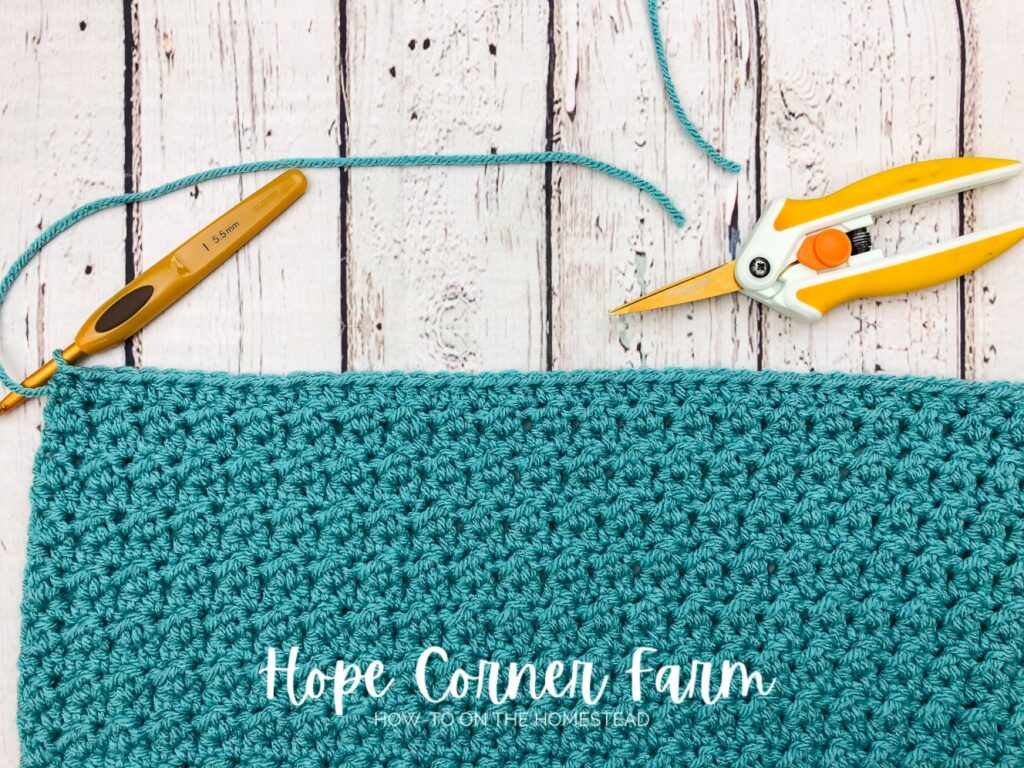
Fasten off the yarn.
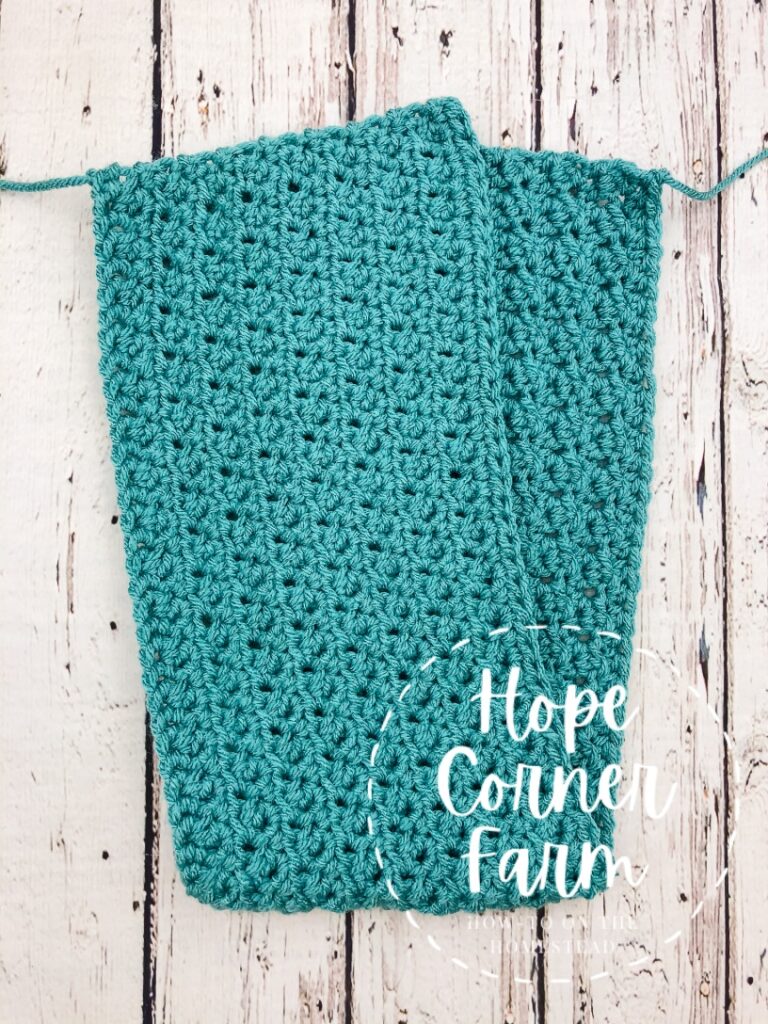
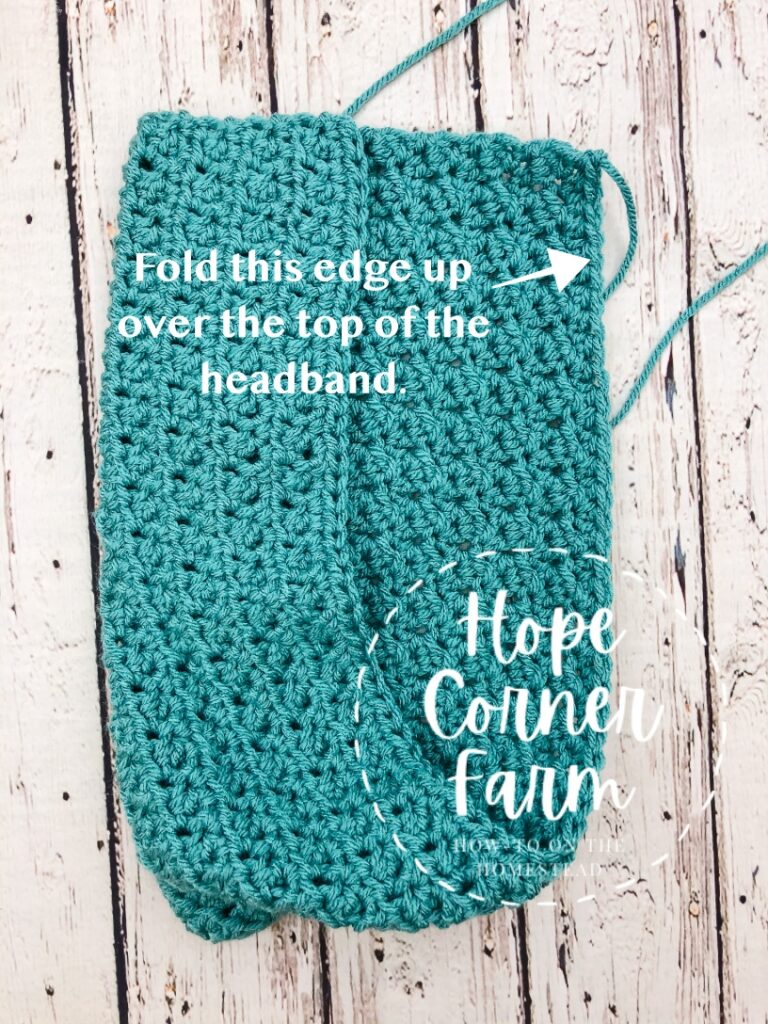
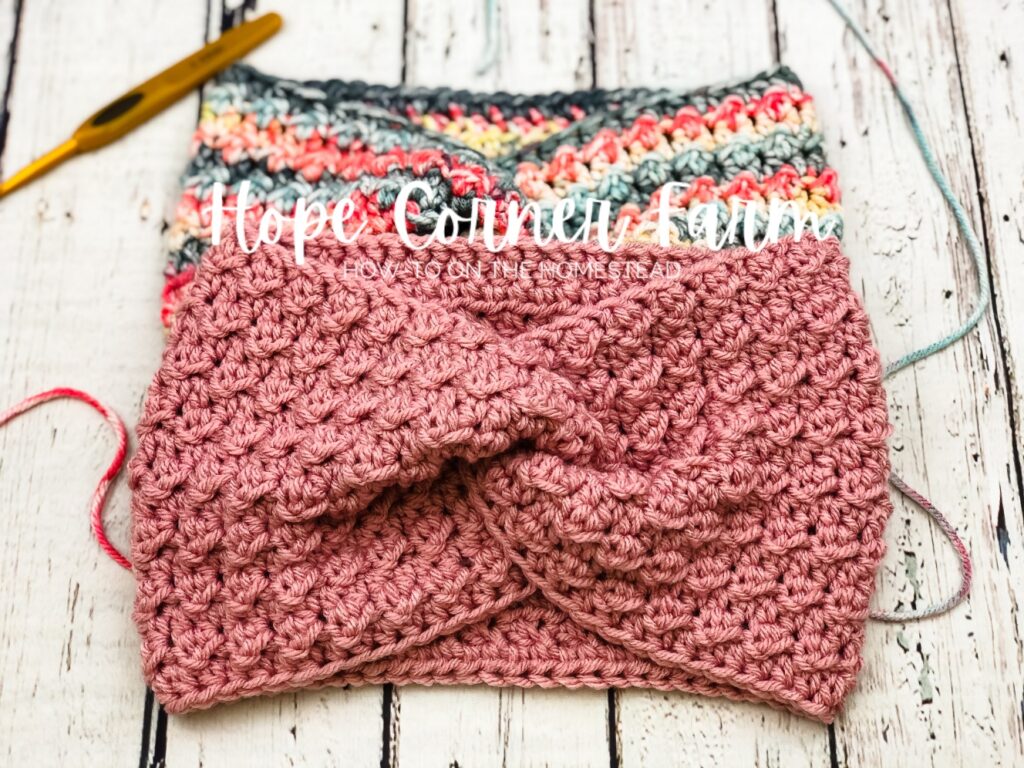
Fold the headband in half, lining up the top edge of the upper half with the midpoint of the the lower half of the headband. Make sure that the right-sides (the GOOD SIDES) of your headband are inside and facing each other. We will turn the headband so this nice side shows at the end. See the picture for details.

Fold the other half of the top part of the headband down underneath the headband (it should wrap around the edge of the other half).
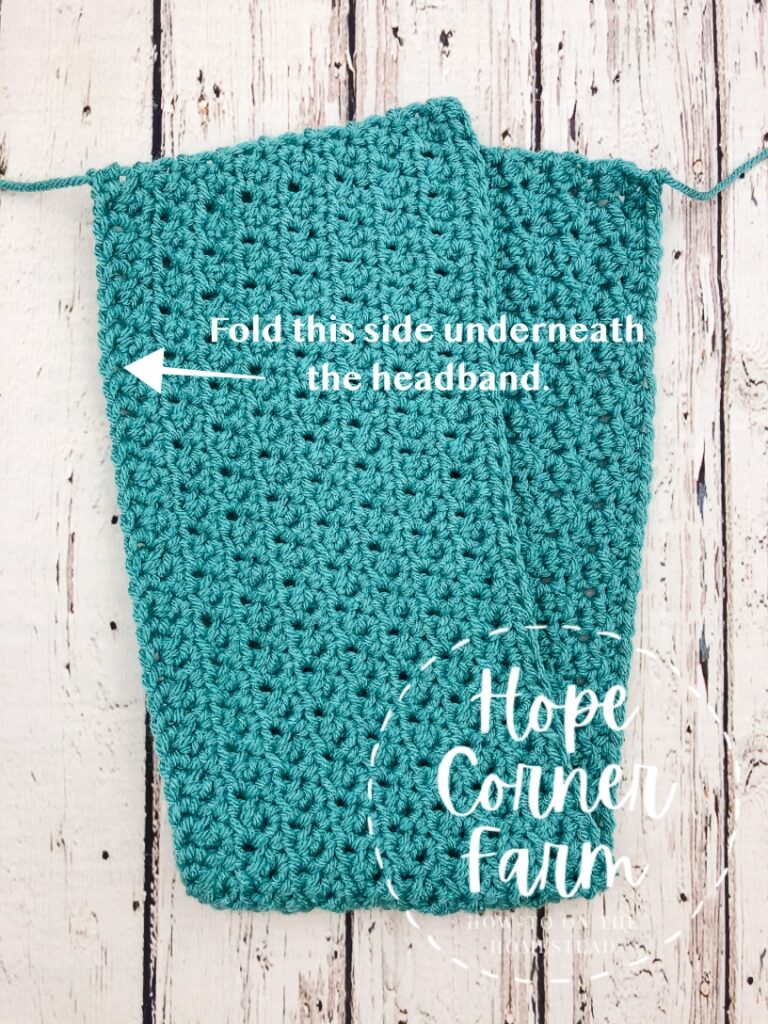
Take the part of the upper half of the headband that hangs over the edge and fold it underneath the headband.

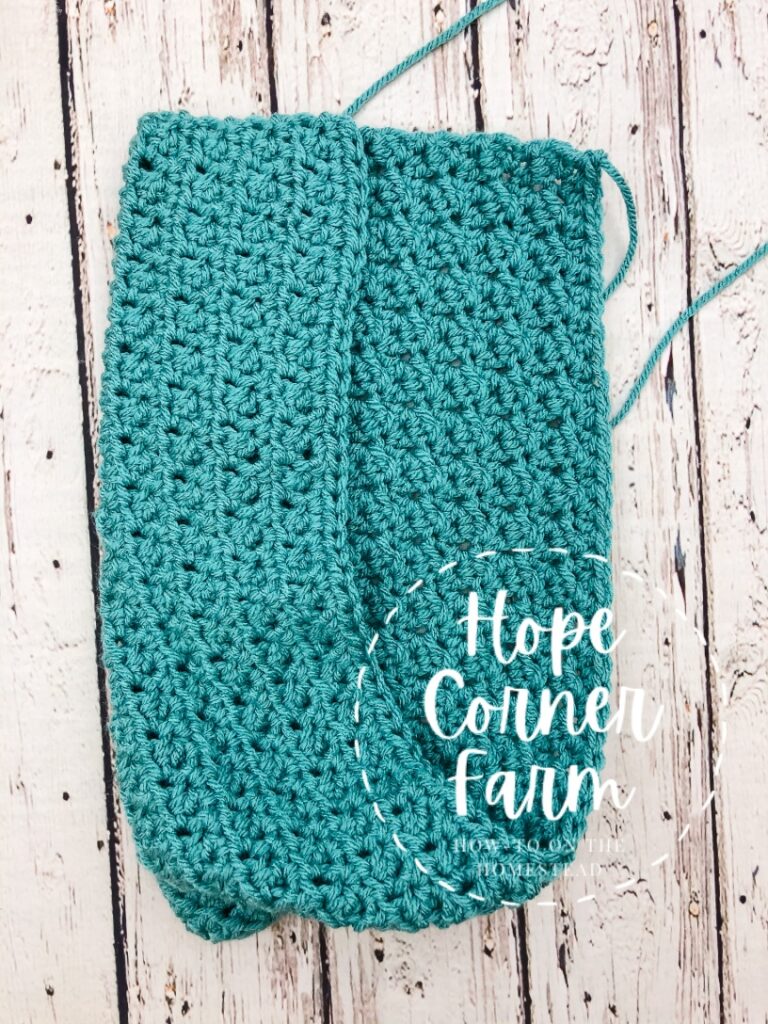
Now, fold the edge that is on the bottom of the headband up and over the top of the ear warmer.
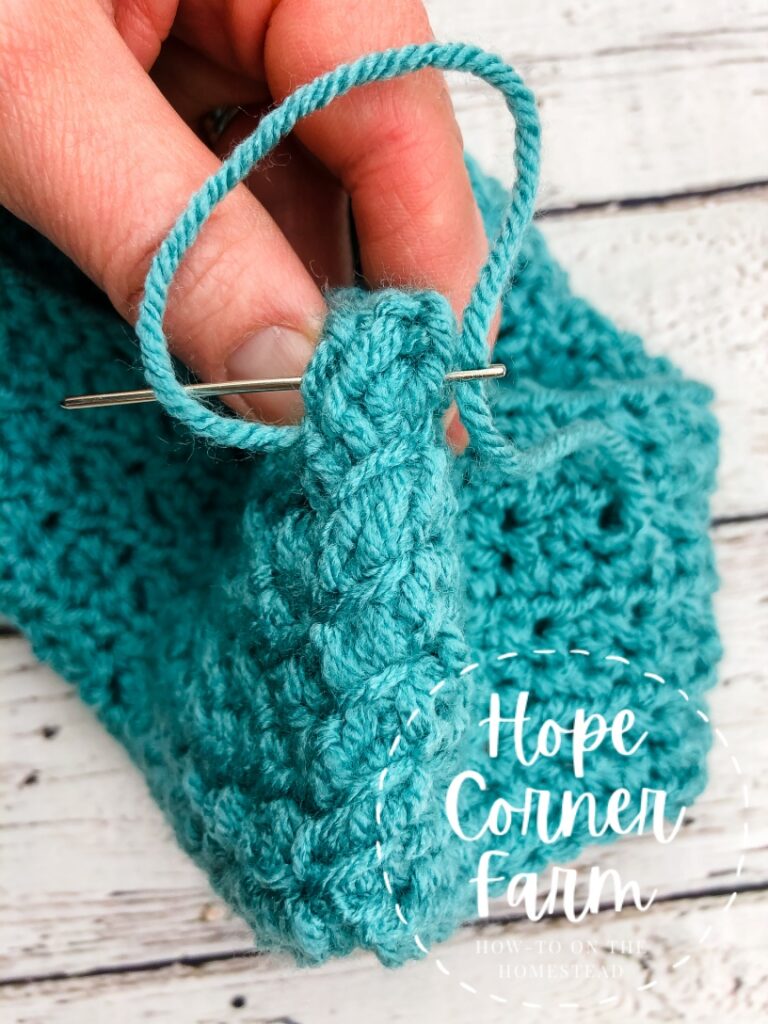
Thread the tapestry needle with one of the yarn tails. Sew the folded seam together using a running stitch (need more details, see the video). Weave end the yarn tail when you get to the other side.
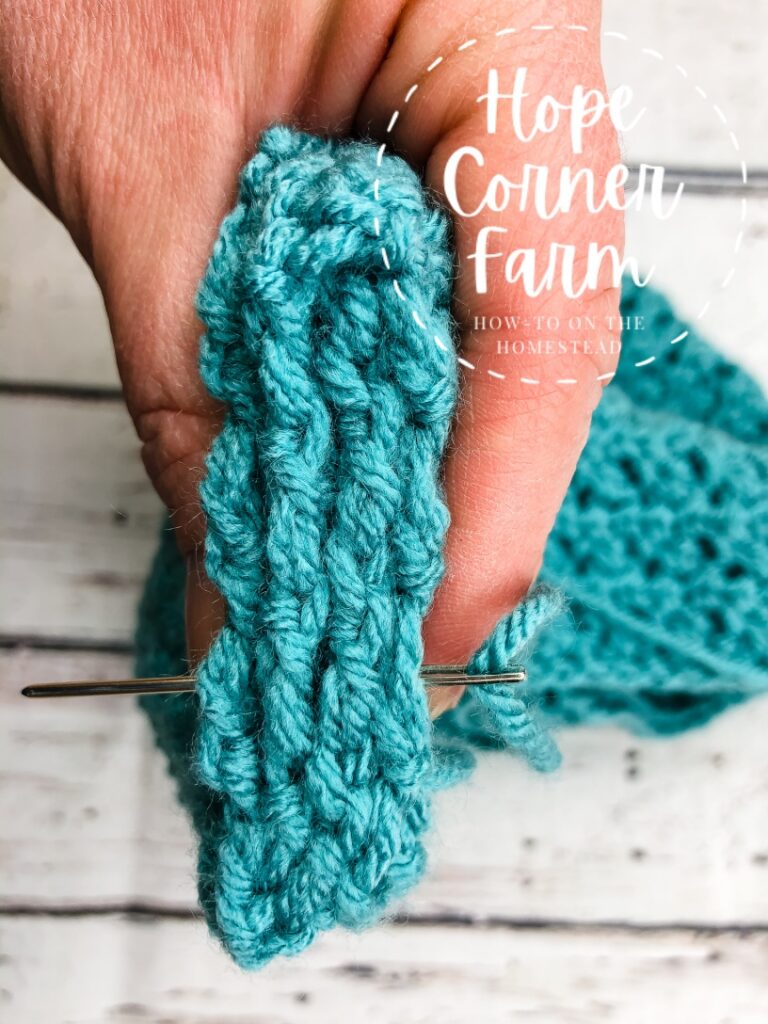
Thread the other yarn tail onto the yarn needle. Sew across the fold, this time using an overcast stitch. Weave in the yarn when you reach the other side.
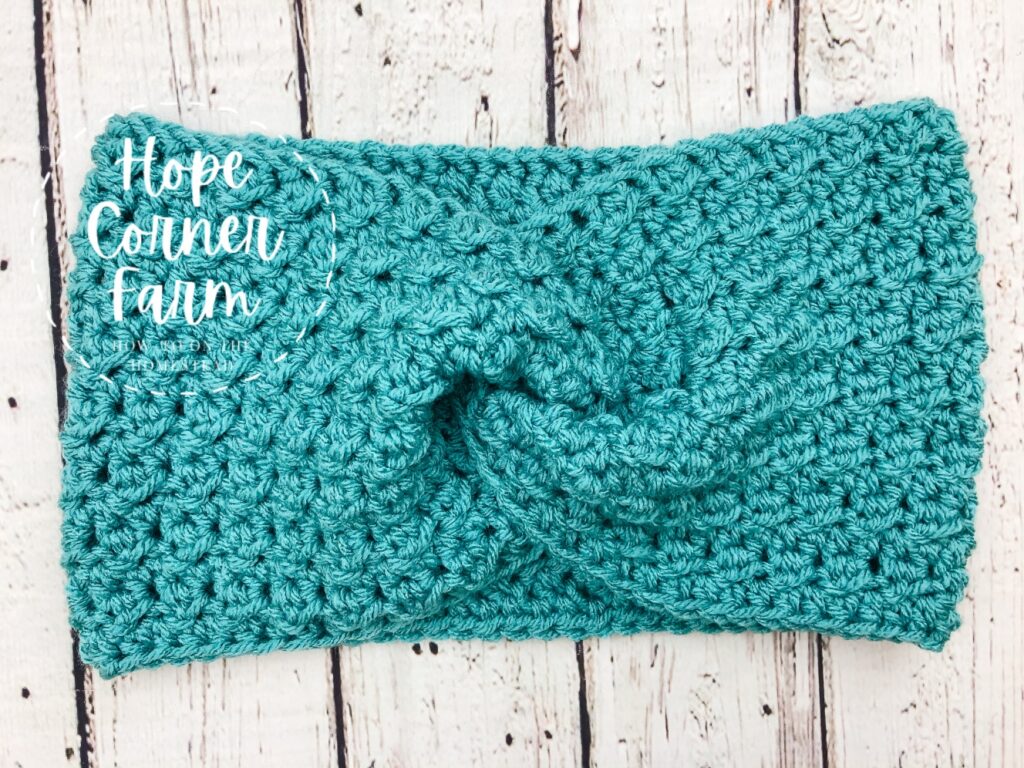
Turning the Textured Twist Crochet Headband:
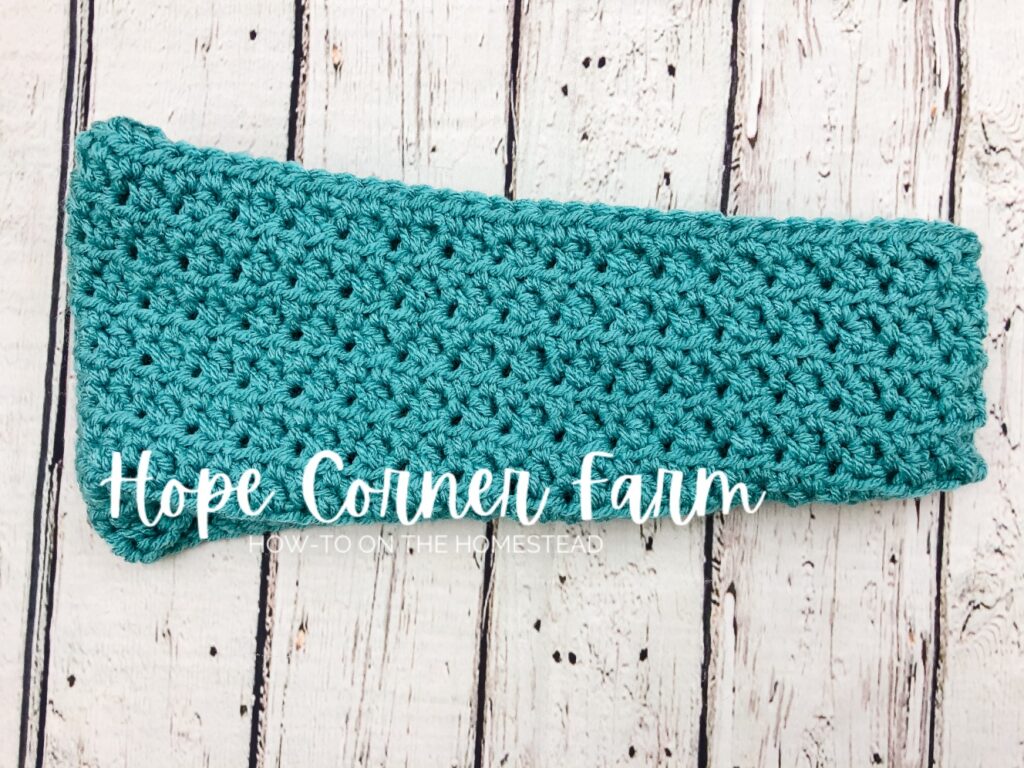
Before you begin turning, this is what your headband/ear warmer should look like:
Begin turning…
Almost there…needs a little straightening.
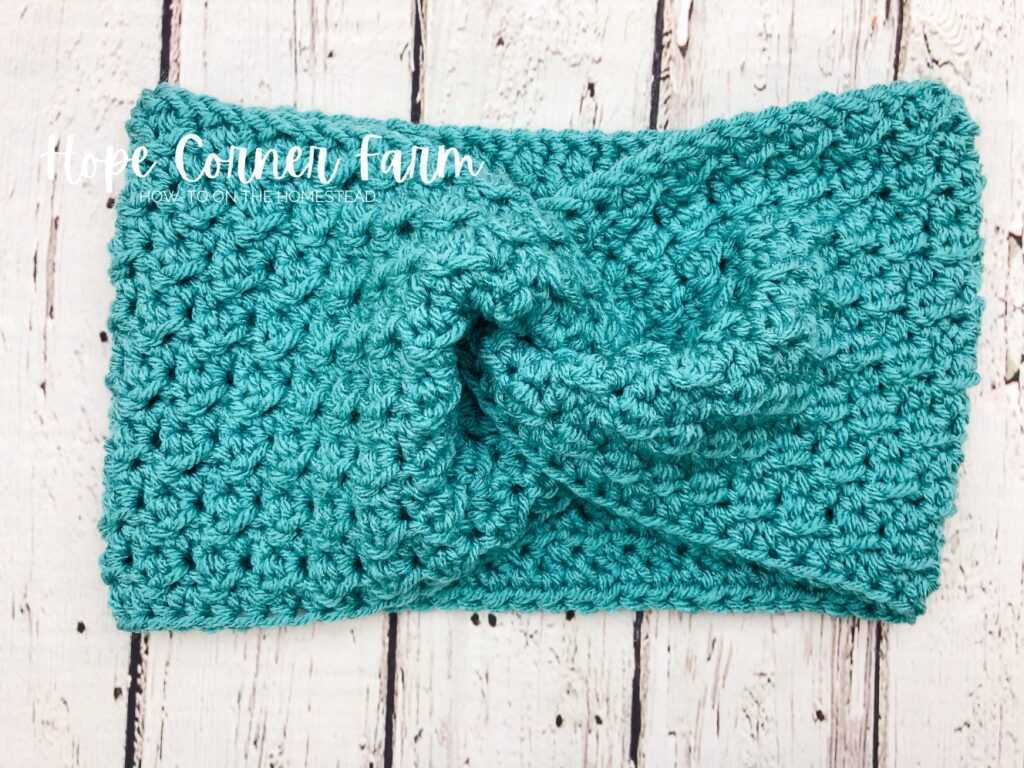
Done! The completed Textured Twist Crochet Headband (or ear warmer)! Stay warm!
Video Tutorial:
Textured Twist Crochet Headband Written Pattern:
To start: Foundation Single Crochet 72 times (or Ch 73 then sc into the second ch from the hook and in each chain across). (72)
Row 1:
Ch 1, turn. DC in first stitch. Sl st in next. Repeat (DC in next, sl st in next) across. (72)
Row 2:
Ch 1, turn. HDC in first stitch. HDC in each stitch across. (72)
Row 3:
Repeat Row 1. (72)
Row 4:
Repeat Row 2. (72)
Row 5:
Repeat Row 1. (72)
Row 6:
Repeat Row 2. (72)
Row 7:
Repeat Row 1. (72)
Row 8:
Repeat Row 2. (72)
Row 9:
Repeat Row 1. (72)
Row 10:
Repeat Row 2. (72)
Row 11:
Repeat Row 1. (72)
Row 12:
Repeat Row 2. (72)
Row 13:
Repeat Row 1. (72)
Row 14:
Repeat Row 2. (72)
Row 15:
Repeat Row 1. (72)
Row 16:
Repeat Row 2. (72)
Cut the yarn from the skein, leaving at least a 10″ tail. Fasten off.
Fold the headband in half, lining up the top edge of the upper half with the midpoint of the the lower half of the headband. Make sure that the right-sides (the GOOD SIDES) of your headband are inside and facing each other. We will turn the headband so this nice side shows at the end.
Fold the other half of the top part of the headband down underneath the headband (it should wrap around the edge of the other half).
Take the part of the upper half of the headband that hangs over the edge and fold it underneath the headband.
Now, fold the edge that is on the bottom of the headband up and over the top of the ear warmer.
Thread the tapestry needle with one of the yarn tails. Sew the folded seam together using a running stitch (need more details, see the video). Weave end the yarn tail when you get to the other side.
Thread the other yarn tail onto the yarn needle. Sew across the fold, this time using an overcast stitch. Weave in the yarn when you reach the other side.
Turn your headband right-side out. You may need to straighten it some after turning.
Enjoy and stay warm!

Many Blessings,

Looking for More Free Crochet Patterns?
Wide Cinch Crochet Headband Pattern
Quick and Easy Crochet Scarf for Beginners Pattern