
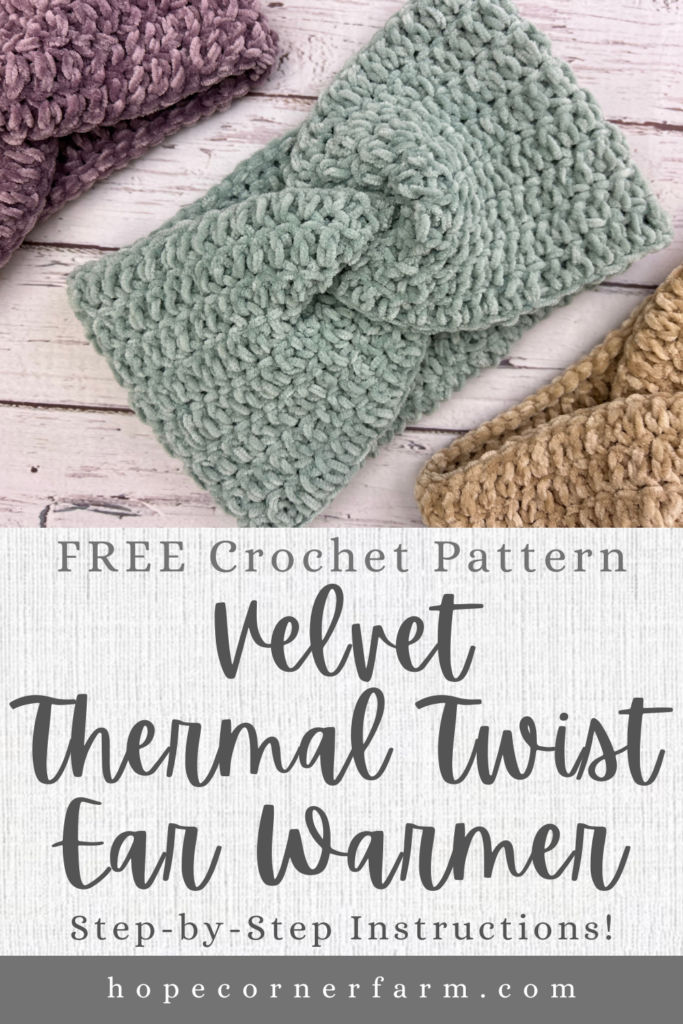
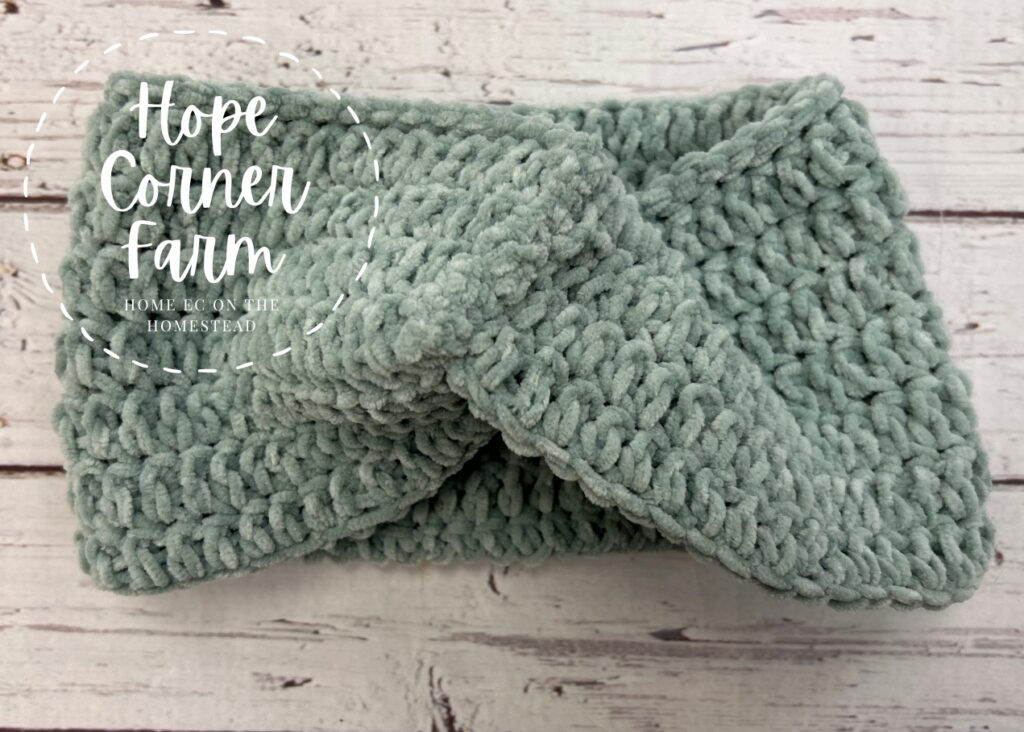
Velvet Thermal Twist Crochet Headband Free Pattern


It’s winter time and that means cute winter accessories. Our free crochet pattern for the Velvet Thermal Twist Crochet Headband creates a lovely thick velvet thermal twist crochet headband. It is a great crochet project to make and it will keep you warm. This crochet earwarmer utilizes the Double Crochet Thermal Stitch to make this crochet headband super warm – no cold ears with this project! The use of velvet yarn makes it super warm and soft as well. Ready to make one? Let’s grab a hook and some yarn and get crocheting!


First, check out our video tutorial on our You Tube Channel! Subscribe to get the latest crochet fun from Hope Corner Farm Crochet!
Materials Needed:
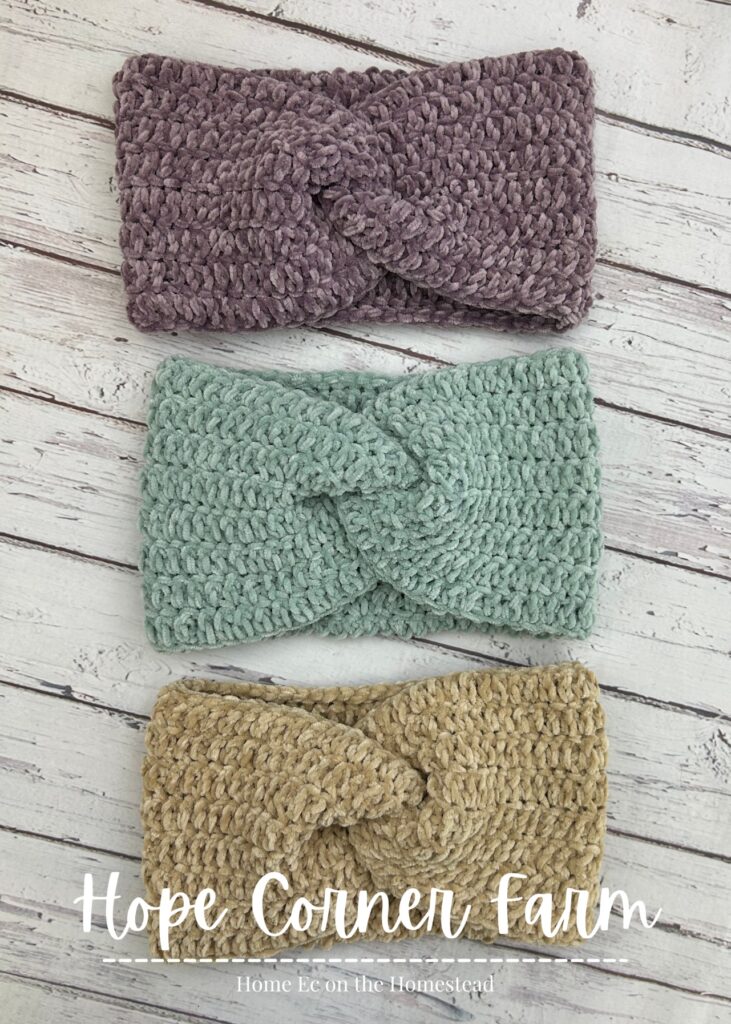
Medium weight (size 4) velvet yarn (I used Loops and Threads Petite Purl for this tutorial)
Size H (5.0mm) crochet hook
Yarn needle
Scissors
Measuring tape (for checkin gauge and size)
Crochet Stitches Used:
Foundation Double Crochet Stitch (FDC)
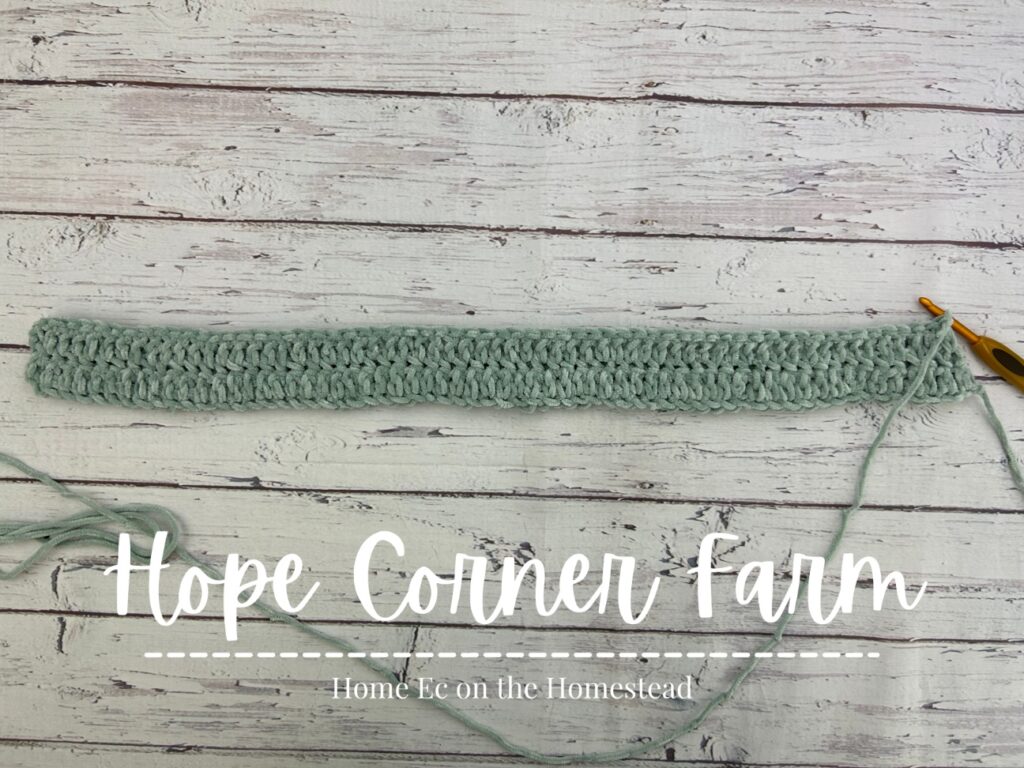
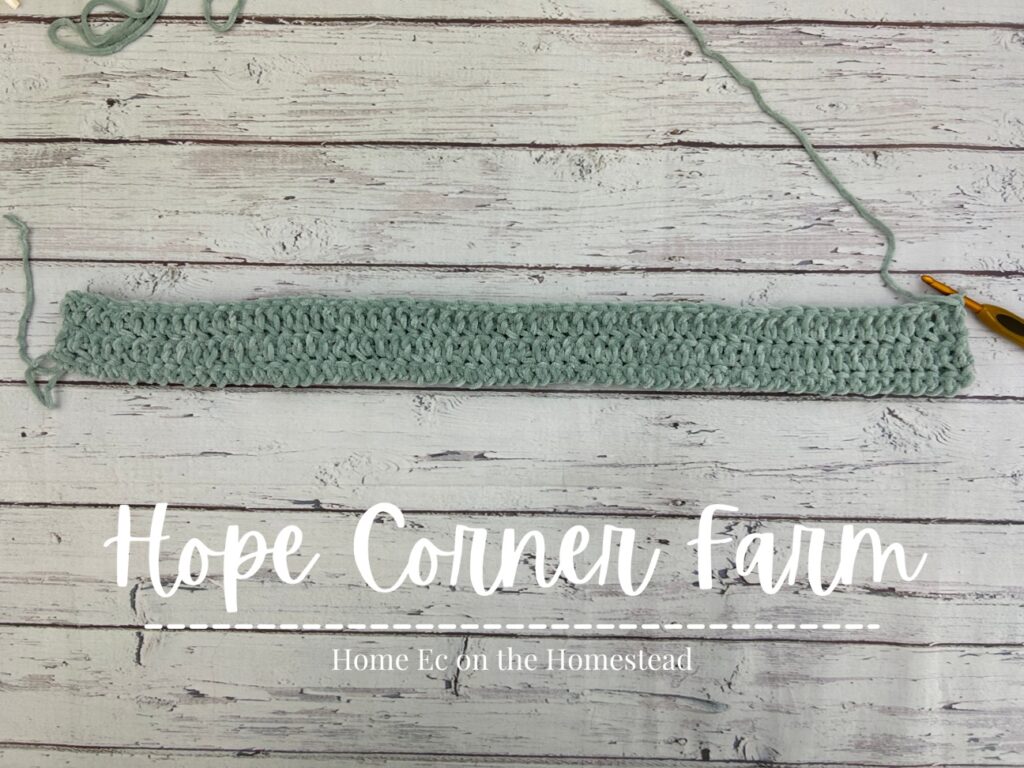
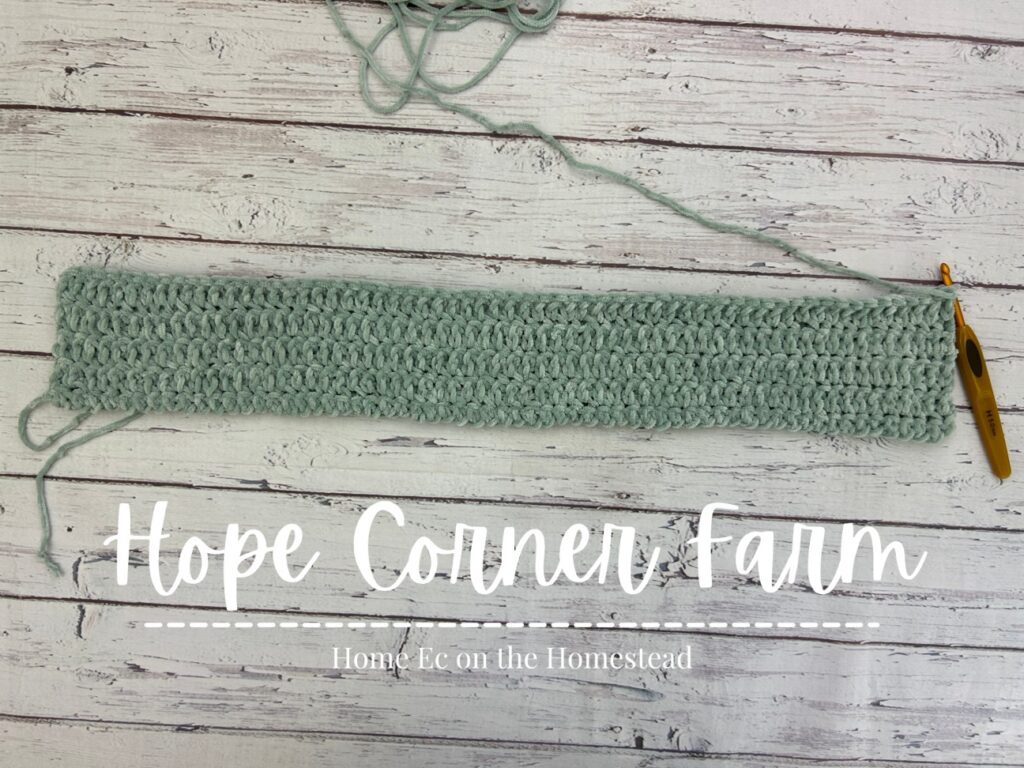
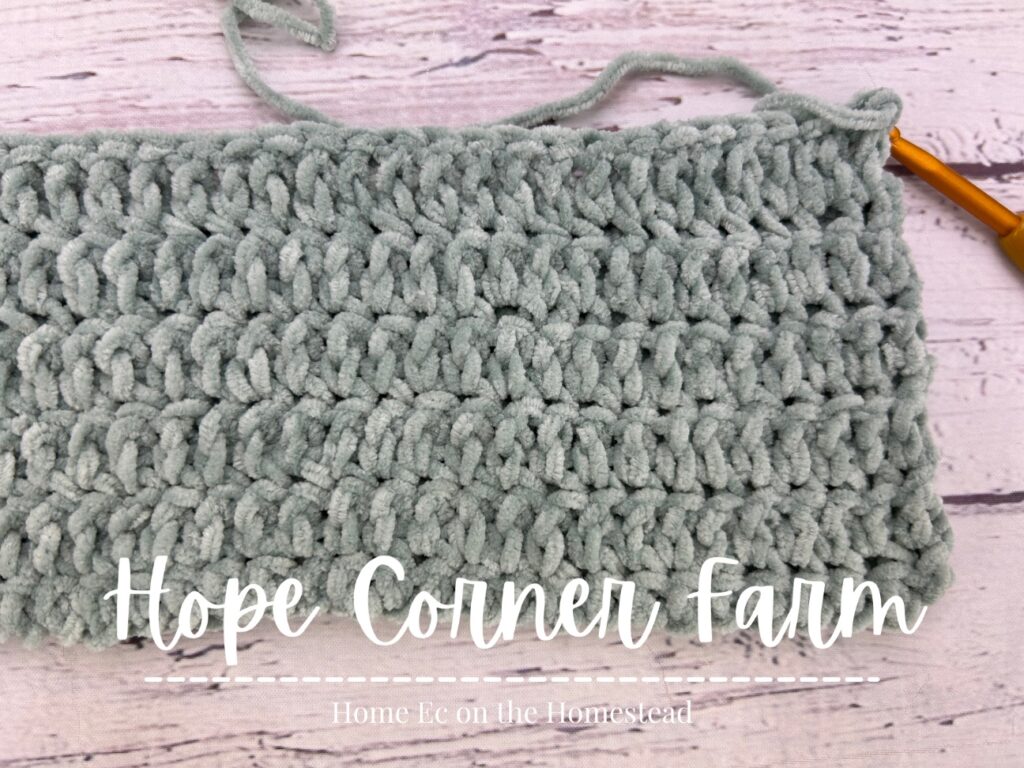
How to Start (Counts as Row 1):
This crochet headband can be started in two different ways: A chain start OR a foundation double crochet start.
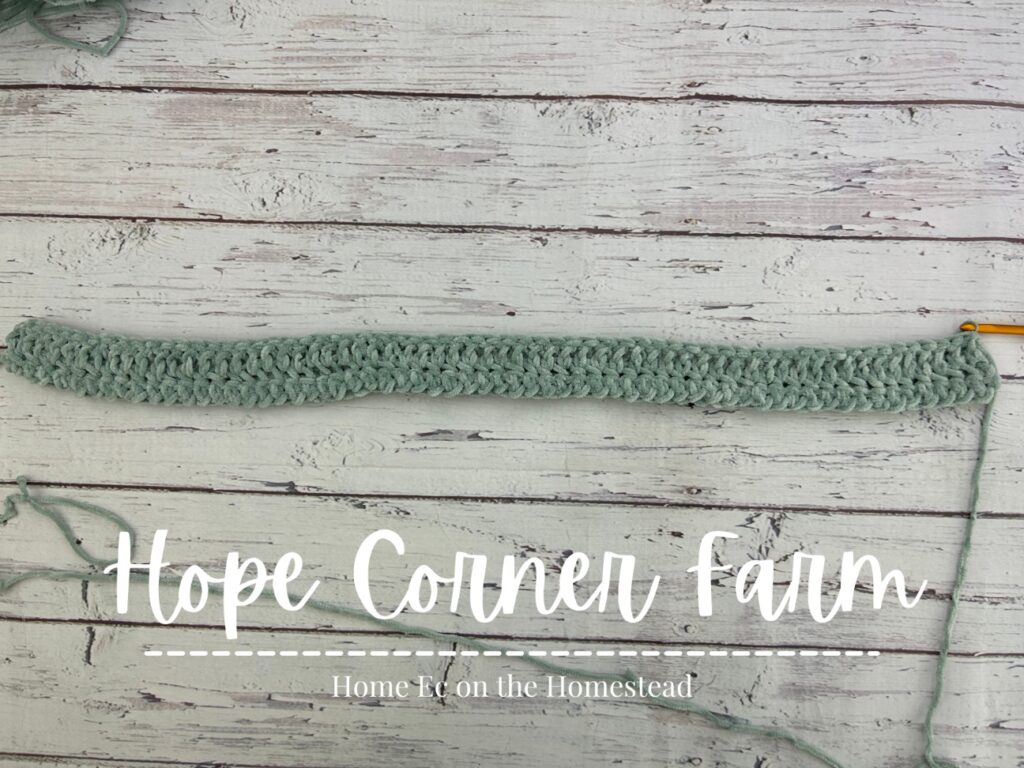
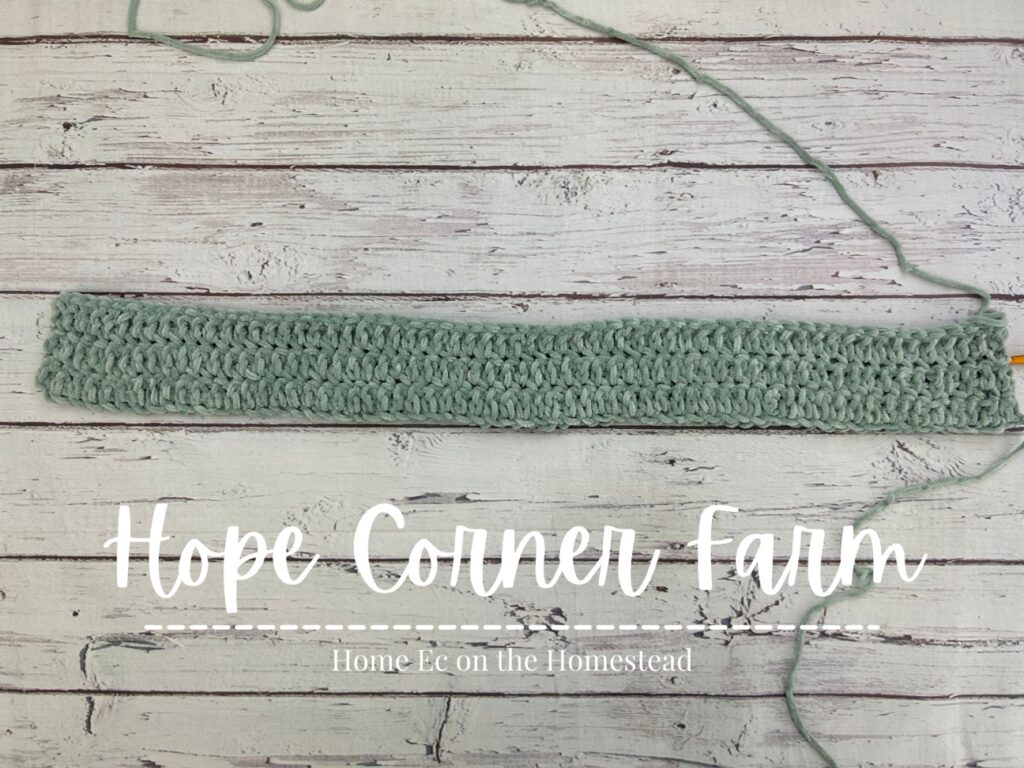
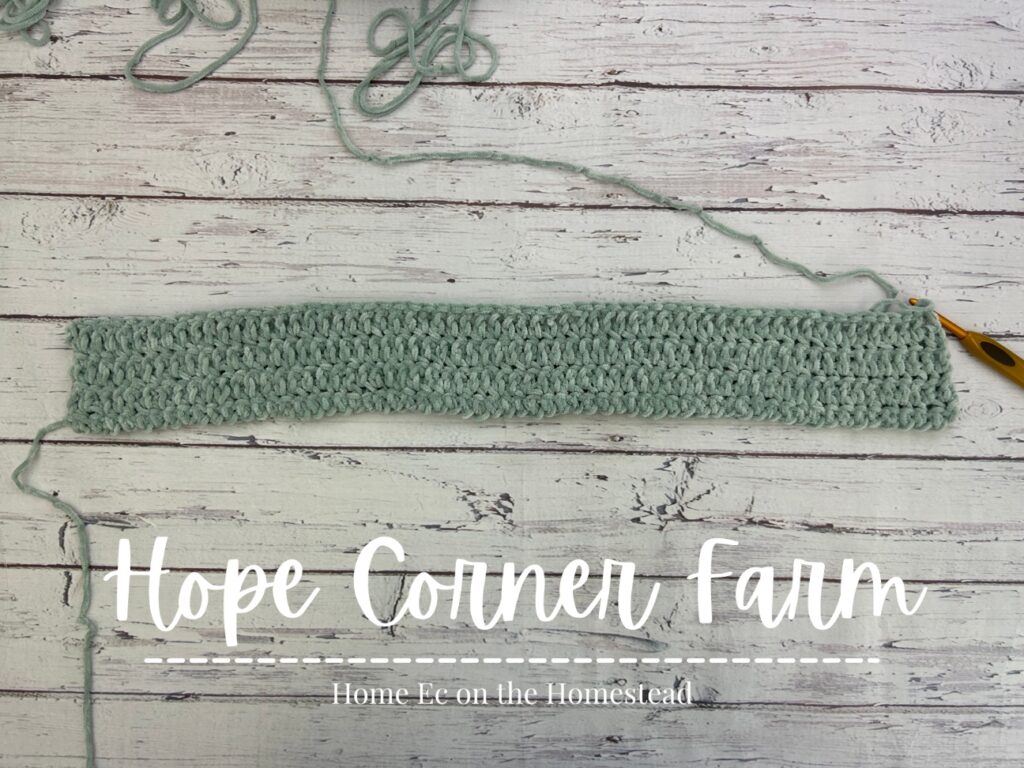
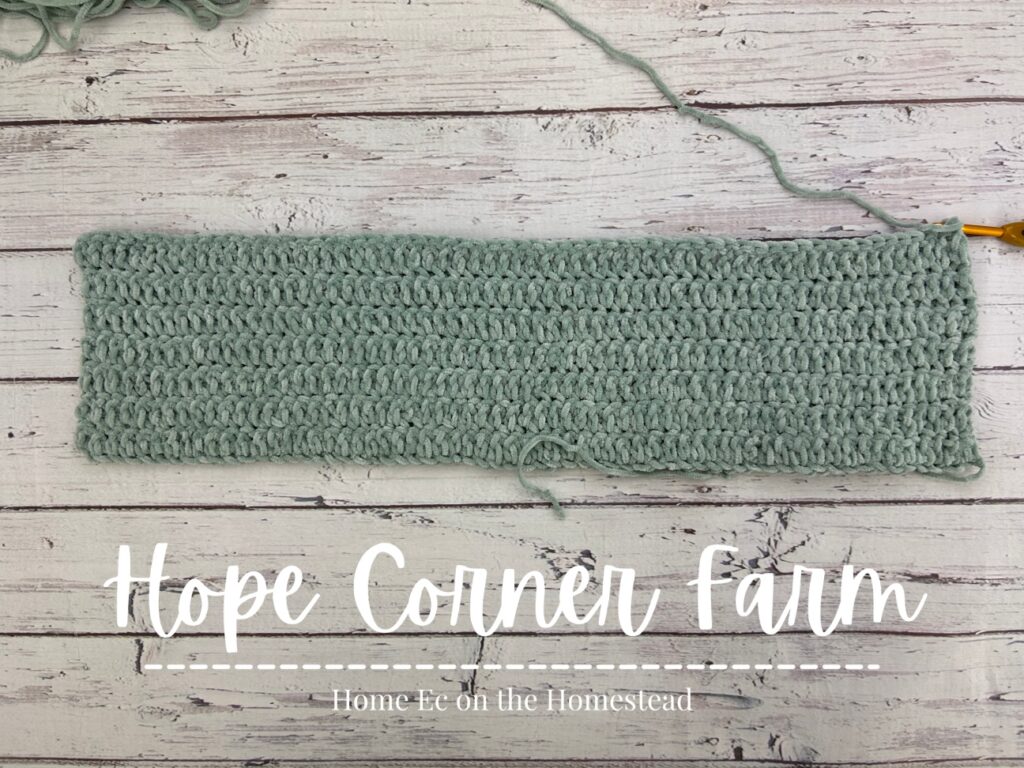
Chain Start: Begin by chaining 65. Then into the 2nd chain from the hook place a double crochet stitch into the BACK BUMPS of the chain stitches. There will be a total of 64 double crochet stitches.
Foundation Double Crochet Stitch Start: This is my preferred method for starting this headband. If choosing this way to start, foundation double crochet 64 times.

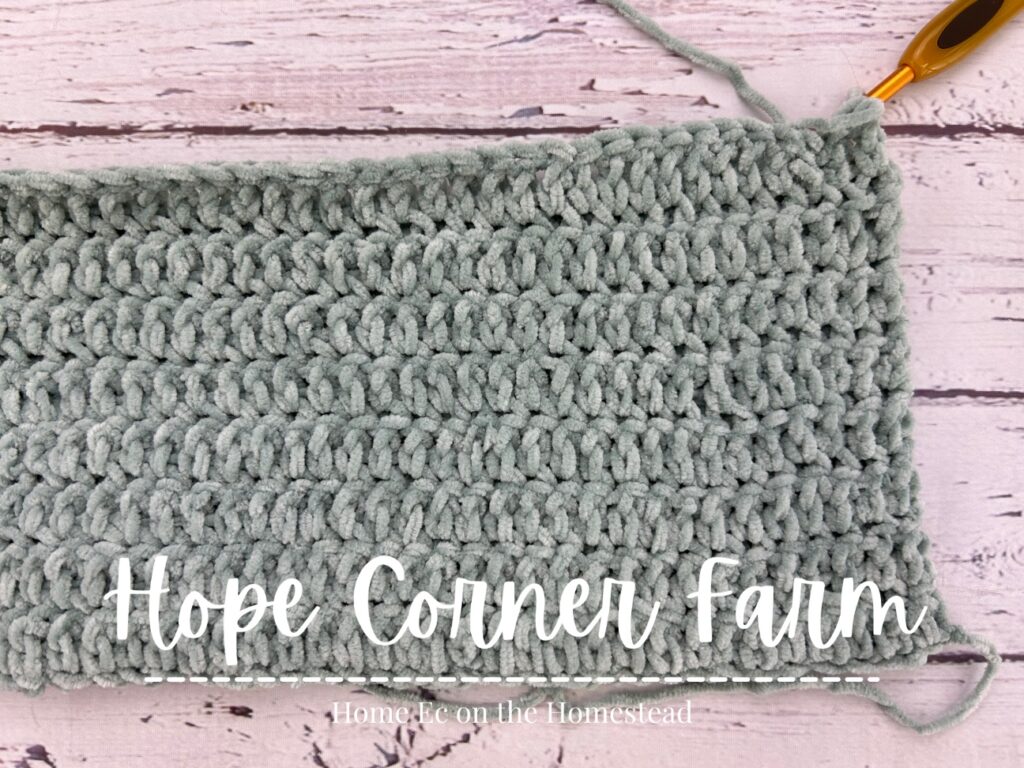
Velvet Thermal Twist Headband – Row 2:
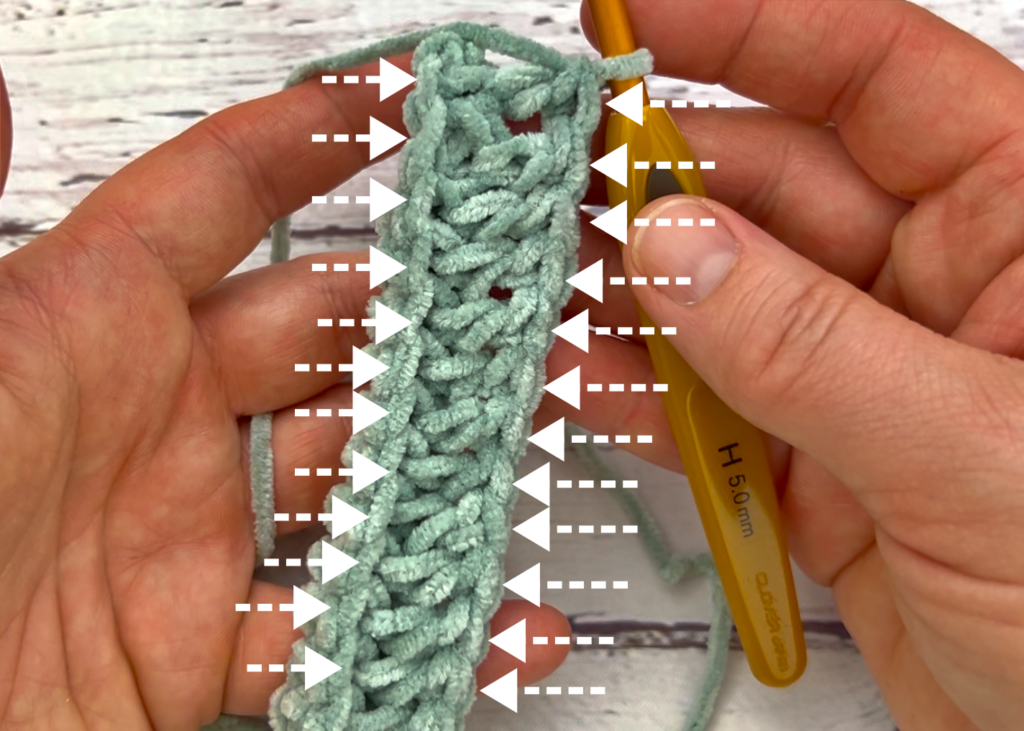
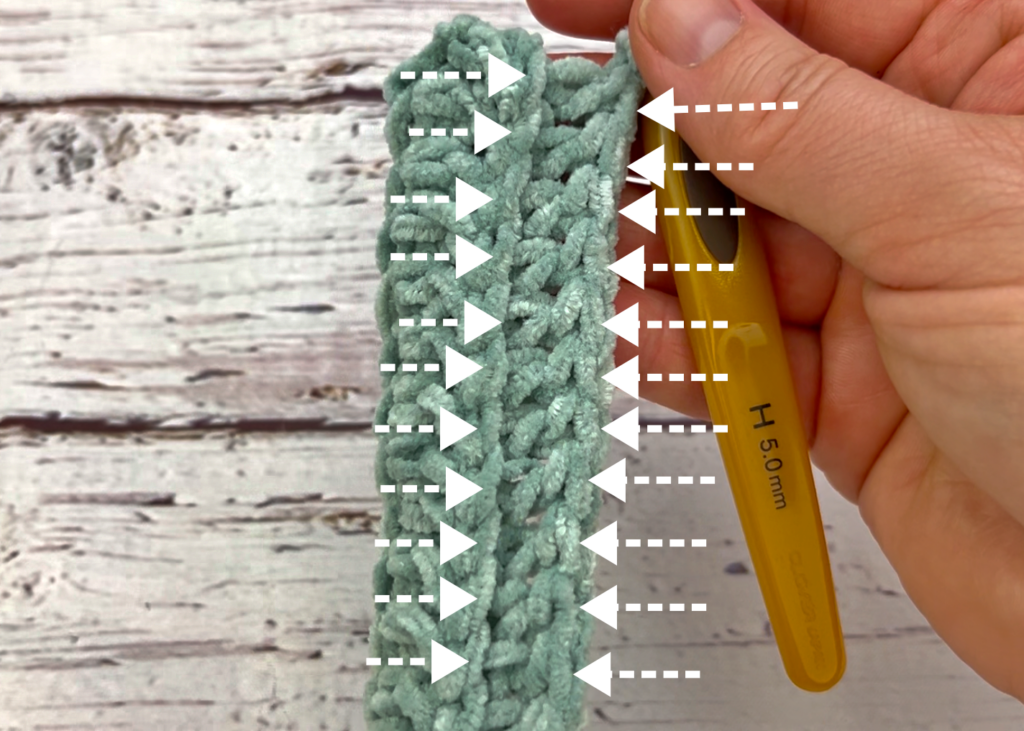
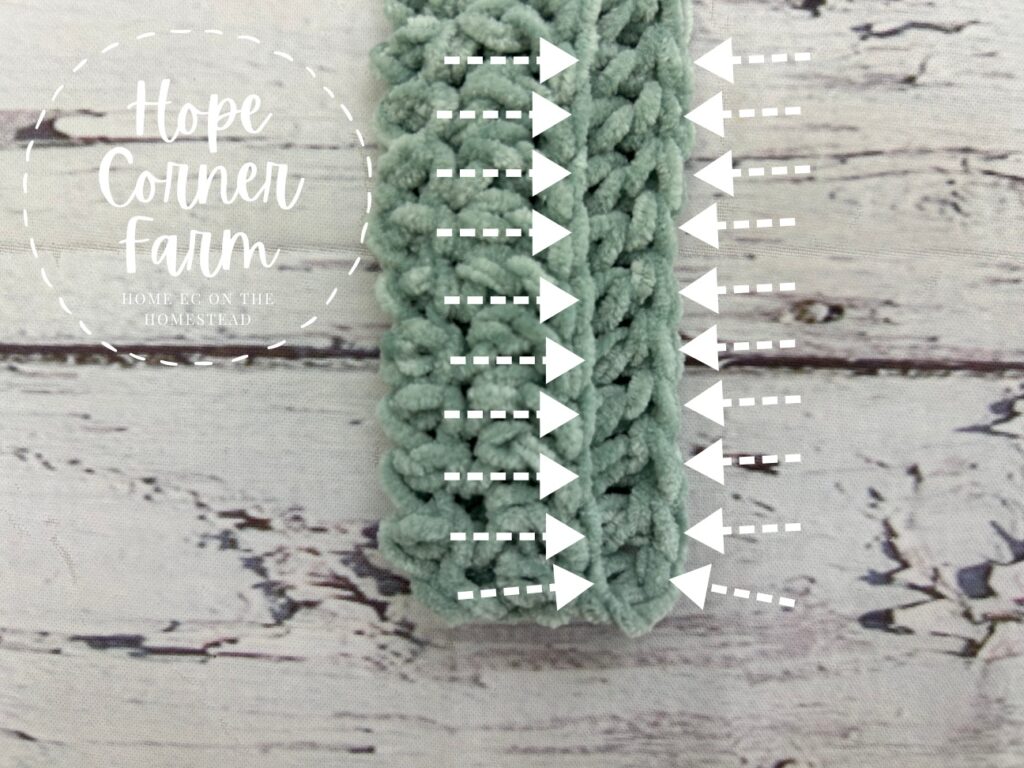
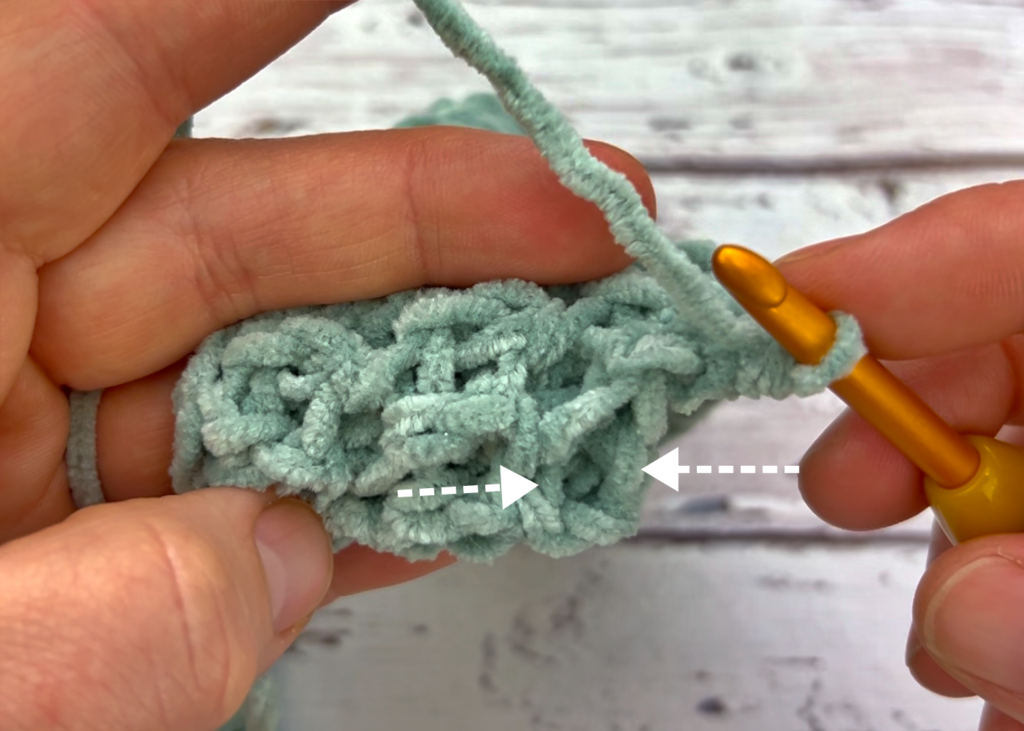
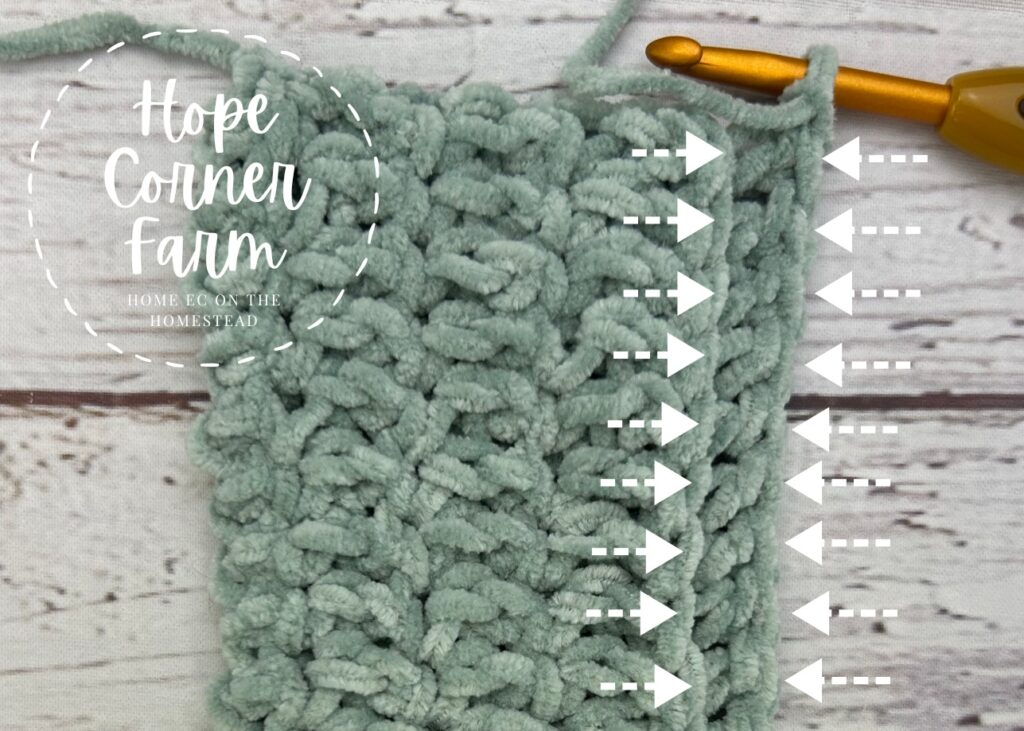
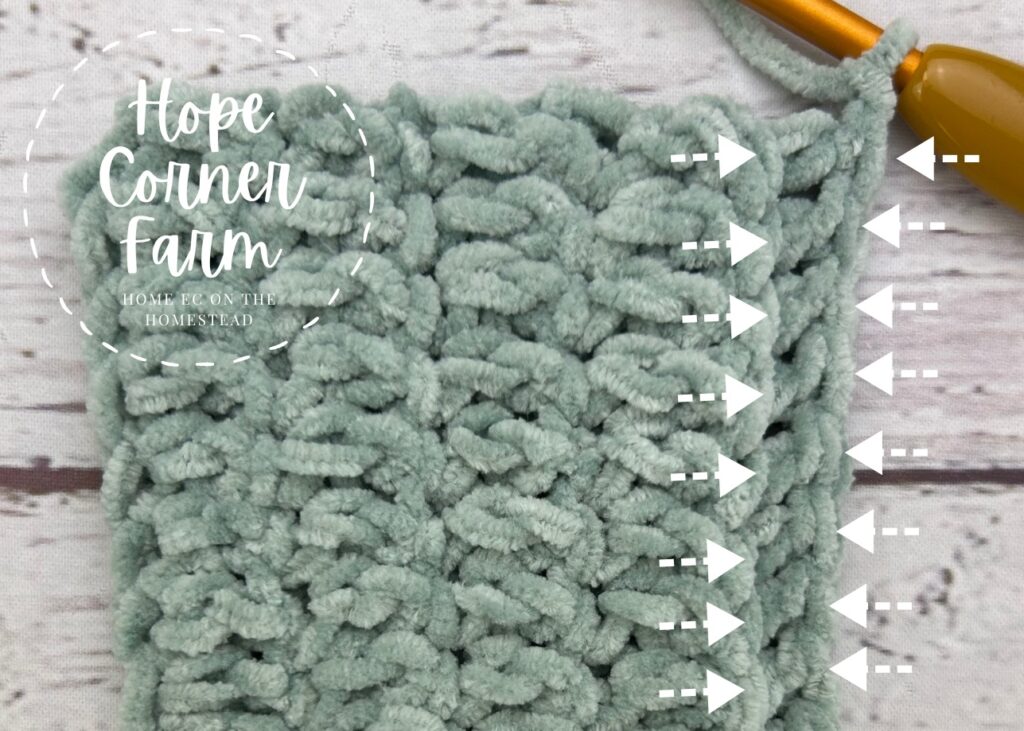
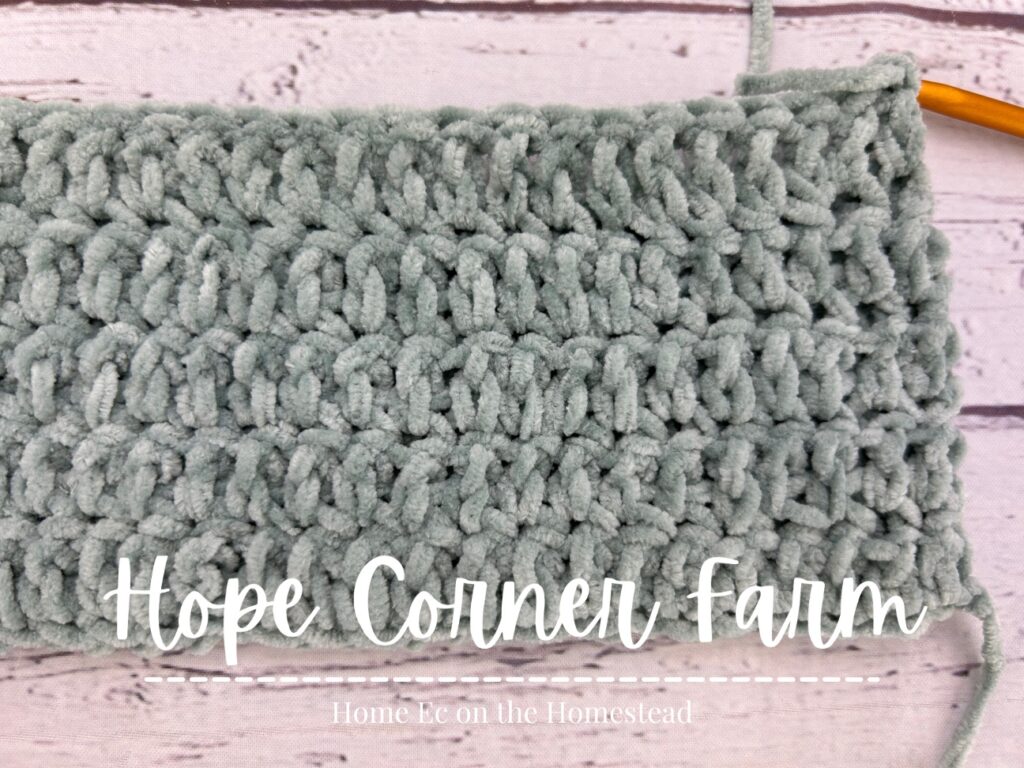
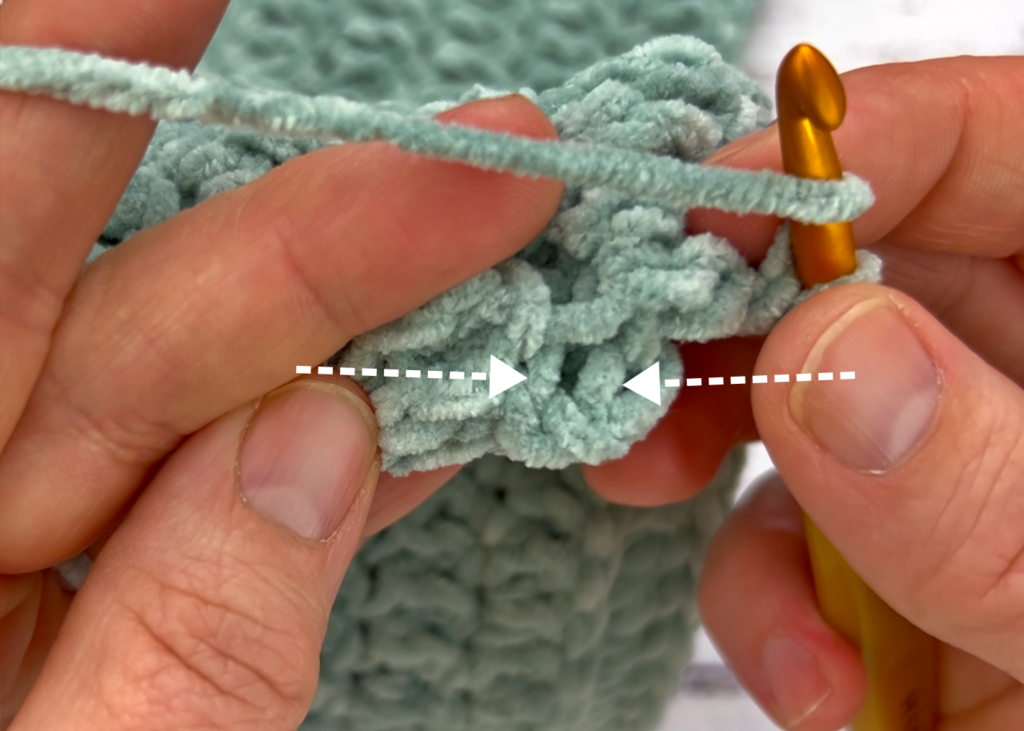
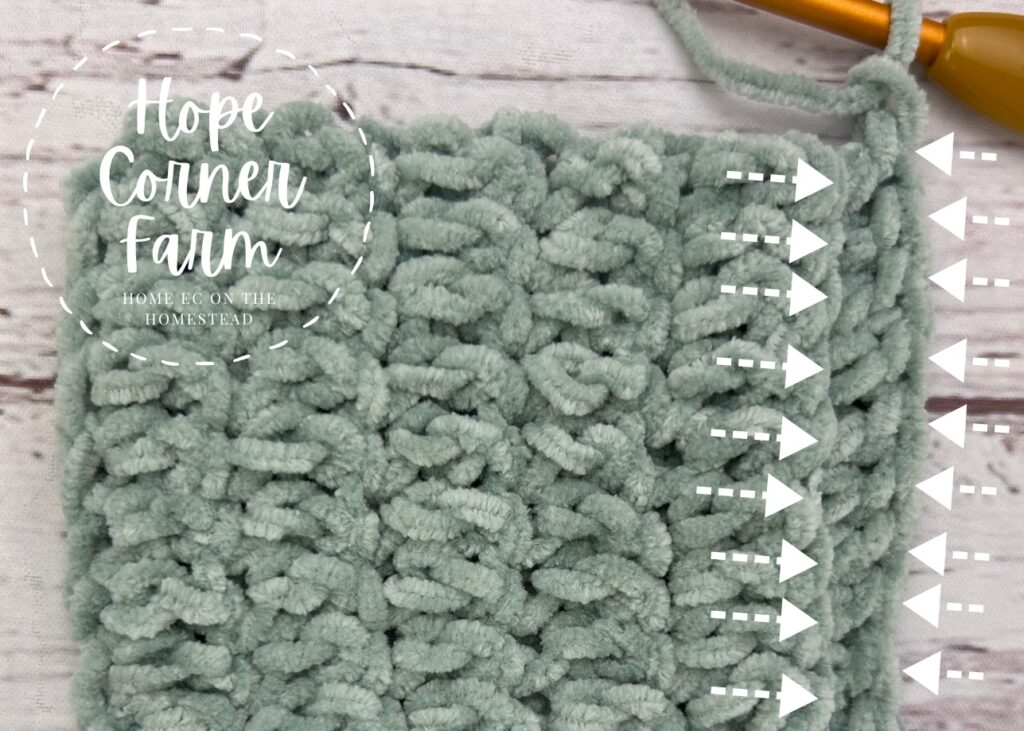
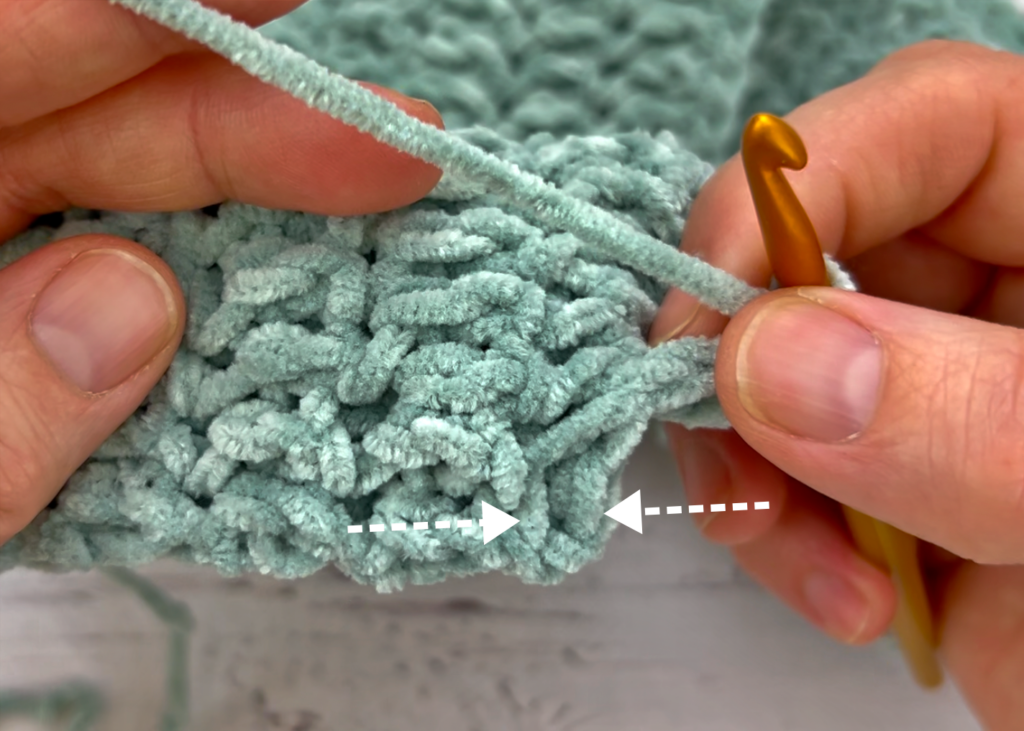
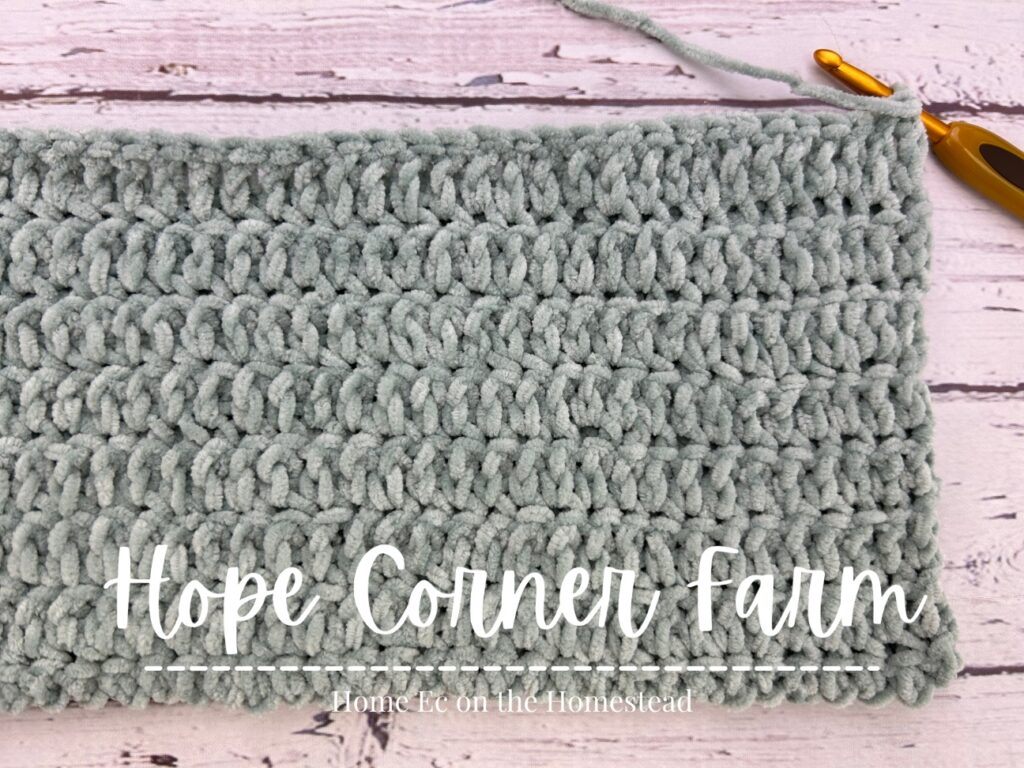
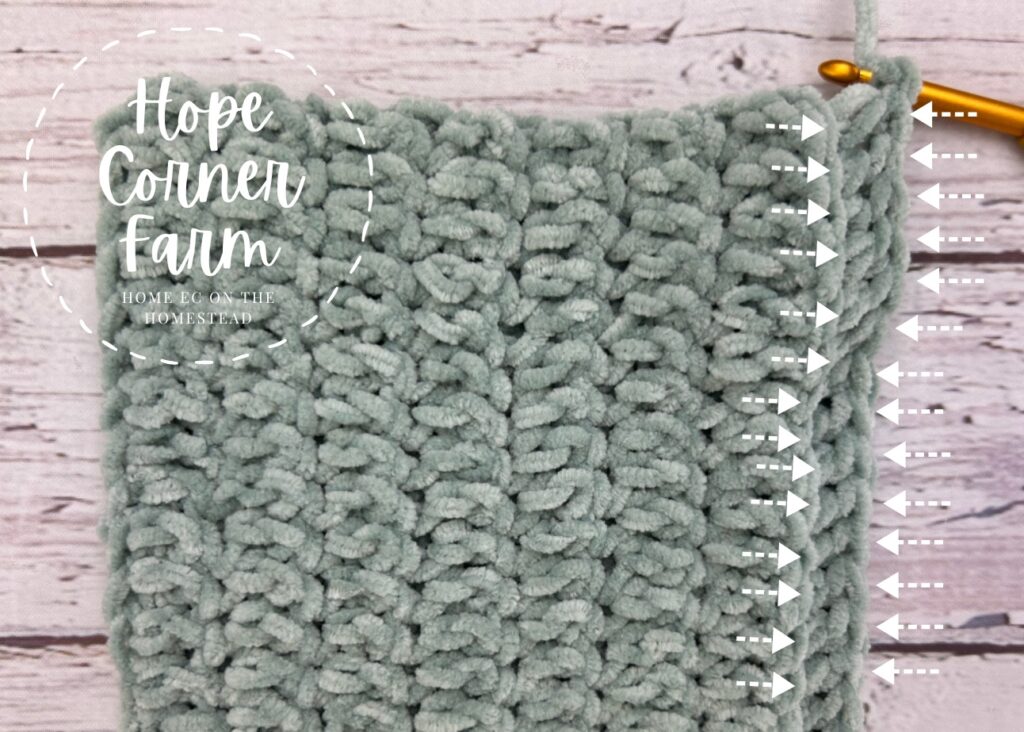
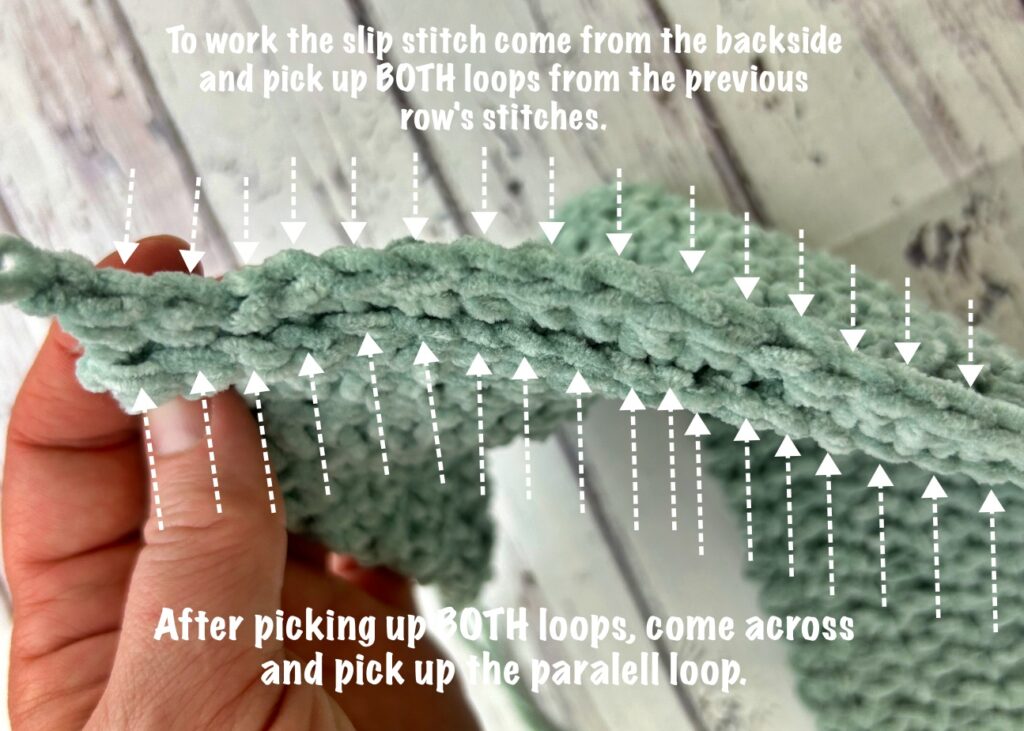
Now to start begin by chaining 1. Do not turn though. With the double crochet thermal stitch we work down the row. The thermal double crochet stitch is worked by picking up the back loop of the previous row’s stitch as well as the parallel partner loop. See the picture below for how to work this stitch.
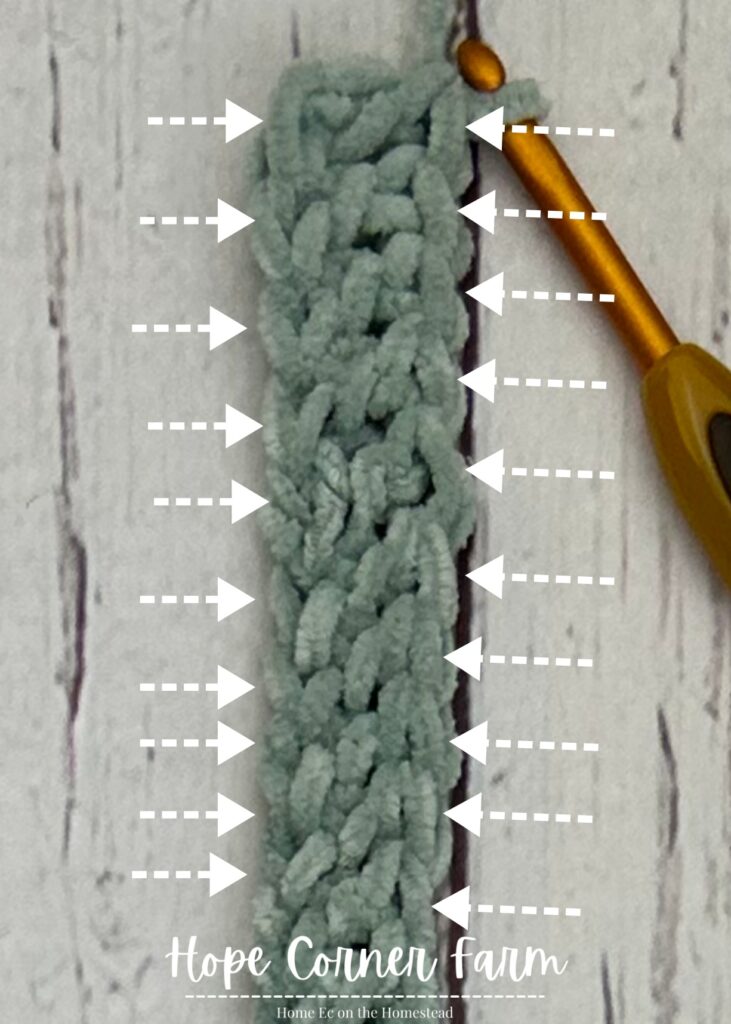
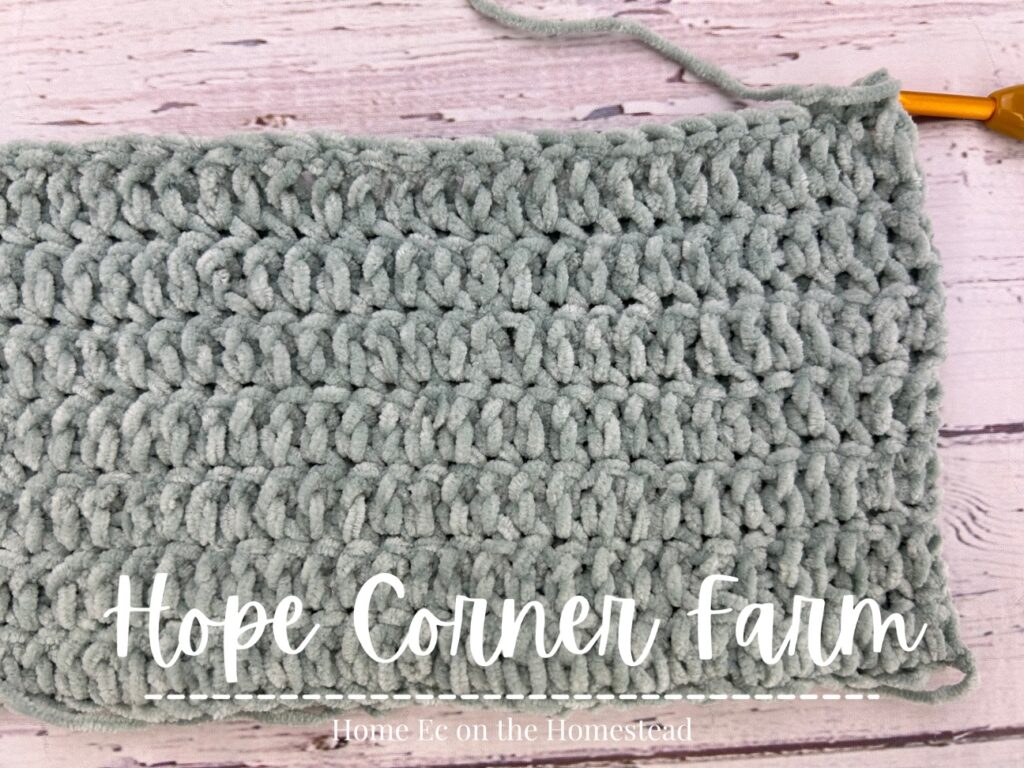
Finally, work one Thermal Double Crochet Stitch in each stitch across. (64)
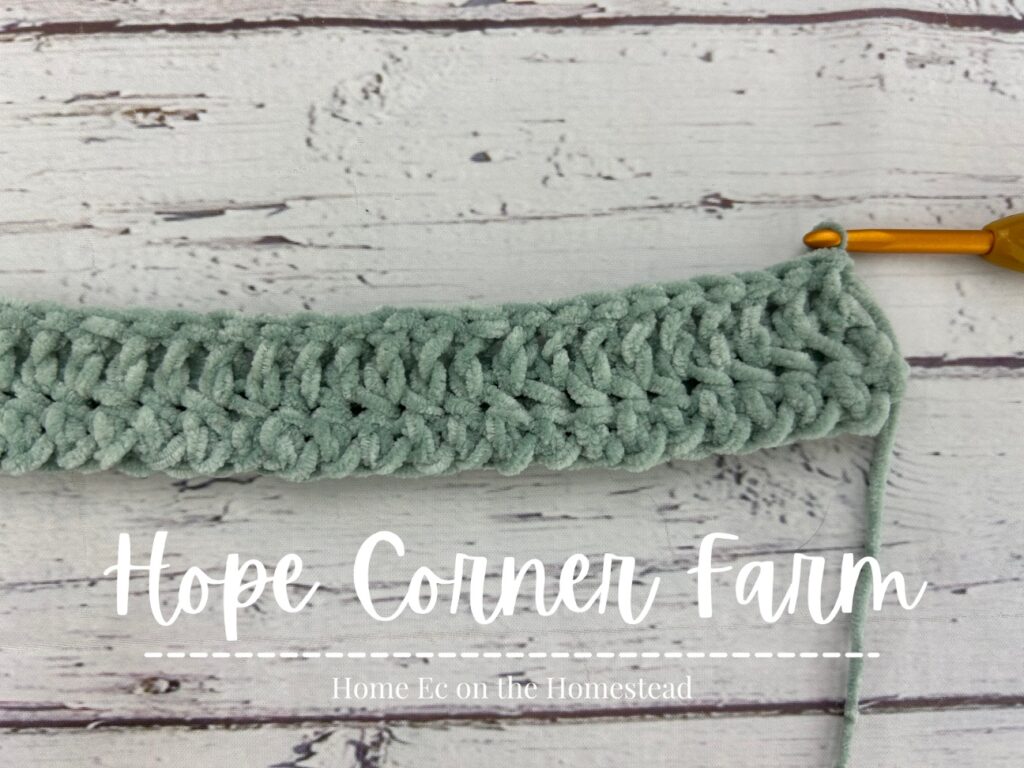
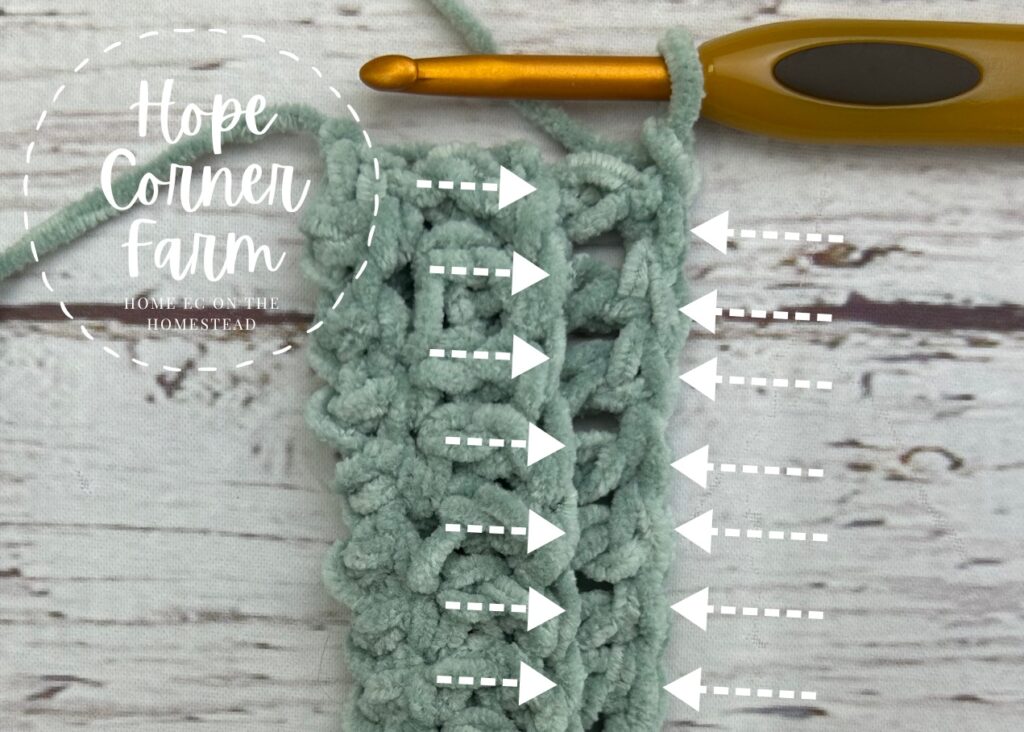
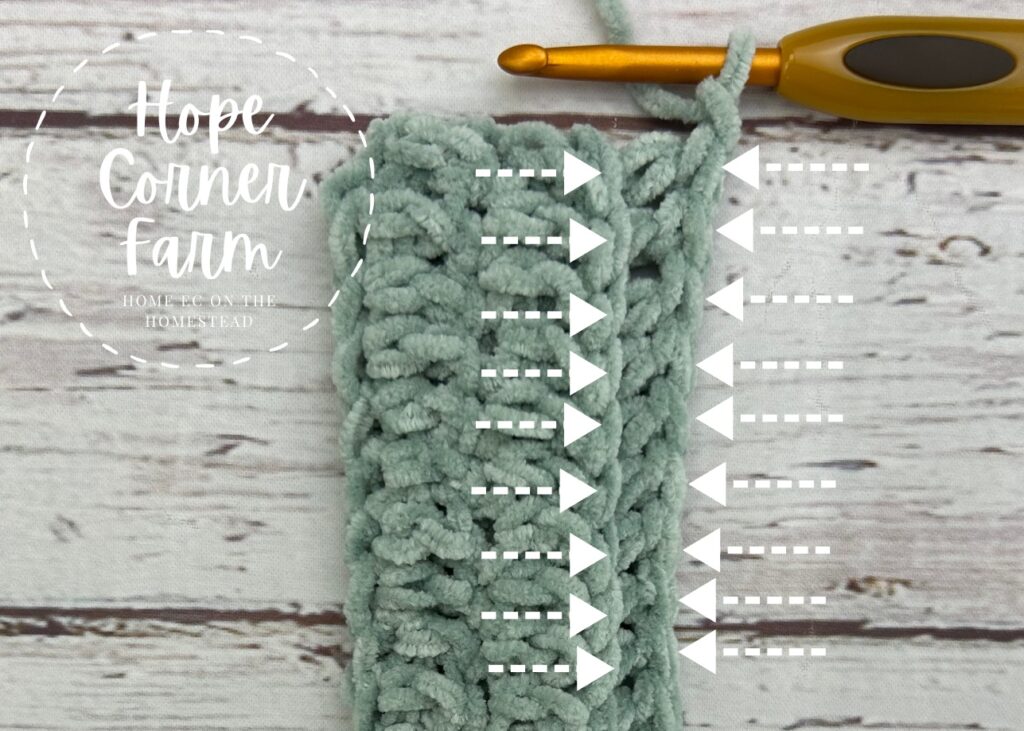
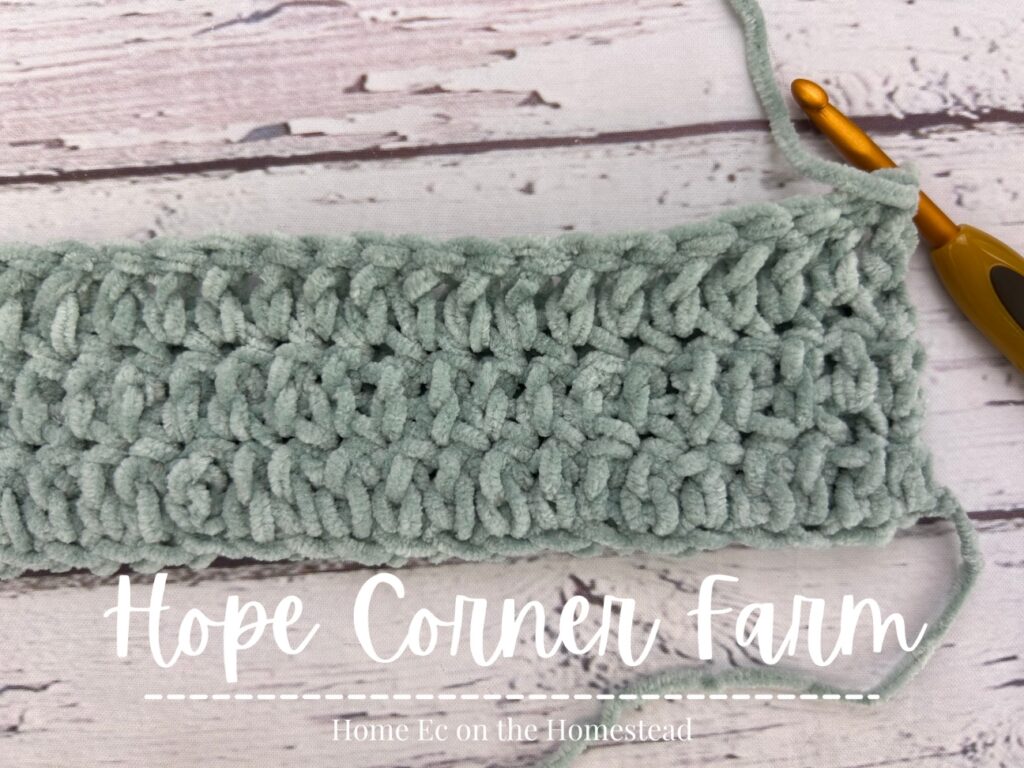
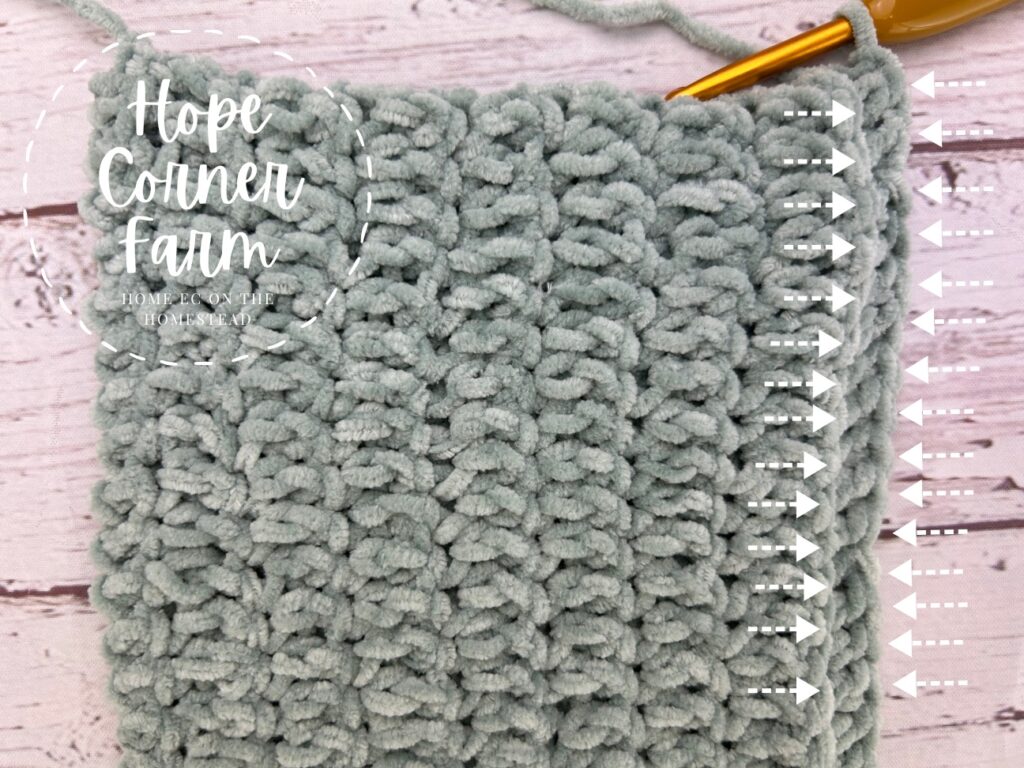
Row 3 – Velvet Twist Headband:
Now, start by chaining 1. Do not turn the work. Work down the work. Place one Double Crochet Thermal Stitch into each stitch (back loop + parallel loop) down the work. (64)

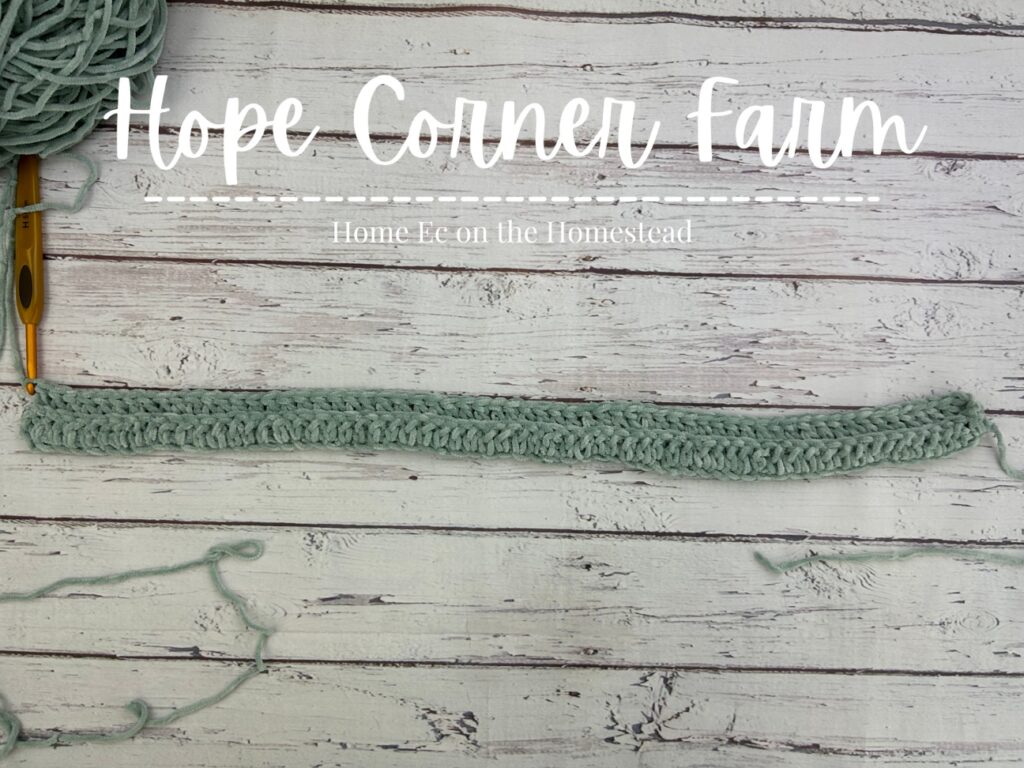
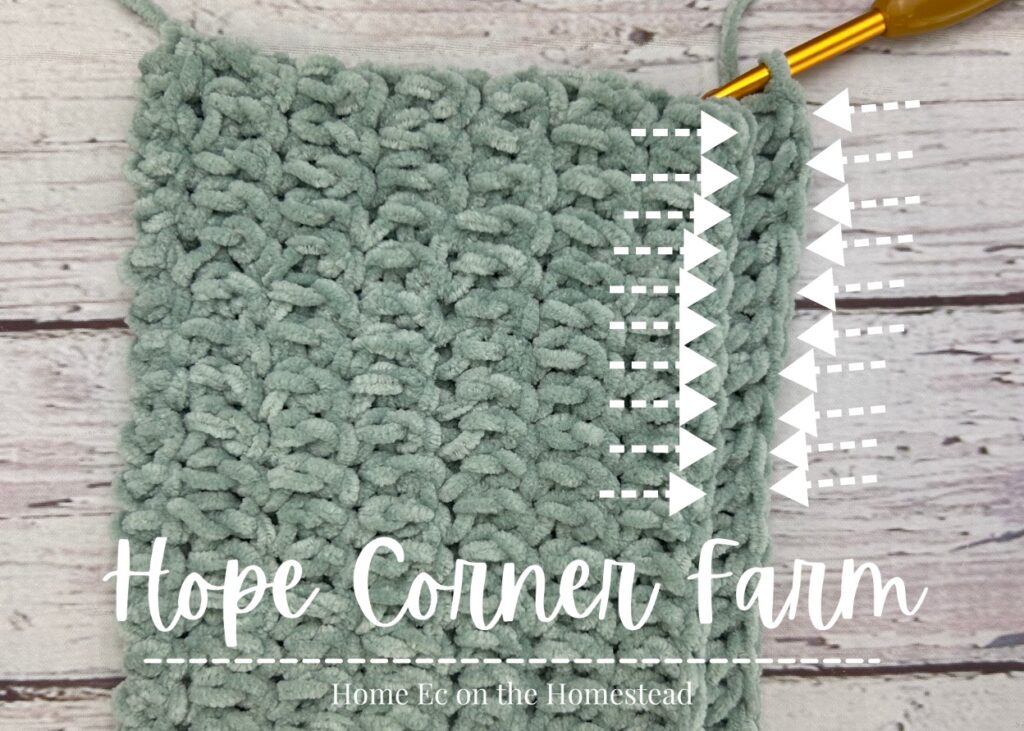
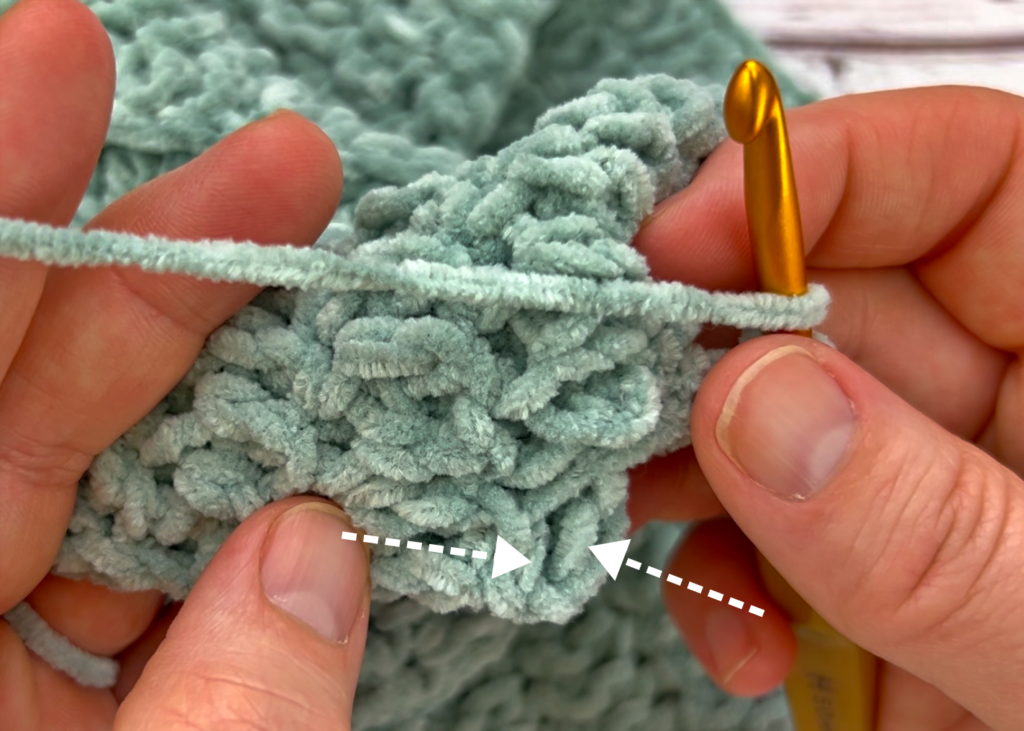
Velvet Ear Warmer – Row 4:
Next, start by chaining 1. Do not turn the work. Work down the work. Place one Double Crochet Thermal Stitch into each stitch (back loop + parallel loop) down the work. (64)
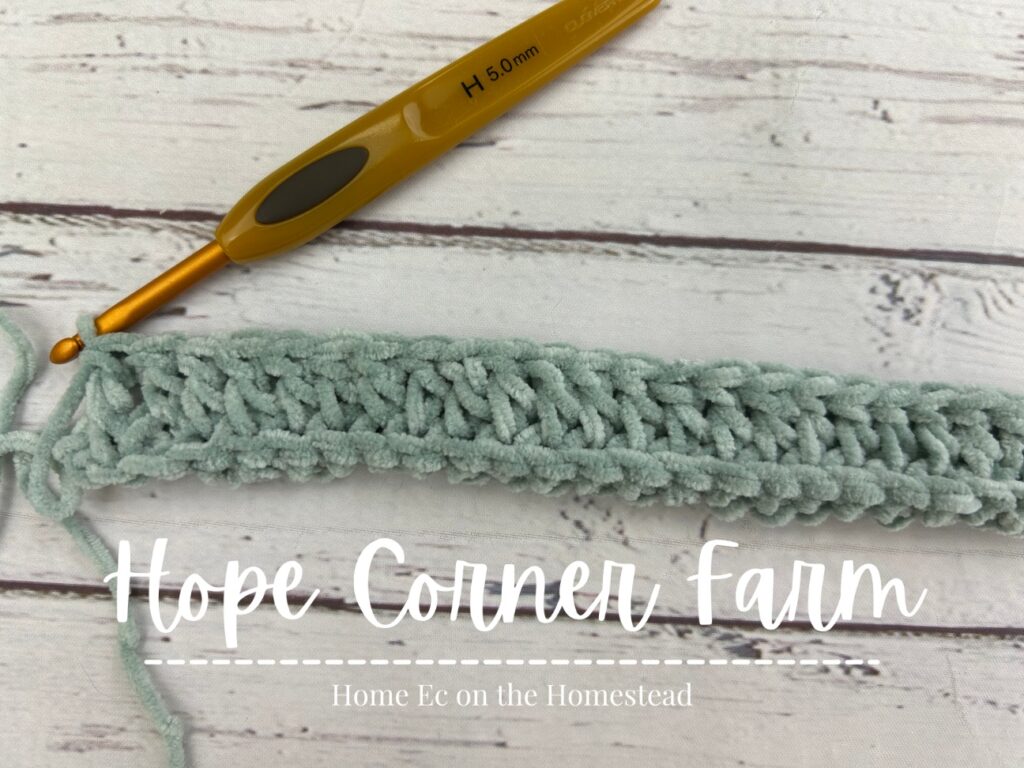
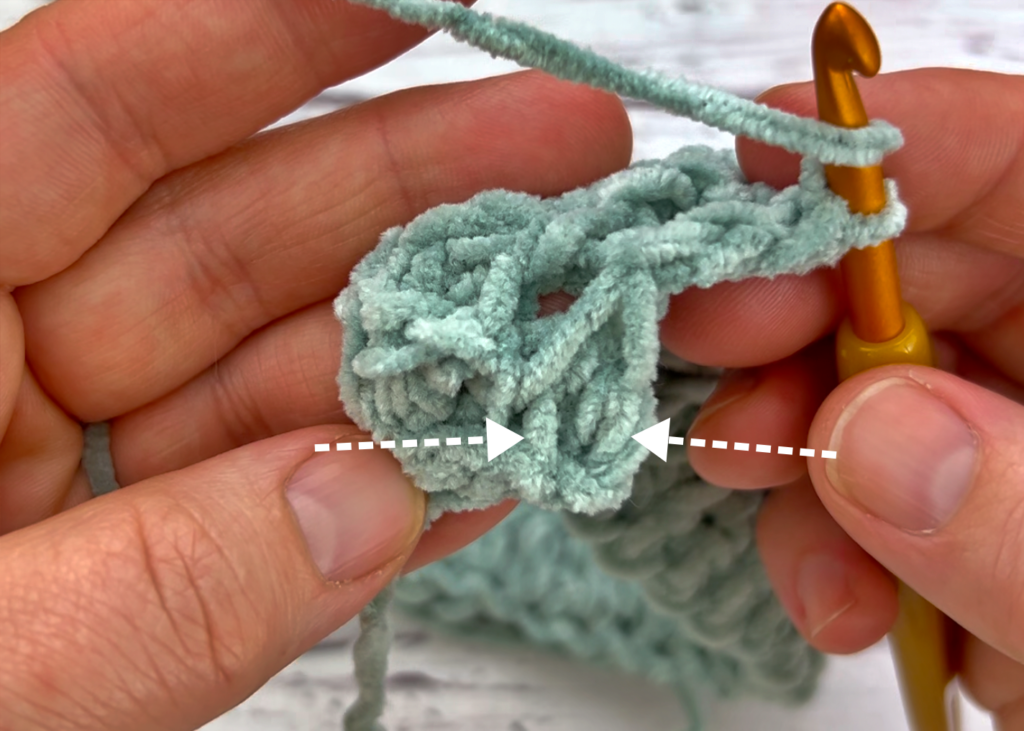
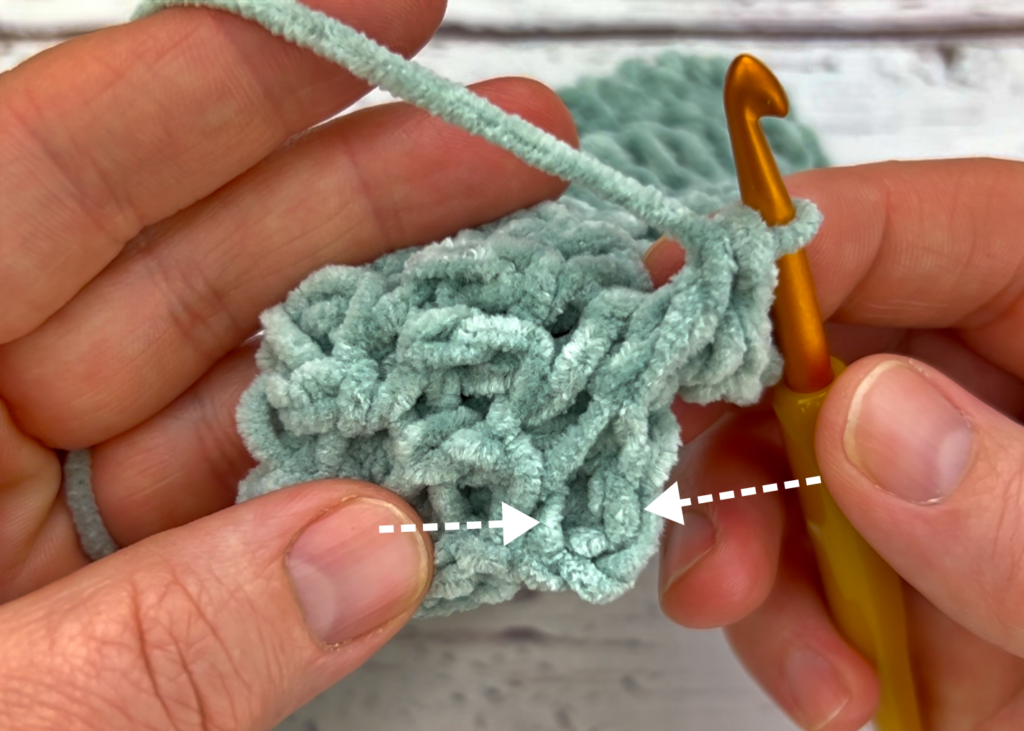
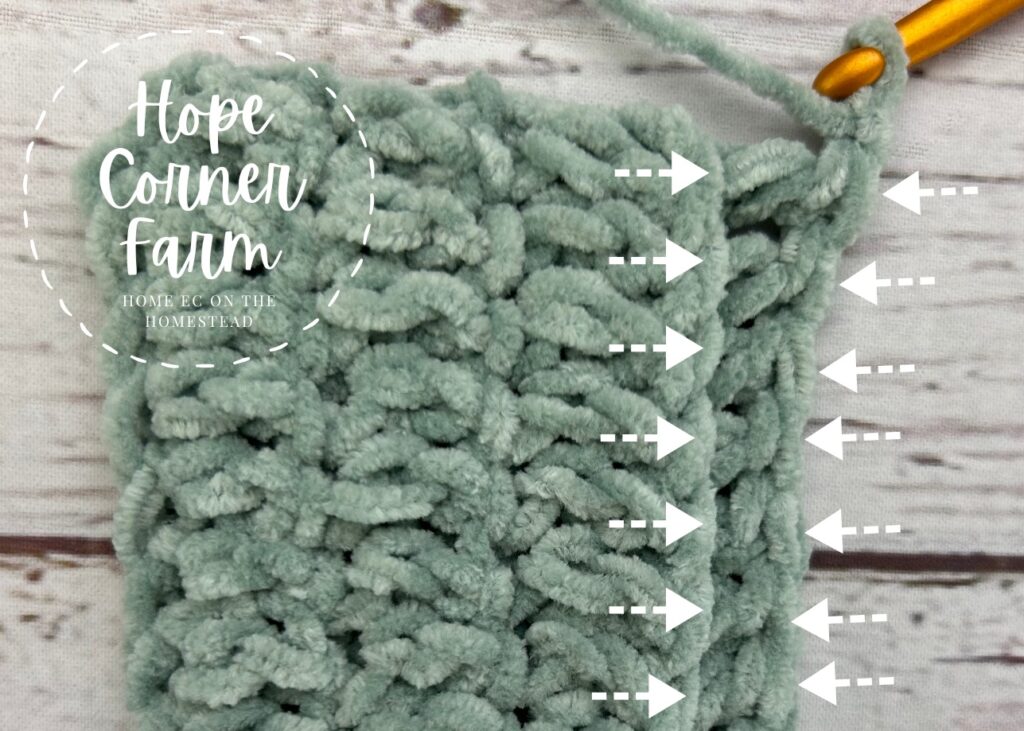
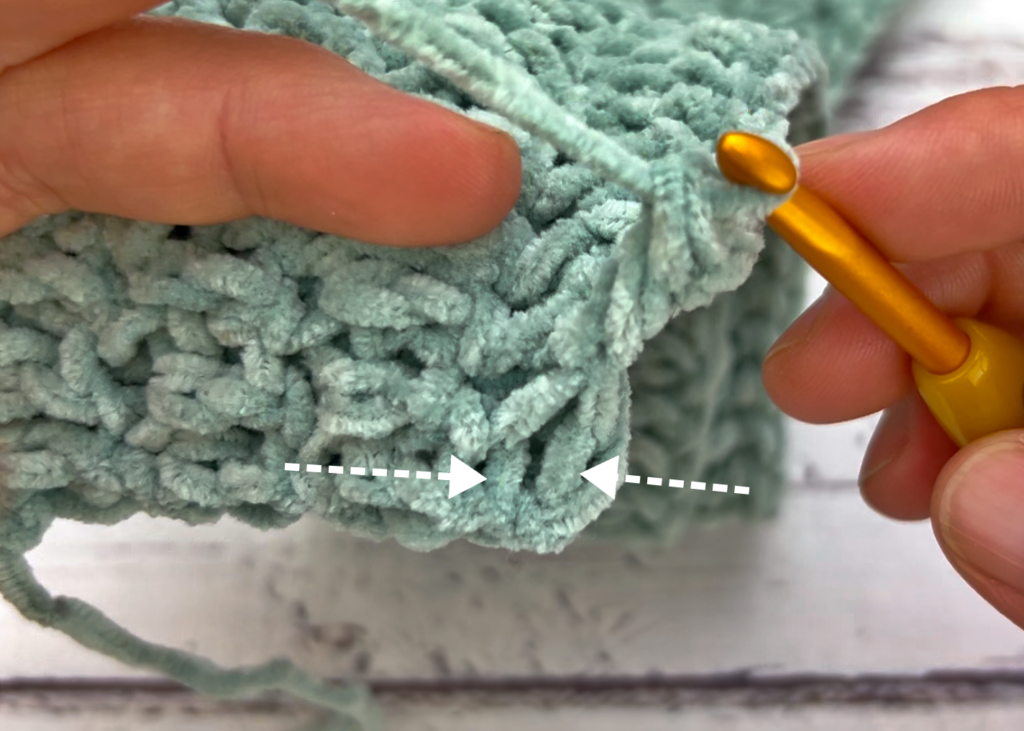
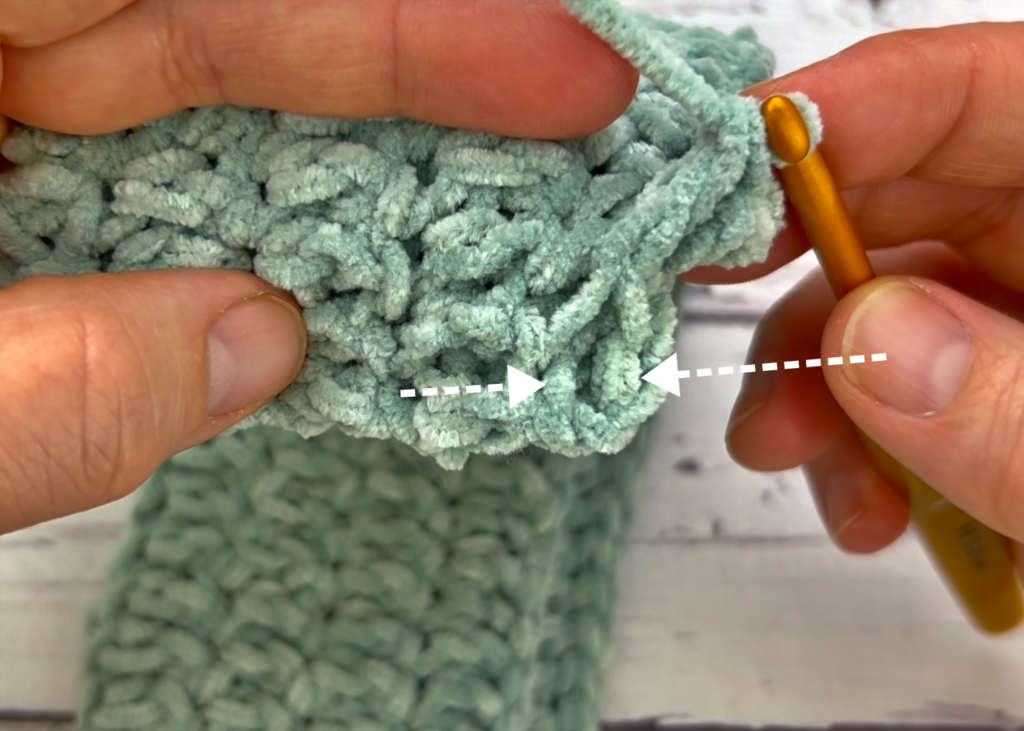
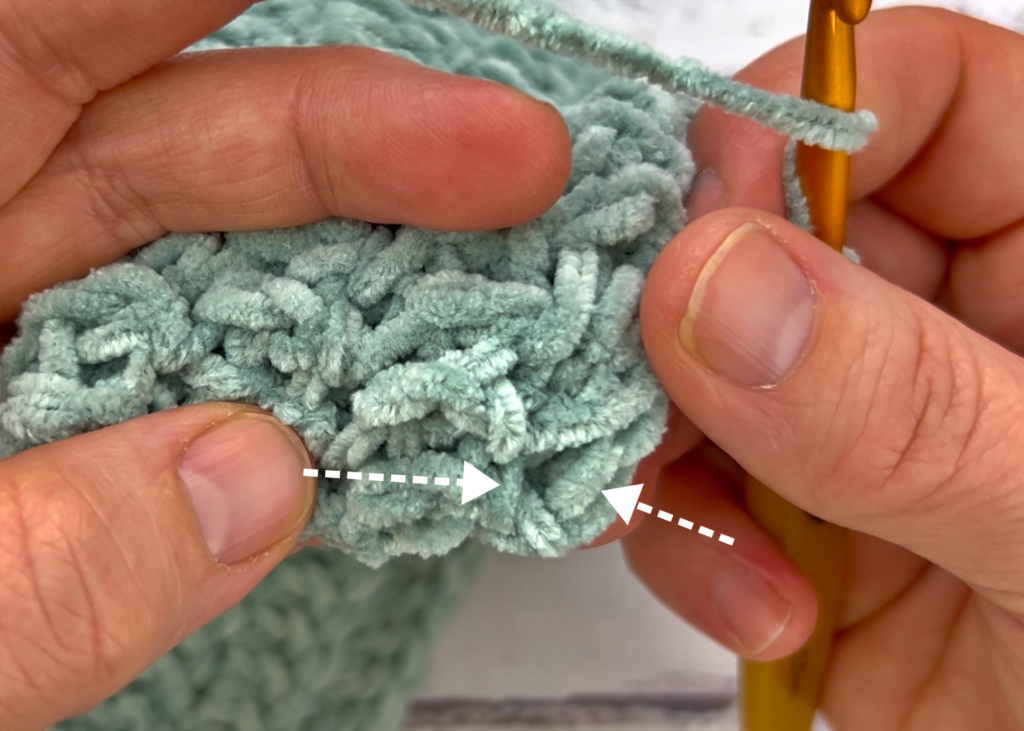
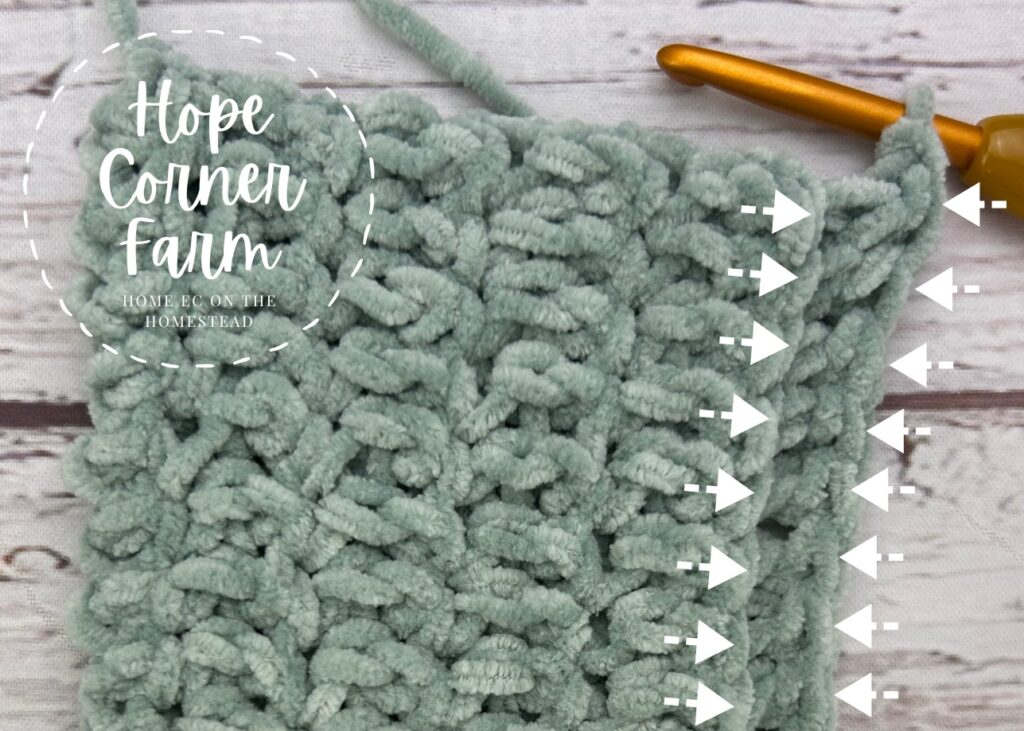
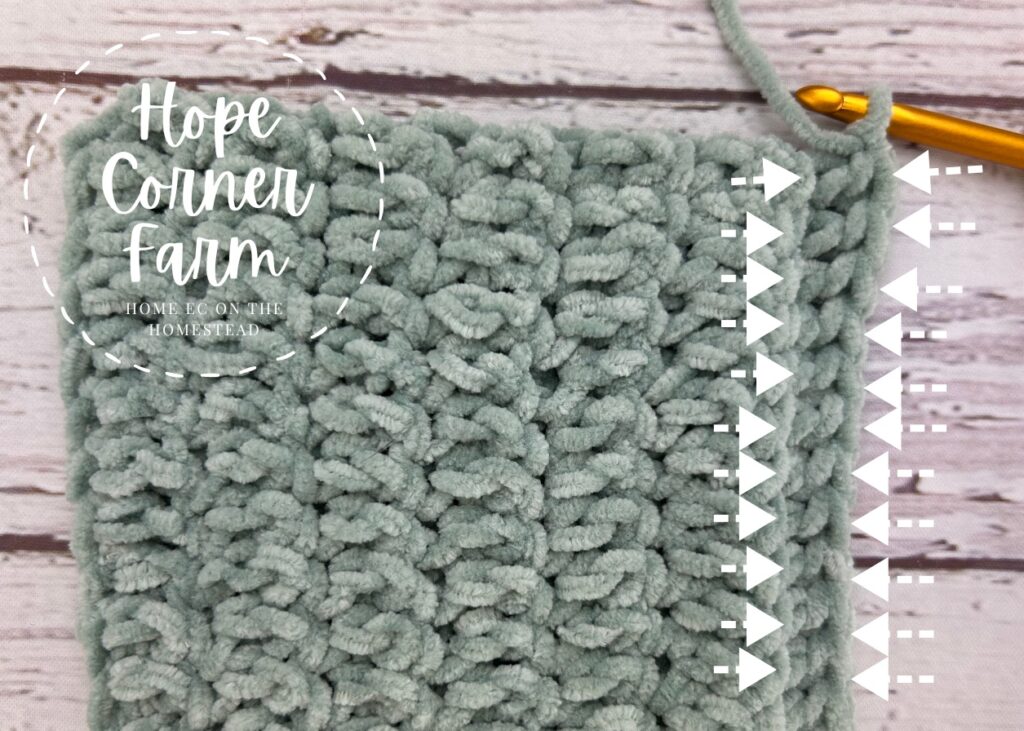
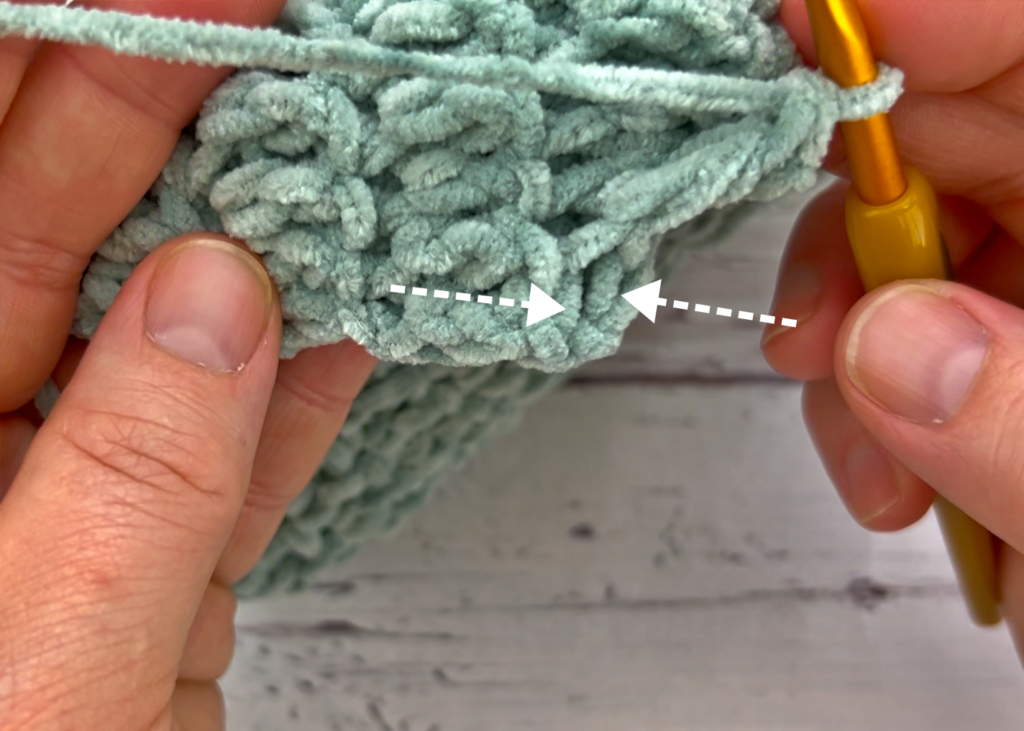
Now, the last stitch of the row might be a little difficult to see. Look at the picture below to see what loops to work the final Double Crochet Thermal Stitch into.

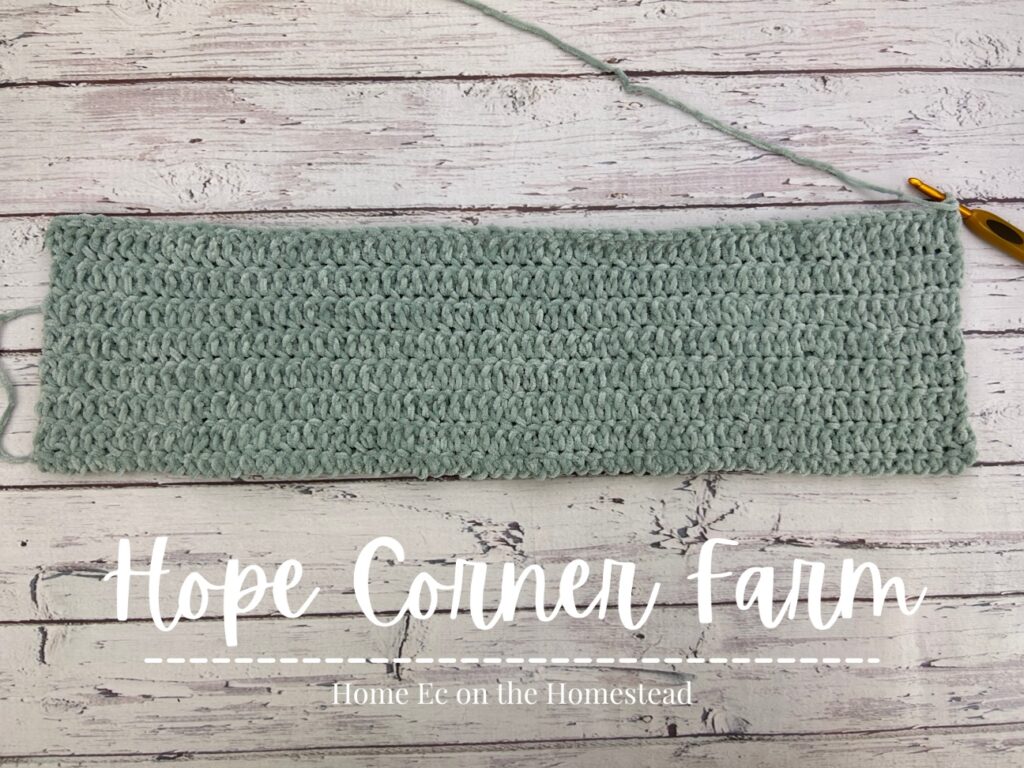
Row 5:
Next, start by chaining 1. Do not turn the work. Work down the work. Place one Double Crochet Thermal Stitch into each stitch (back loop + parallel loop) down the work. (64)

Velvet Thermal Twist Headband – Row 6:
Now, start by chaining 1. Do not turn the work. Work down the work. Place one Double Crochet Thermal Stitch into each stitch (back loop + parallel loop) down the work. (64)
Row 7:
Now, start by chaining 1. Do not turn the work. Work down the work. Place one Double Crochet Thermal Stitch into each stitch (back loop + parallel loop) down the work. (64)

Velvet Thermal Twist Crochet Headband – Row 8:
Next, start by chaining 1. Do not turn the work. Work down the work. Place one Double Crochet Thermal Stitch into each stitch (back loop + parallel loop) down the work. (64)

Row 9:
Now, start by chaining 1. Do not turn the work. Work down the work. Place one Double Crochet Thermal Stitch into each stitch (back loop + parallel loop) down the work. (64)
Velvet Thermal Twist Ear Warmer – Row 10:
Now, start by chaining 1. Do not turn the work. Work down the work. Place one Double Crochet Thermal Stitch into each stitch (back loop + parallel loop) down the work. (64)
Row 11:
Now, start by chaining 1. Do not turn the work. Work down the work. Place one Double Crochet Thermal Stitch into each stitch (back loop + parallel loop) down the work. (64)


Headband – Row 12:
Now, start by chaining 1. Do not turn the work. Work down the work. Place one Double Crochet Thermal Stitch into each stitch (back loop + parallel loop) down the work. (64)

Row 13:
Now, start by chaining 1. Do not turn the work. Work down the work. Place one Double Crochet Thermal Stitch into each stitch (back loop + parallel loop) down the work. (64)

Velvet Thermal Twist Headband – Row 14:
Now, start by chaining 1. Do not turn the work. Work down the work. Place one Double Crochet Thermal Stitch into each stitch (back loop + parallel loop) down the work. (64)
Row 15:
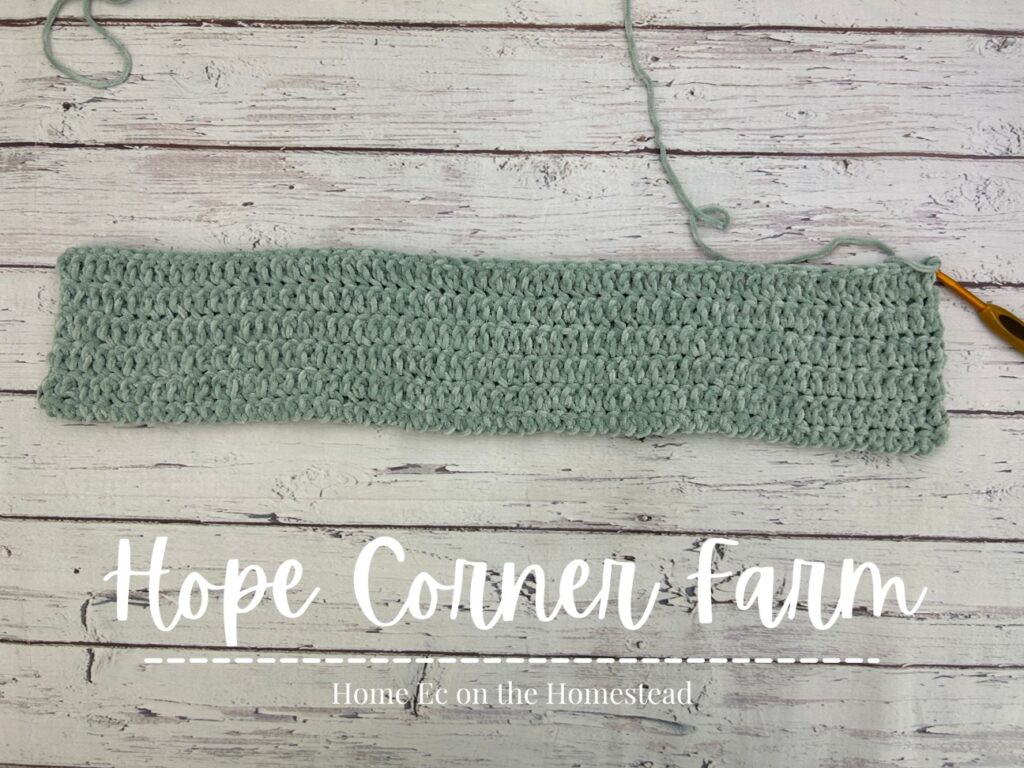
Now, start by chaining 1. Do not turn the work. Work down the work. Place one Double Crochet Thermal Stitch into each stitch (back loop + parallel loop) down the work. (64) This is the final repeat of this type of row.

Finishing Row of the Velvet Thermal Twist Ear Warmer:
Next, chain 1 and turn. This row is crocheted differently than the previous row. We are going to work a SLIP STITCH through the entire top of the stitch from the previous row (not just the back loop), as well as the parallel loop. (64)
Now, cut the ear warmer free from the skien of yarn. Fasten off. Do not weave in ends yet.
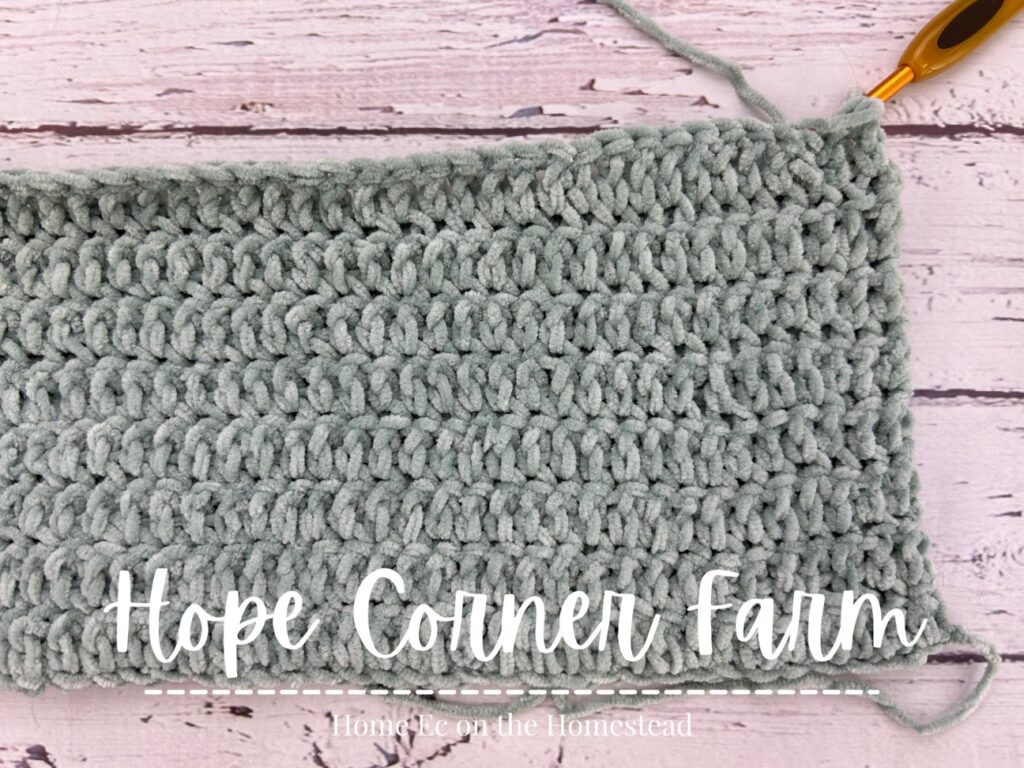
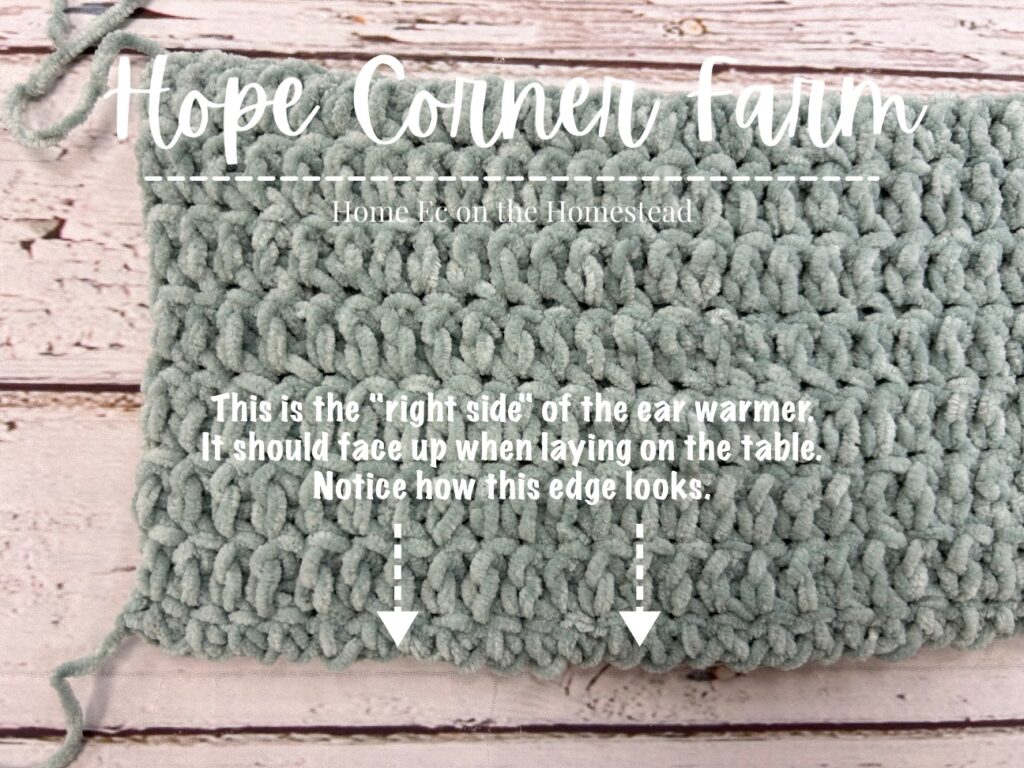
Folding the Ear Warmer:
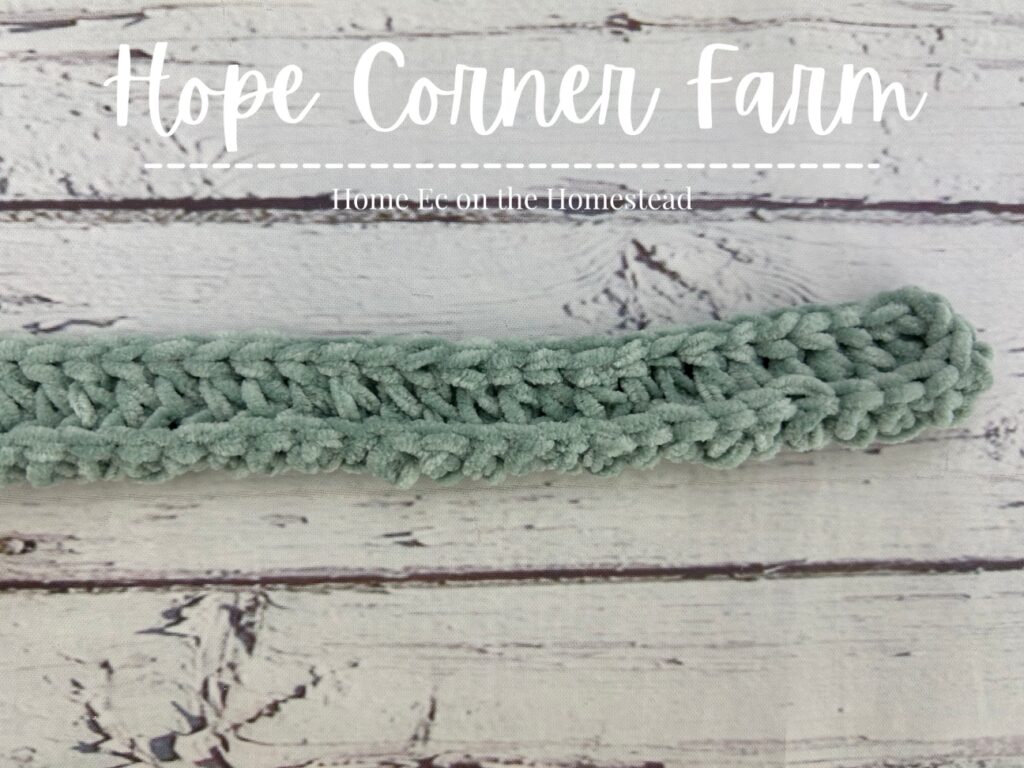
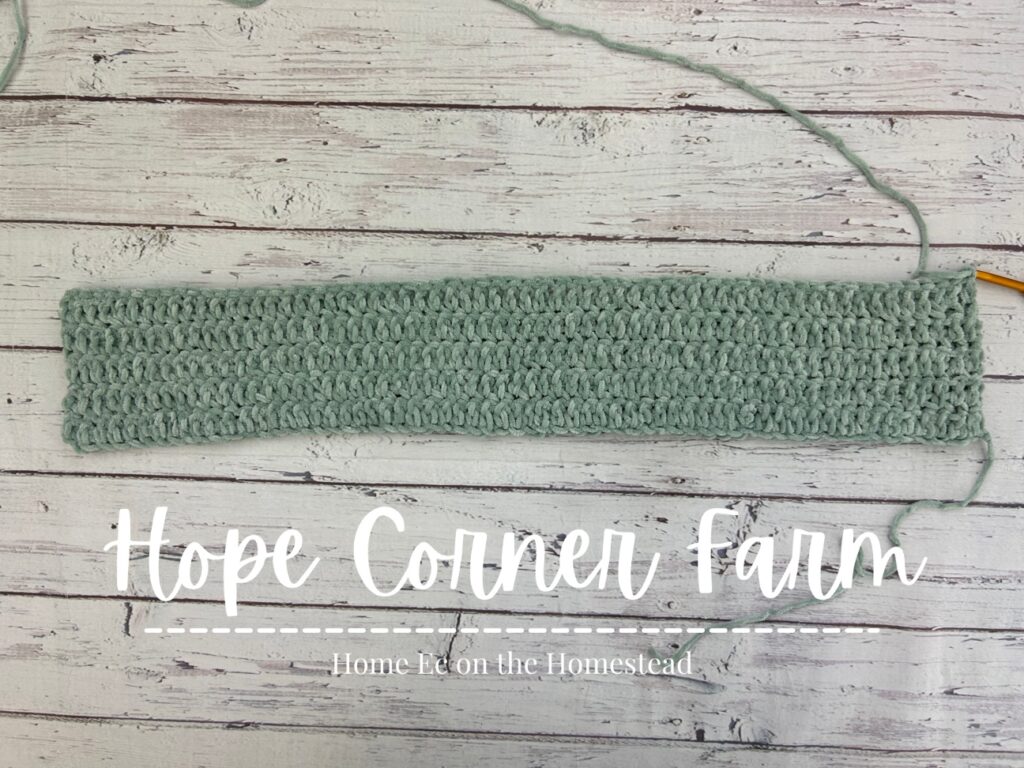
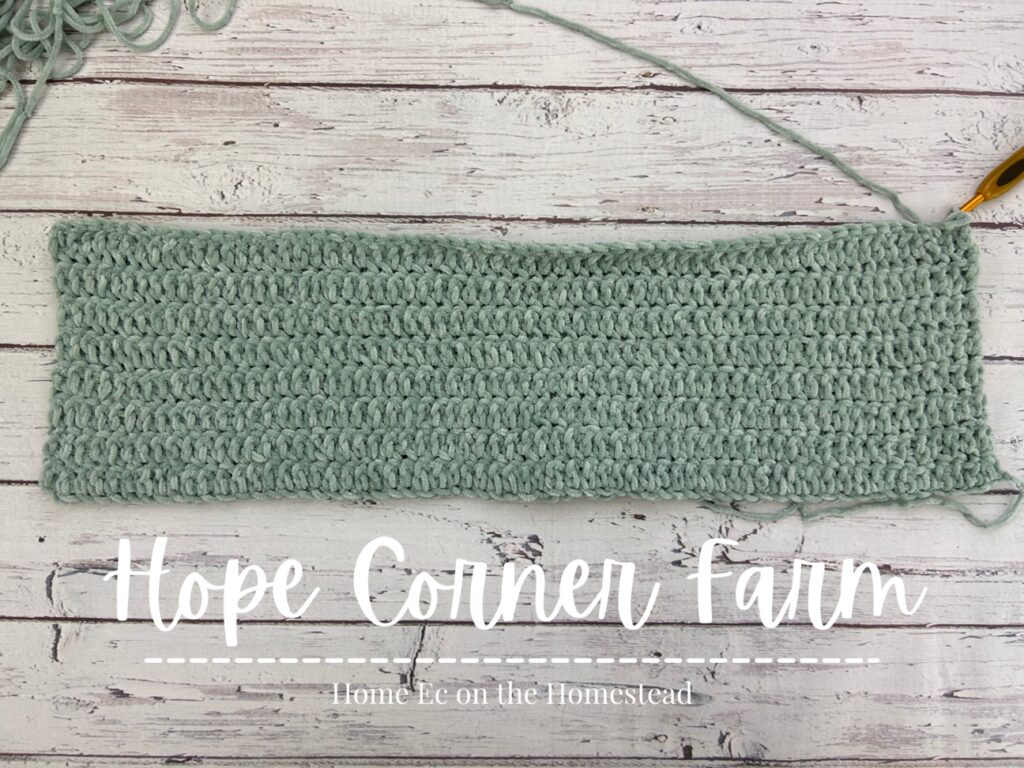
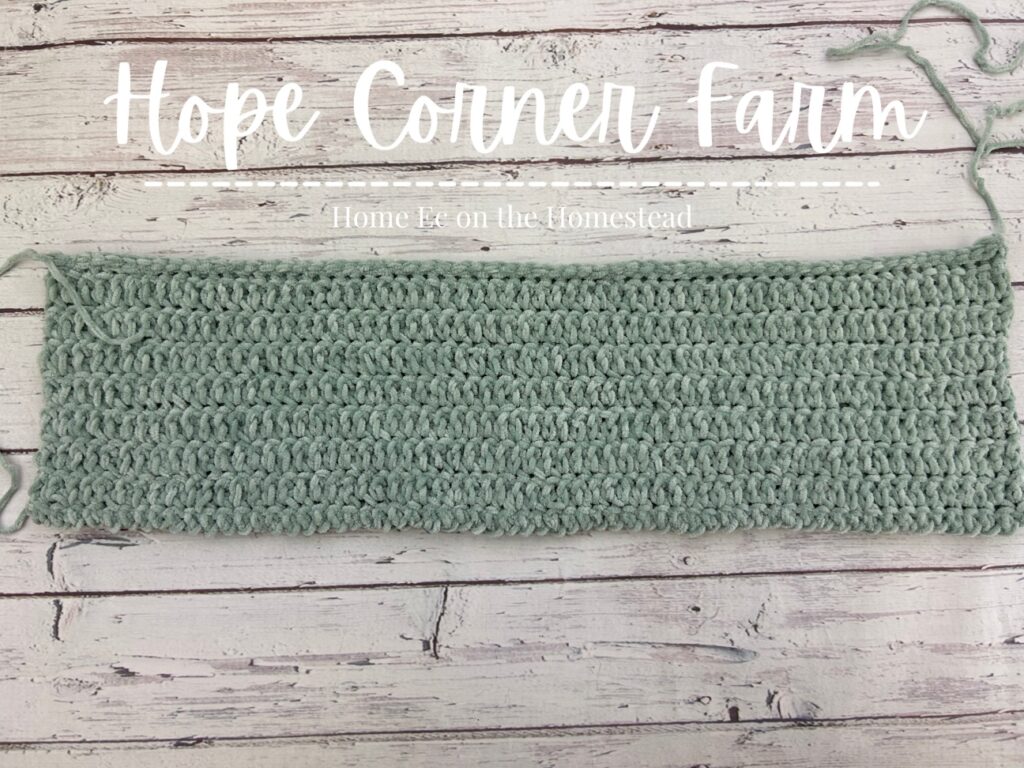
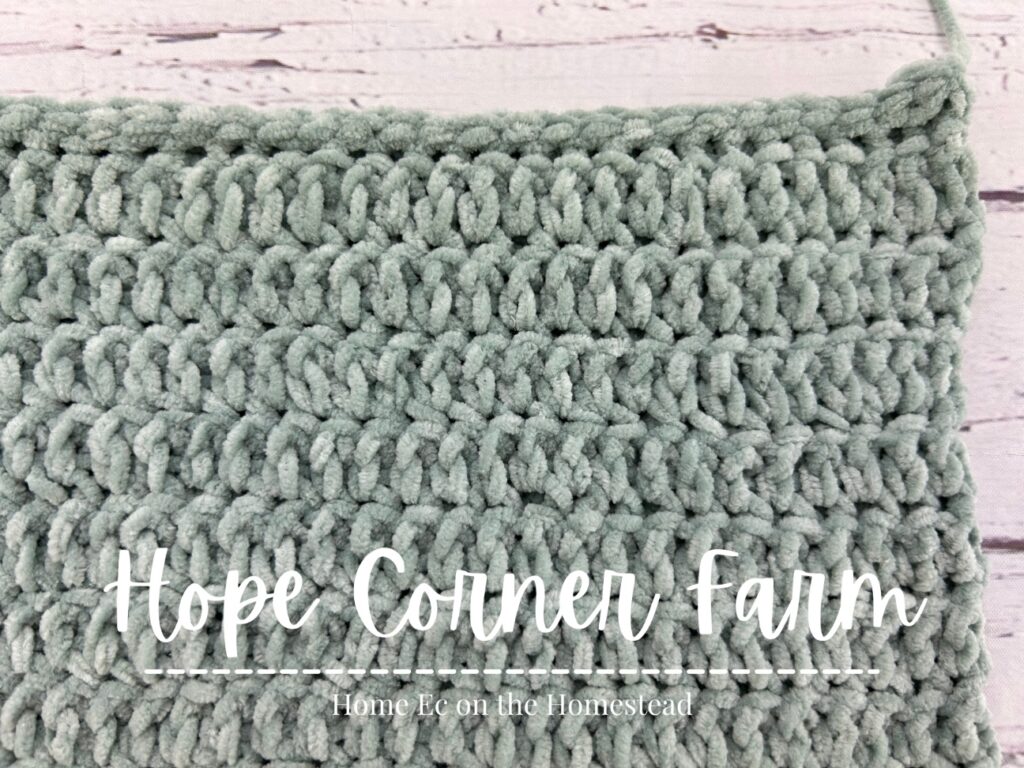
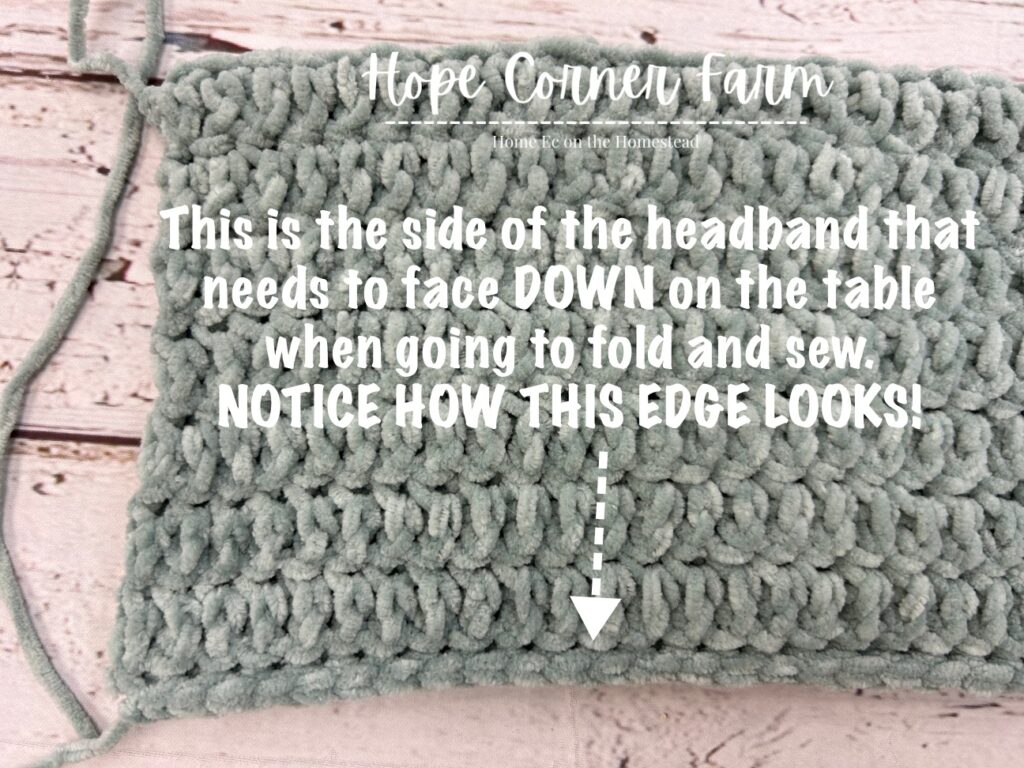
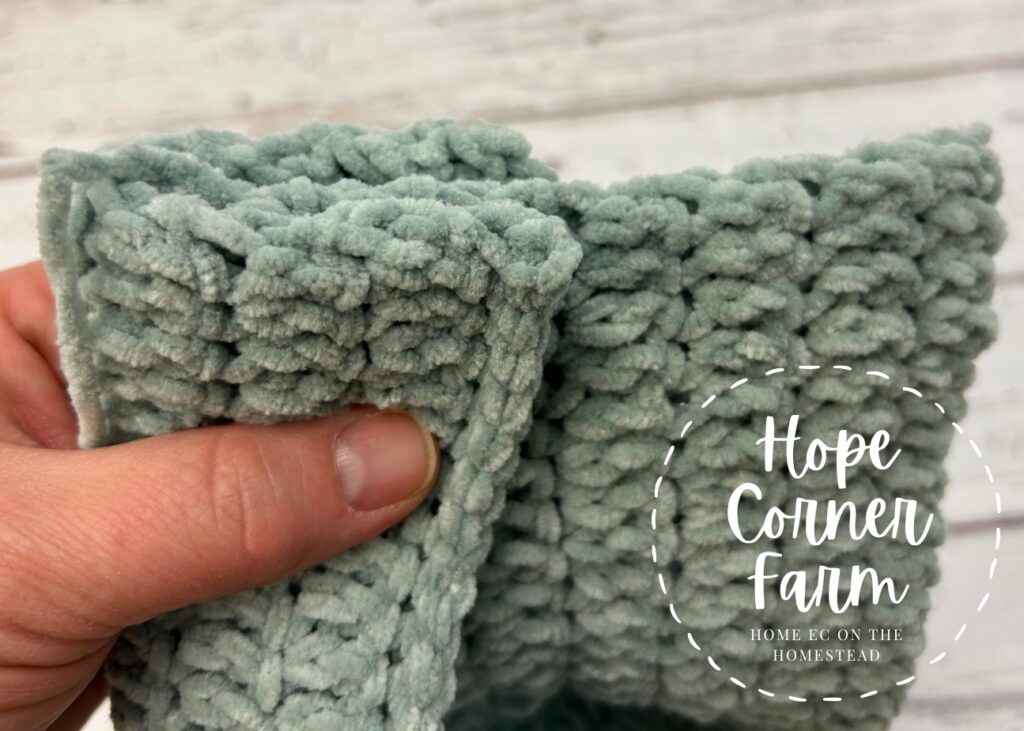
Begin by placing the headband on a flat surface with the pretty side facing up. The wrong side will be facing down. See the pictures below to see which side faces up and which side faces down.
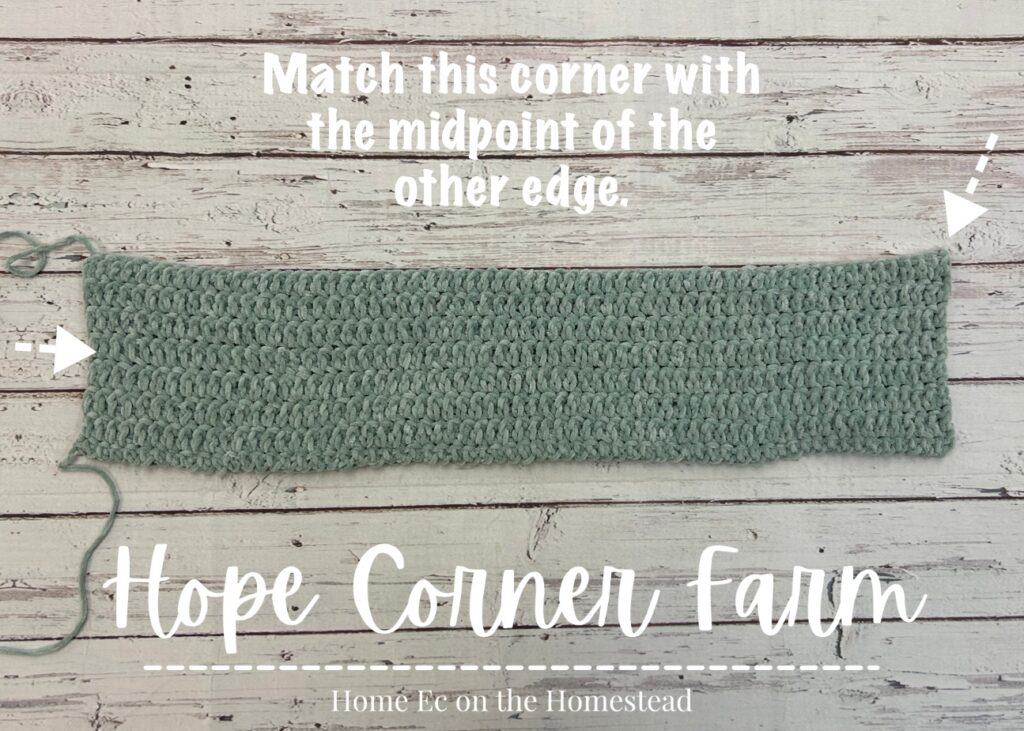
Next, match up the corner of one of the short sides with the midpoint of the opposite short side.
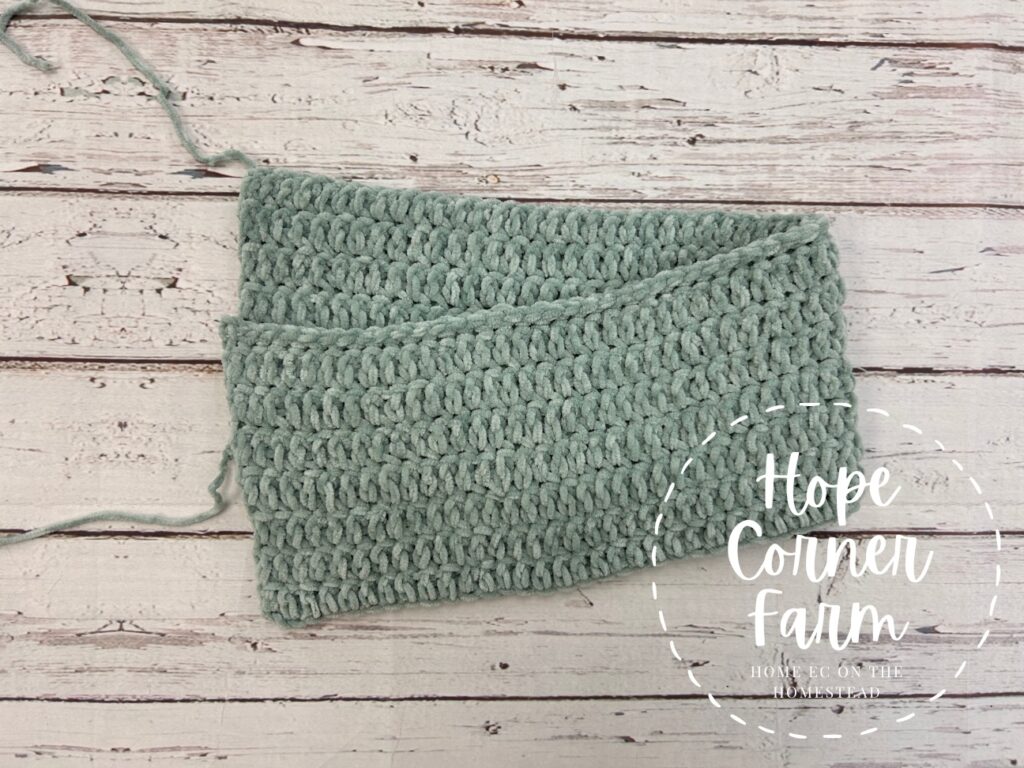
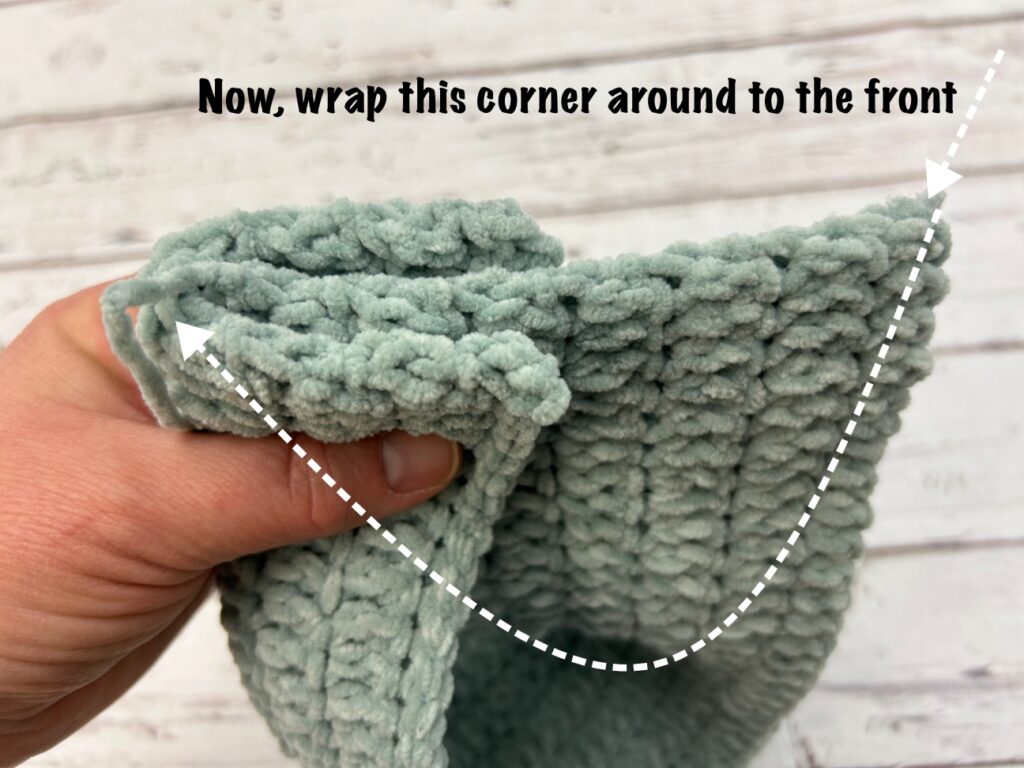
Now fold the upper part of the headband down and underneath the headband. Make sure to match up the 2 corners at the midpoint of the other side.
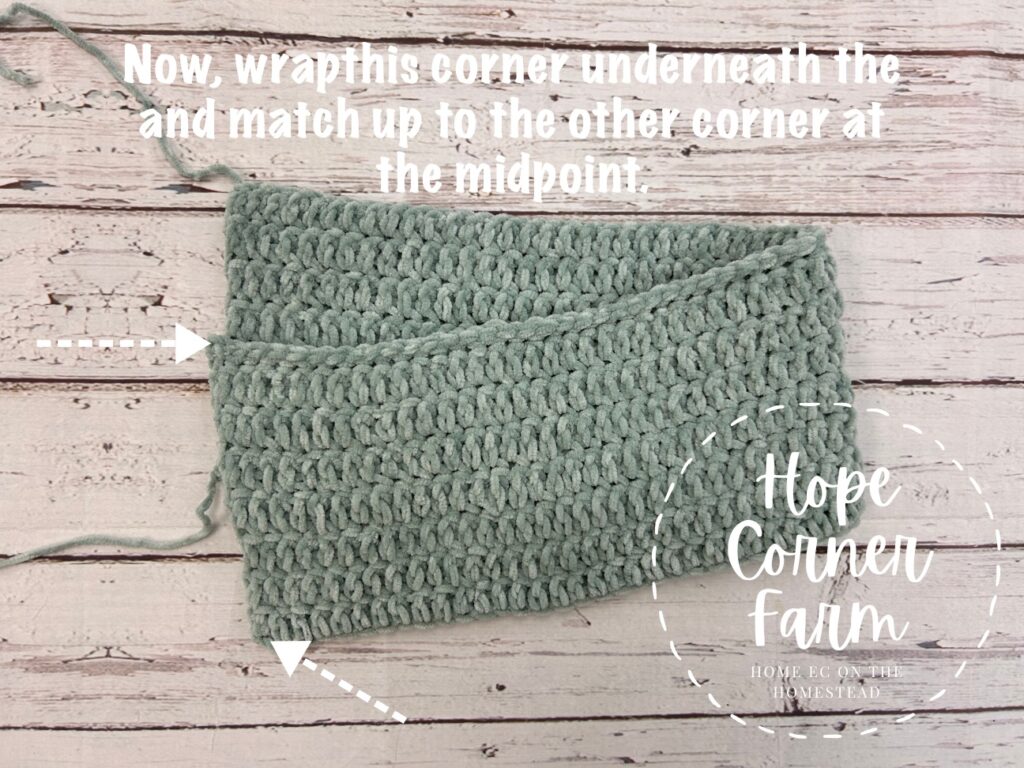

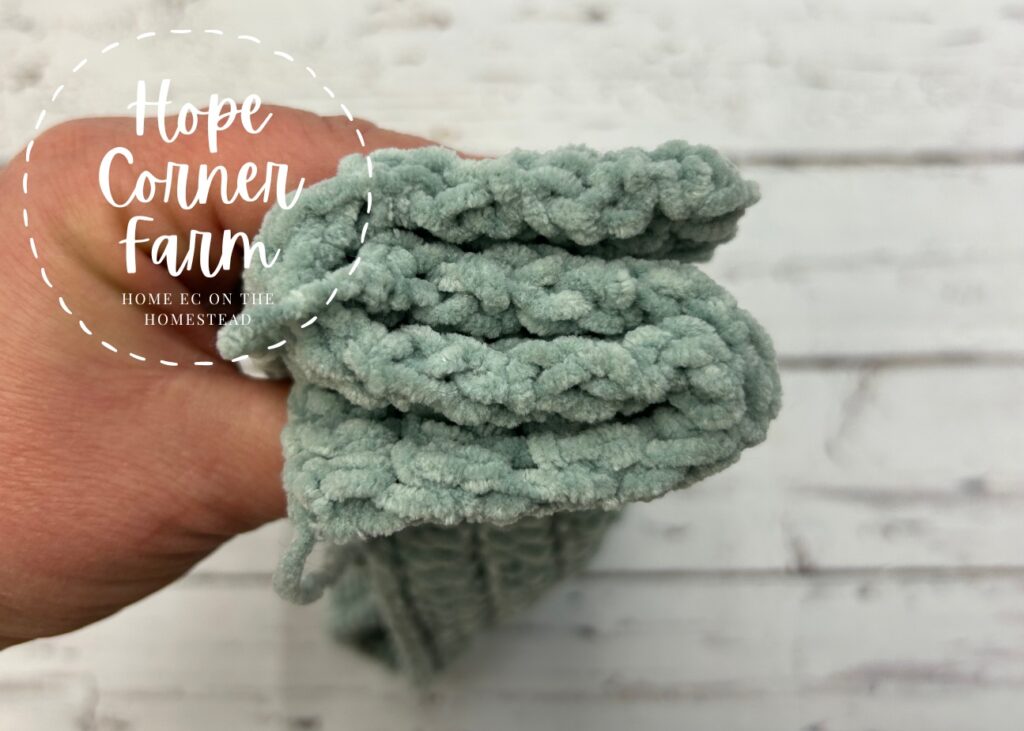
Finally, take the bottom side and fold it up and over the top of the headband. Make sure to match the two edges in the middle.
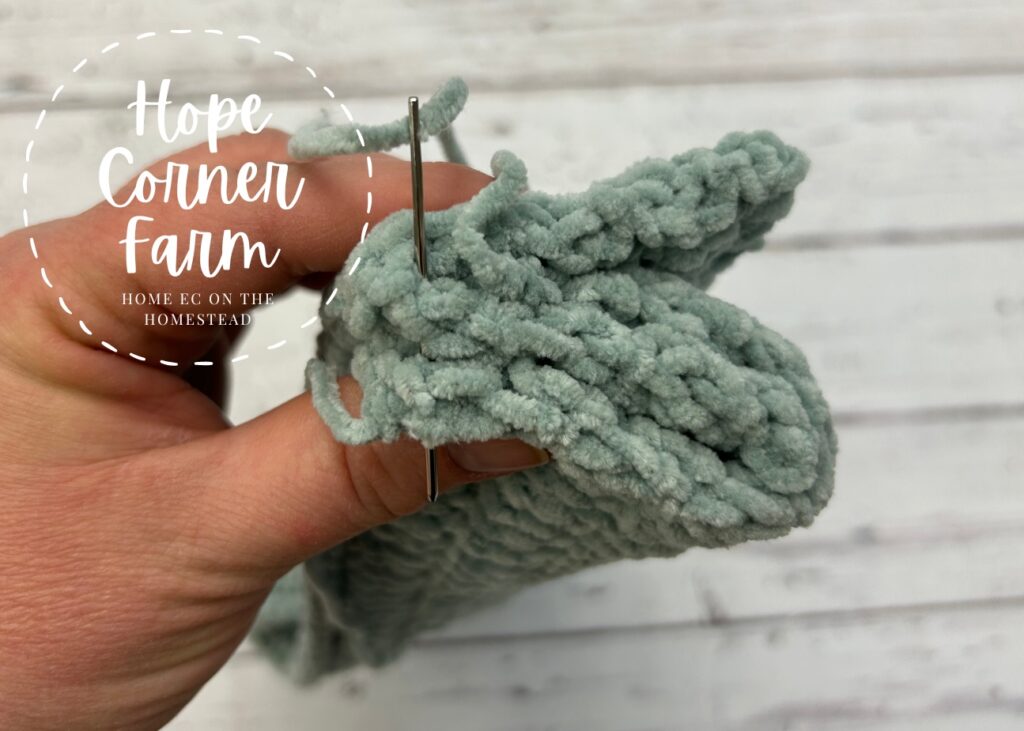
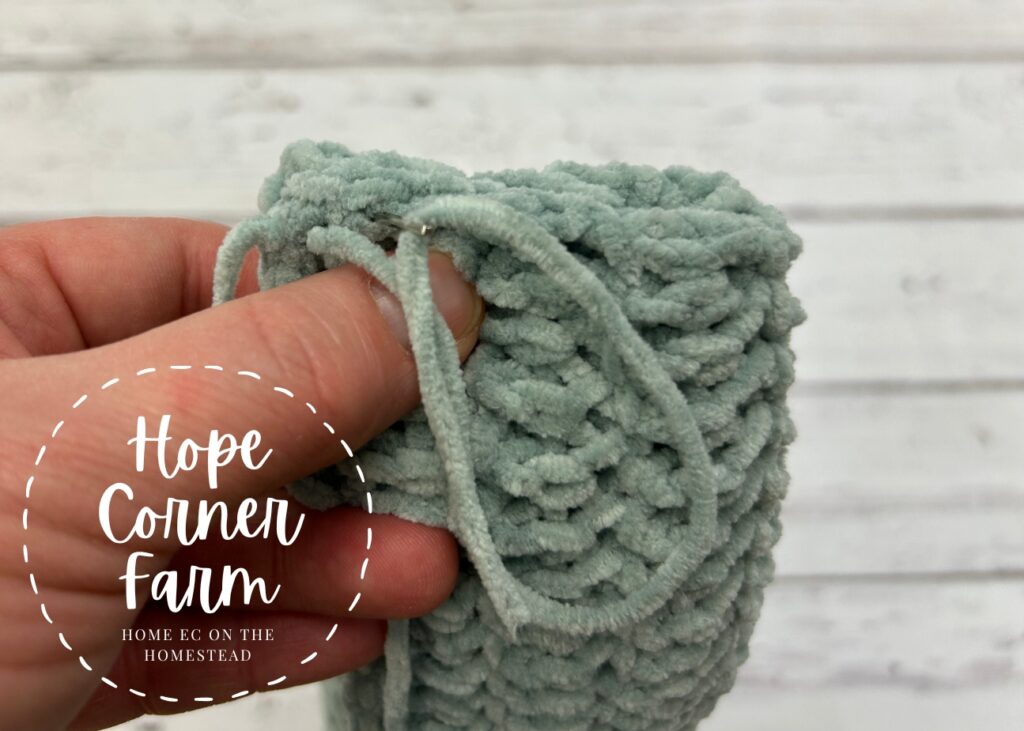
How to Sew the Crochet Headband:
Using ONE of the yarn tails, sew across the folded edges using a running stitch. Make sure to catch all four sides when sewing!
Tie a knot and weave in that yarn tail.
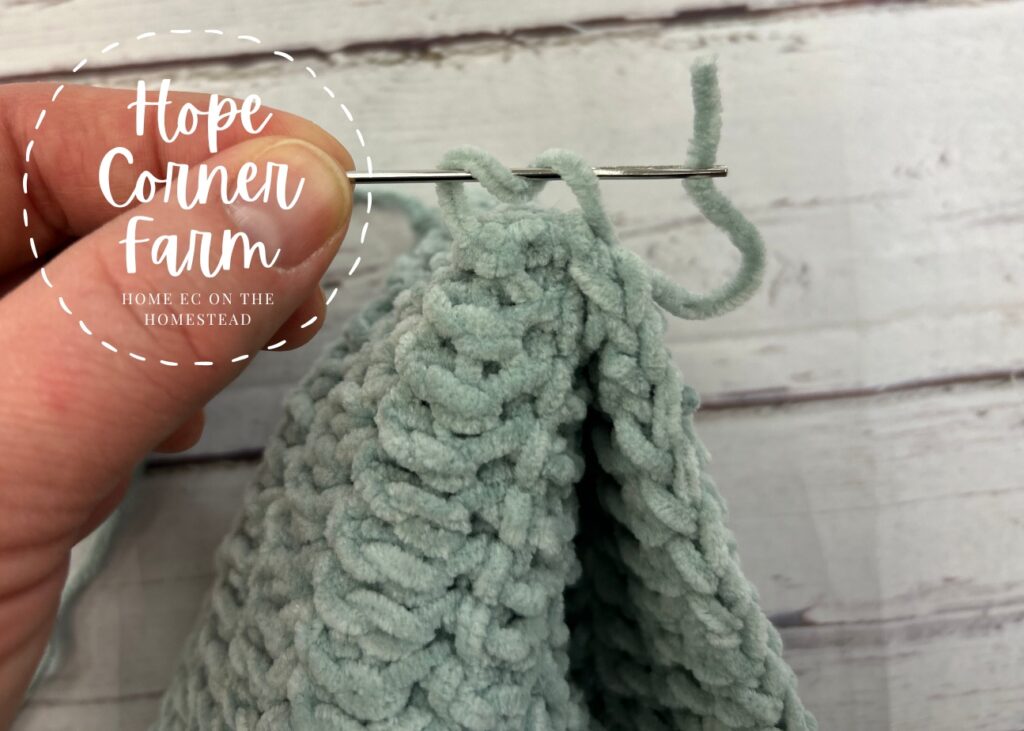
With the second yarn tail, sew across with a whip stitch over the edge of the seam. Again, make sure to catch all four edges with the stitching. Fasten off and weave in end.
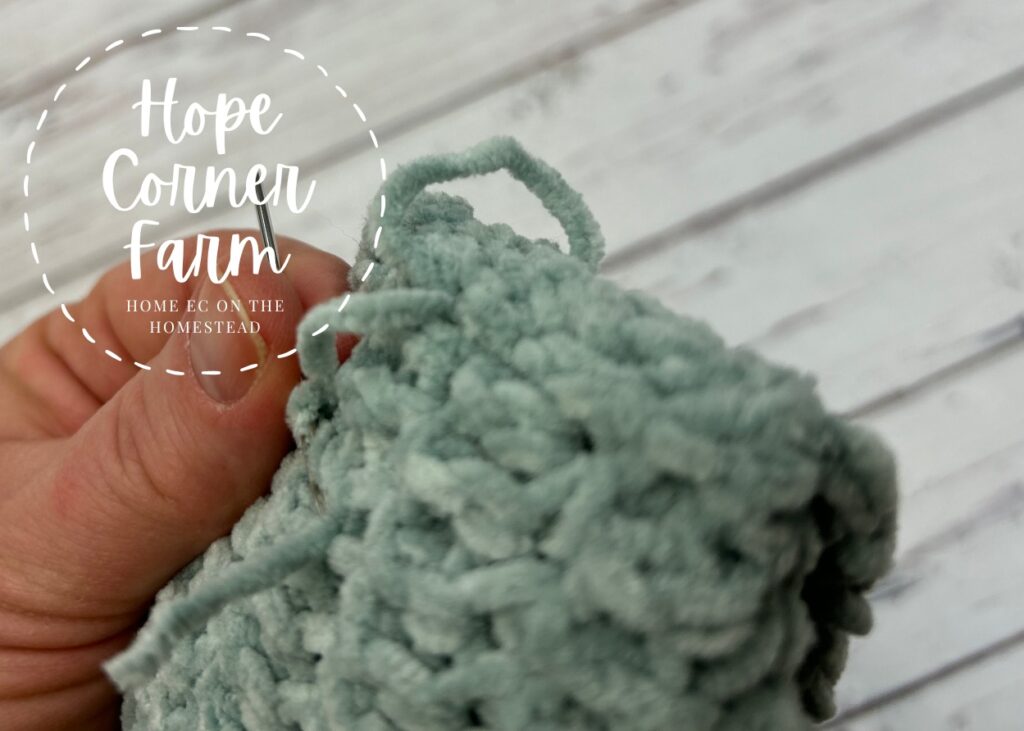
Turning the Thermal Twist Ear Warmer Right Side Out:
After sewing the free crochet headband and weaving in the ends, now it is time to turn it right-side out. You will need to mess with it to get it laying perfectly flat!
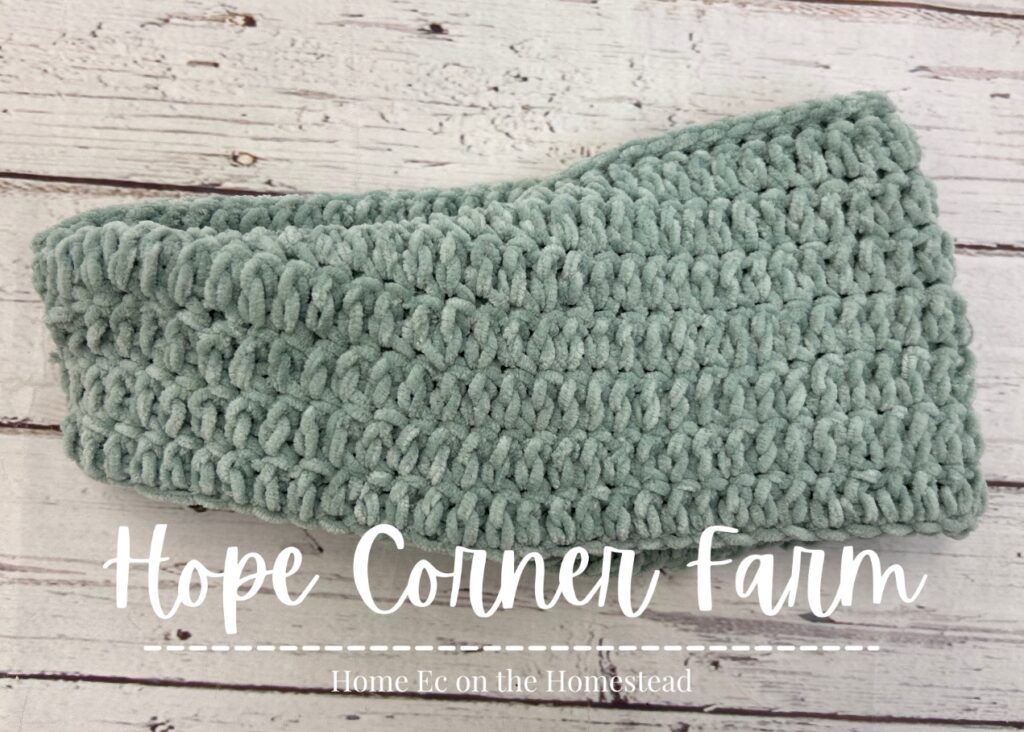
Video Tutorial:
And that’s the Velvet Thermal Twist Crochet Headband! I hope you found this tutorial helpful! Finally if you want more crochet fun delivered to your inbox hope on over and join our newsletter!

Many Blessings,

COPYRIGHT STATEMENT: This pattern is copyrighted in 2025 by Hope Corner Farm. Sharing information (photos and text) from this pattern is prohibited unless permission is specifically given by Hope Corner Farm. Selling items made from this pattern is permitted as long as a design reference is made to Hope Corner Farm (Ex. Pattern by Hope Corner Farm).
Looking for more crochet headbands to try? Check These out!
The Montana Twist Headband from Hope Corner Farm