Comfortable Cloth Face Mask Tutorial

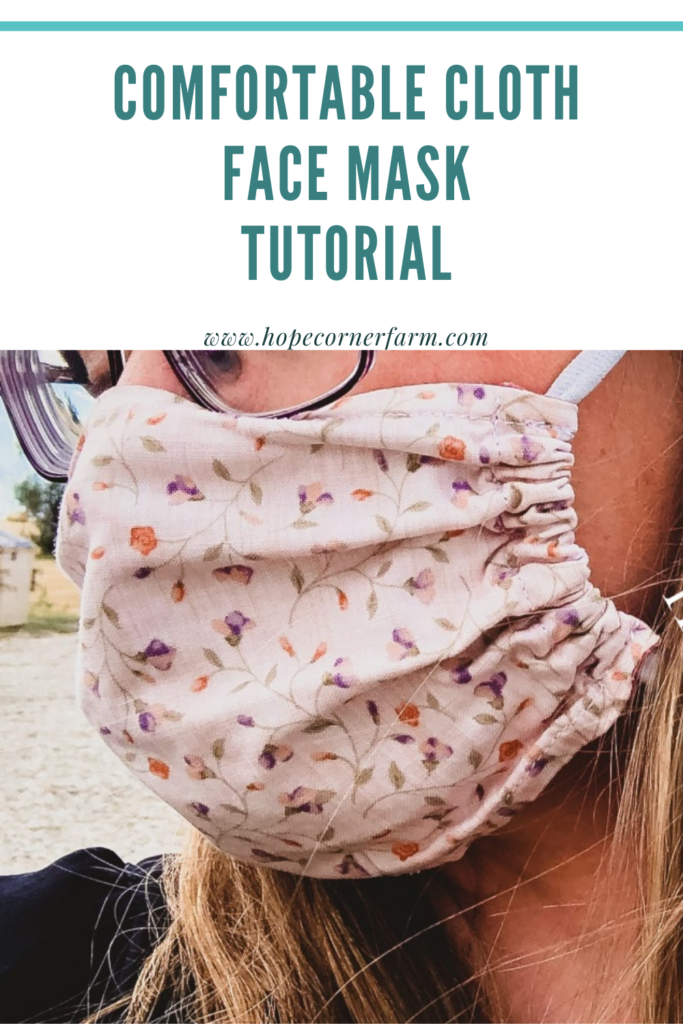
By day I am a teacher, and since our school is back to in-face teaching this fall, that means that I am wearing a face mask all day long. In the short three weeks that we have been back in class, I have probably worn every type of mask style that is available. In the end, I decided that I would take what I like from each style and made a mask that works for me. This mask is comfortable, easy to talk in, and is hard to lose. I made these masks for my kid and they love them too! Here is my tutorial for my comfortable cloth face mask.
Materials for Comfortable Cloth Face Mask:
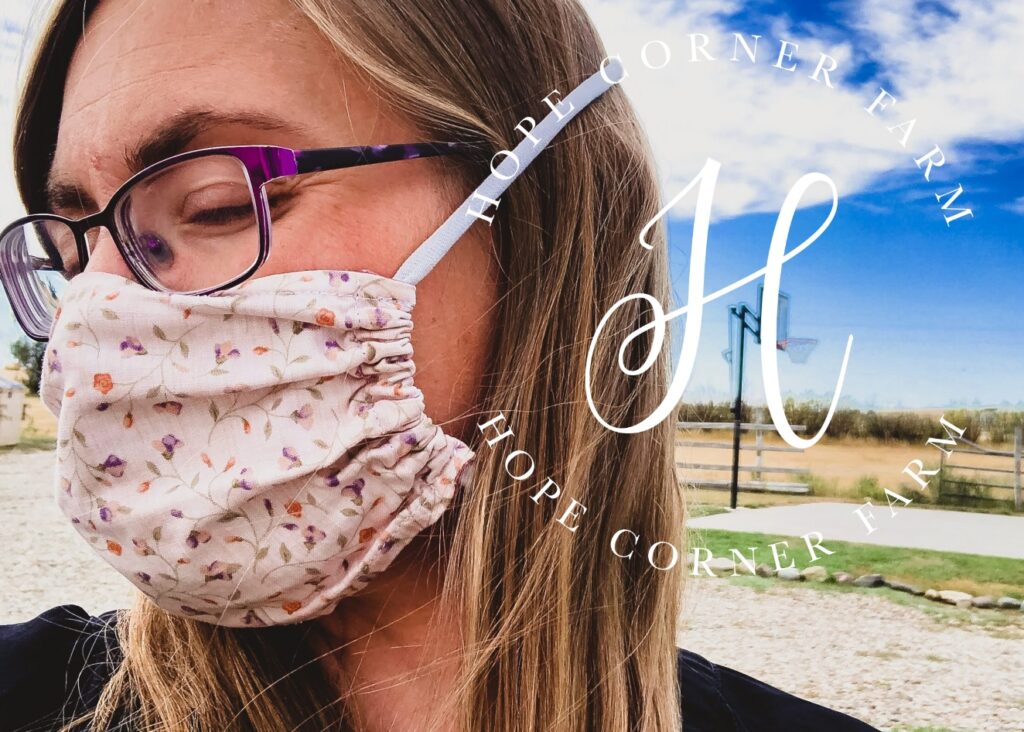
-Two 9″ x 6″ pieces of high-quality quilter’s cotton material (if buying new Fat Quarters would work or 1/8 yard of fabric would work too)
-Matching thread
-Old t-shirt
-Rotary cutter
-Scissors
-Rotary mat
-Quilter’s 6″ x 24″ ruler
-Sewing clips or pins
Comfortable Cloth Face Mask Step One:
To begin, cut your fabric into TWO 9″ x 6″ rectangles (if your fabric has a definite pattern the 9″ will go across your face and the 7″ will go up your face).
Step Two:
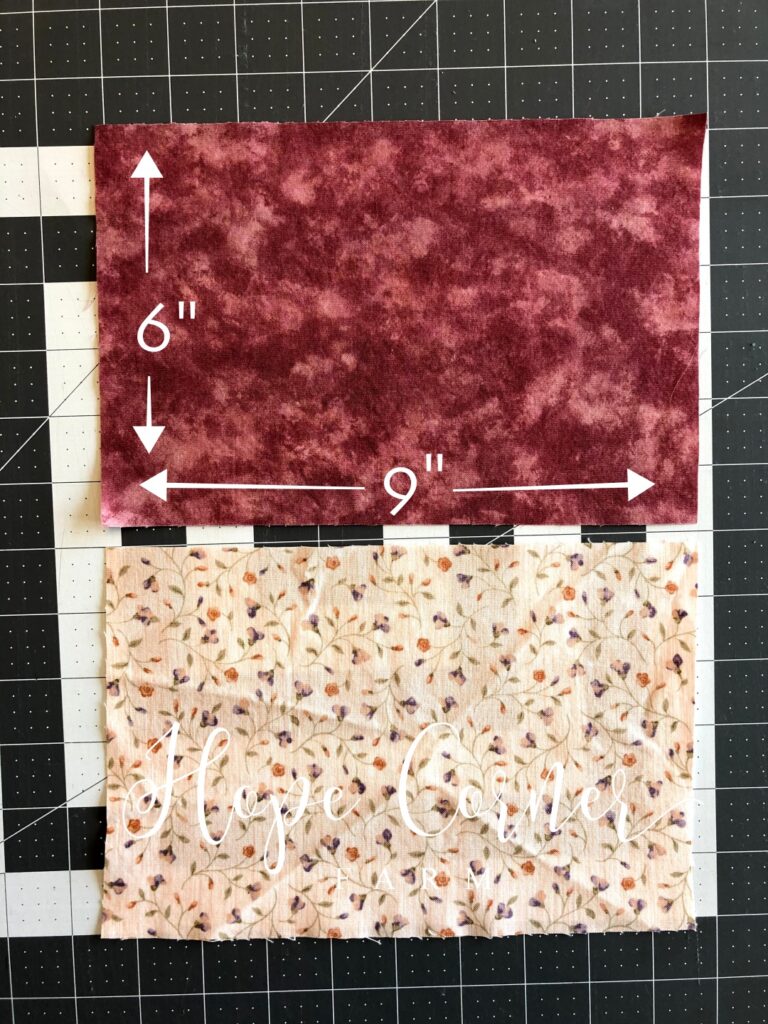
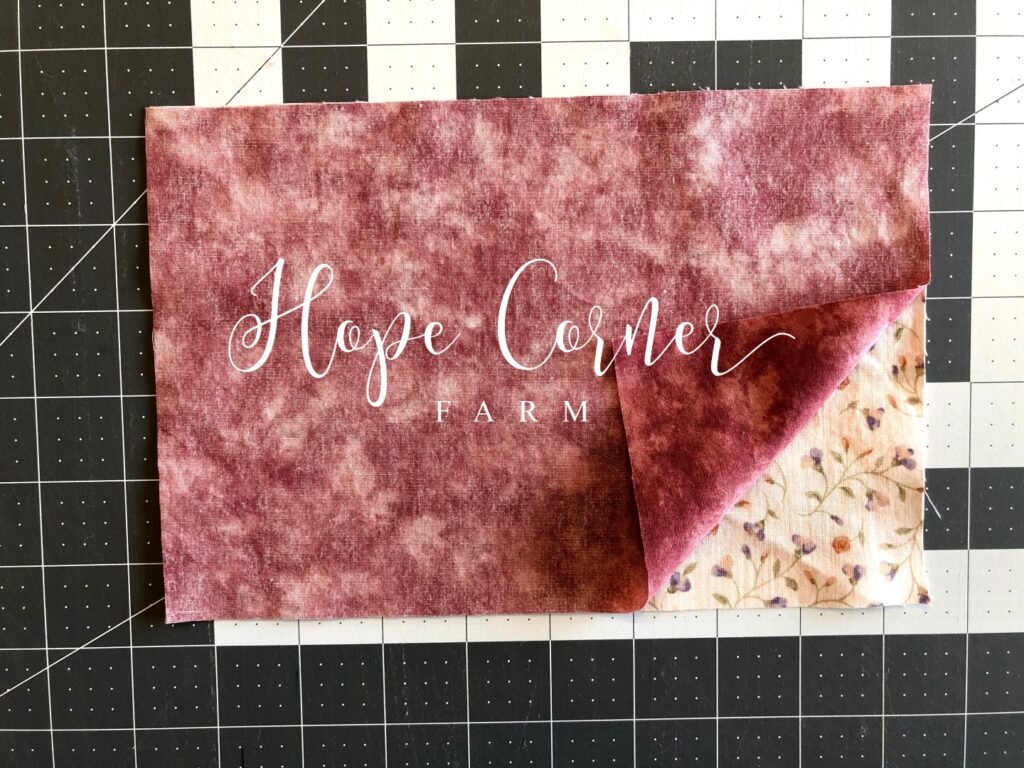
Line the fabrics up one fabric directly on top of the other fabric. The good sides should be facing each other on the inside (you will see the bad sides right now).
Step Three:
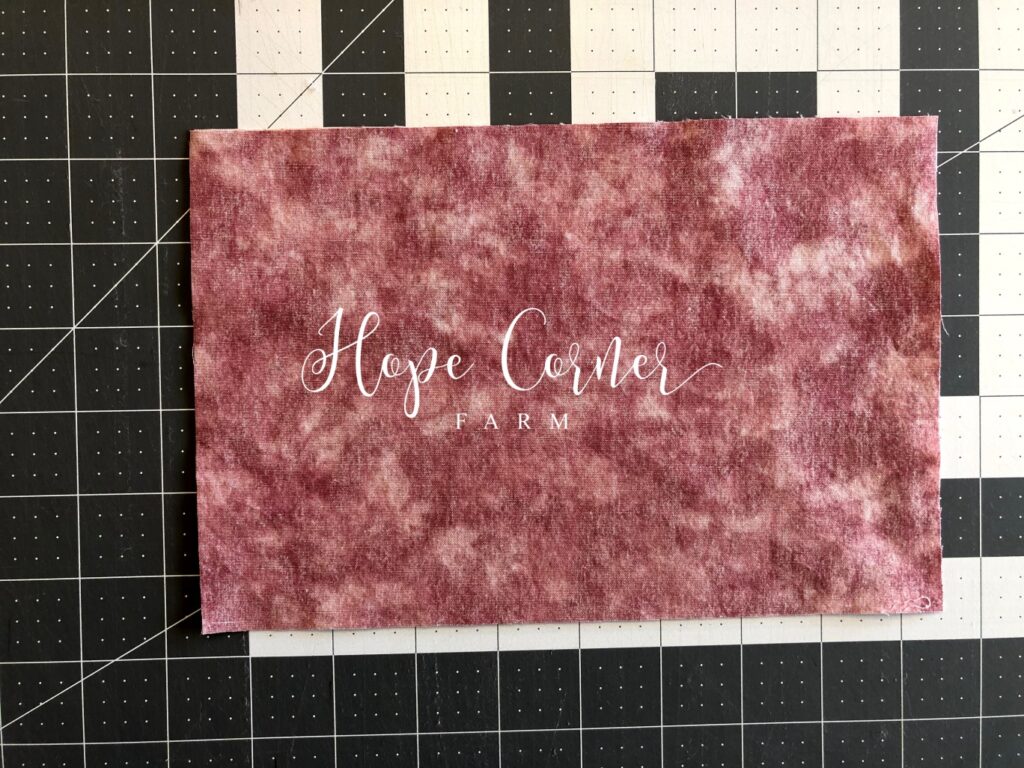
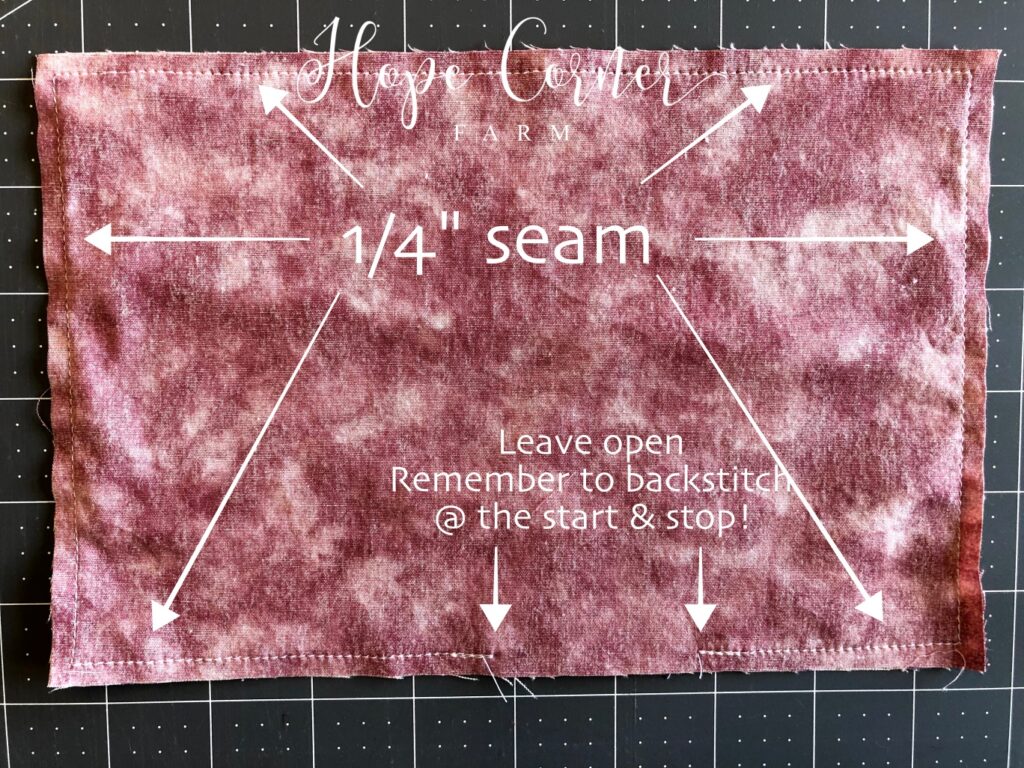
Sew around the rectangle with a 1/4″ seam allowance.
Don’t forget to backstitch when you begin stitching and when you end stitching.
Leave at least a 2″ opening at the bottom of the rectangle so we can turn the mask right-side out.
Step Four:
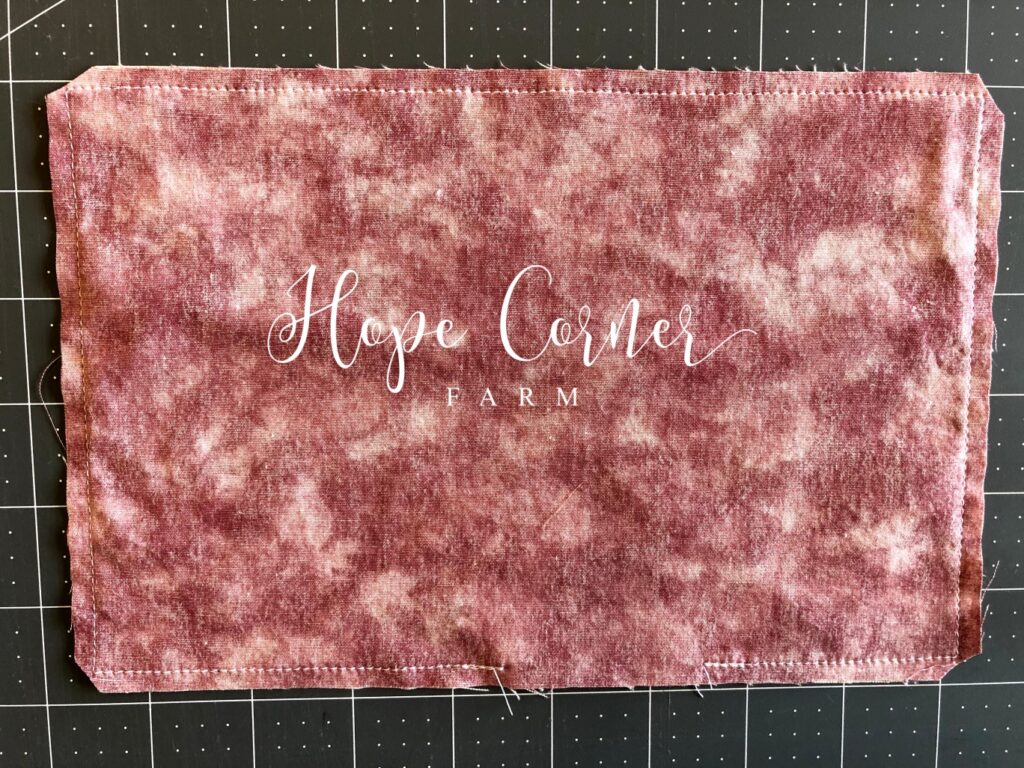
Trim all four corners of the mask by clipping off the very tip of each corner.
Step Five:
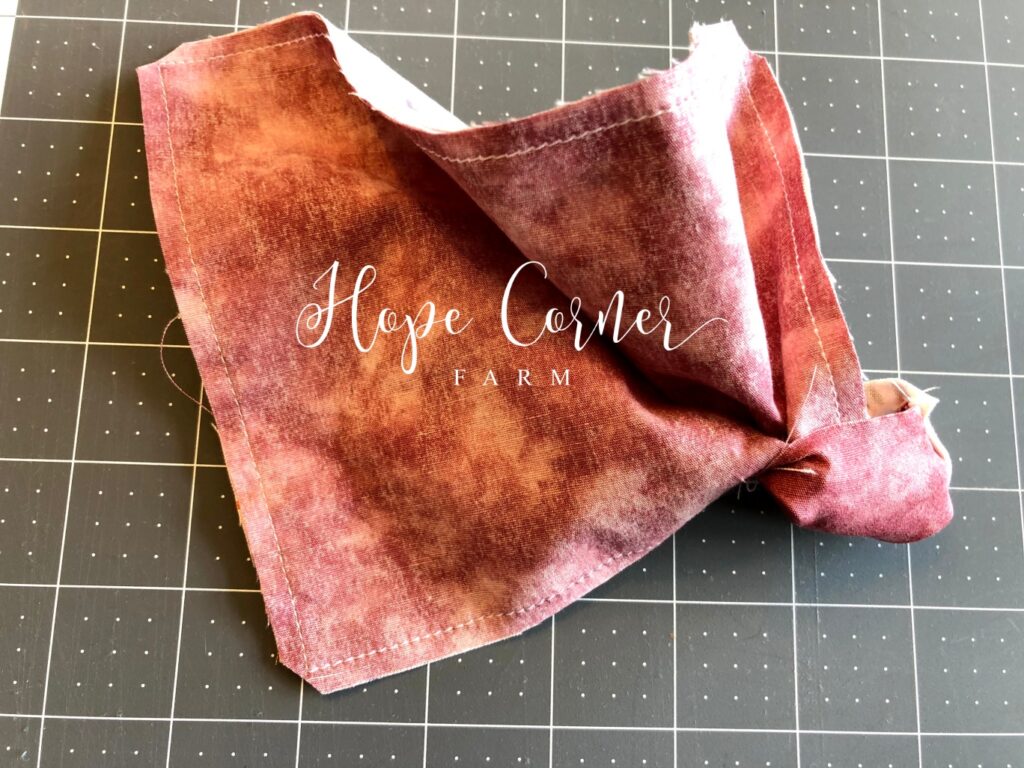
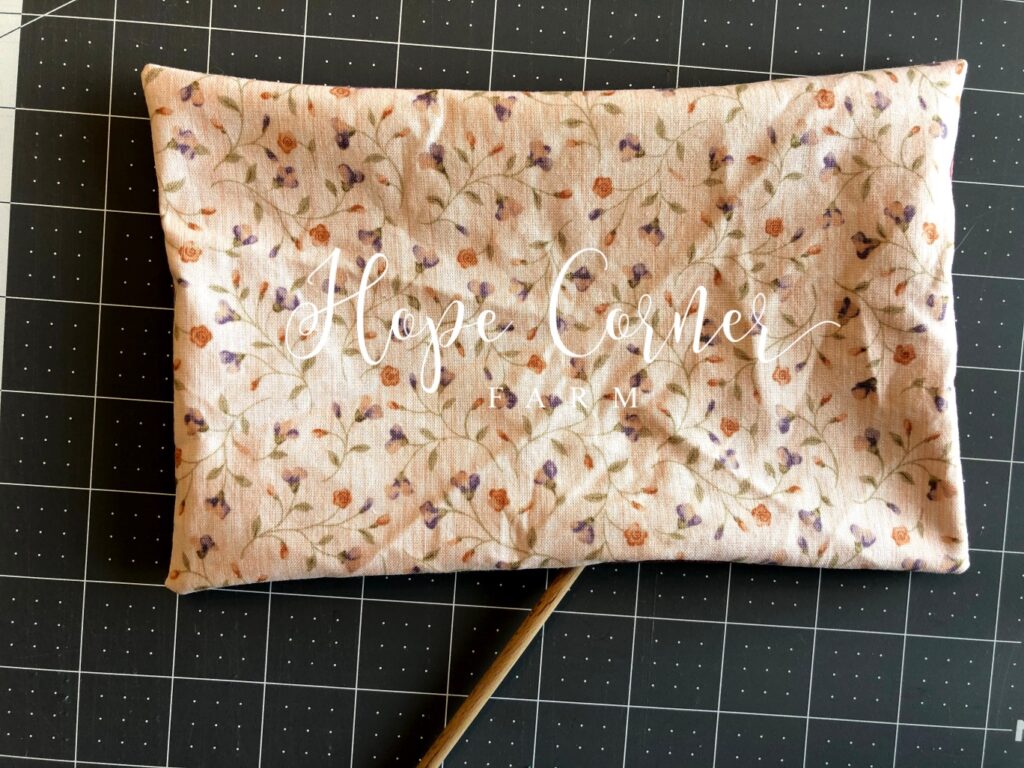
Turn the mask right-side out through the hole that was left open.
Step Six:
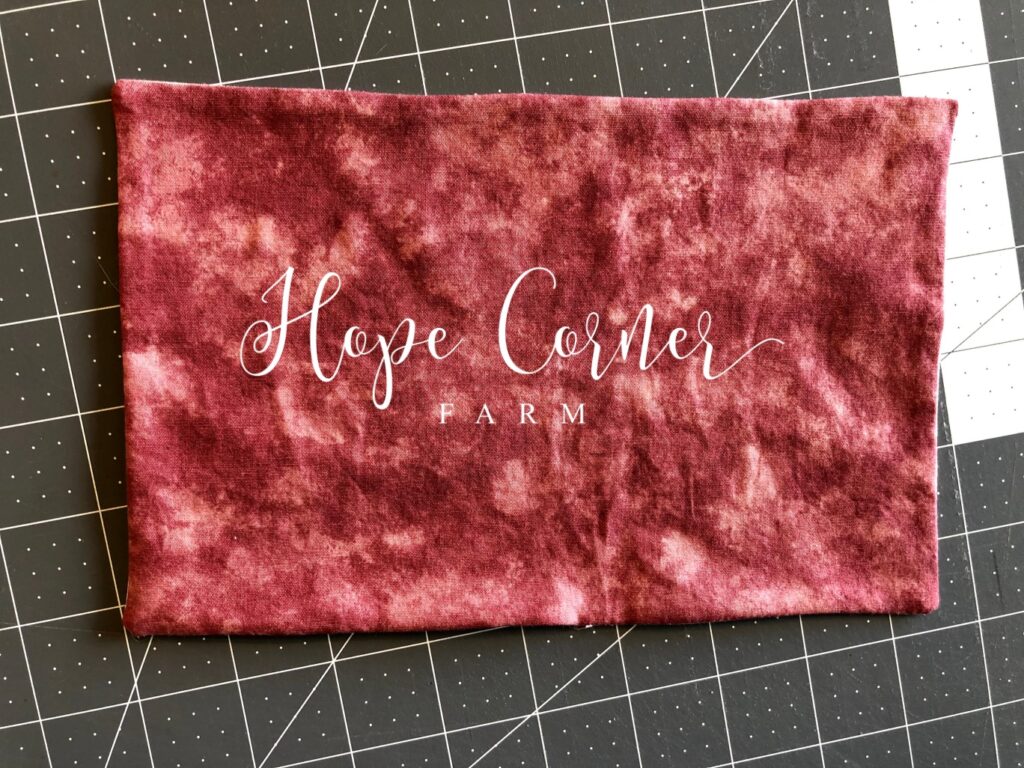
Press the mask flat. Make sure that the edges are pulled all the way out so you don’t get any awkward folds.
Step Seven:
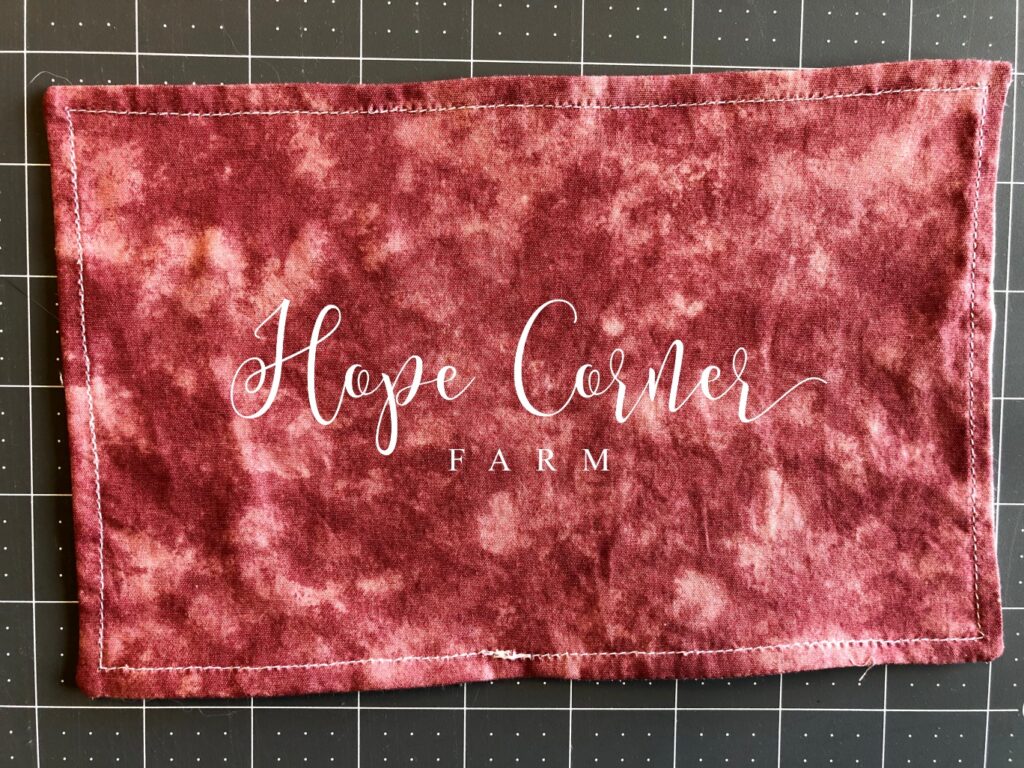
Stitch all of the way around the face mask. I usually stitch this with a 1/4″ seam allowance.
Step Eight:
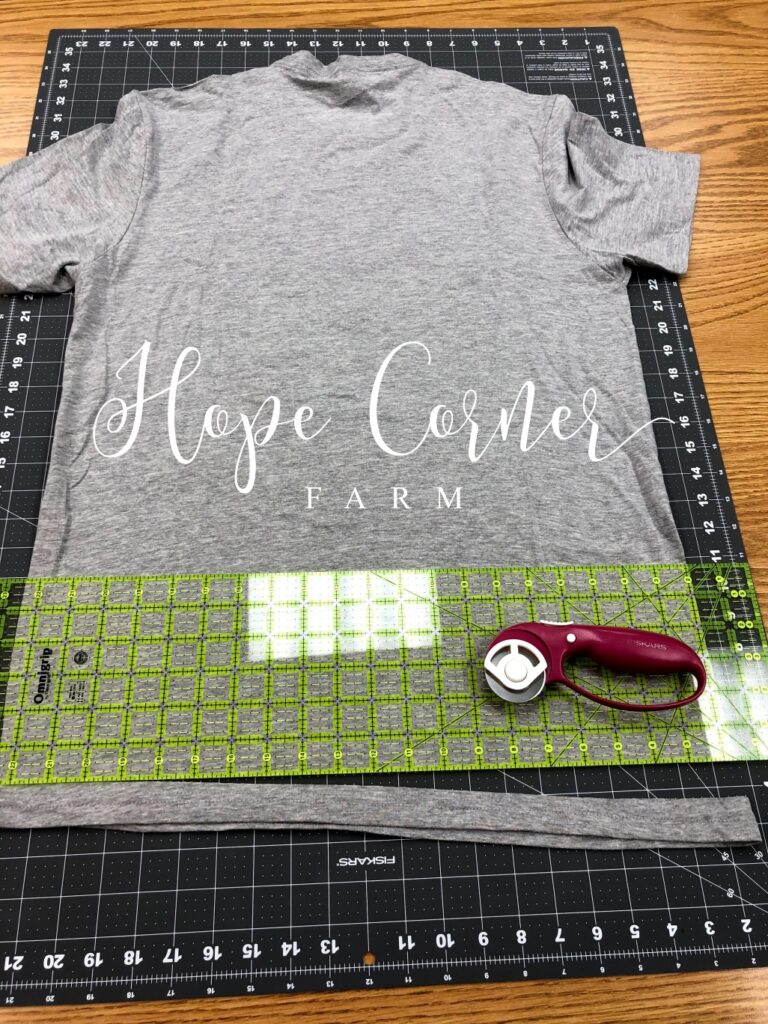
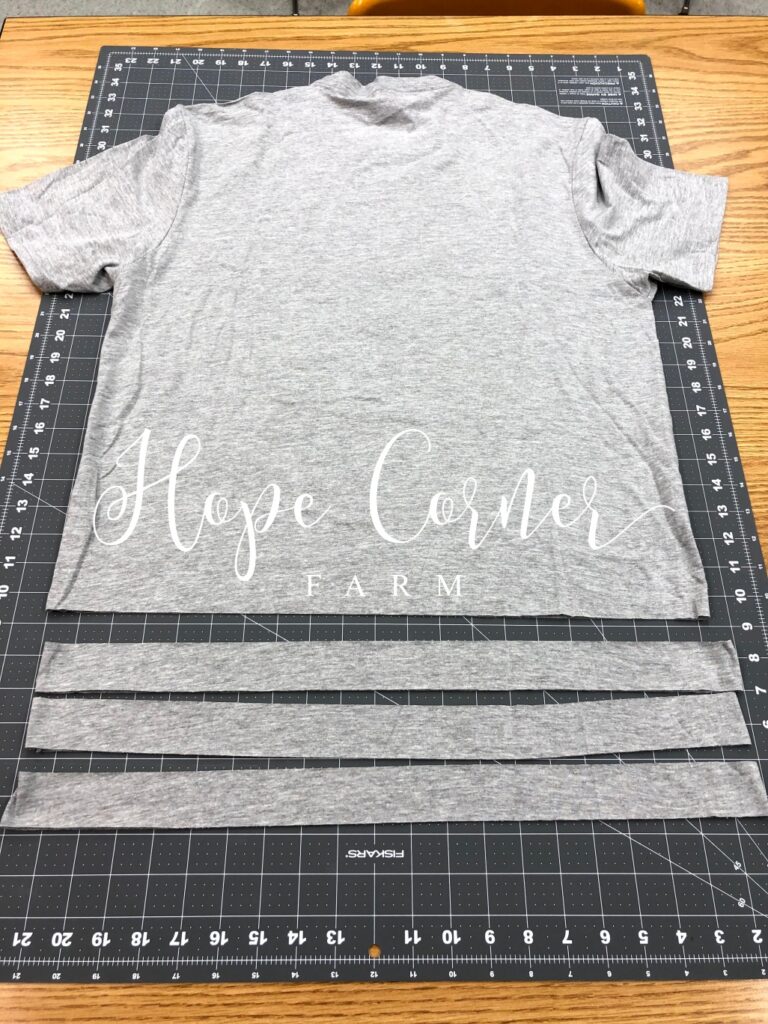
Now we need to create the t-shirt ties for our mask. Taking an old t-shirt, Cut the bottom hem off of the t-shirt.
Step Nine:
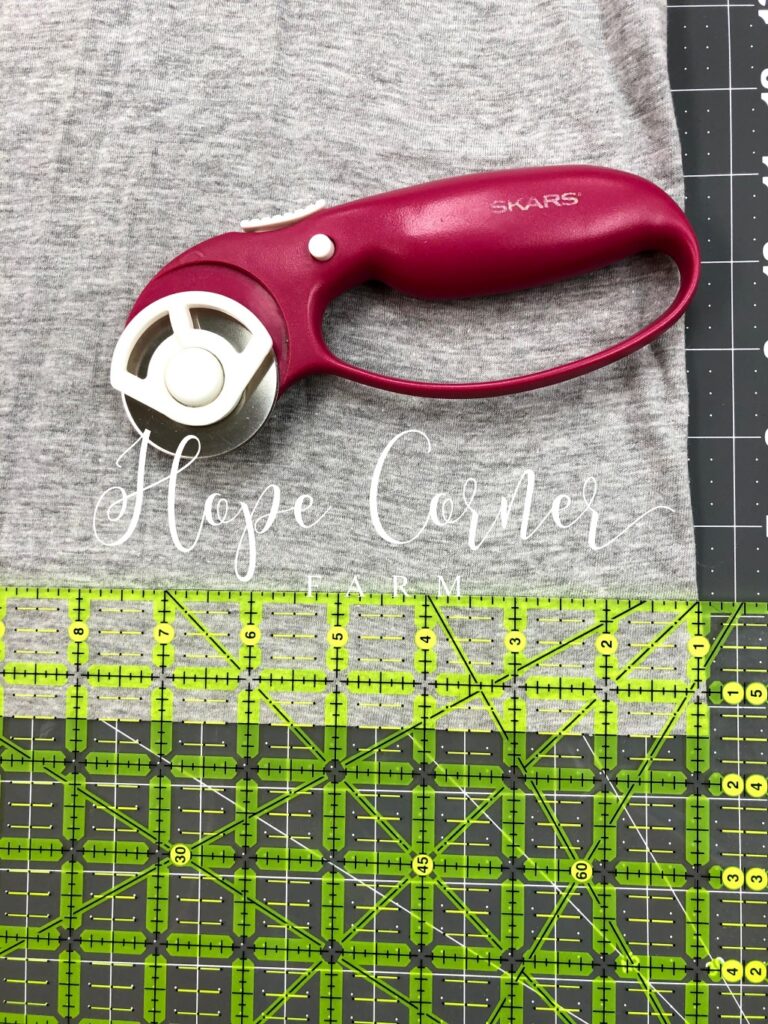
Using the rotary cutter, cut 1 1/2″ strips the width of the t-shirt.
Step Ten:
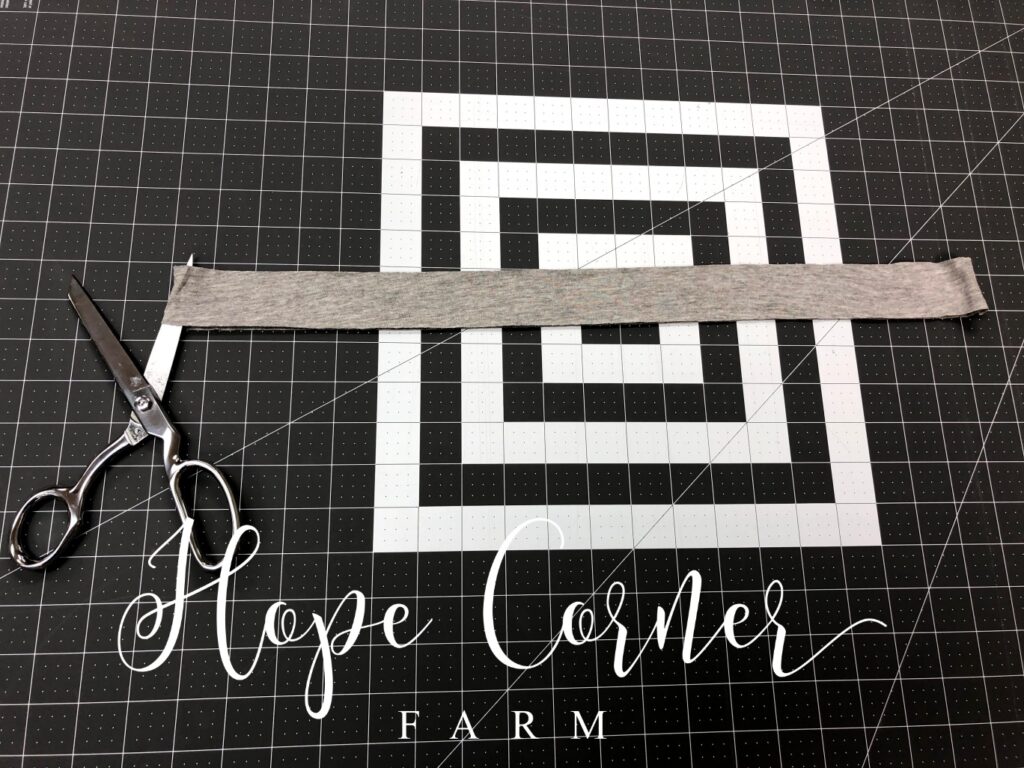
Cut the strips in half by making cuts on both of the side seams.
Step Eleven:
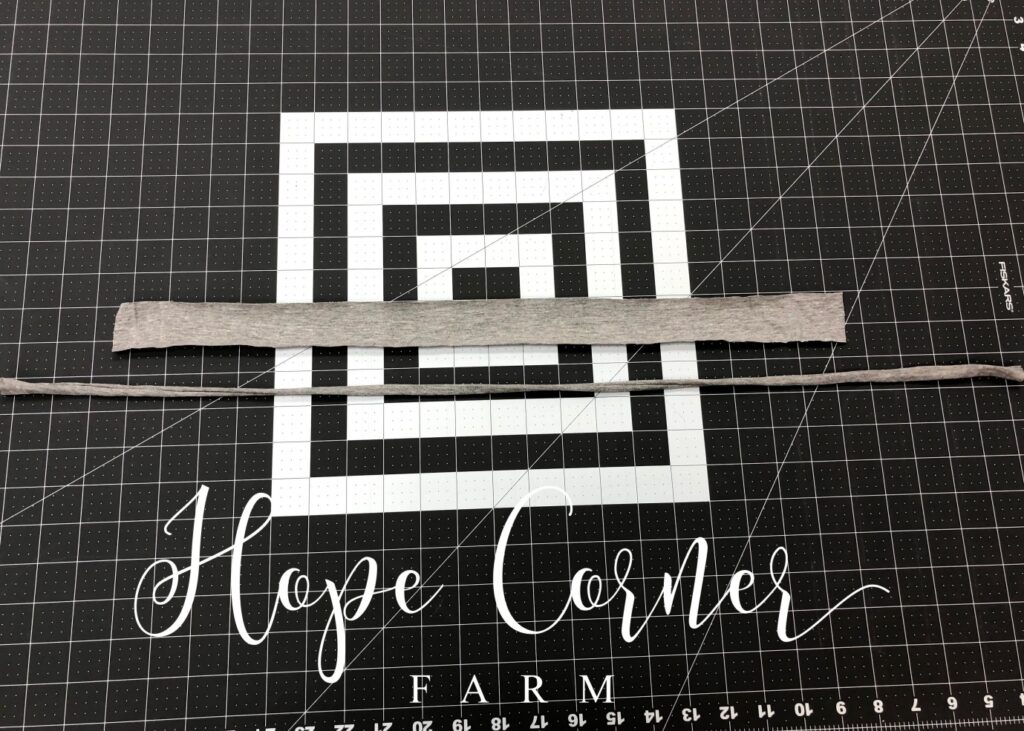
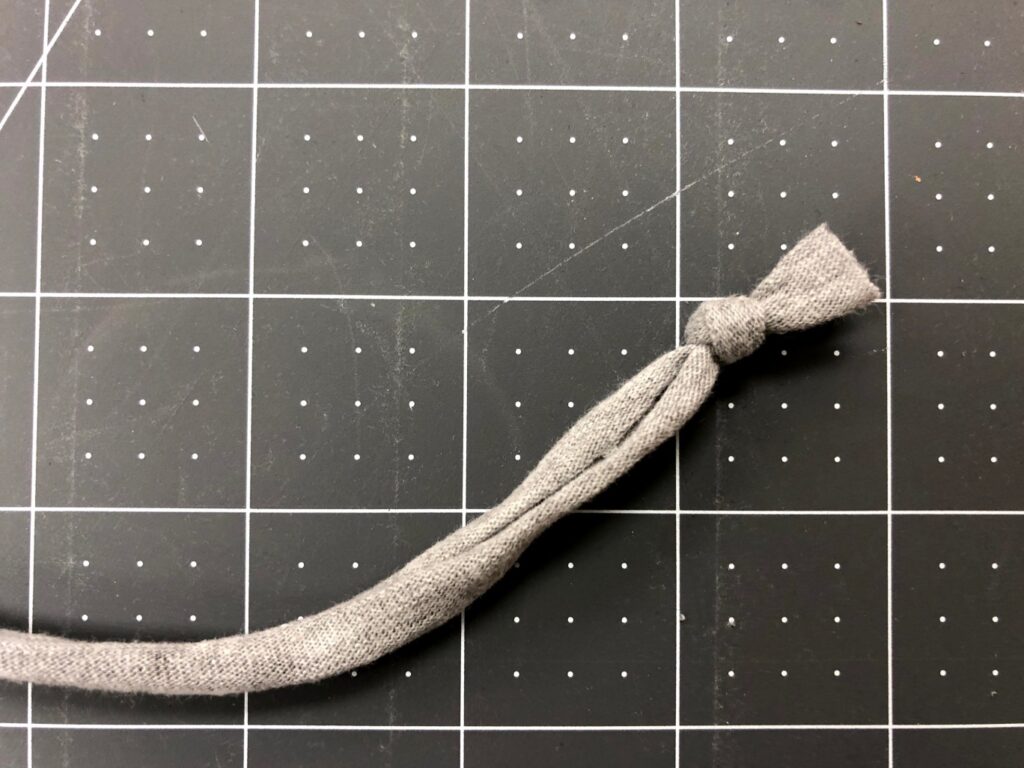
Take each strip and pull them tight to get them to curl.
Step Twelve:
Tie a knot on each end of the t-shirt strip. Now they are ready to use!
Step Thirteen:
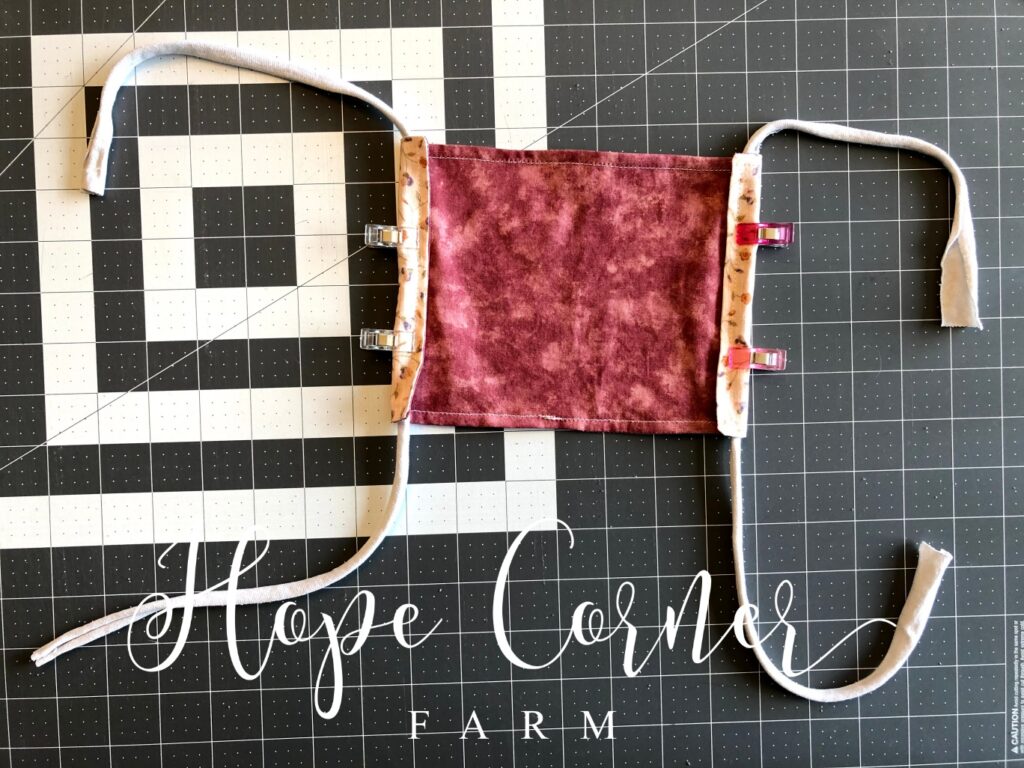
Taking two of the t-shirt strips that were just created and place them on the short ends of the face mask. Fold the edges of the mask over top of the ties and clip in place.
Step Fourteen:
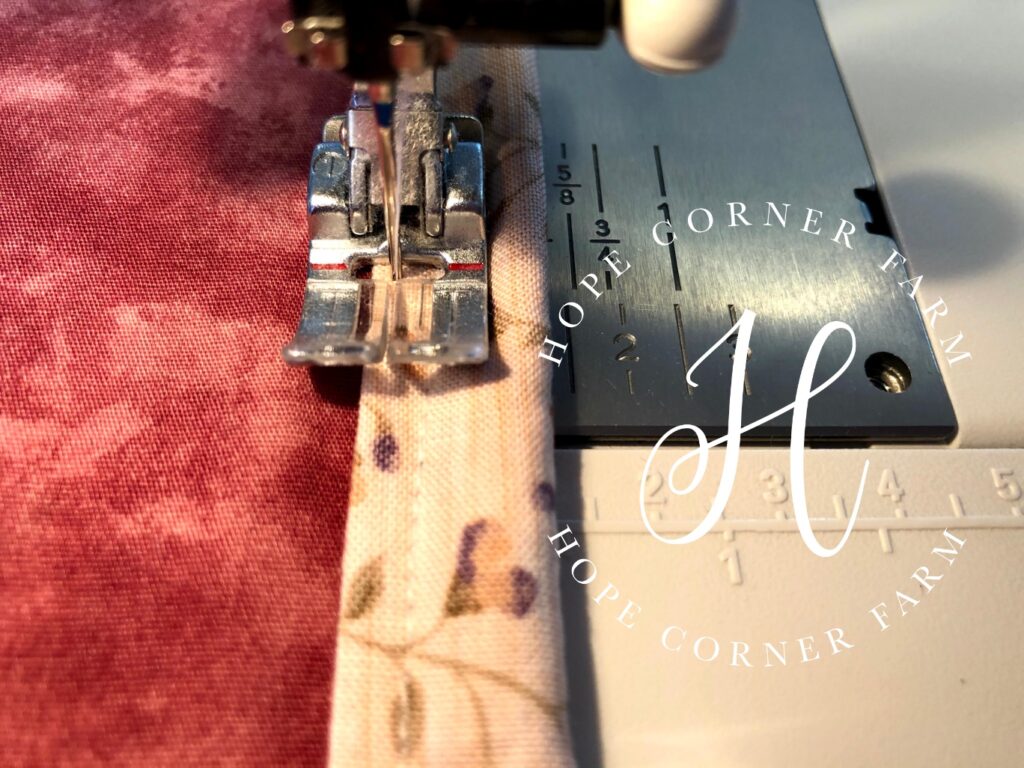
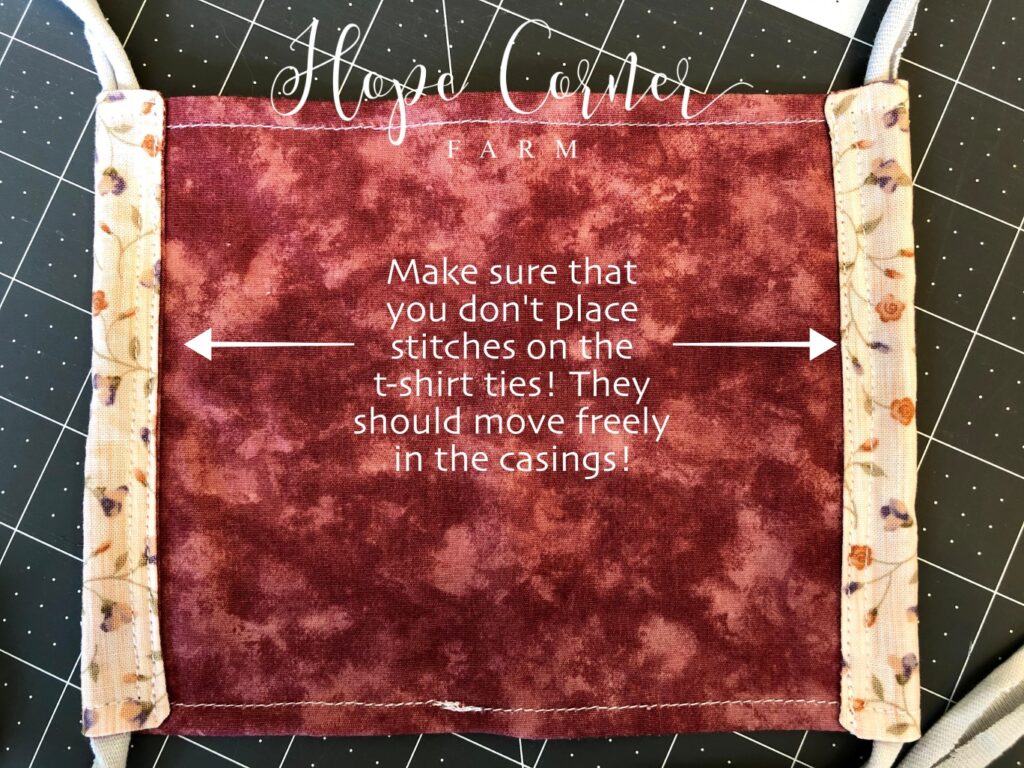
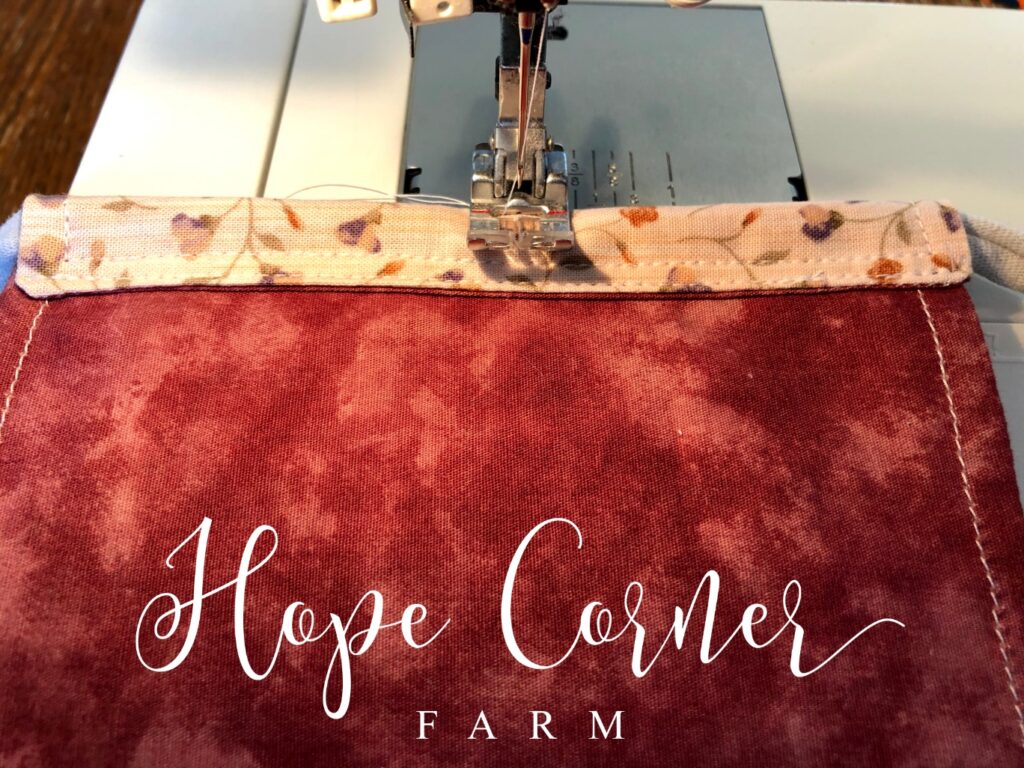
Stitch the casings that are created down. I stitch on the outside of the 1/4″ topstitching that we have already done around the mask (see the picture below).
Step Fifteen:
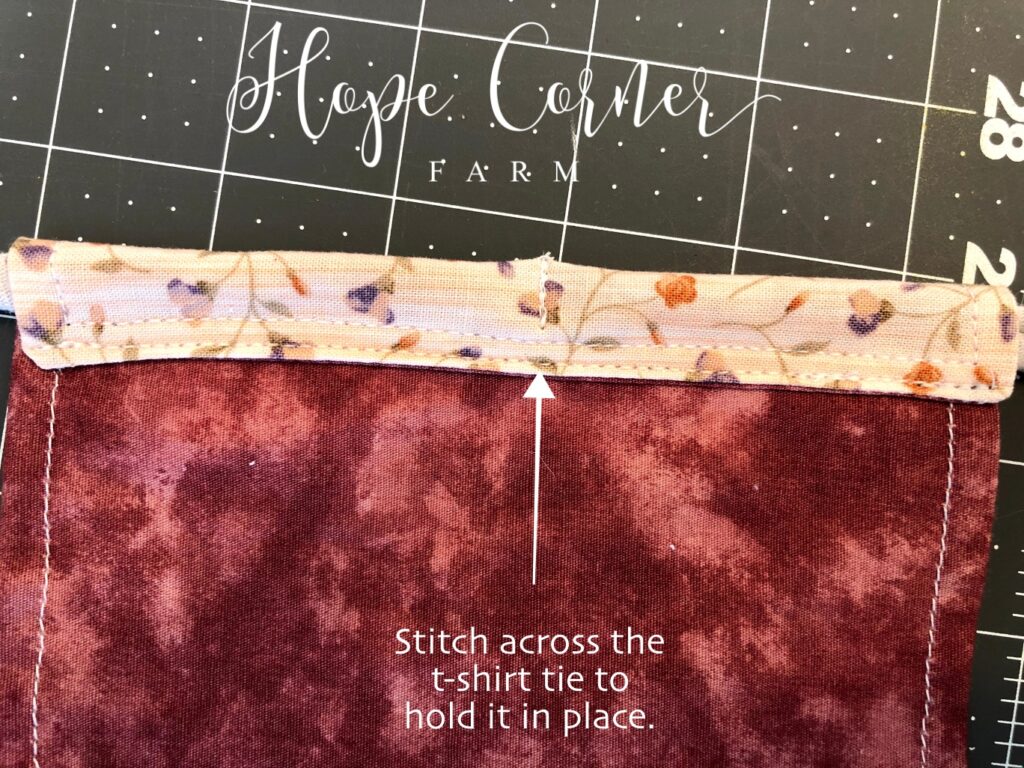
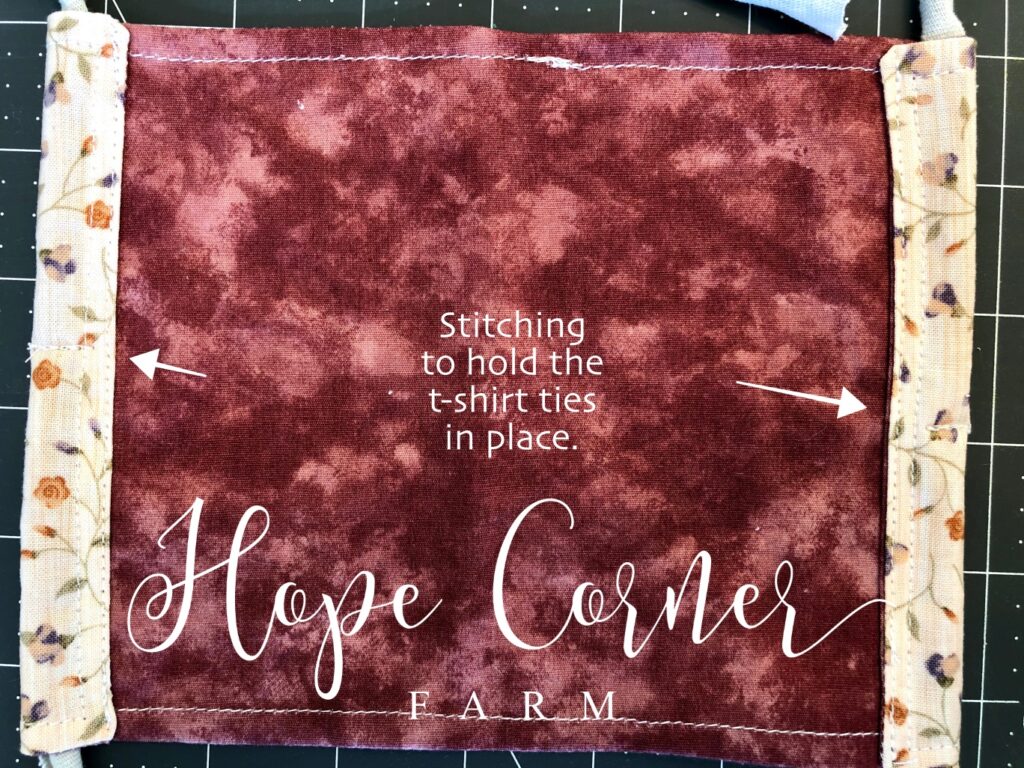
Make sure that the t-shirt ties are equidistant and even. After ensuring that the ties are in the correct position, stitch across the casing a couple of times to hold the ties in place.
Step Sixteen:
Grabbing onto one of the ends of the tie, pull tightly to create a gather. Sew the gather in place by sewing across the end a couple of times.
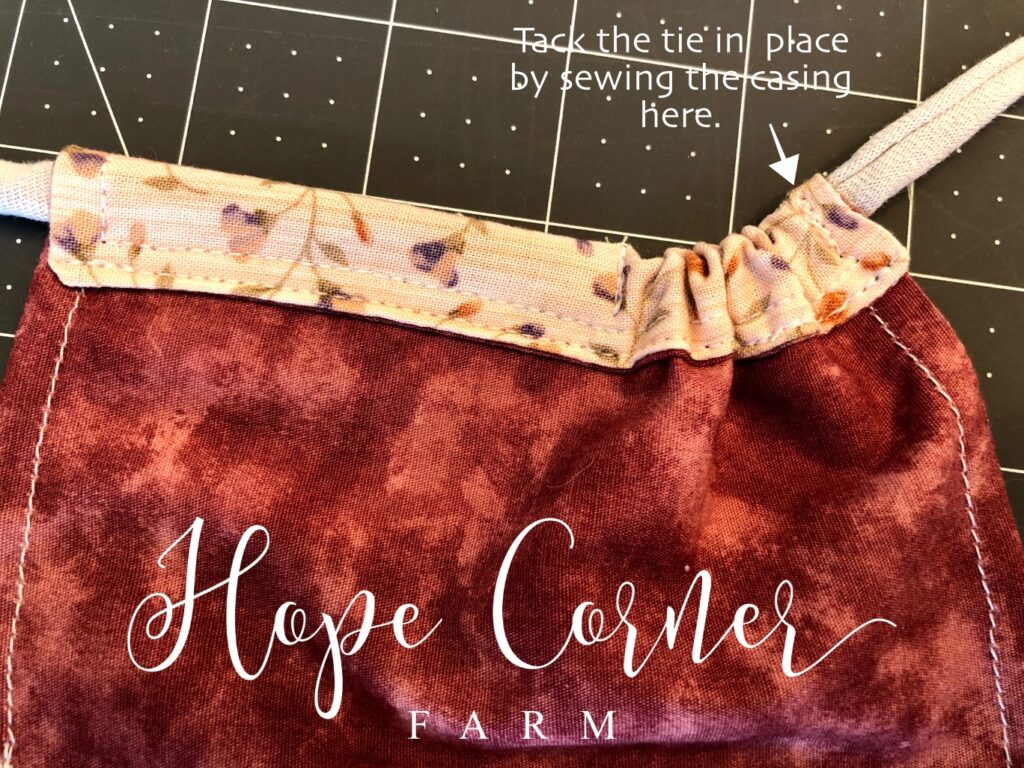
Repeat the process on the other half of the mask.
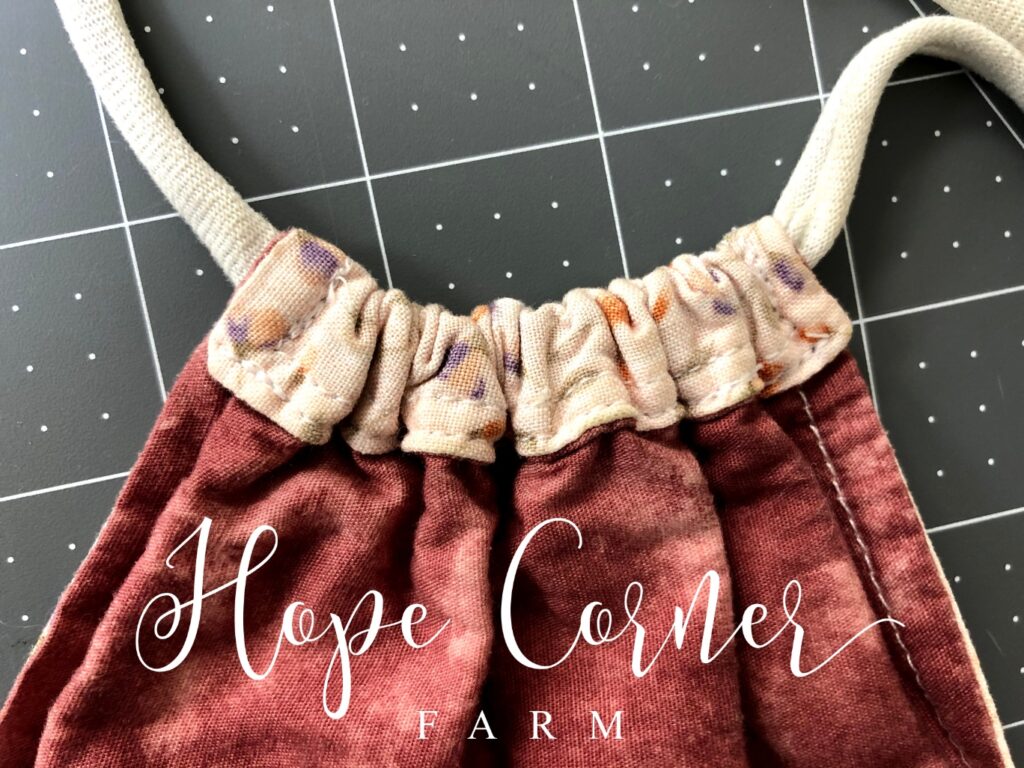
Step Seventeen:
Repeat step sixteen on the other side of the mask. Now your mask is complete!
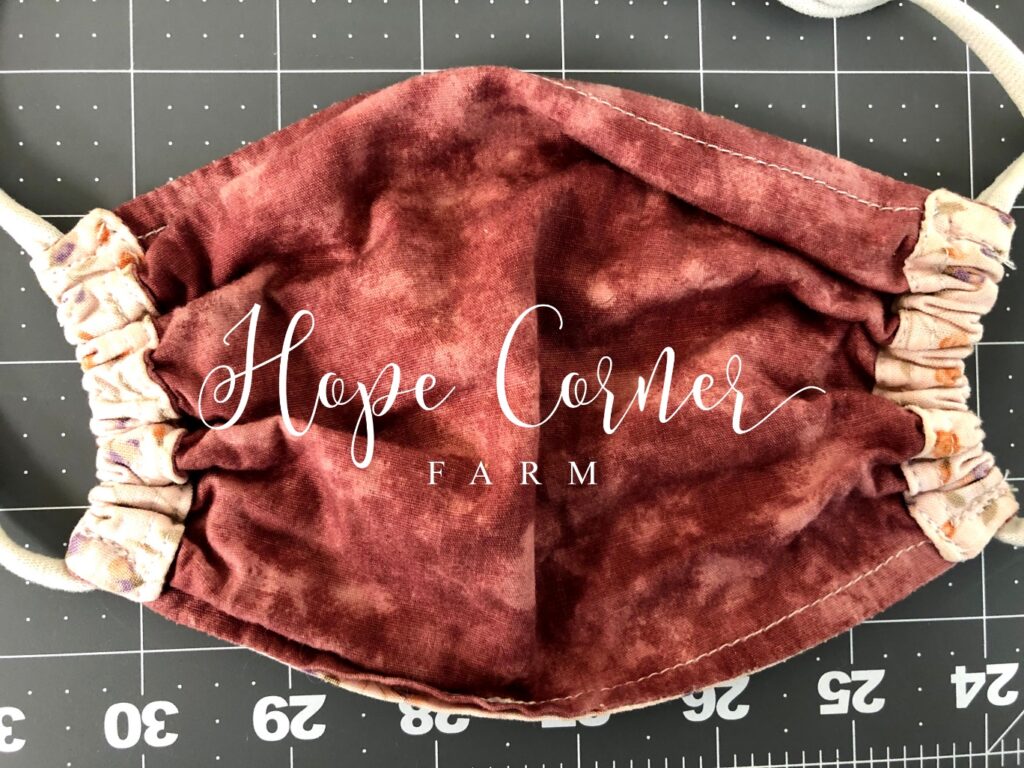
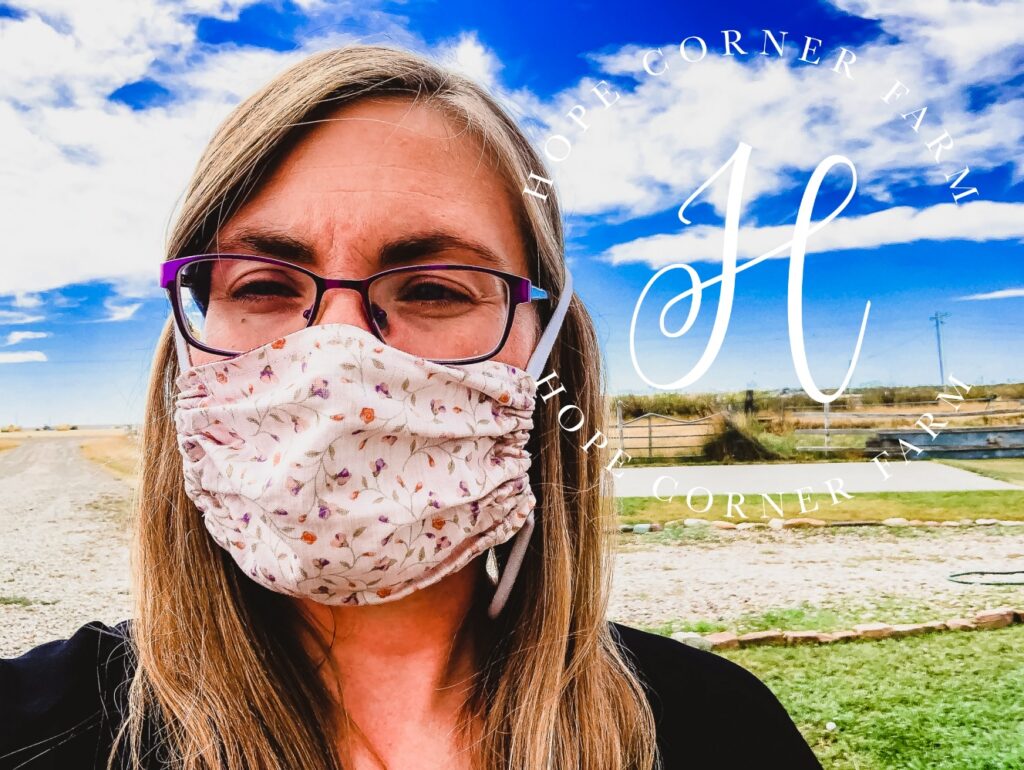
I like to tie my mask so that I can easily pull it up on my face, or let it hang around my neck when I don’t need it! I hope you enjoy this comfortable cloth face mask as well!

Many Blessings,

