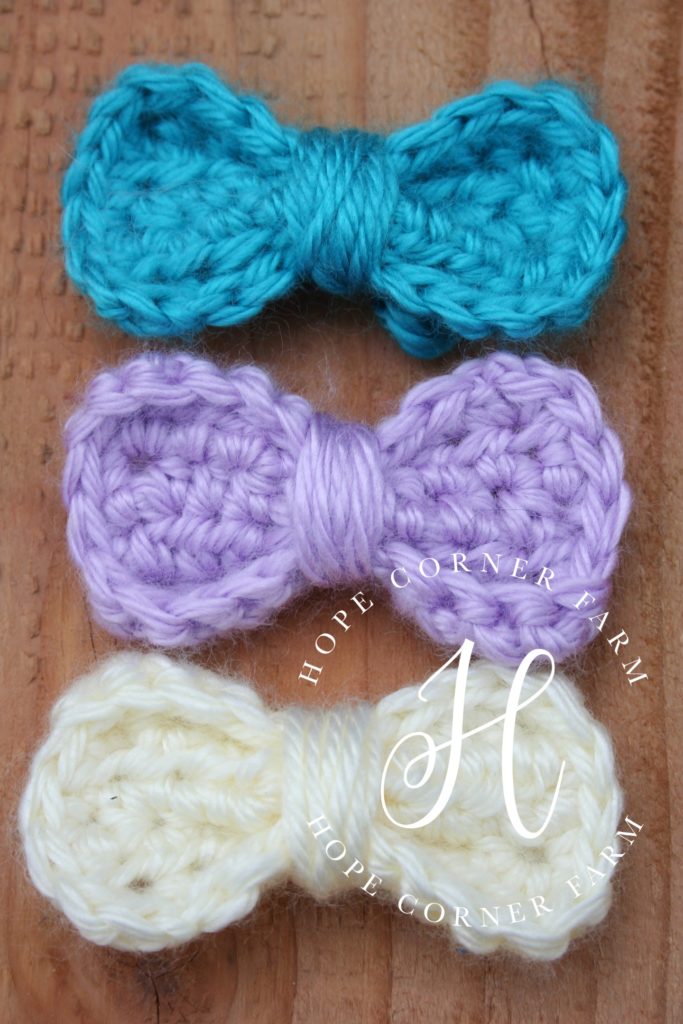
Crochet Mini Bow
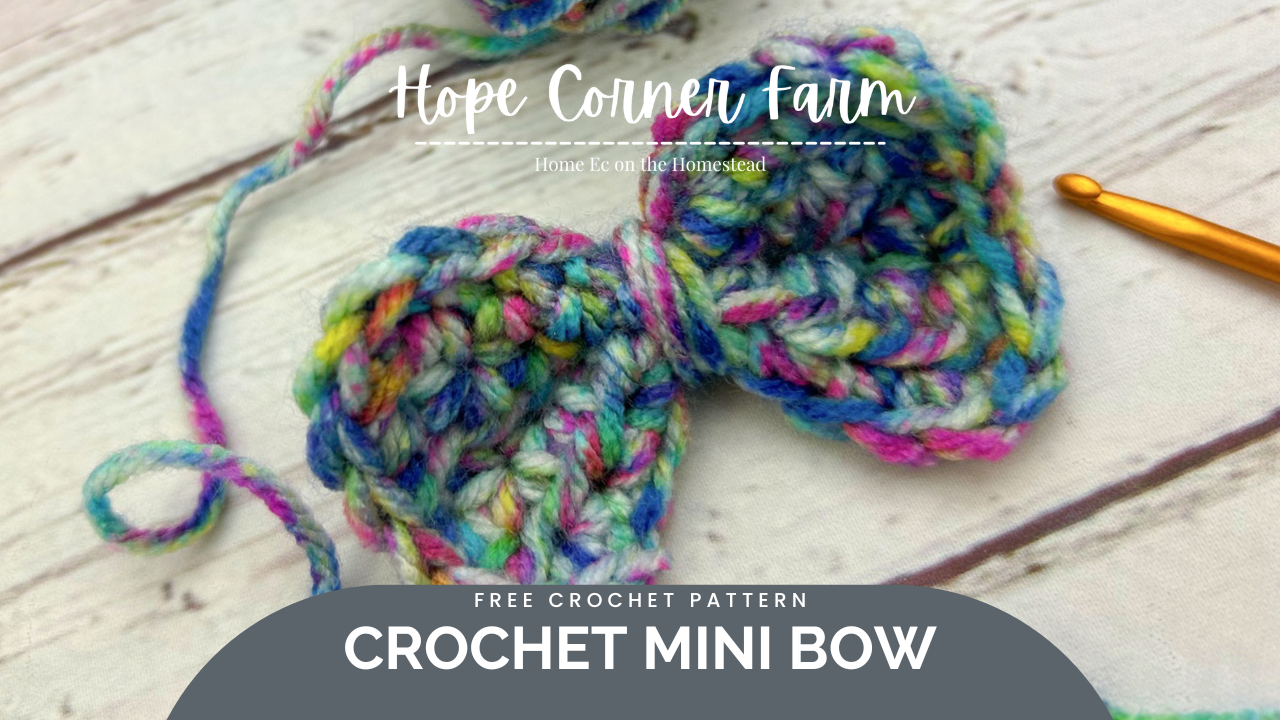
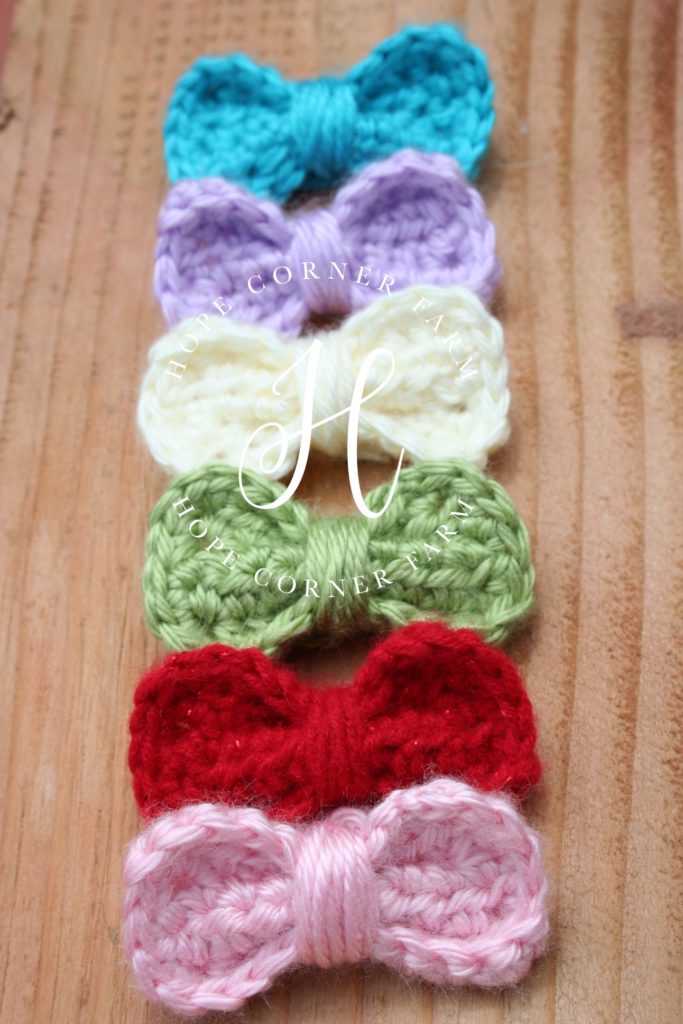
Crochet bows are super cute, and this mini bow is the cutest! This little bow is perfect for hair clips, accessories, accents, and more. It is really easy crochet accessory to make, and it takes no time at all to complete. I end up making many of these crochet bows in one sitting. I am sure you will enjoy making them too! Here is my short tutorial/pattern for the Crochet Mini Bow.

First, check out our video tutorial on our You Tube Channel! Subscribe to get the latest crochet fun from Hope Corner Farm Crochet!
Materials Needed:
E (size 3.5mm) crochet hook
Worsted weight yarn (I really like the Caron Simply Soft with this pattern)
Scissors
Tapestry/yarn needle
This crochet pattern is written in US Crochet Terms
Optional Materials:
Bobby pin
Hair clip
Terms Used:
HDC = Half Double Crochet
SC = Single Crochet
Ch = Chain
Crochet Mini Bow Row 1:
First, start with a longer tail of yarn before the slip knot (at least 8″ in length), chain 10.
Row 2:
Now, turn the chain and then place a HDC (Half Double Crochet) into the 3rd chain from the hook. HDC into each of the remaining chain stitches across the piece. (8)
Crochet Mini Bow – Rows 3-5:
Next, chain 2 and turn. HDC into each stitch across. (8)
How to Finish the Edges of the Bow:
Finishing: Chain 1 and turn. SC (Single Crochet) around the entire perimeter of the piece (all 4 sides), putting 2 SCs into EACH corner.
Weaving the Yarn Tails to the Back:
Now, once you have SCs around the entire piece, join by slip stitching to the first SC. Fasten off your yarn.
Next, cut the yarn, leaving another 8″ tail. At this point there should be TWO 8″ tails (the starting tail and the ending tail).
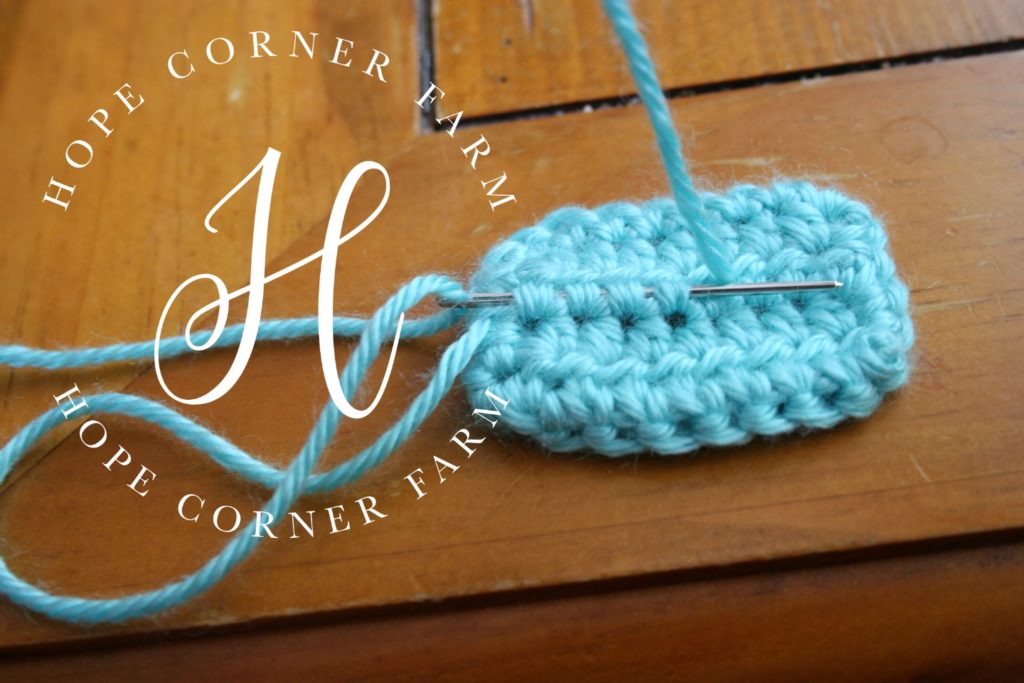
Now, using the tapestry needle, wave the two tails into the piece until they come out of the middle of the back of the bow. The tails should come out of the stitches on the back side. See the attached pictures.
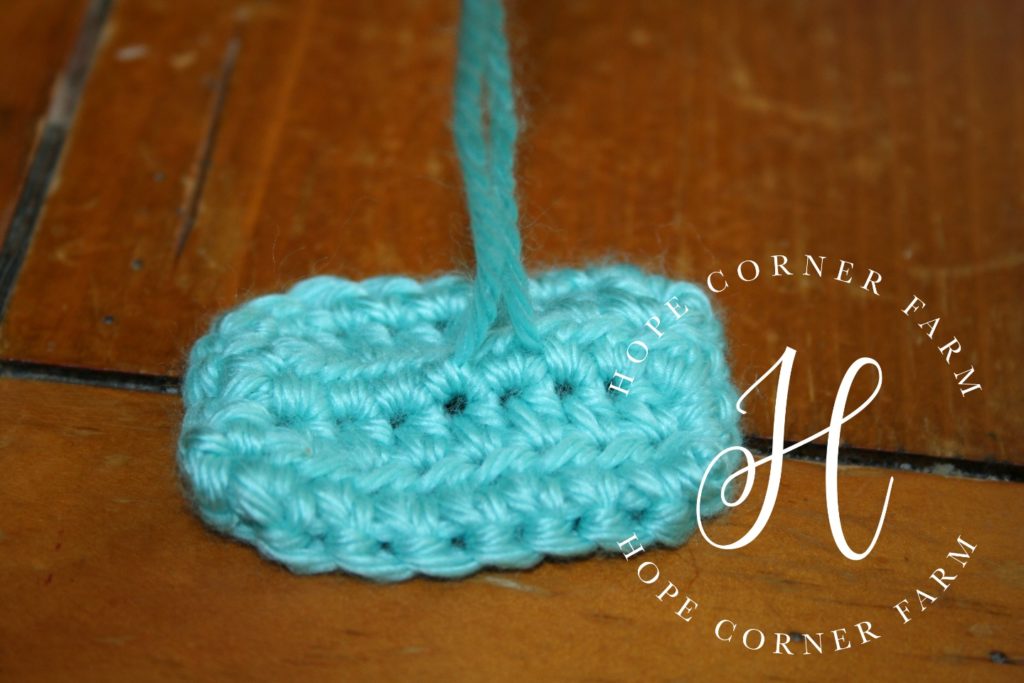
Creating the Crochet Mini Bow Shape:
First, pinch the piece together in the middle.
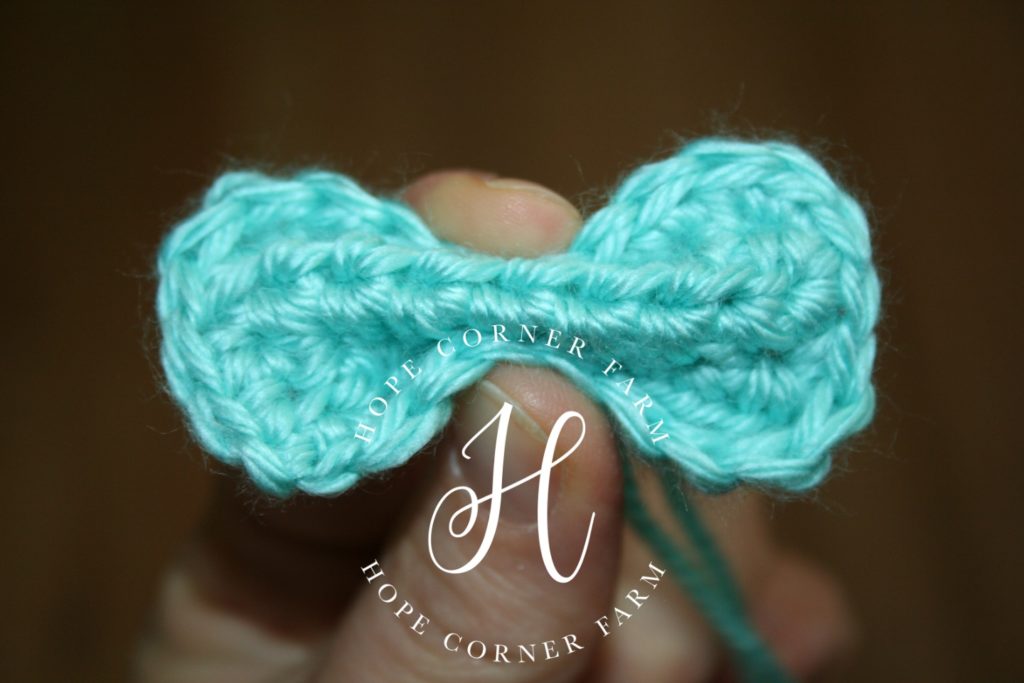
Next, take the two yarn tails and wrap them tightly around the middle of the bow. Wrap the tails several times around the piece. Tie a knot with the two tails on the backside of the bow.
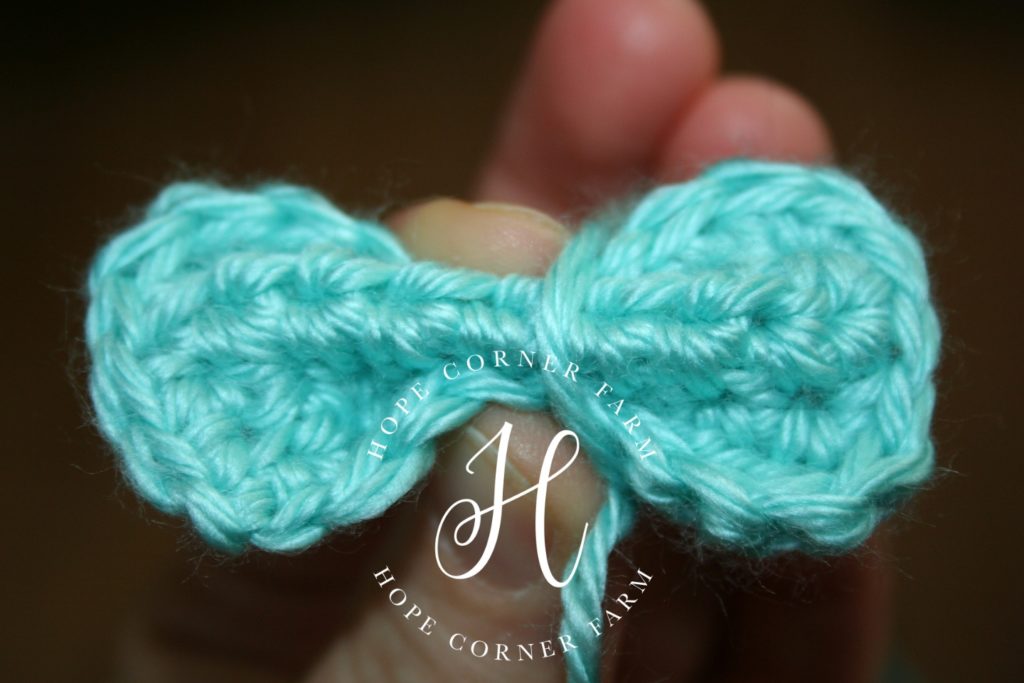
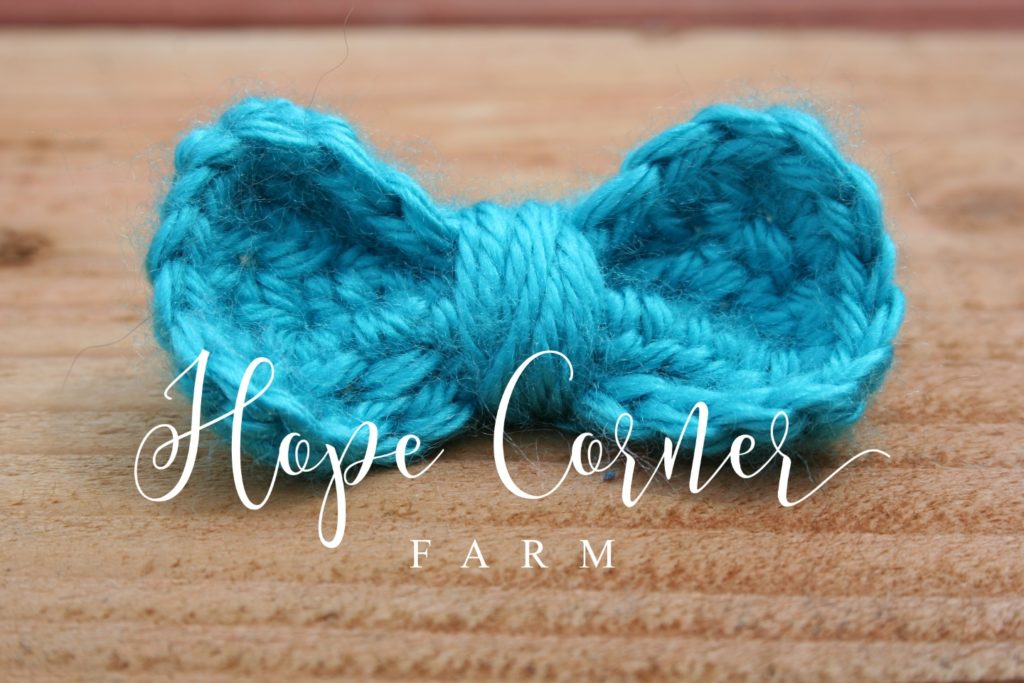
Finally, either weave in the tails and cut the yarn, or use the yarn to tie the bow onto a hair clip or bobbie pin. And there you have your crochet mini bow!
Crochet Mini Bow Video Tutorial:
And that’s the Crochet Mini Bow free pattern! I hope you found this tutorial helpful! Finally if you want more crochet fun delivered to your inbox hope on over and join our newsletter!
Many Blessings,

COPYRIGHT STATEMENT: This pattern is copyrighted in 2019 by Hope Corner Farm. Sharing information (photos and text) from this pattern is prohibited unless permission is specifically given by Hope Corner Farm. Selling items made from this pattern is permitted as long as a design reference is made to Hope Corner Farm (Ex. Pattern by Hope Corner Farm).
