Quick and Easy Modern Crochet Granny Square
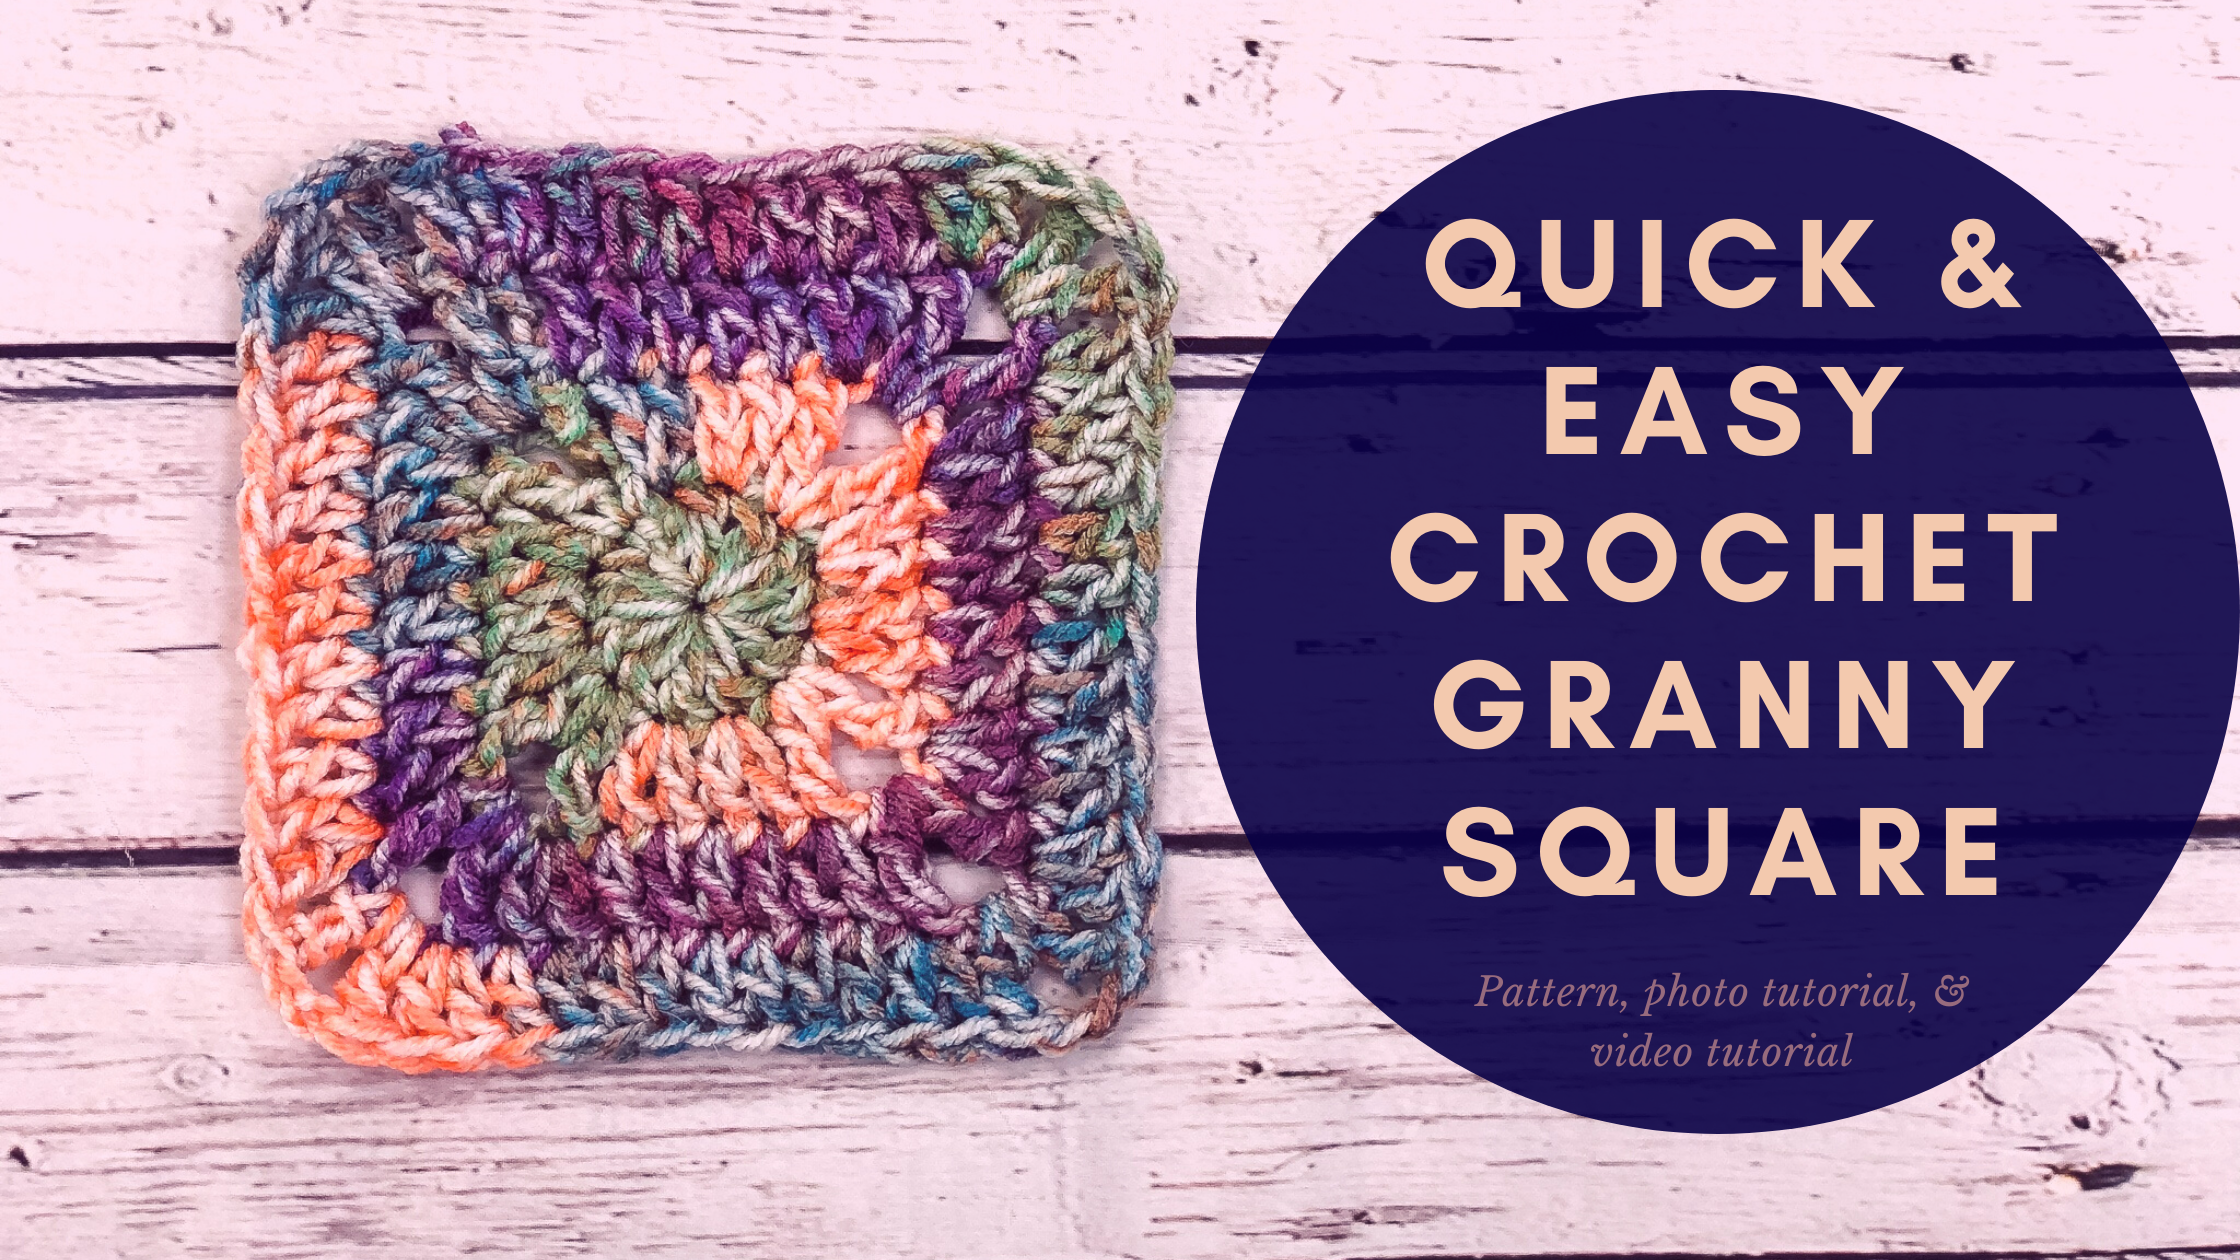

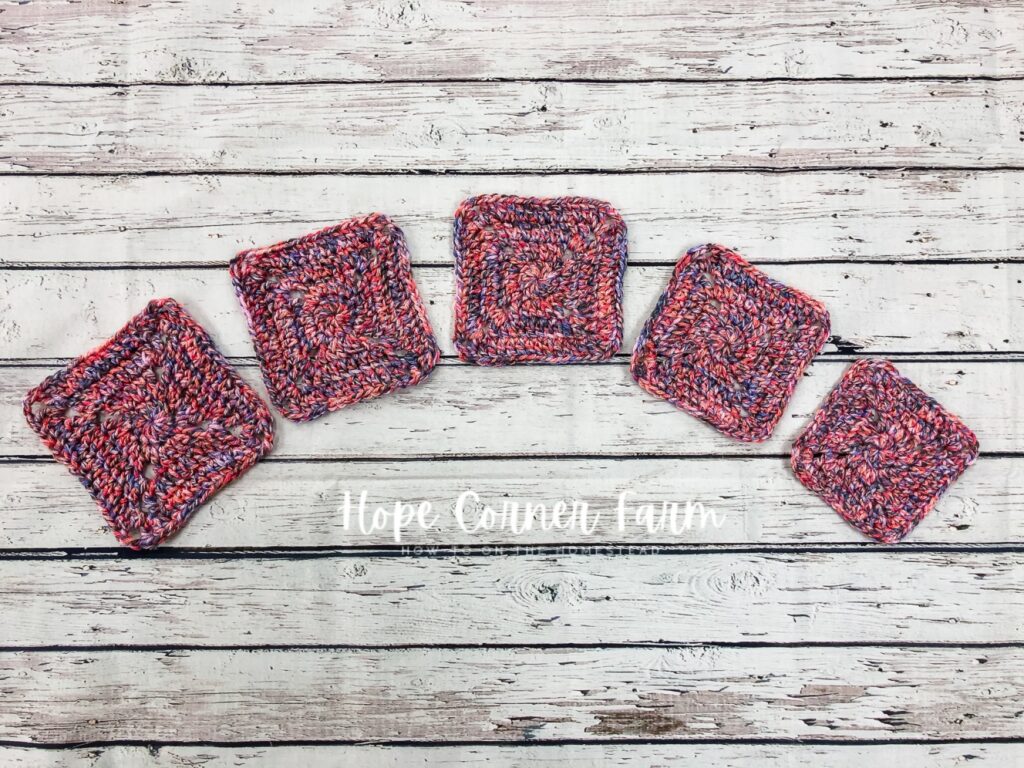
Crochet square blankets have always seemed so cozy to me. I love the texture and the depth that they give to the blanket. In my search for crochet granny squares, I developed this free Quick and Easy Modern Crochet Granny Square Tutorial. It works up quickly, can be easily adapted into different sizes, and gives a different look to a traditional square!
If you want to skip the step-by-step photo tutorial, click the buttons below:
Materials for the Quick and Easy Modern Crochet Granny Square:
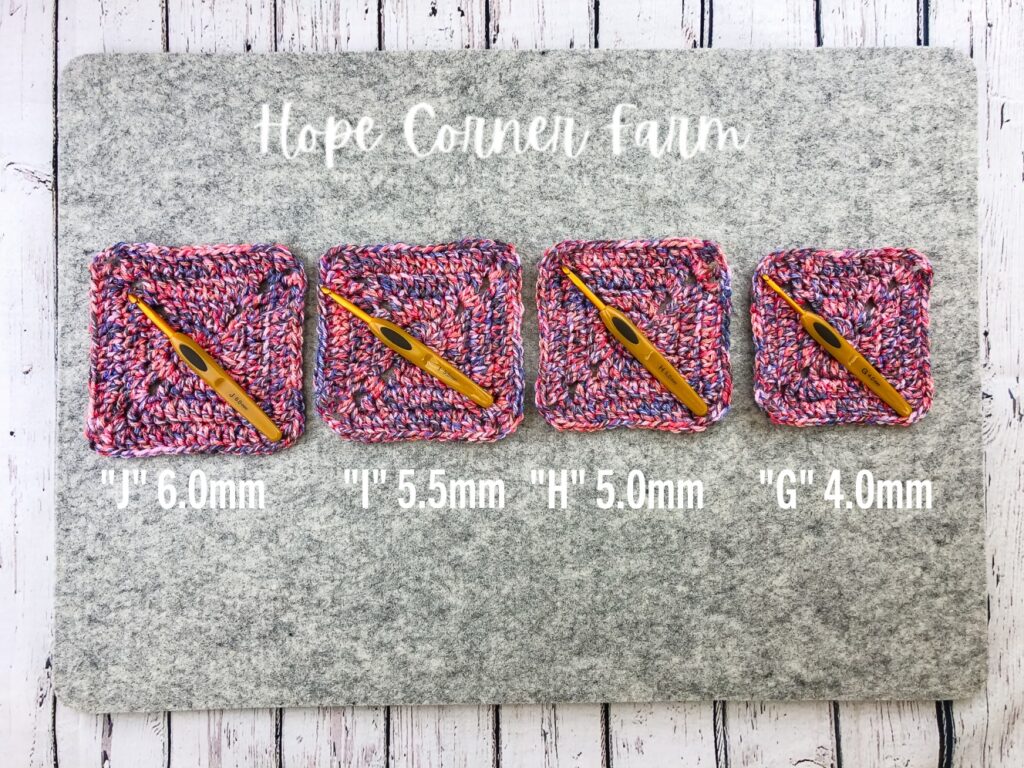
-Hook of choice
-Medium weight yarn
-Scissors
-Tapestry needle
Crochet Terms Used:
-Magic Circle
-Double Crochet (DC)
-Treble Crochet (TR)
-Chain (Ch)
-Slip Stitch (Sl St)
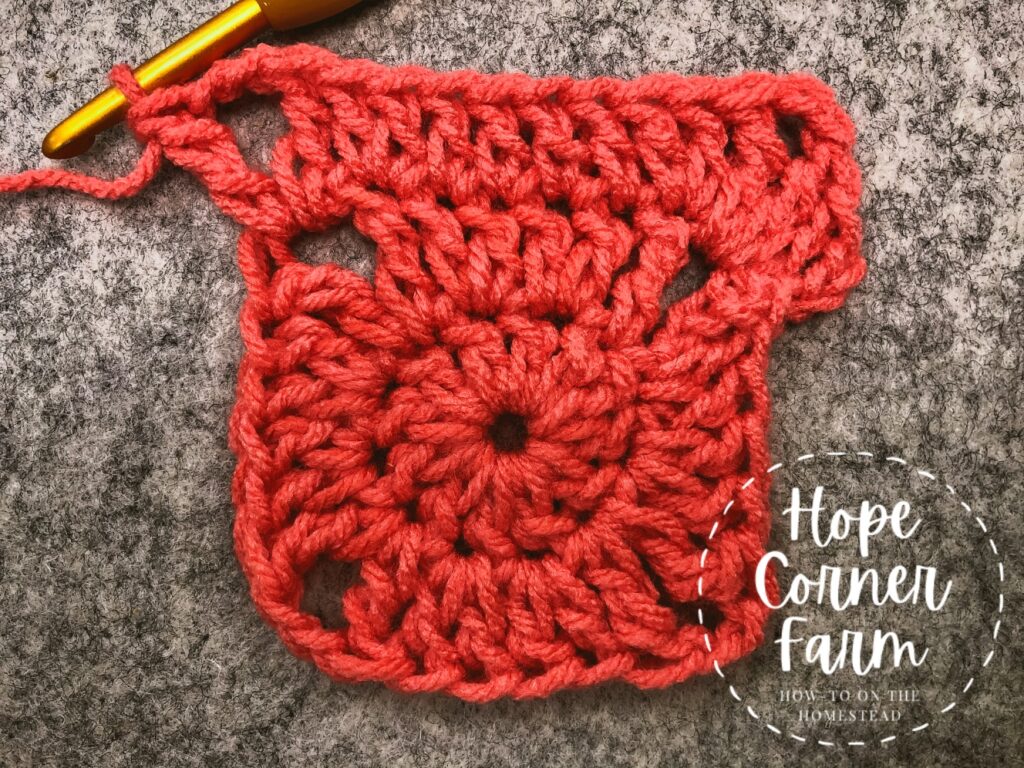
To Begin the Quick and Easy Modern Crochet Granny Square:
Begin with a magic circle.
If you aren’t sure how to complete a magic circle, check out this post:
Or this video:
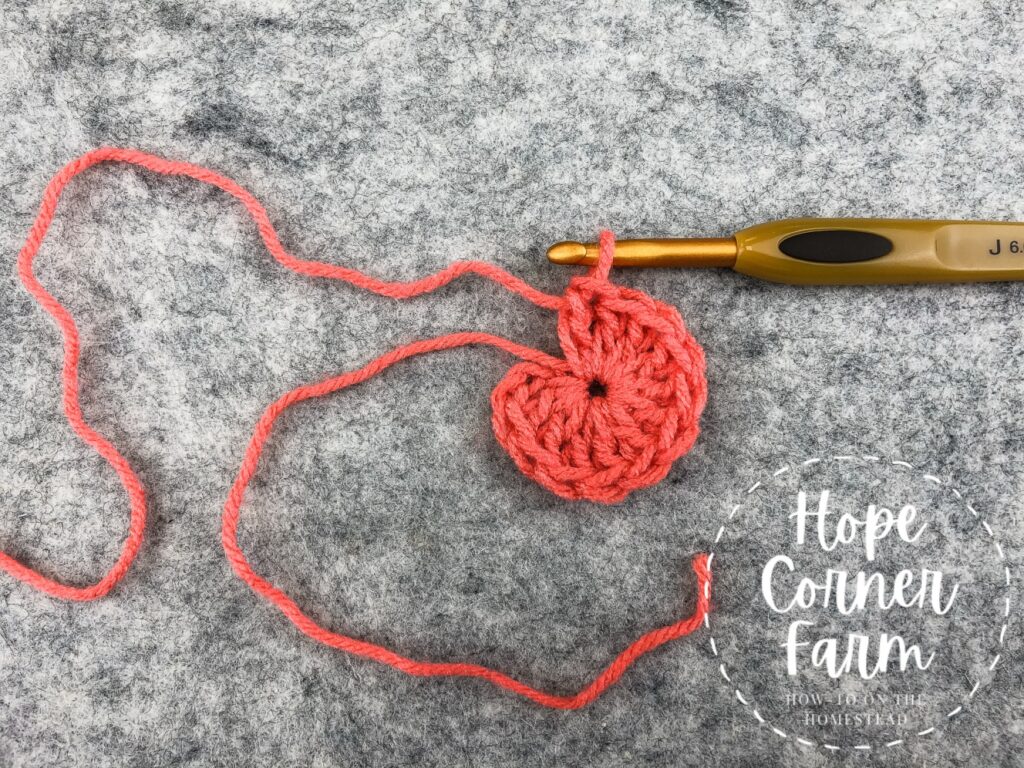
Once you have the magic circle, chain 3.
Place 11 DCs in the magic circle.
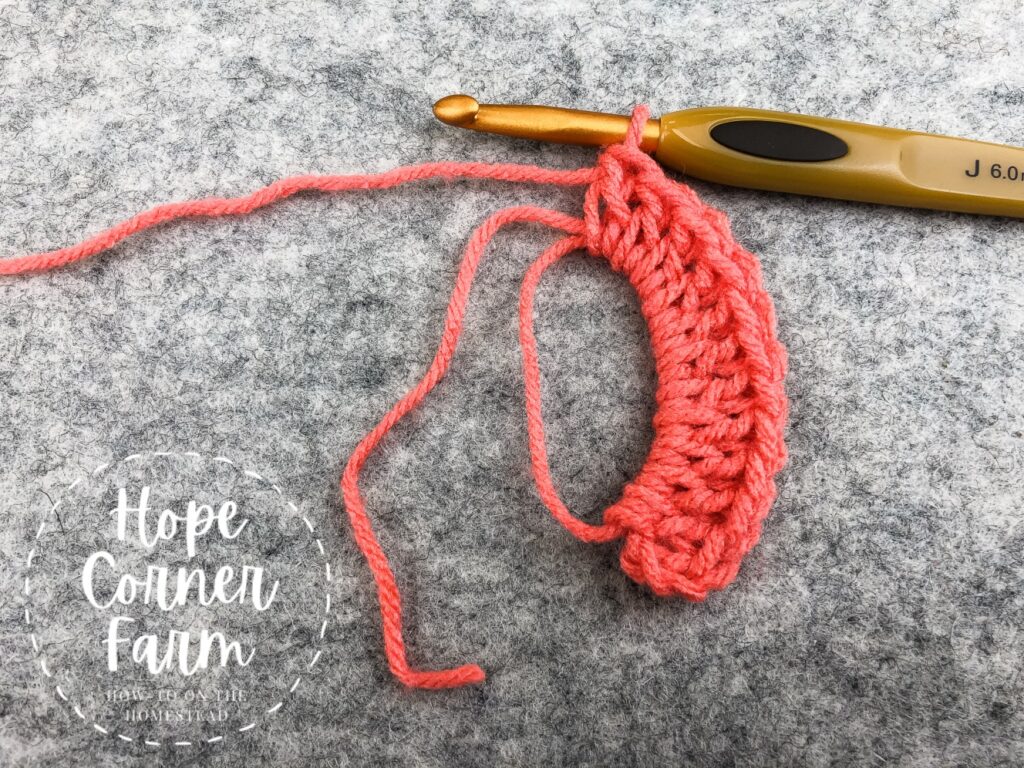
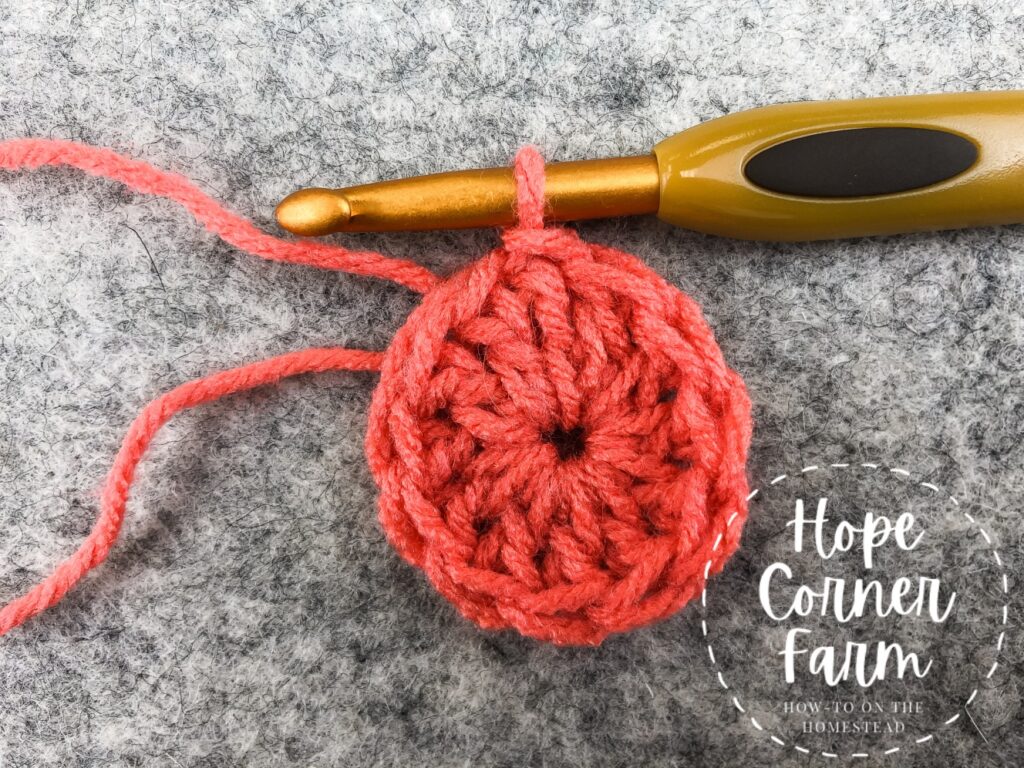
Pull the tail of the yarn to tighten the magic circle.
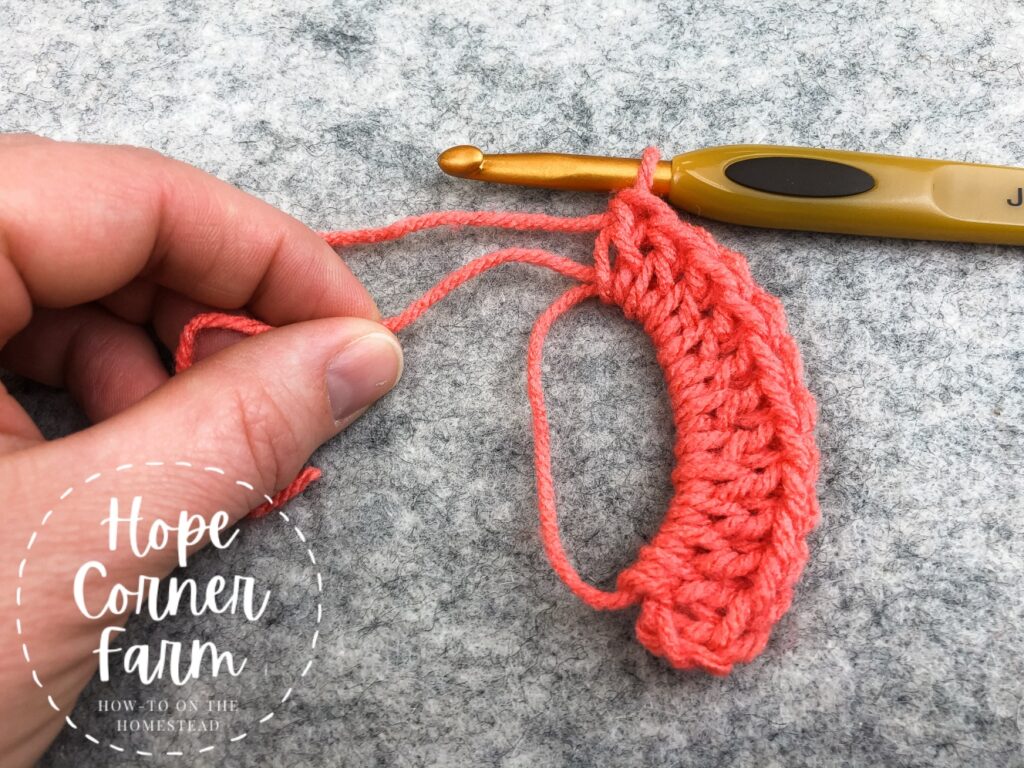
Slip stitch into the top of the ch 3 to bring the circle together.
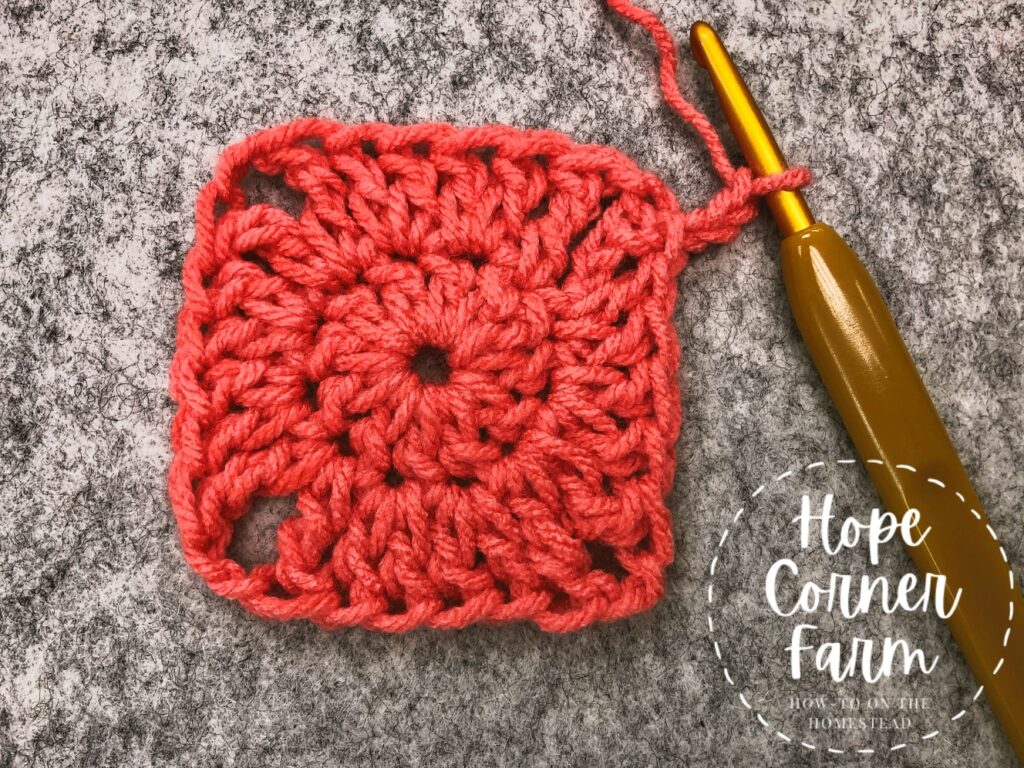
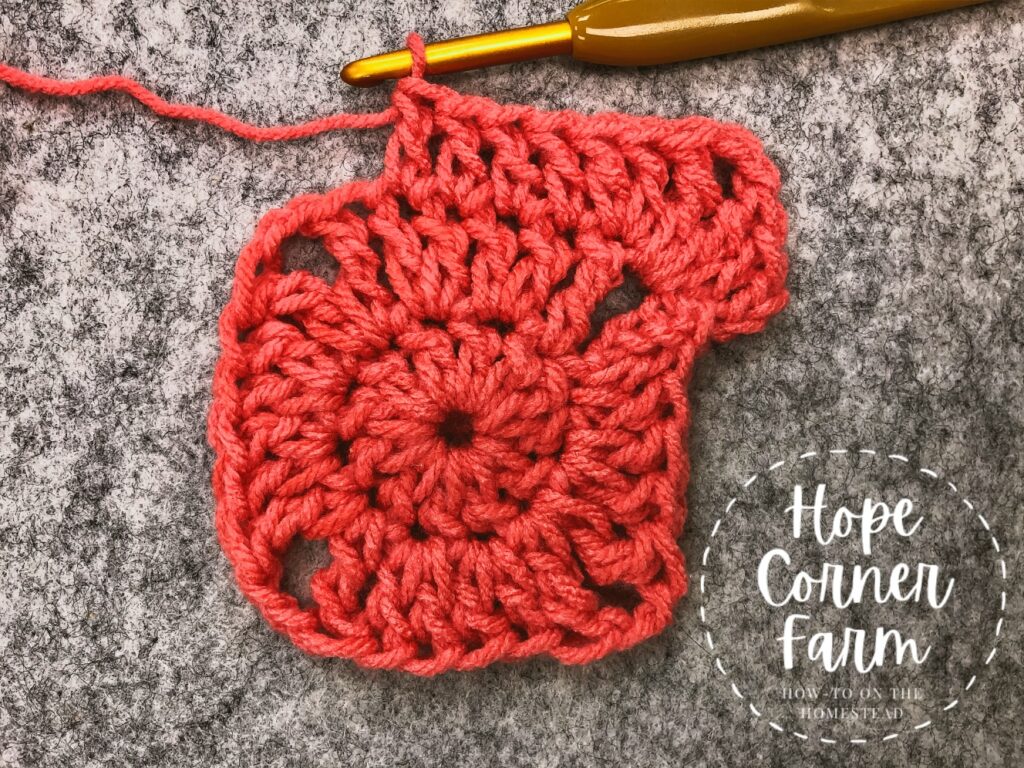
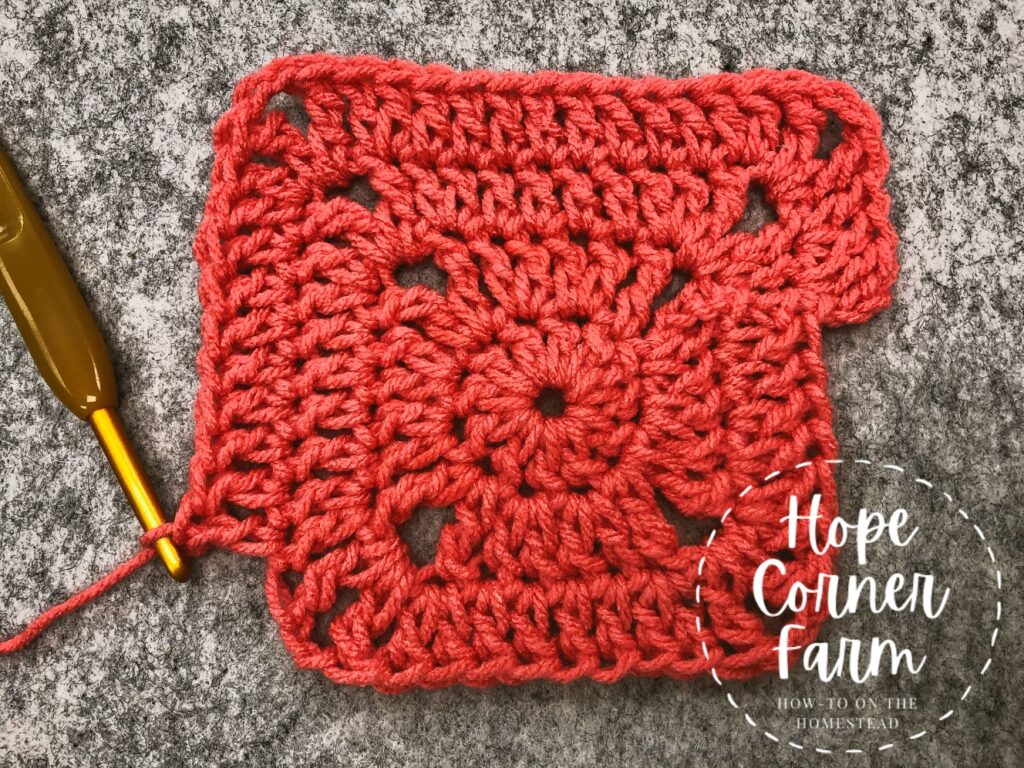
Round 2:
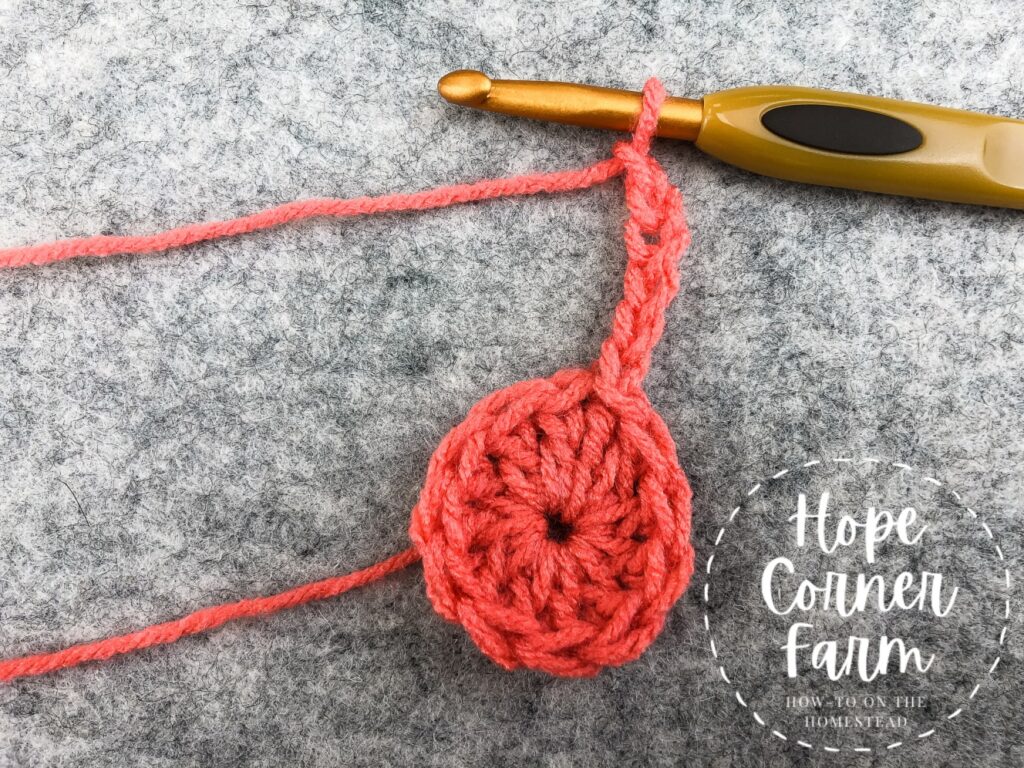
Begin by chaining 6.
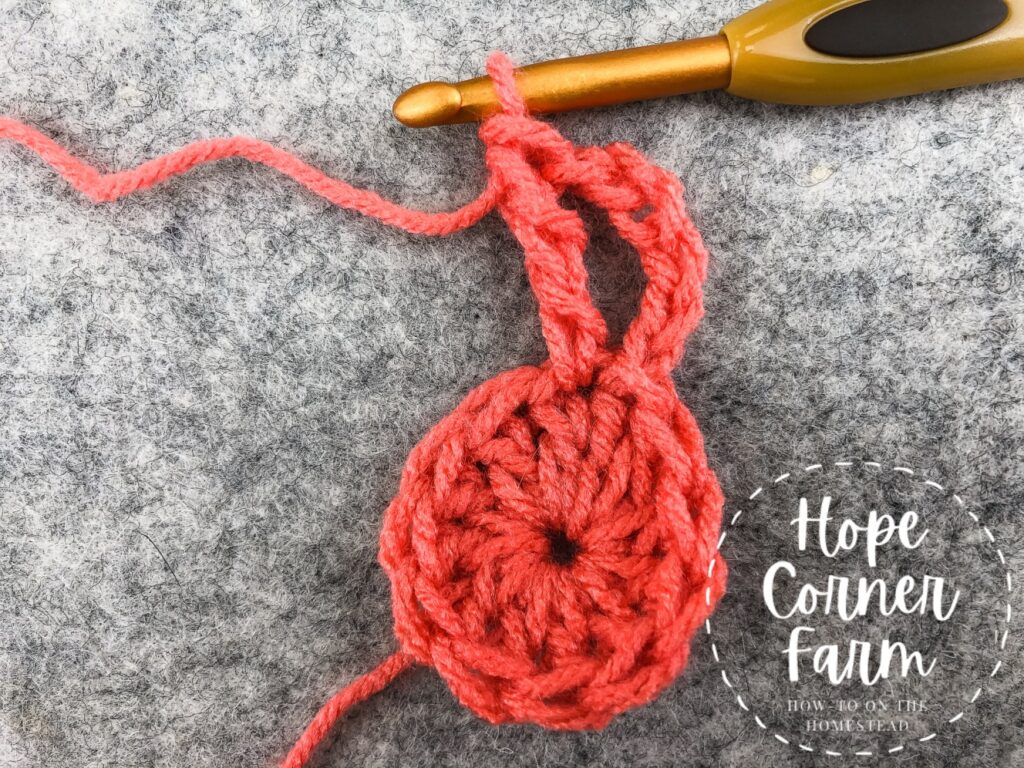
Treble crochet in the next stitch.
Place 2 DCs in each of the next two stitches.
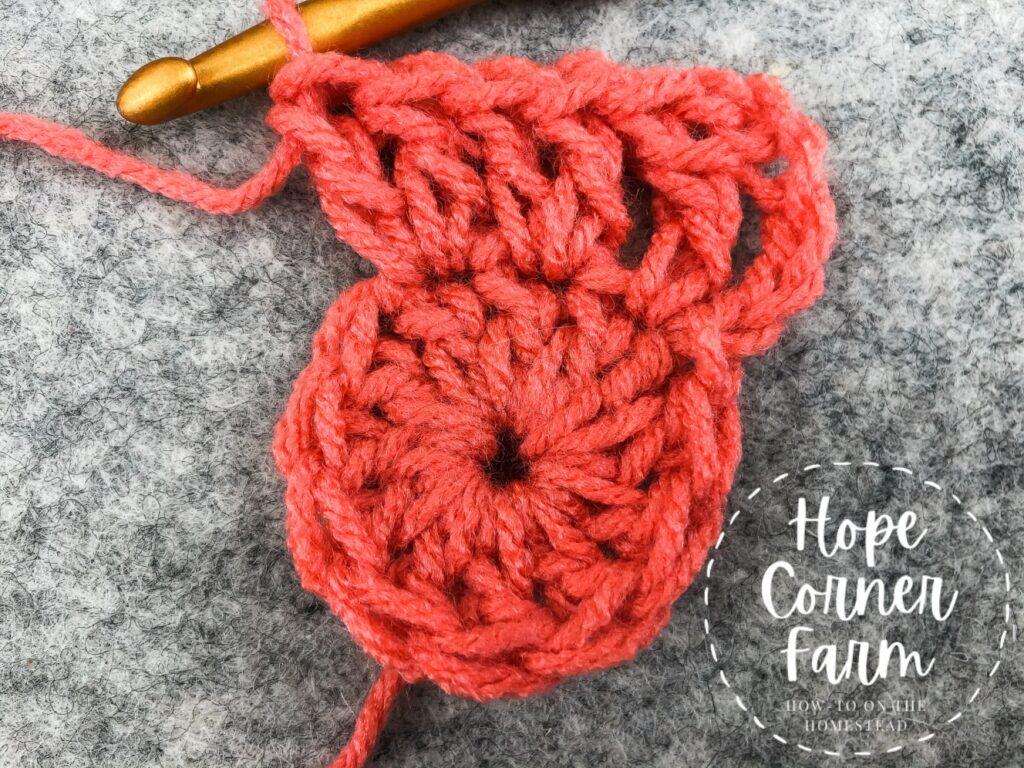
TR, Ch 2, TR all in the next stitch.
Place 2 DCs in each of the next two stitches.

TR, Ch 2, TR all in the next stitch.
Place 2 DCs in each of the next two stitches.
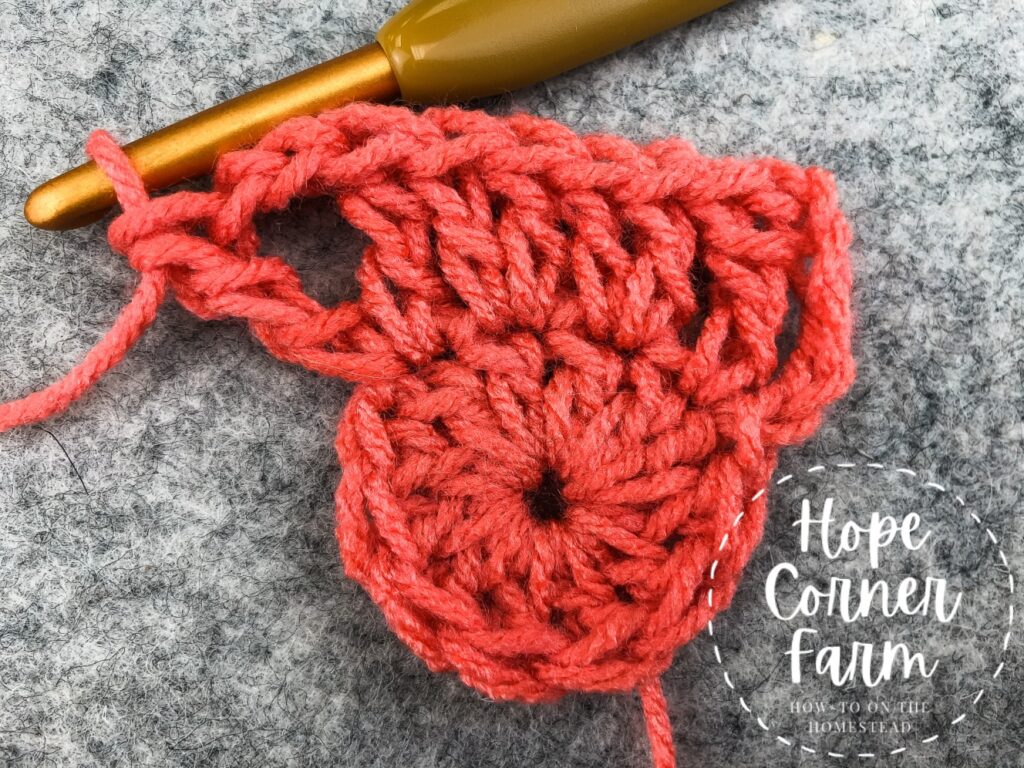
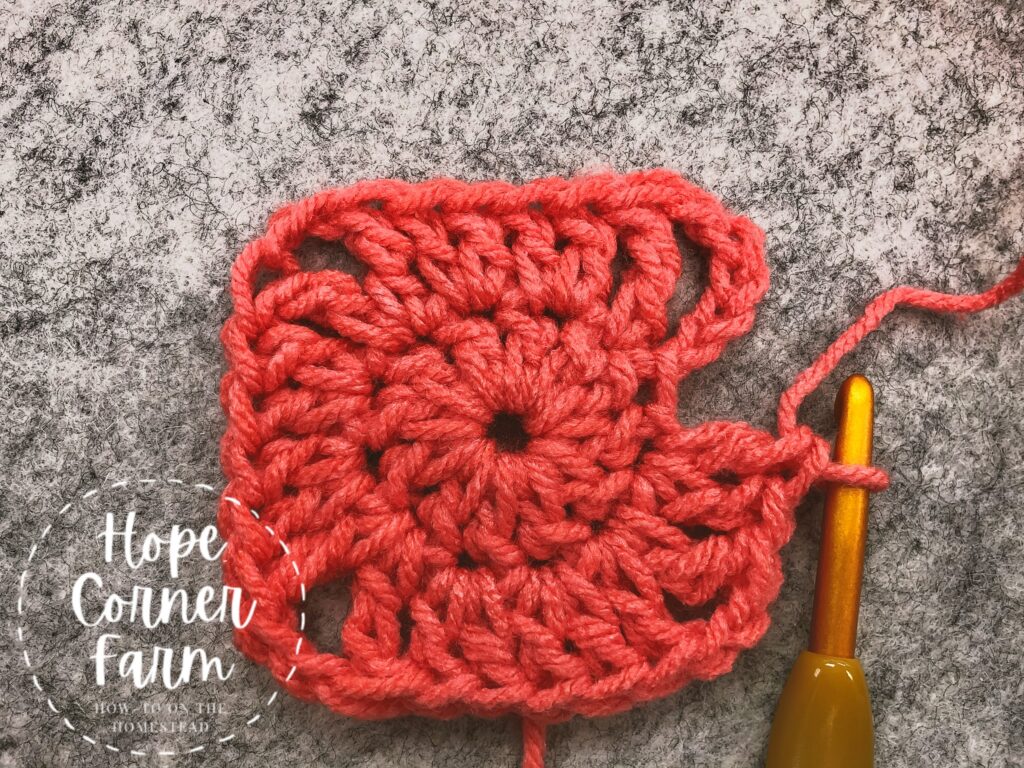
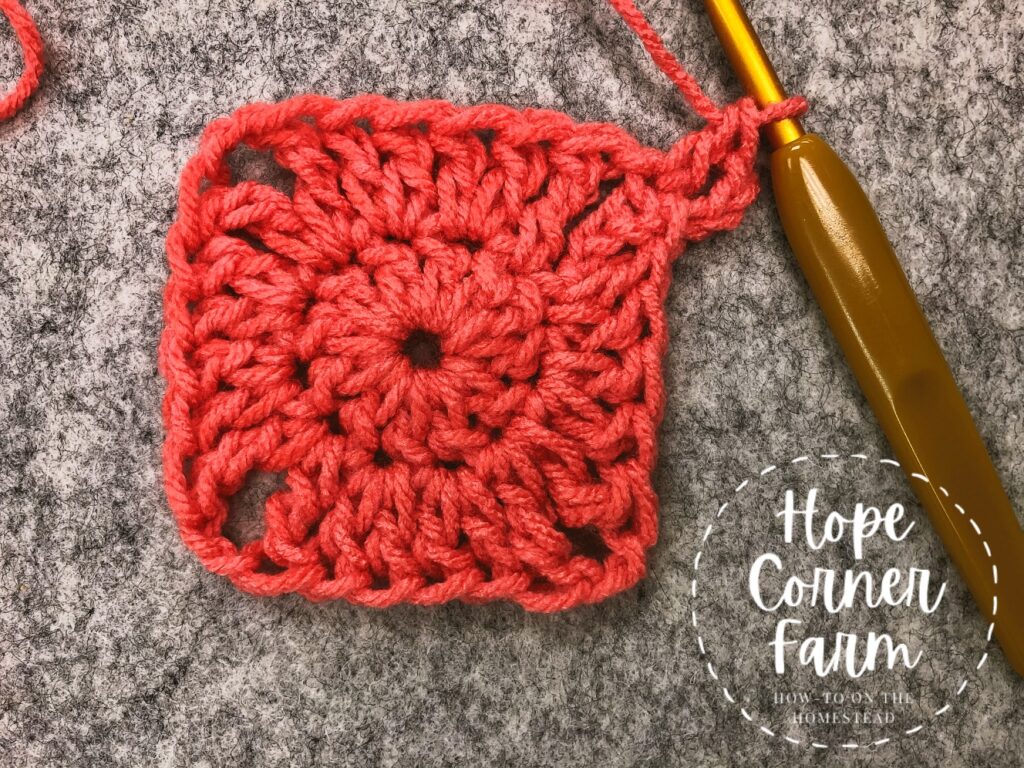
In the next stitch, TR, Ch 2, TR.
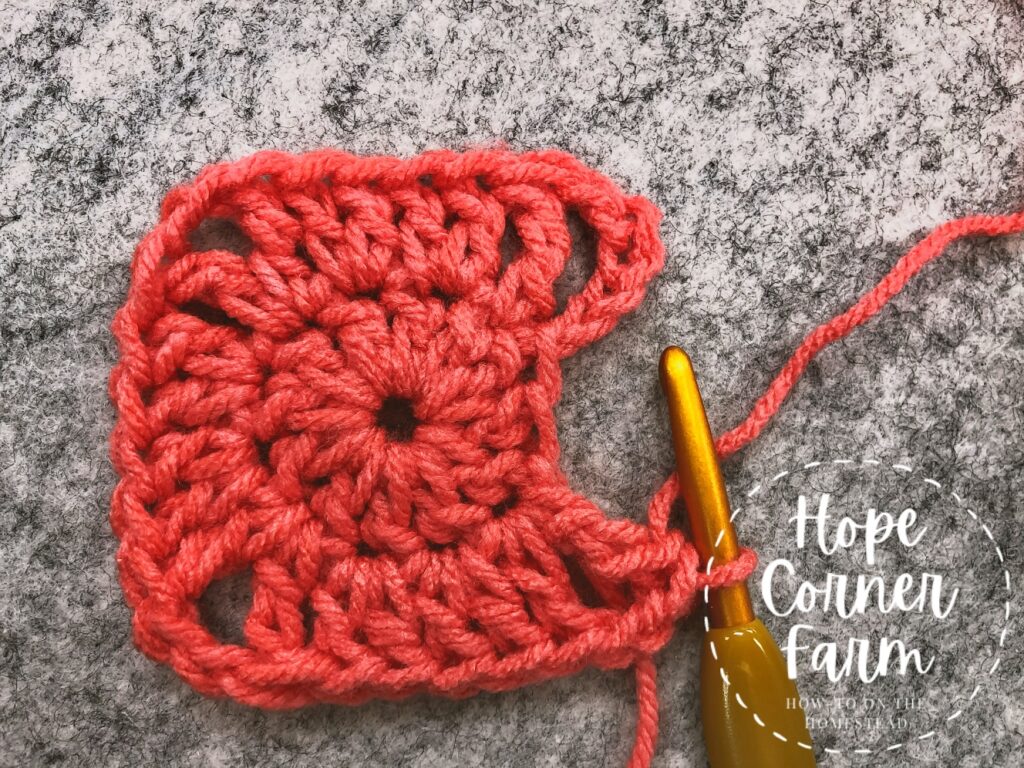
DC in the next stitch. Then place one DC in the stitch that the chain 6 came out of.
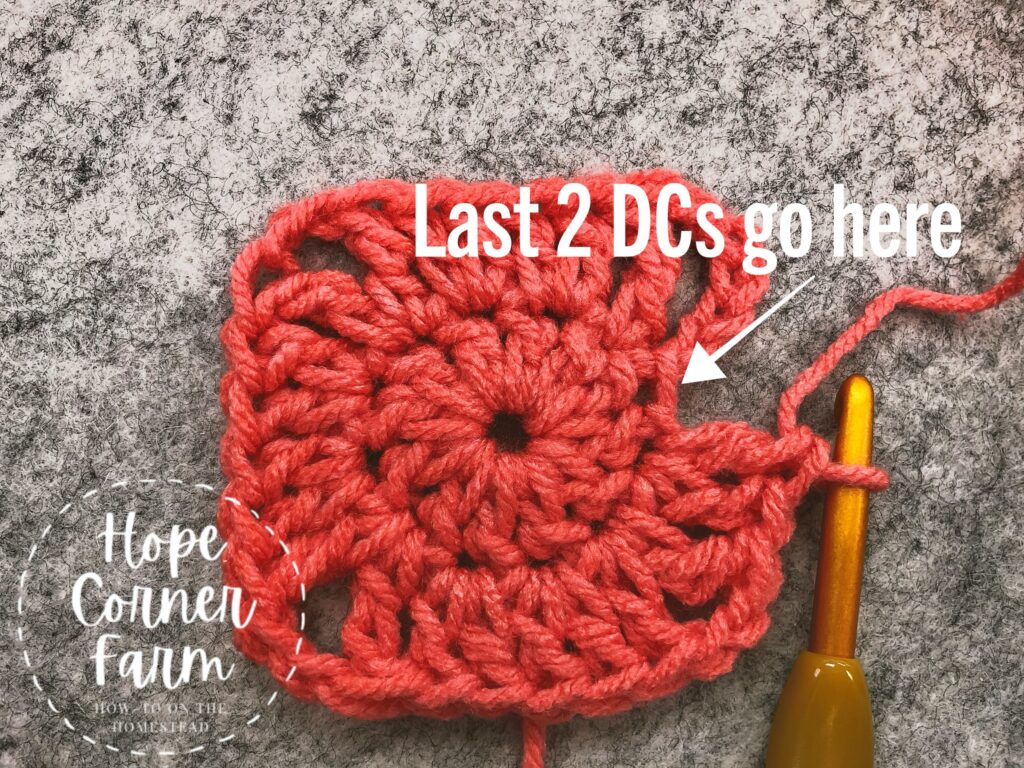
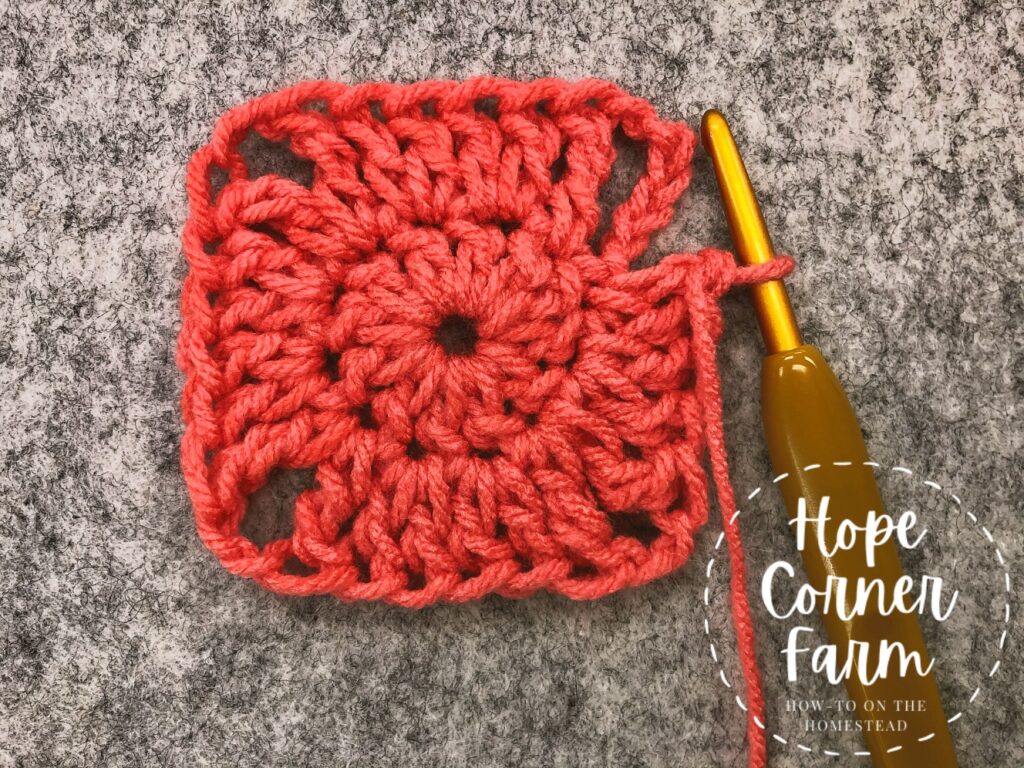
Slip Stitch to the 4th chain of the Ch. 6 to close the first round.
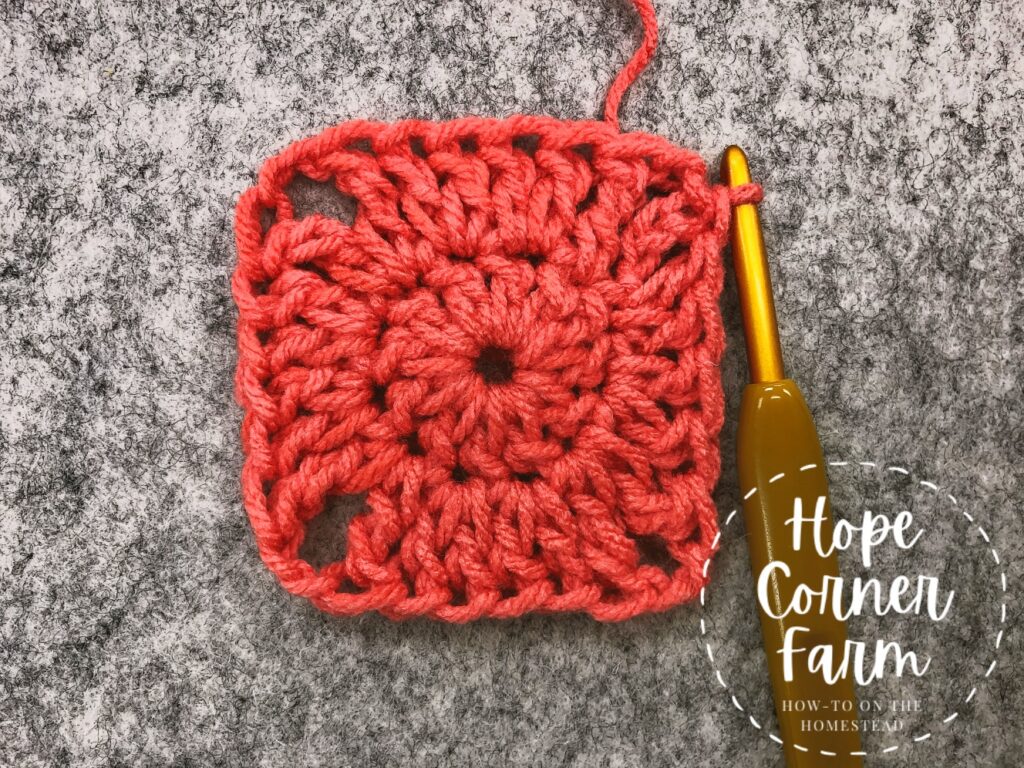
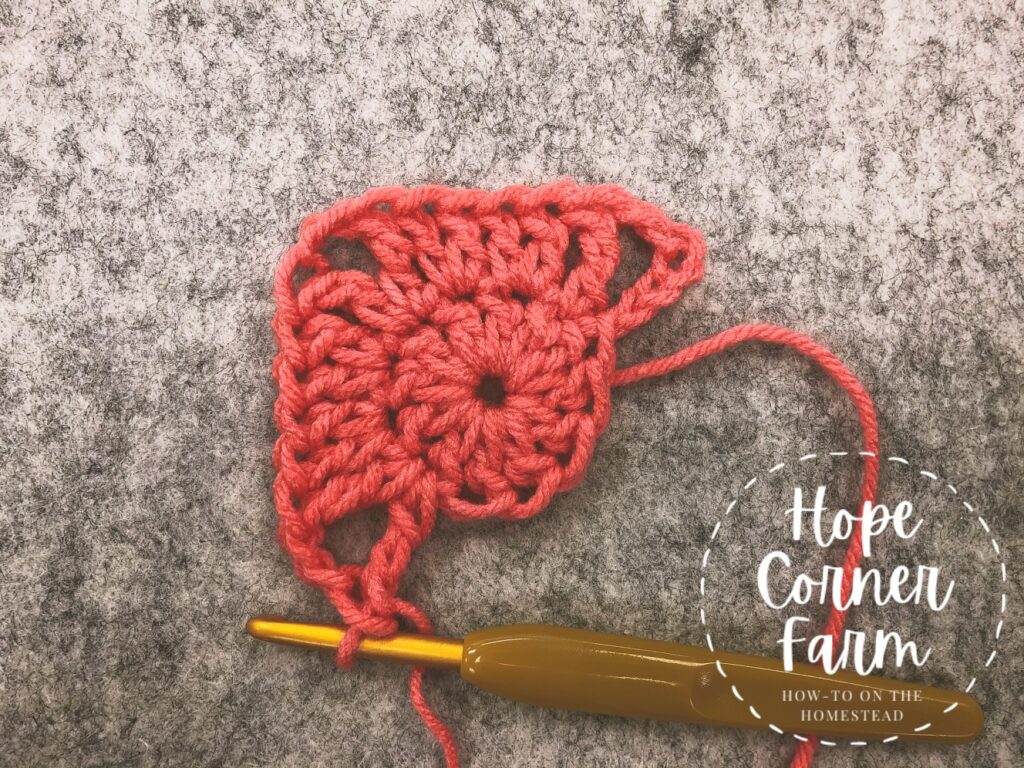
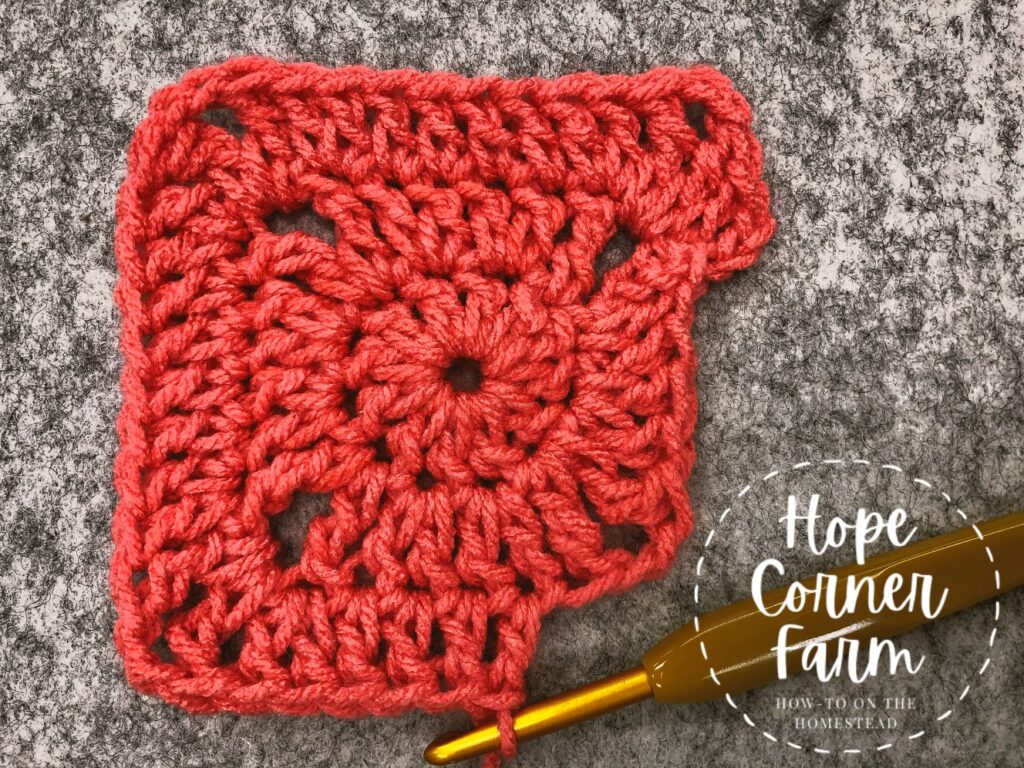
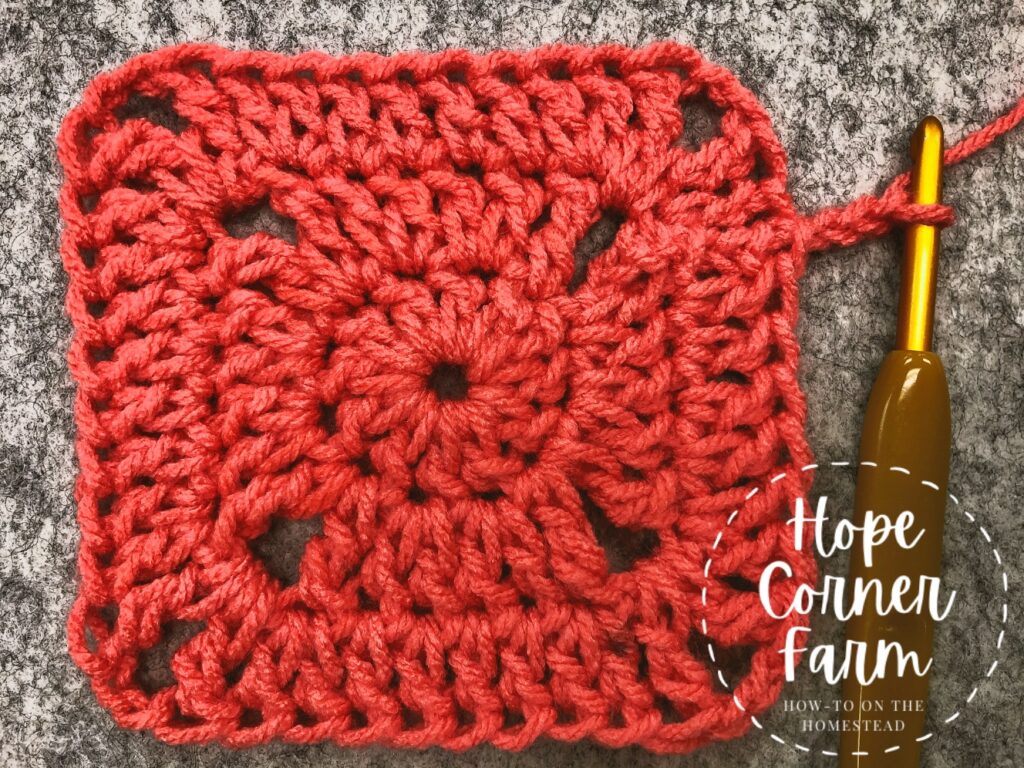
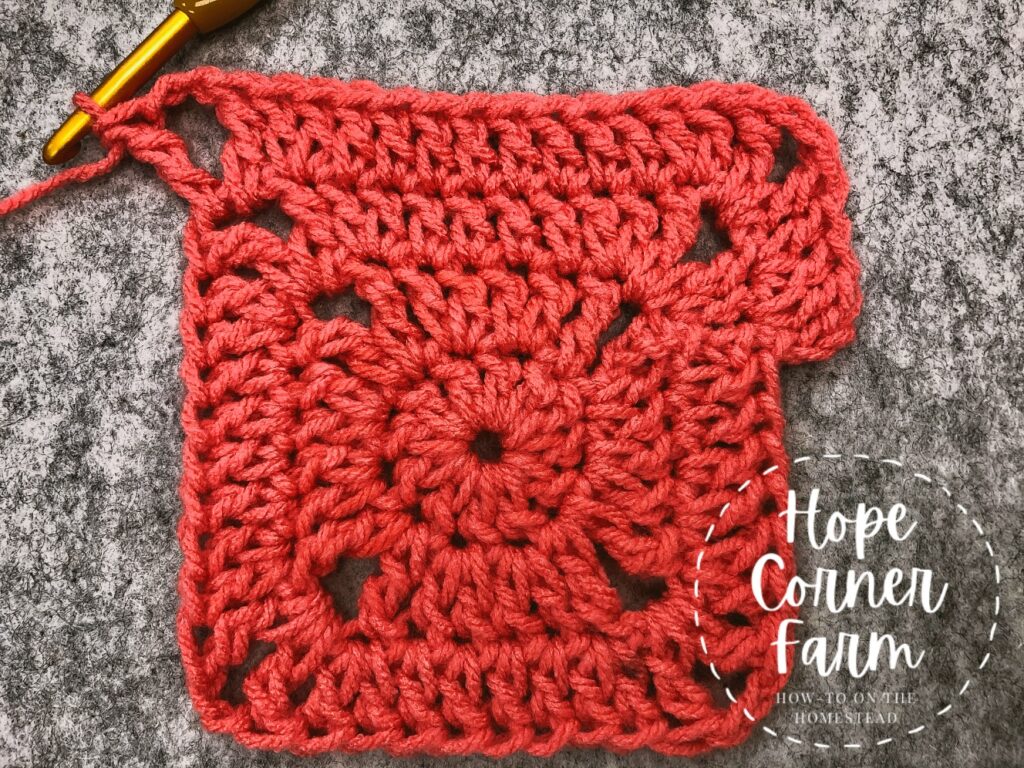
Round 3:
To begin this round, chain 3. In the next stitch place a DC.
In the corner space, place the following: TR, Ch 2, TR.
Place 2 DCs in the next stitch.
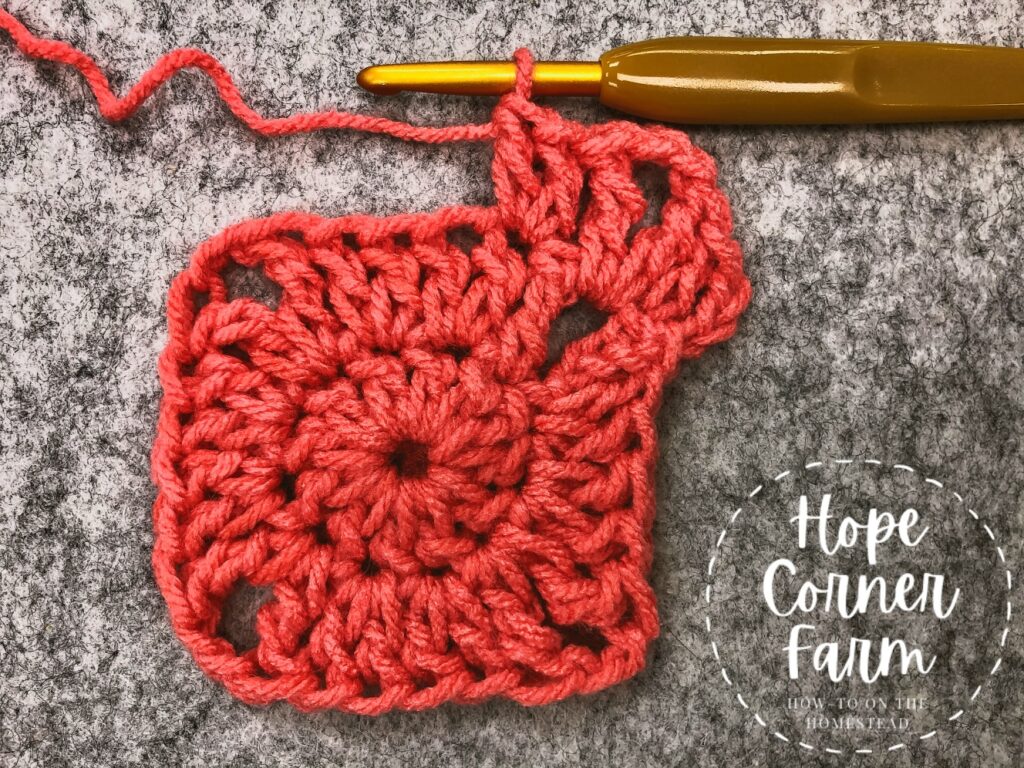
Put 1 DC in each of the next 4 stitches.
Into the next stitch put 2 DCs and then TR, Ch2, TR in the corner space.
In the next stitch, place 2 DC. Then put one DC in the next 4 stitches.
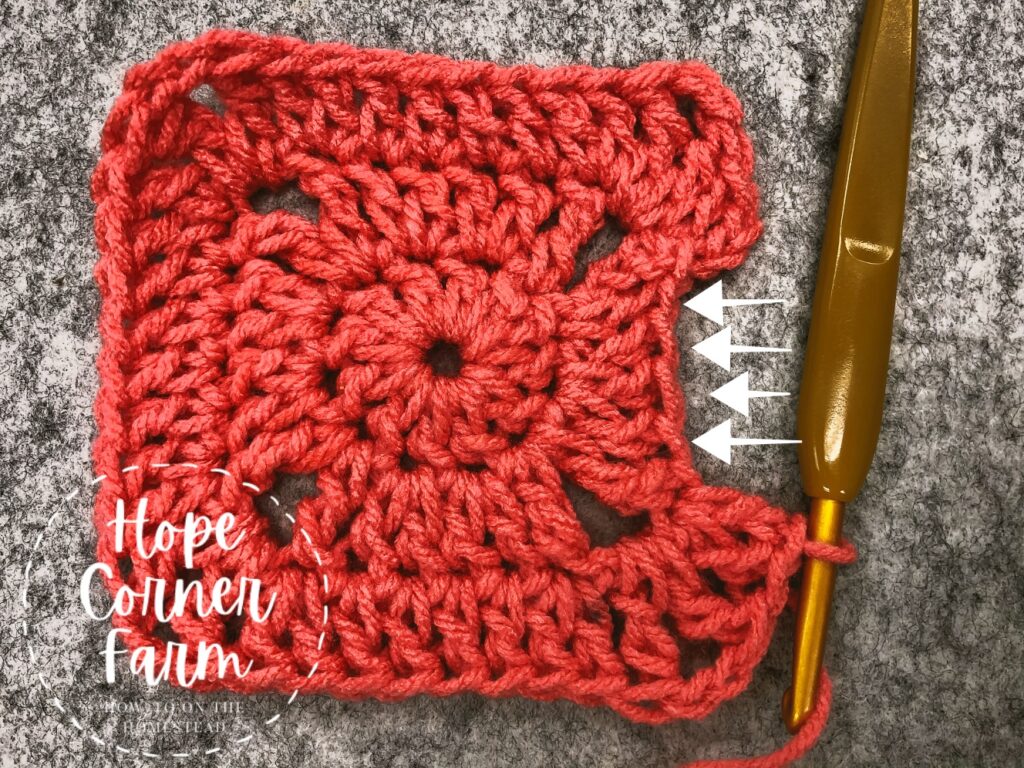
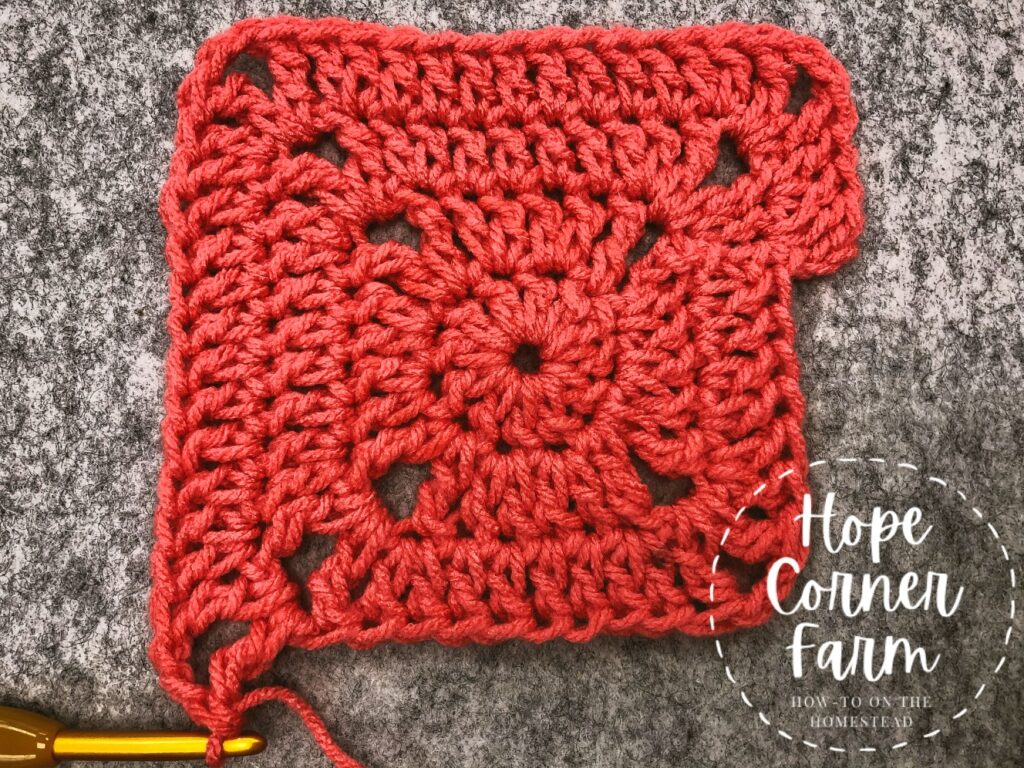
Place 2 DCs in the stitch before the corner space. Into the corner space, place TR, Ch 2, TR.

Put 2 DCs in the stitch right after the corner space. Then place 1 DC in each of the next 4 stitches.
Into the stitch before the corner space put 2 DCs. In the corner space, place TR, Ch 2, TR.

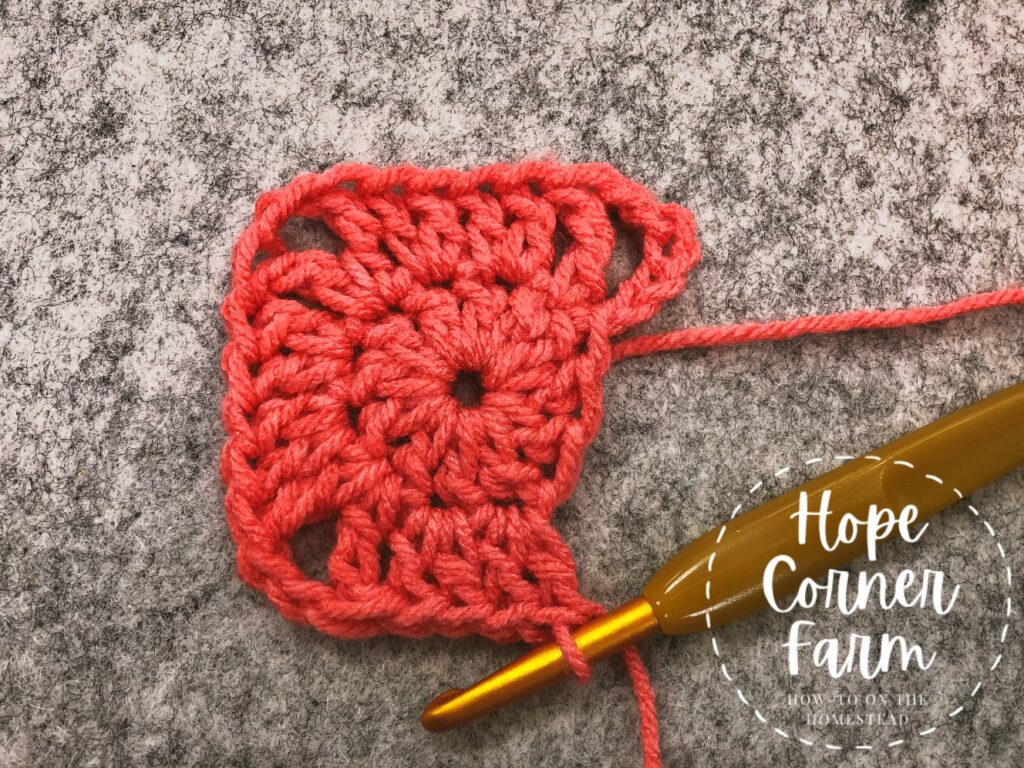
At the stitch right after the corner, place 2 DCs. Place one DC in each of the next 4 stitches (see the picture for where to place the stitches). The last stitch will be placed right next to where the chain 3 came out of.
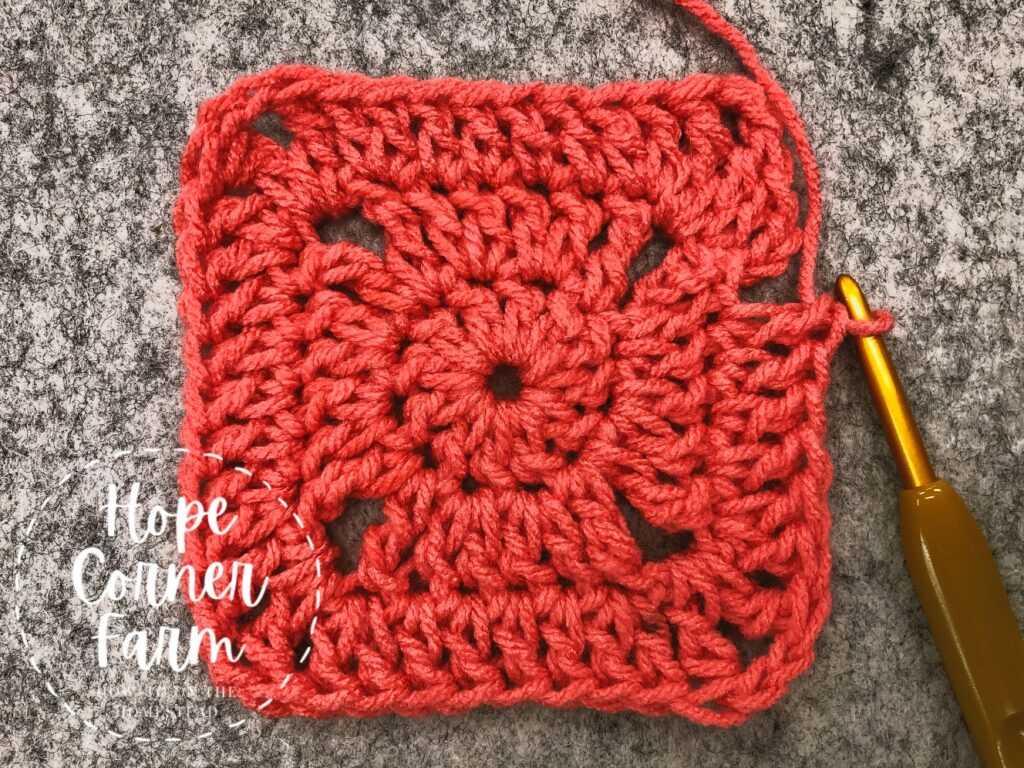
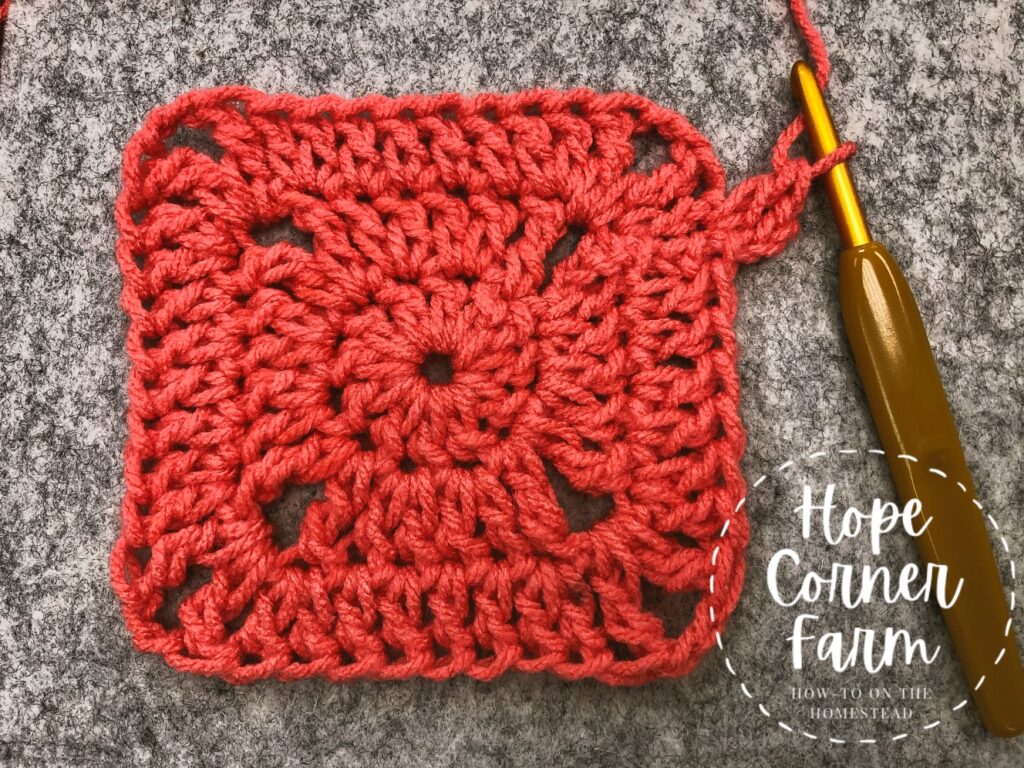
To finish this round, slip stitch to the top of the chain 3.
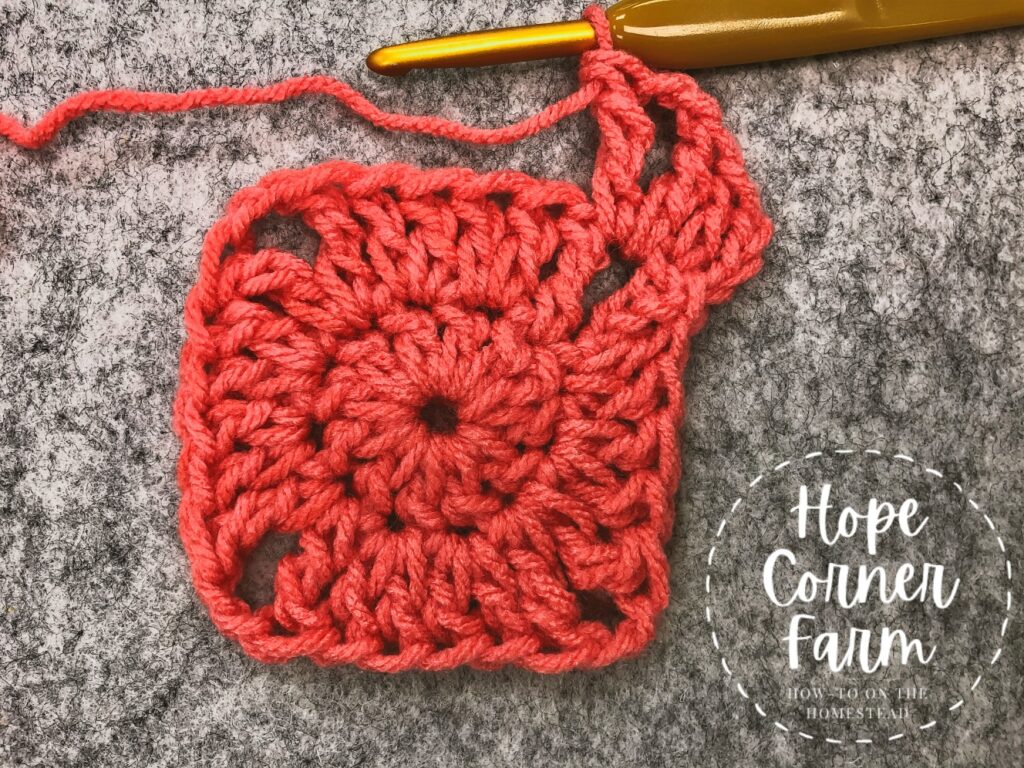
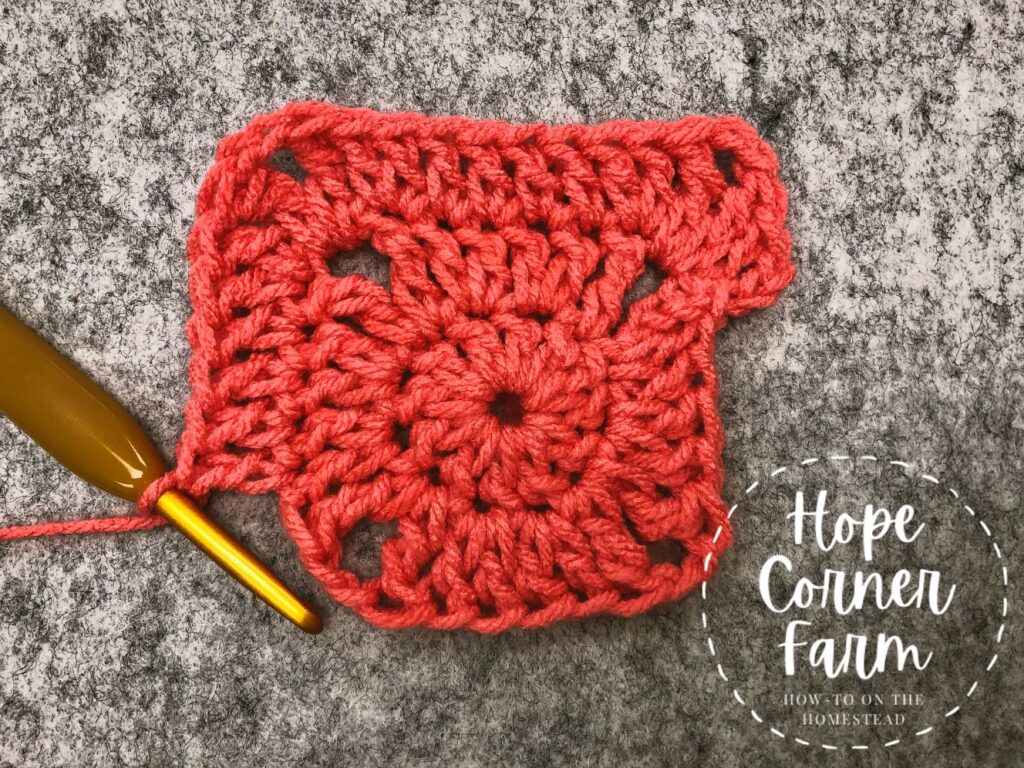
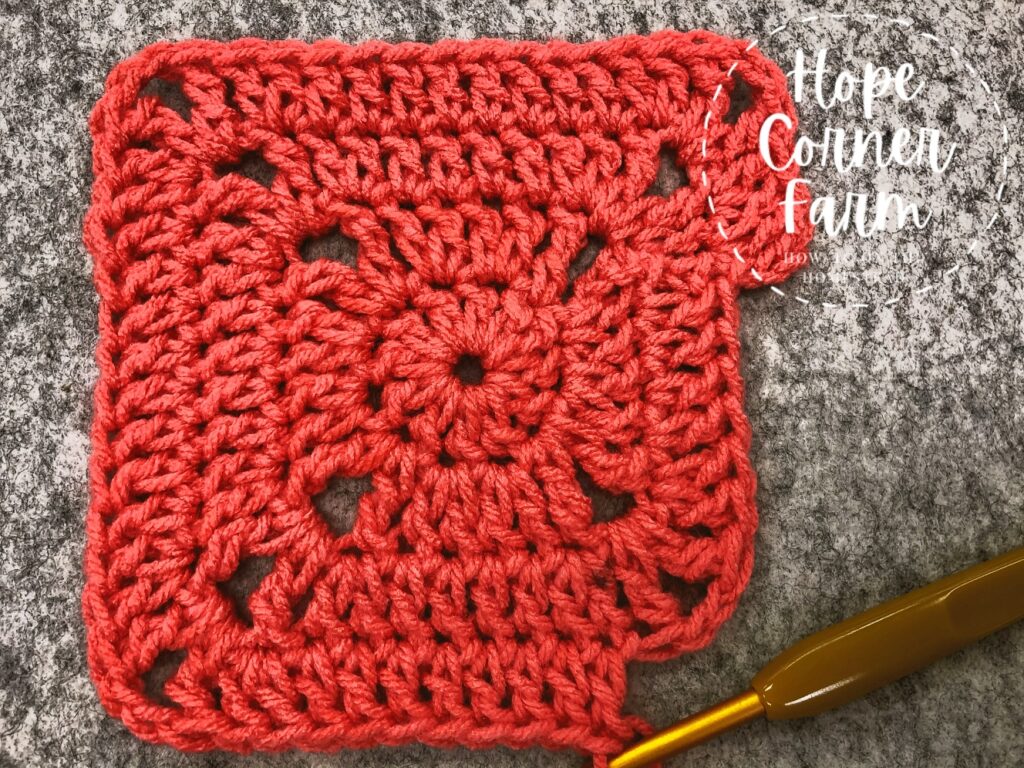
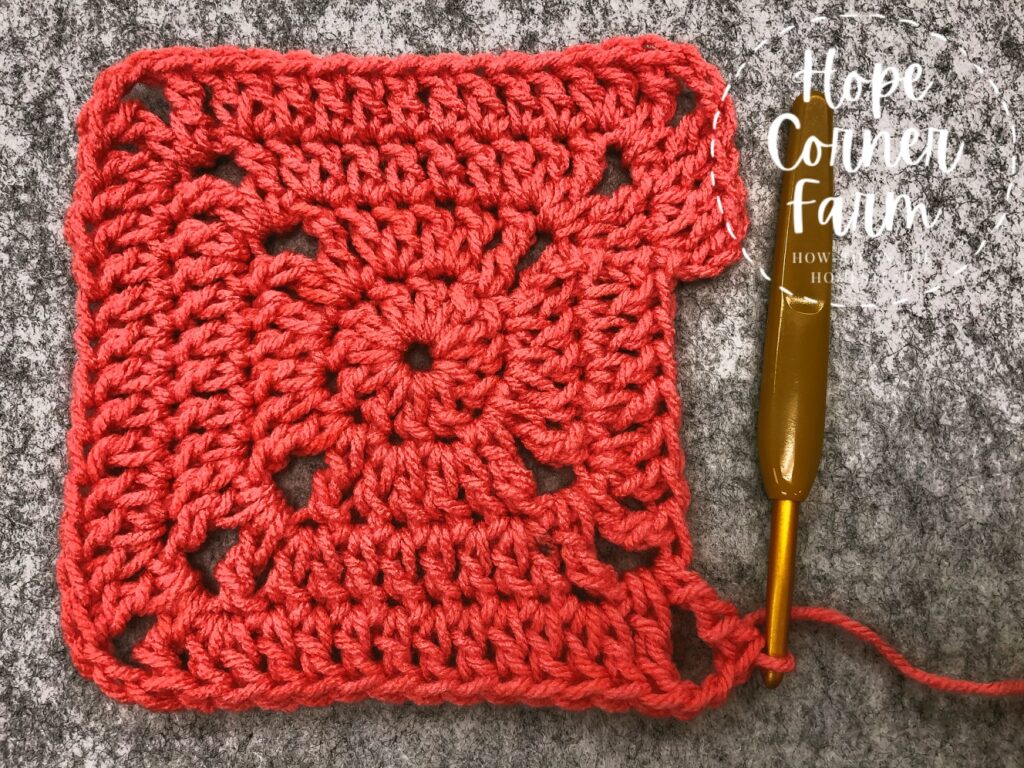
Round 4:
To begin this round, chain 3. Then place a DC into the stitch right next to the chain 3.
Put 2 DCs into the stitch before the corner space. Into the corner space place TR, Ch 2, TR.
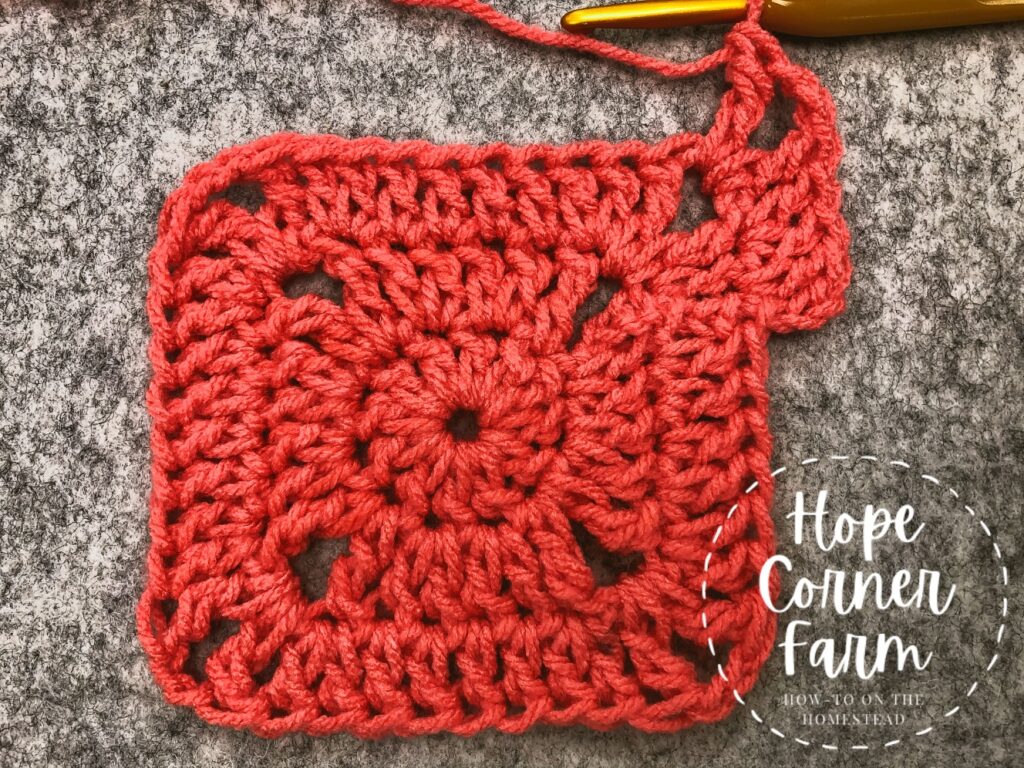
Place 2 DCs in the stitch right after the corner space. Then place one DC in each of the next 8 stitches.
In the space right before the corner space place 2 DCs. In the corner space, place TR, Ch 2, TR.
After the corner, put 2 DCs in the stitch right after the space. Then place one DC in each of the next 8 stitches.
Put 2 DCs in the stitch directly before the corner space. Into the corner space place TR, Ch 2, TR.
Directly after the corner space, put 2 DCs into the next stitch. Then place one DC in each of the next 8 stitches.
As done in the previous corners, place 2 DCs in the stitch right before the corner space. Into the corner space place TR, Ch 2, TR.
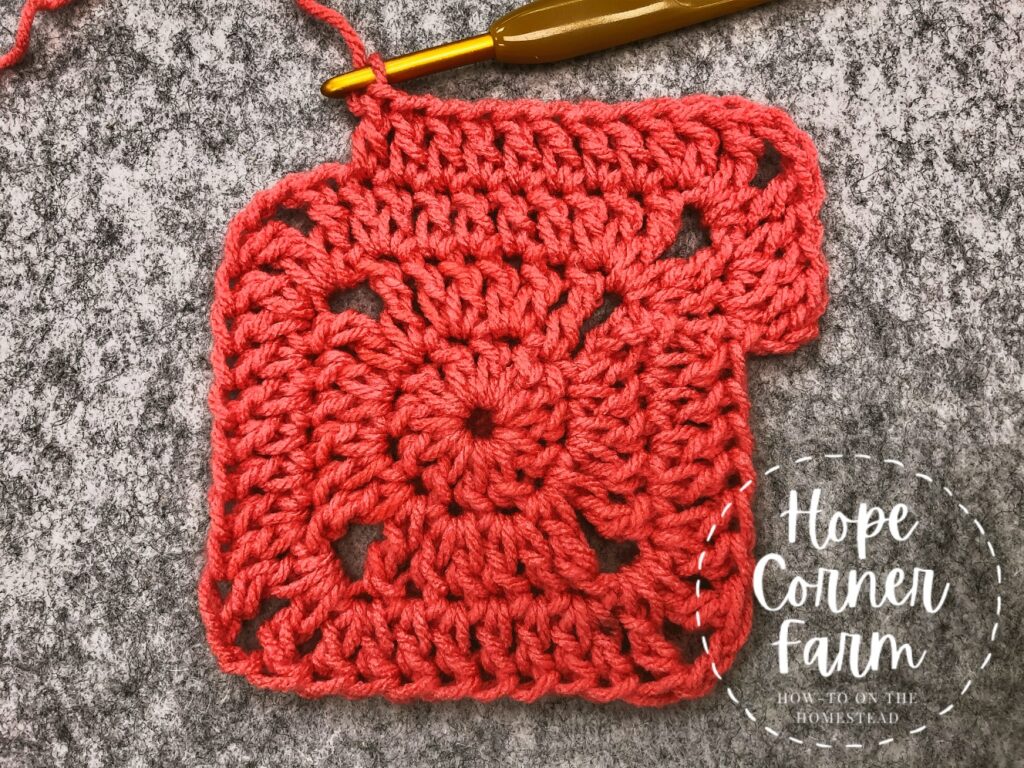
For the final side, put 2 DCs in the stitch directly after the corner space. Then place one DC in each of the next 6 DCs.
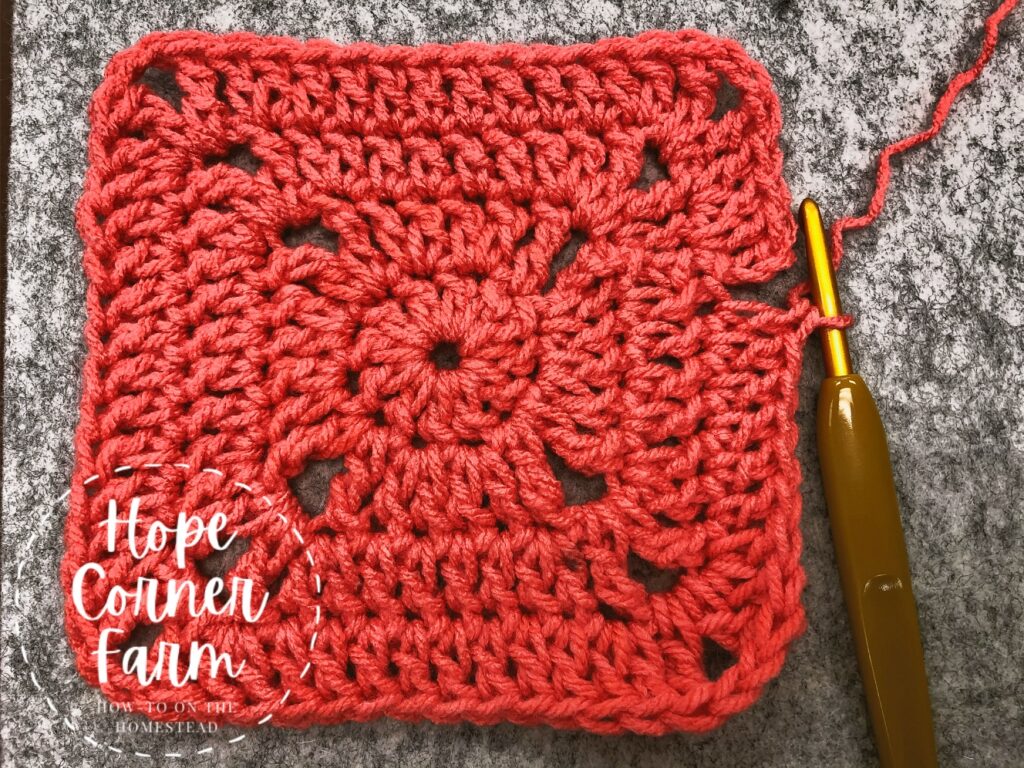
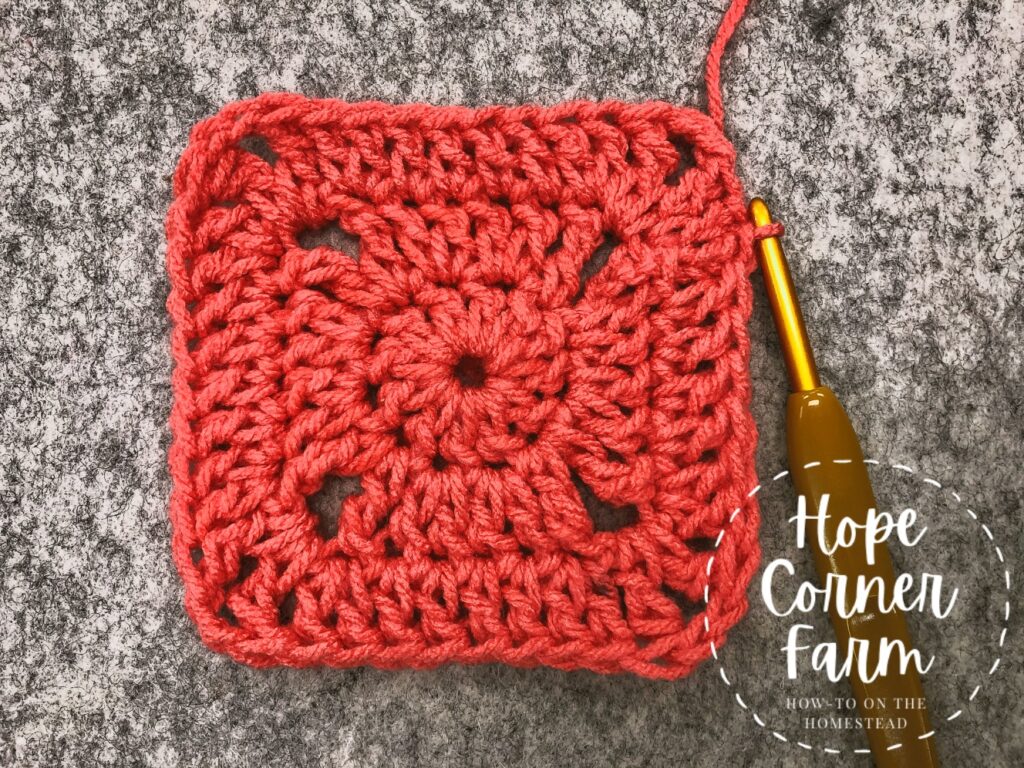
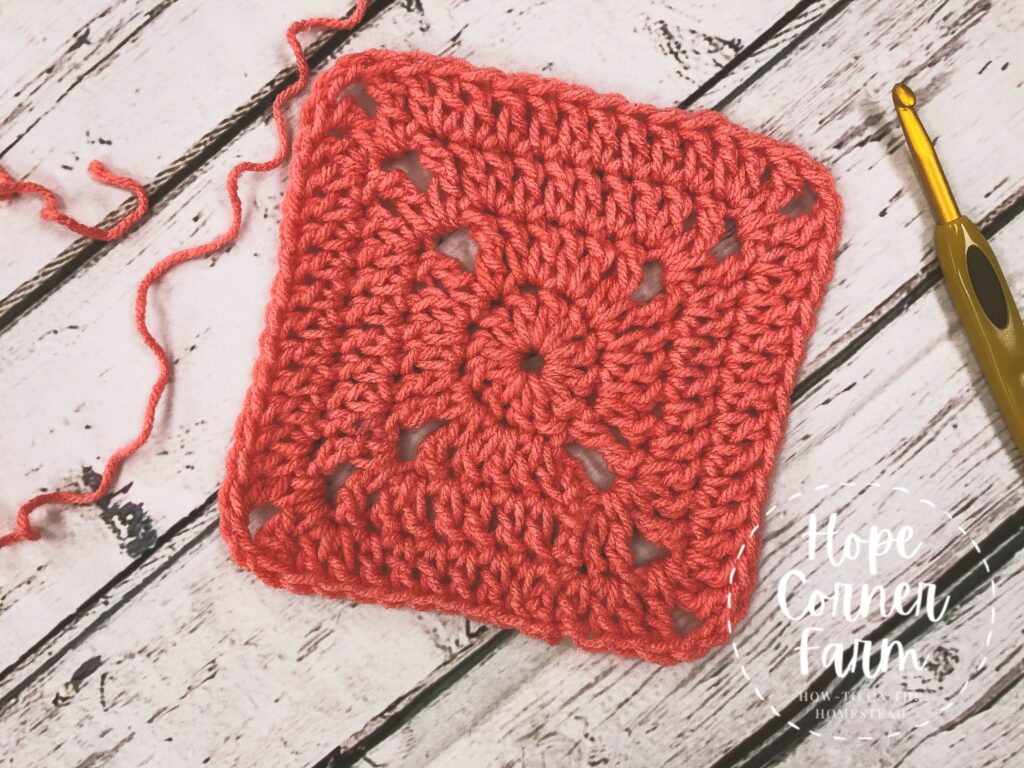
To finish the square, slip stitch to the top of the chain 3 that started this round.
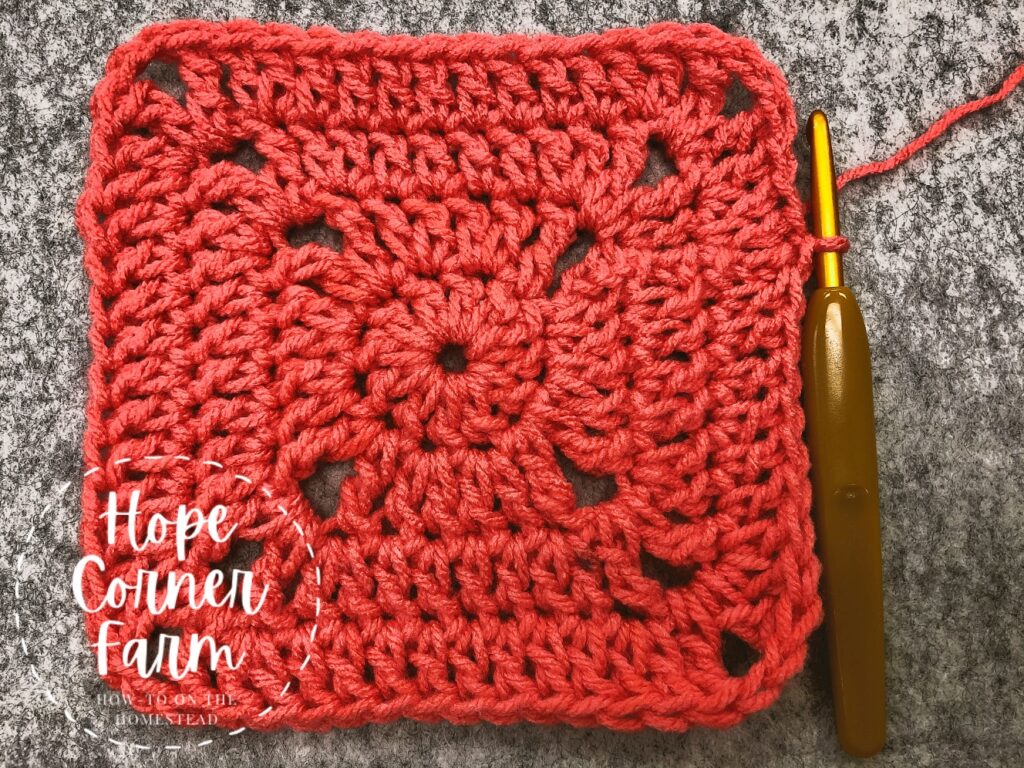
Cut the yarn and then weave in the yarn ends! You’re all done!
Written Pattern:
Round 1:
Begin with a magic circle.
Once you have the magic circle, chain 3.
Place 11 DCs in the magic circle.
Pull the tail of the yarn to tighten the magic circle.
Slip stitch into the top of the ch 3 to bring the circle together.
Round 2:
Begin by chaining 6.
Treble crochet in the next stitch.
Place 2 DCs in each of the next two stitches.
TR, Ch 2, TR all in the next stitch.
Place 2 DCs in each of the next two stitches.
TR, Ch 2, TR all in the next stitch.
Place 2 DCs in each of the next two stitches.
In the next stitch, TR, Ch 2, TR.
DC in the next stitch. Then place one DC in the stitch that the chain 6 came out of.
Slip Stitch to the 4th chain of the Ch. 6 to close the first round.
Round 3:
To begin this round, chain 3. In the next stitch place a DC.
In the corner space, place the following: TR, Ch 2, TR.
Place 2 DCs in the next stitch.
Put 1 DC in each of the next 4 stitches.
Into the next stitch put 2 DCs and then TR, Ch2, TR in the corner space.
In the next stitch, place 2 DC. Then put one DC in the next 4 stitches.
Place 2 DCs in the stitch before the corner space. Into the corner space, place TR, Ch 2, TR.
Put 2 DCs in the stitch right after the corner space. Then place 1 DC in each of the next 4 stitches.
Into the stitch before the corner space put 2 DCs. In the corner space, place TR, Ch 2, TR.
At the stitch right after the corner, place 2 DCs. Place one DC in each of the next 4 stitches (see the picture for where to place the stitches). The last stitch will be placed right next to where the chain 3 came out of.
To finish this round, slip stitch to the top of the chain 3.
Round 4:
To begin this round, chain 3. Then place a DC into the stitch right next to the chain 3.
Put 2 DCs into the stitch before the corner space. Into the corner space place TR, Ch 2, TR.
Place 2 DCs in the stitch right after the corner space. Then place one DC in each of the next 8 stitches.
In the space right before the corner space place 2 DCs. In the corner space, place TR, Ch 2, TR.
After the corner, put 2 DCs in the stitch right after the space. Then place one DC in each of the next 8 stitches.
Put 2 DCs in the stitch directly before the corner space. Into the corner space place TR, Ch 2, TR.
Directly after the corner space, put 2 DCs into the next stitch. Then place one DC in each of the next 8 stitches.
As done in the previous corners, place 2 DCs in the stitch right before the corner space. Into the corner space place TR, Ch 2, TR.
For the final side, put 2 DCs in the stitch directly after the corner space. Then place one DC in each of the next 6 DCs.
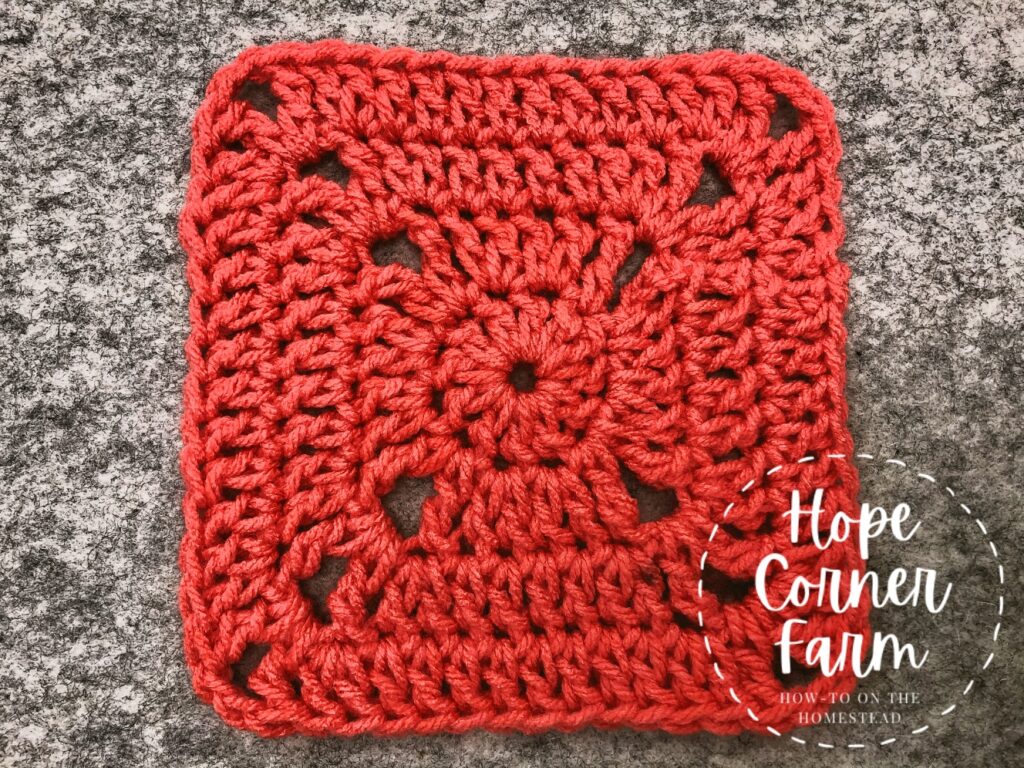
Finishing the Quick and Easy Modern Granny Square:
To finish the square, slip stitch to the top of the chain 3 that started this round.
Cut the yarn and then weave in the yarn ends! You’re all done with your Quick and Easy Modern Crochet Granny Square!
Video Tutorial:
Many Blessings,