
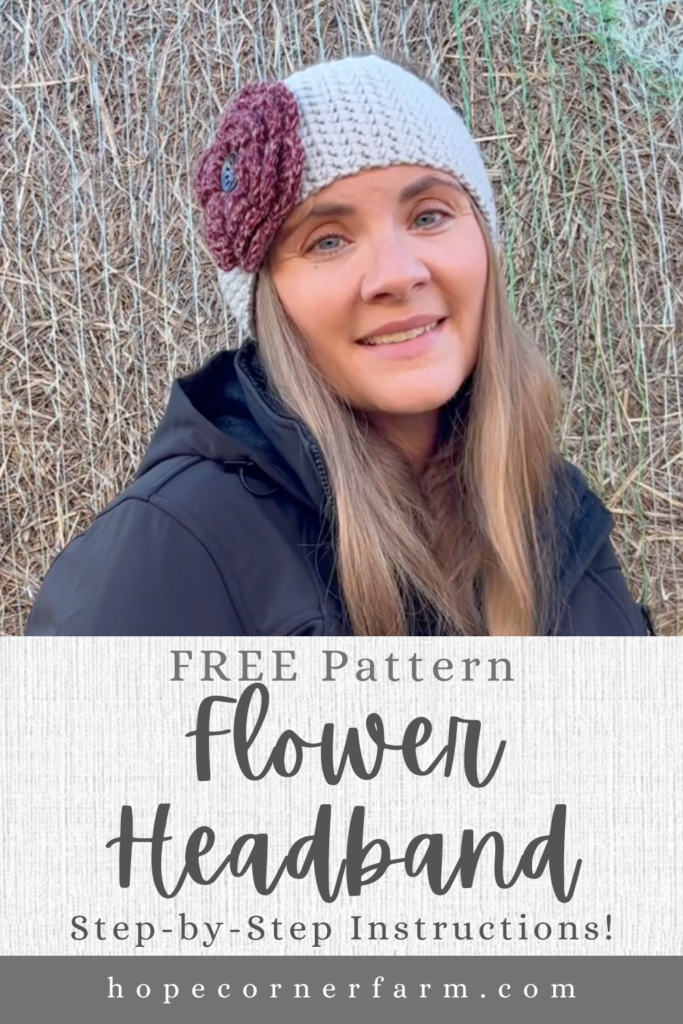
Free Crochet Flower Headband Pattern – The Madison


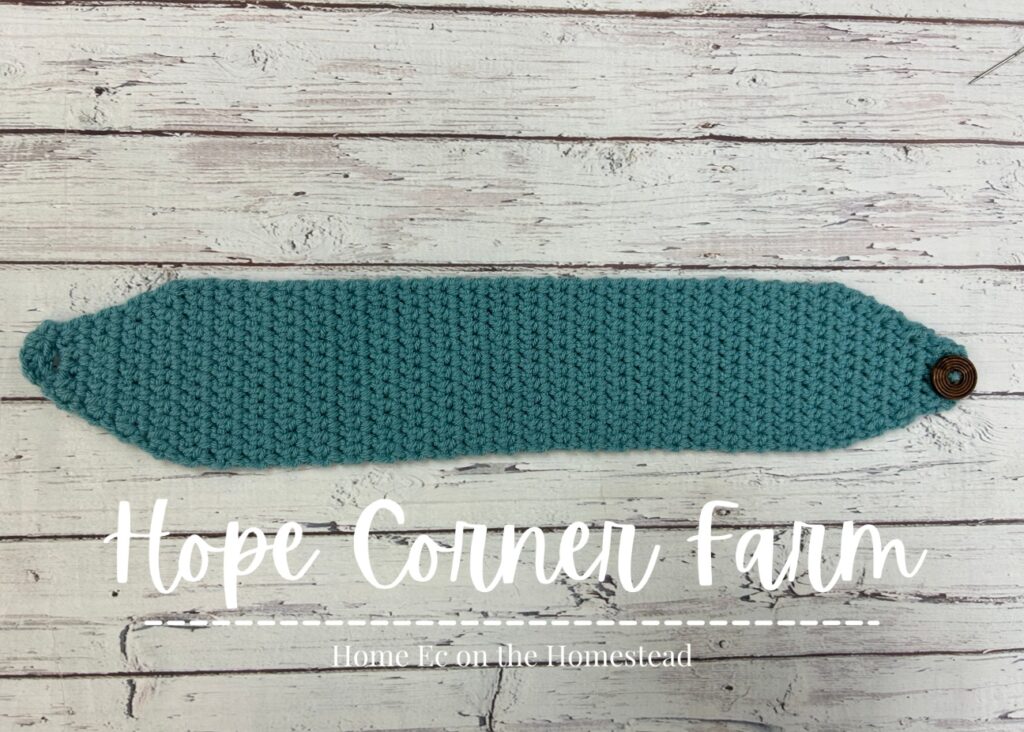
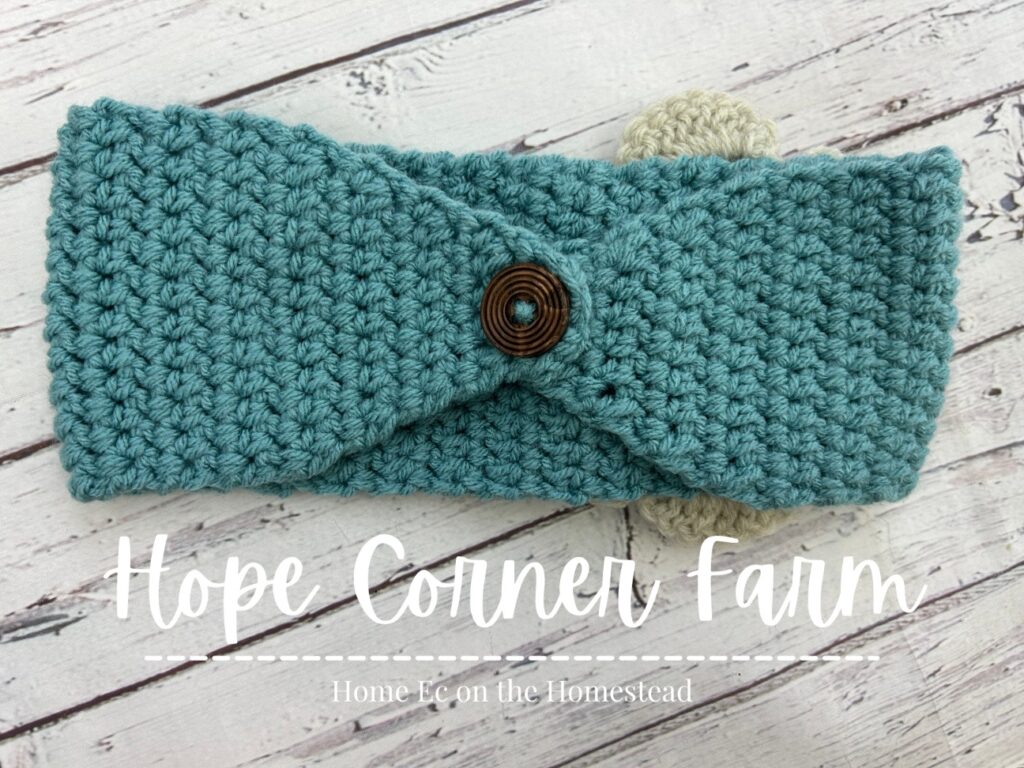
I love a cute crochet headband, so this free crochet flower headband pattern makes me happy! I live in a place that gets REALLY cold in the winter (think -30F in February!). The Madison (my flower headband) has a cute crochet flower as an accent. It also features a button and button hole that make wearing this crochet headband super easy. If you are ready to create one of these, let’s grab a crochet hook and some yarn and get crocheting!


First, check out our video tutorial on our You Tube Channel! Subscribe to get the latest crochet fun from Hope Corner Farm Crochet!
Materials Needed:
Medium weight (size 4) yarn in 2 colors (body of headband AND flower)
Size H (5.0mm) crochet hook – for body of headband
Size I (5.5mm) crochet hook – for flower
Two 1″ diameter buttons
Scissors
Yarn needle
This tutorial is written using US Crochet Terms
Crochet Stitches Used:
Half Double Crochet Stitch (HDC)
Deep Half Double Crochet Stitch (Deep HDC)
Half Double Crochet 2 Together (HDC2Tog)
Magic Circle/Magic Ring (MC or MR)
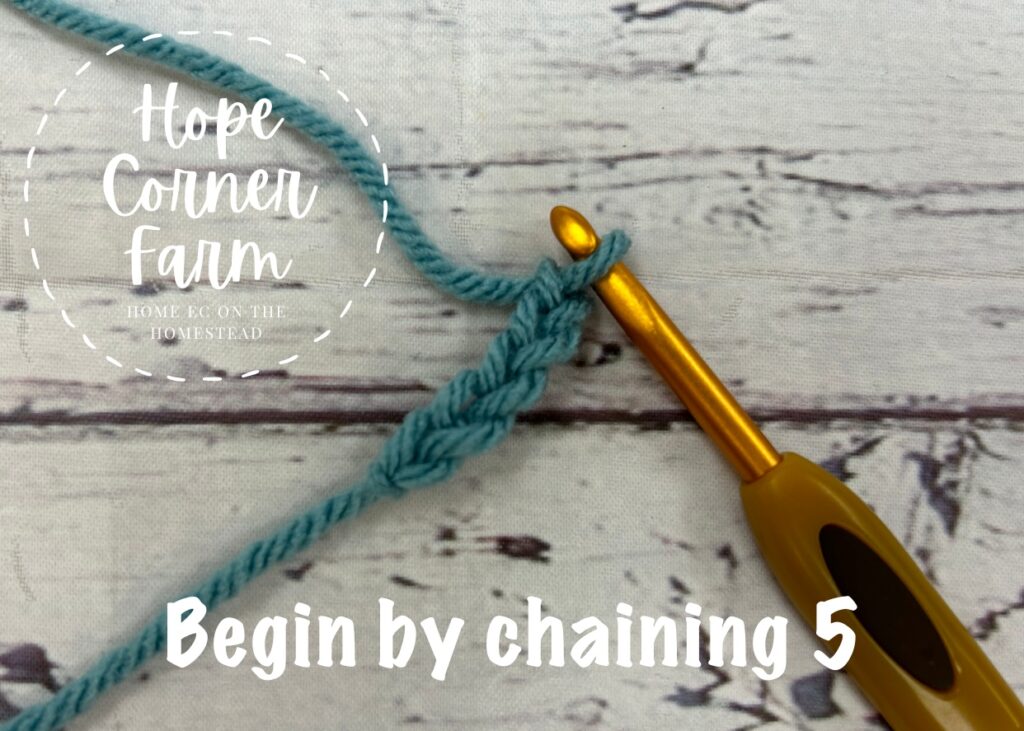
To Start:
To start place a slip knot on the crochet hook and chain 5. (5)
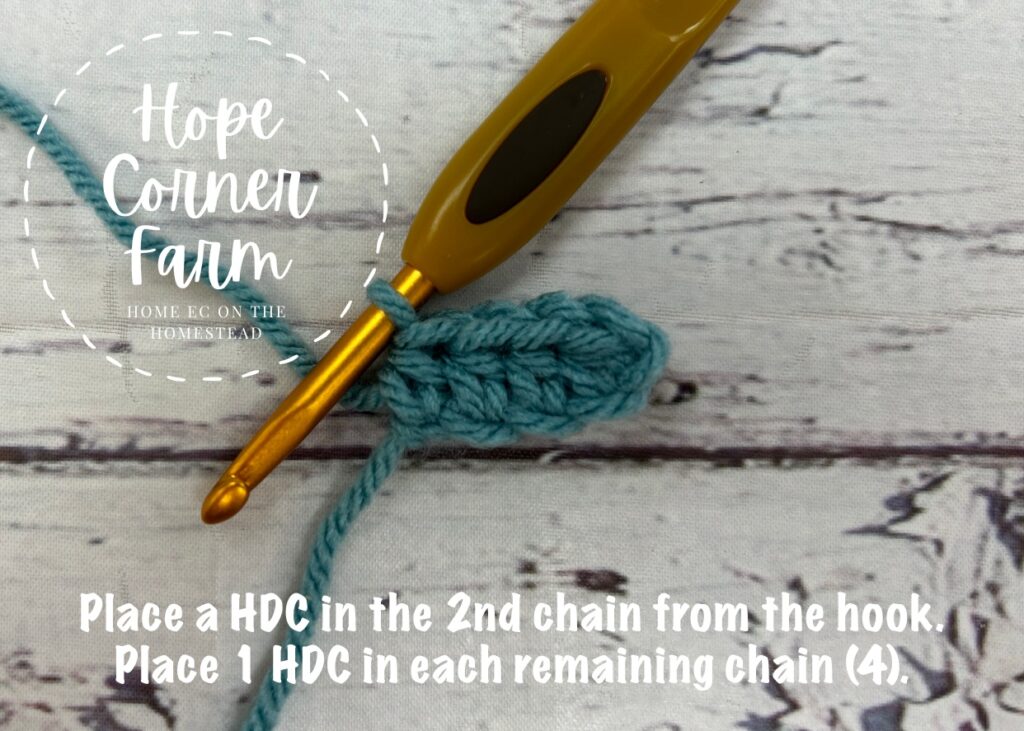
Row 1:
Place a HDC in the 2nd chain from the hook. Place one HDC in each remaining chain. (4)
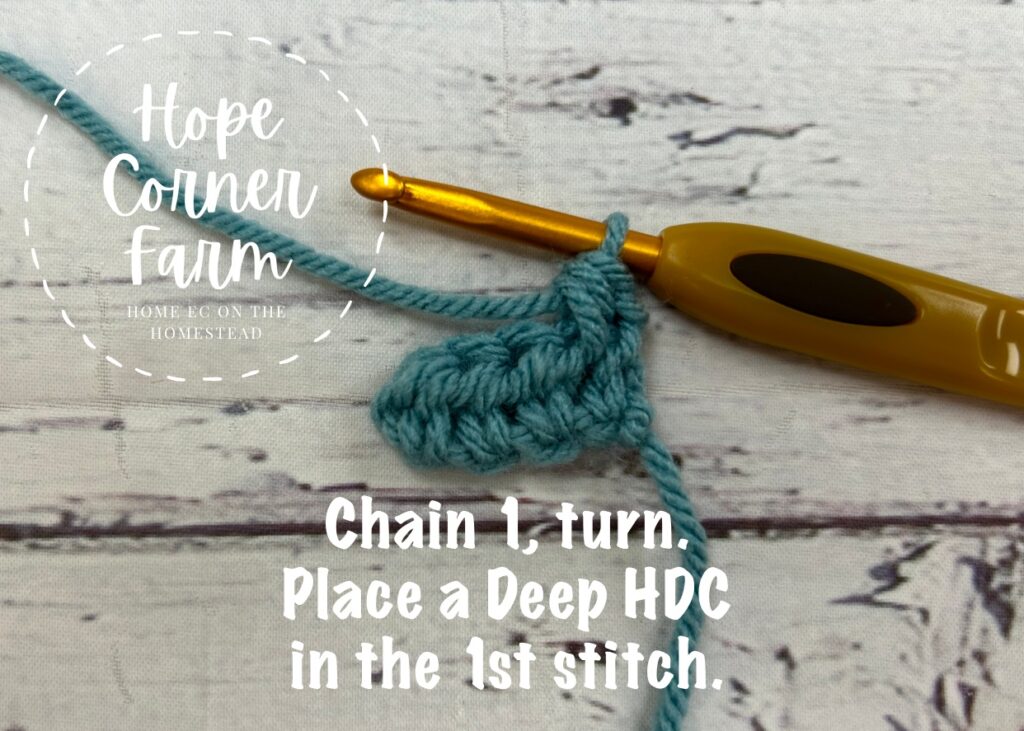
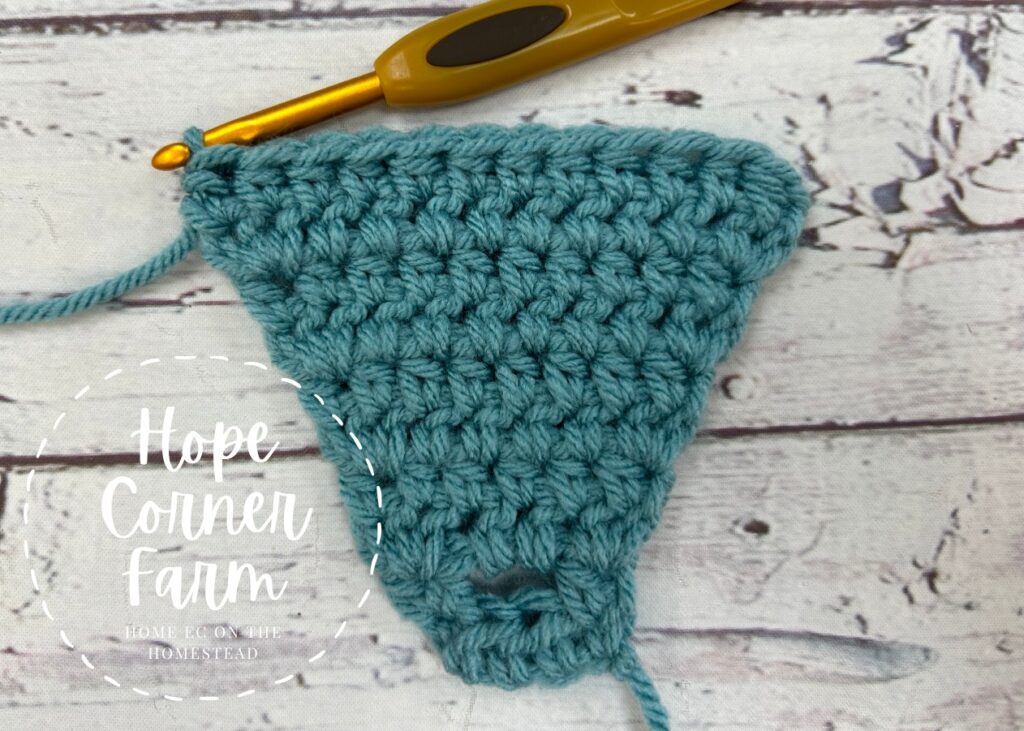
Free Crochet Flower Headband – Row 2:
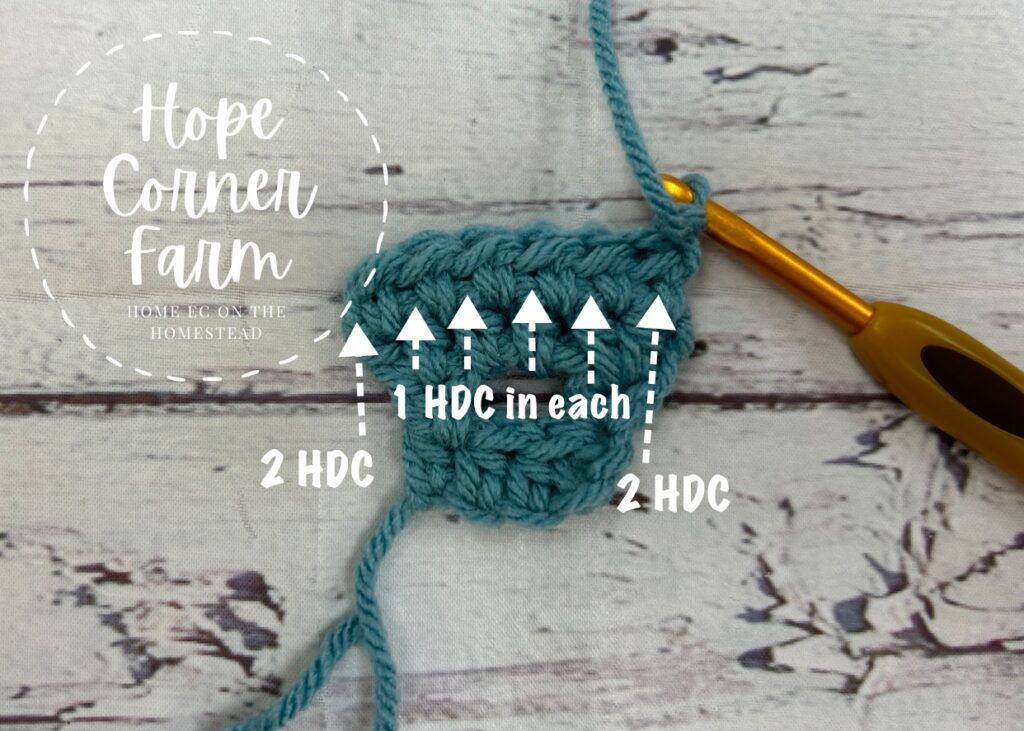
Now chain 1 and turn. Place a Deep HDC in the first stitch. Chain two. 2 Deep HDC go in the last stitch. (5)
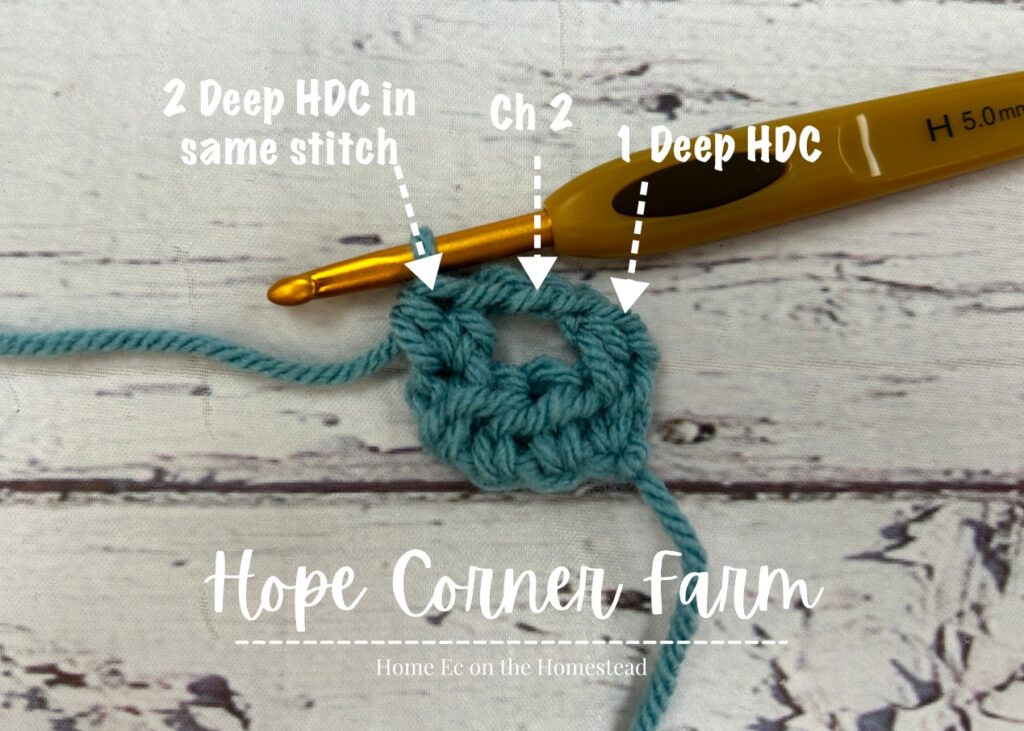
Row 3:
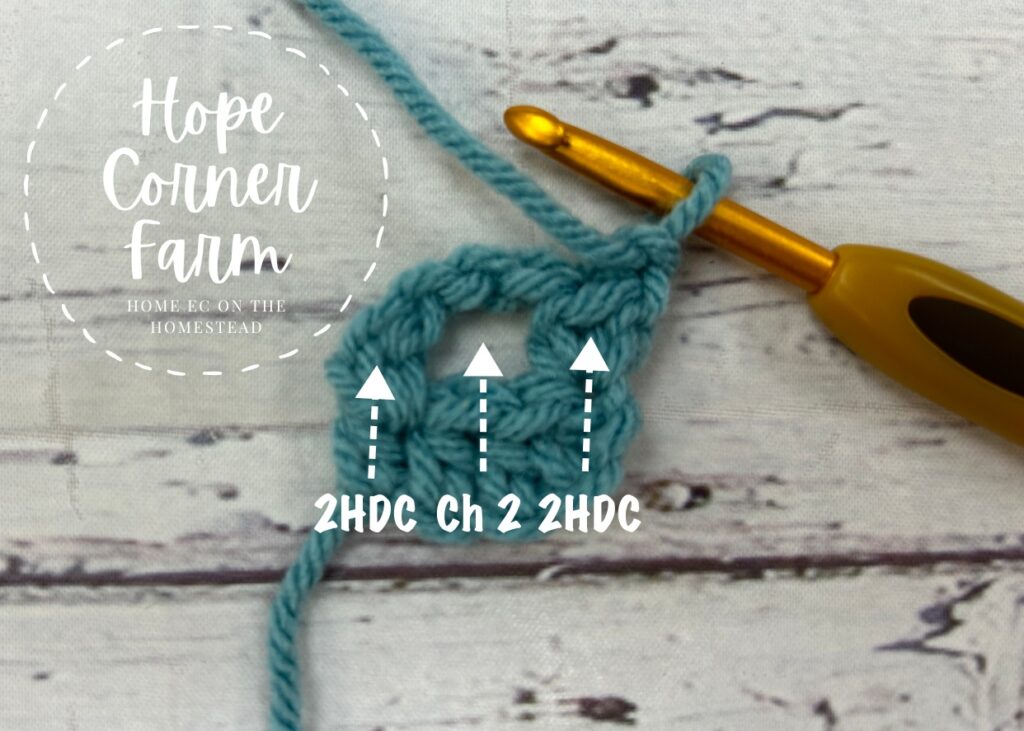
Next chain 1 and turn. Place 2 Deep HDC in the first stitch. Put 2 HDC in the chain 2 space. Put 2 Deep HDC in the last stitch. (6)
Crochet Flower Headband – Row 4:
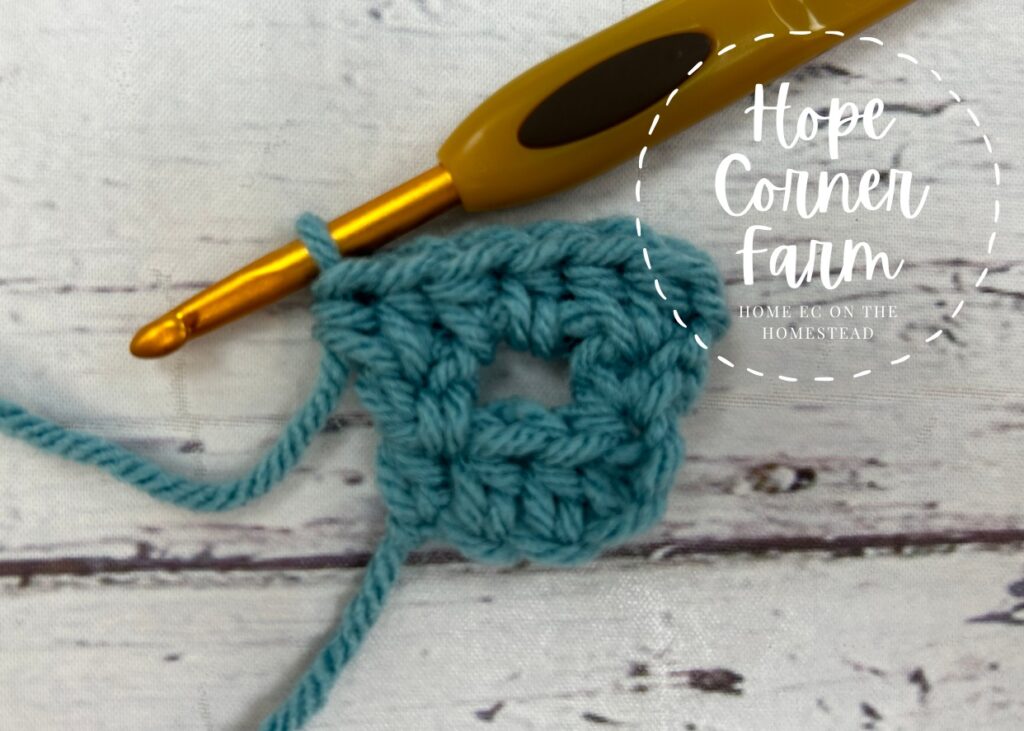
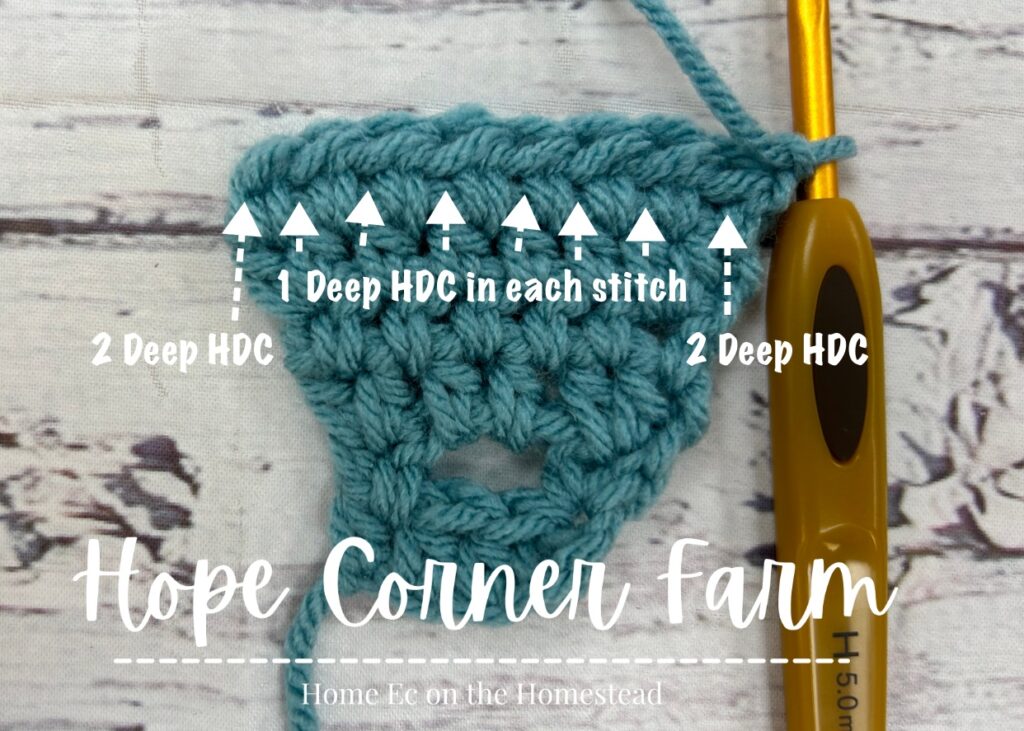
Now chain 1 and turn. Place one Deep HDC in each stitch across. (6)
Row 5:
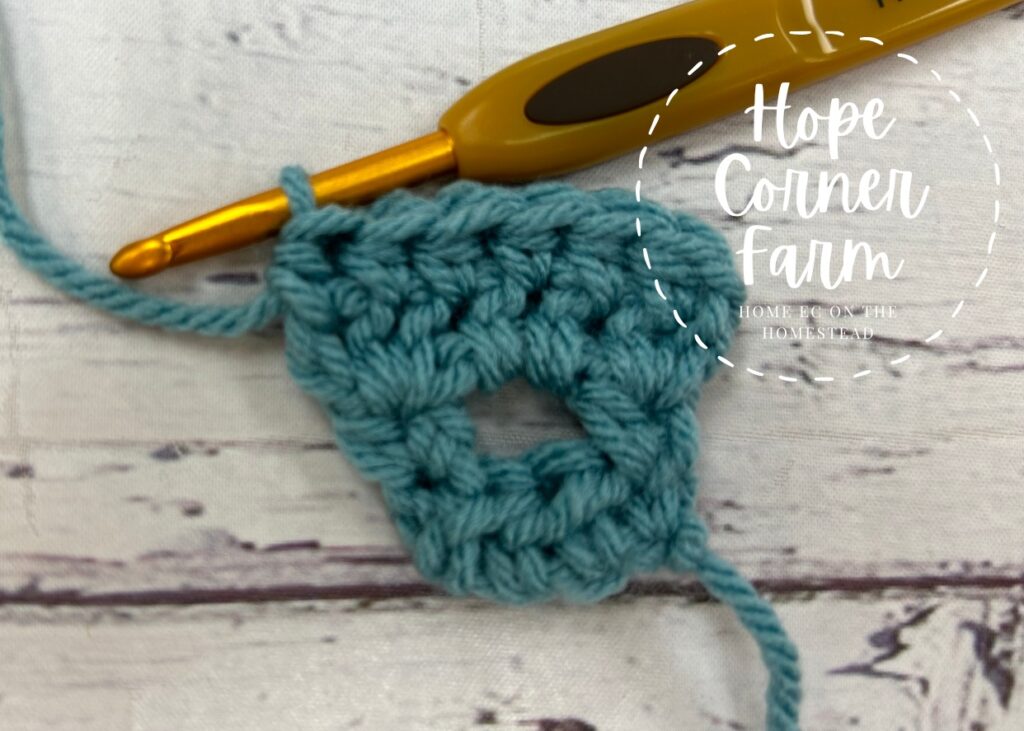
Next chain 1 and turn. Place 2 Deep HDC in the first stitch. Put one Deep HDC in each of the next 4 stitches. 2 Deep HDC go in the same last stitch. (8)
Crochet Flower Headband Row 6:
Now chain 1 and turn. Place one Deep HDC in each stitch across the row. (8)
Row 7:
Begin by chaining 1 and turning. Put 2 Deep HDC in the first stitch. Place one Deep HDC in each of the next 6 stitches. Put 2 Deep HDC in the last stitch. (10)
Crochet Flower Headband Row 8:
Now chain 1 and turn. Put one Deep HDC in each stitch across. (10)
Row 9:
Next chain 1 and turn. 2 Deep HDC go in the first stitch. Now put one Deep HDC in each of the next 8 stitches. Two Deep HDC go in the last stitch. (12)
Crochet Flower Headband – Row 10:
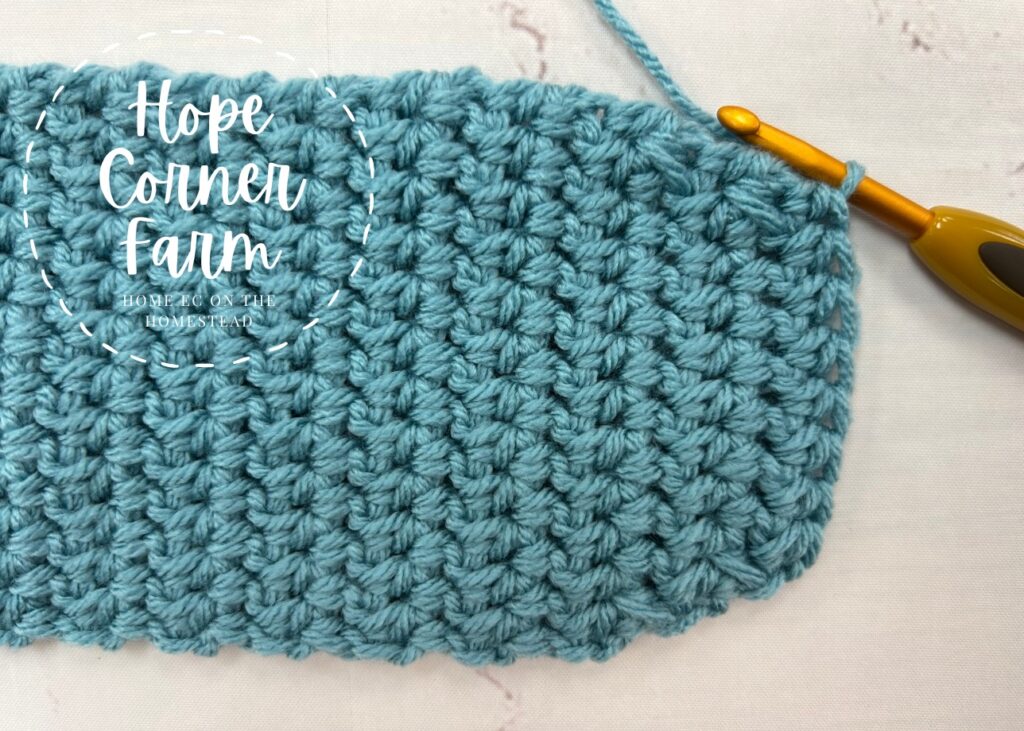
Begin by chaining 1 and turning. Place one Deep HDC in each stitch across the row. (12)
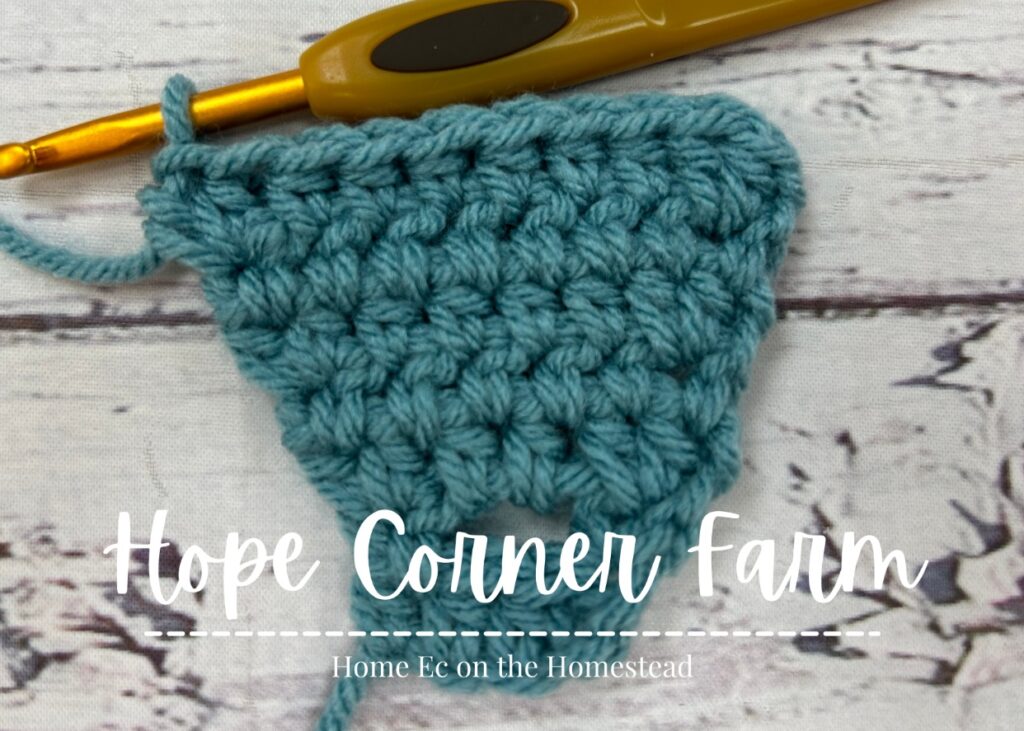
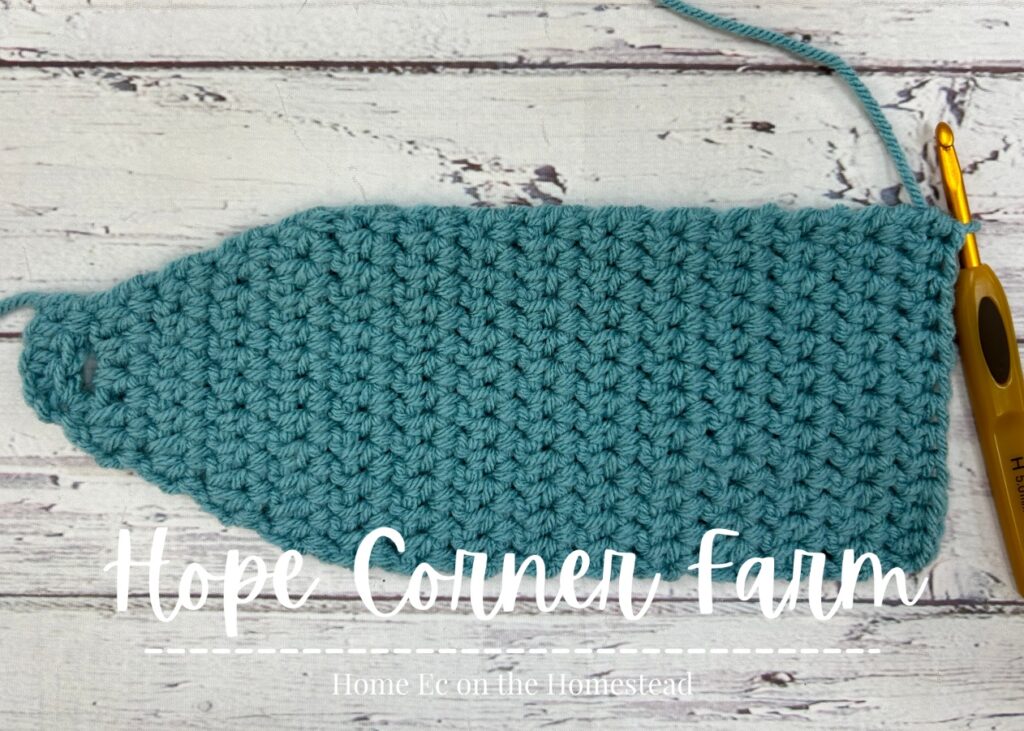
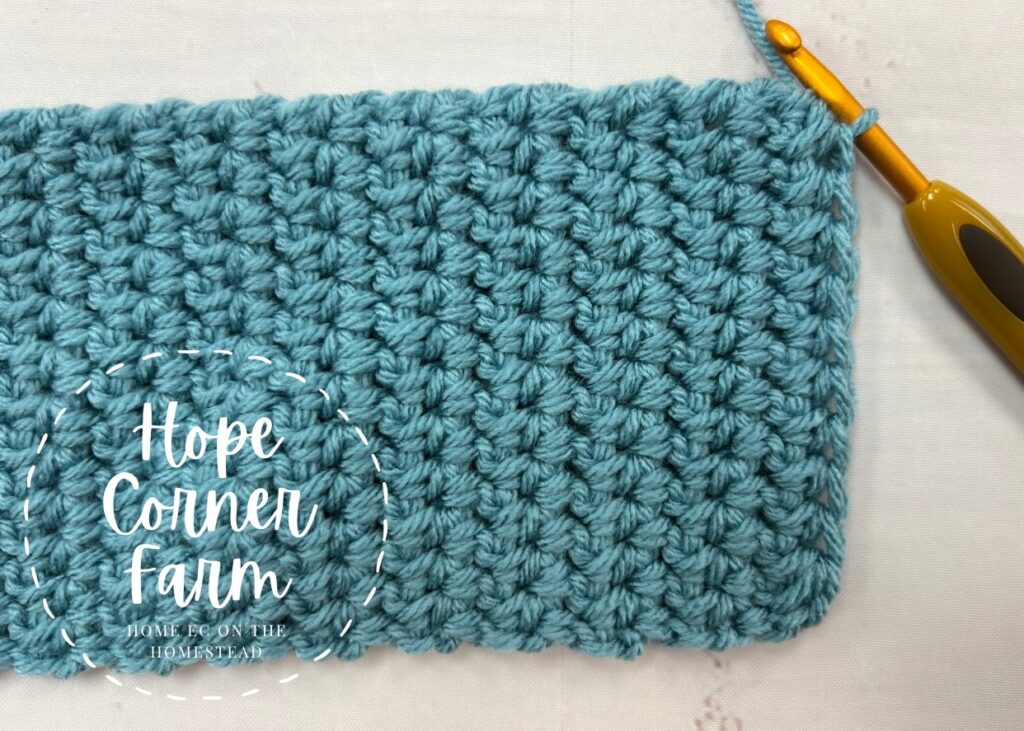
Row 11-Row 56:
For rows 11-56 REPEAT ROW 10!

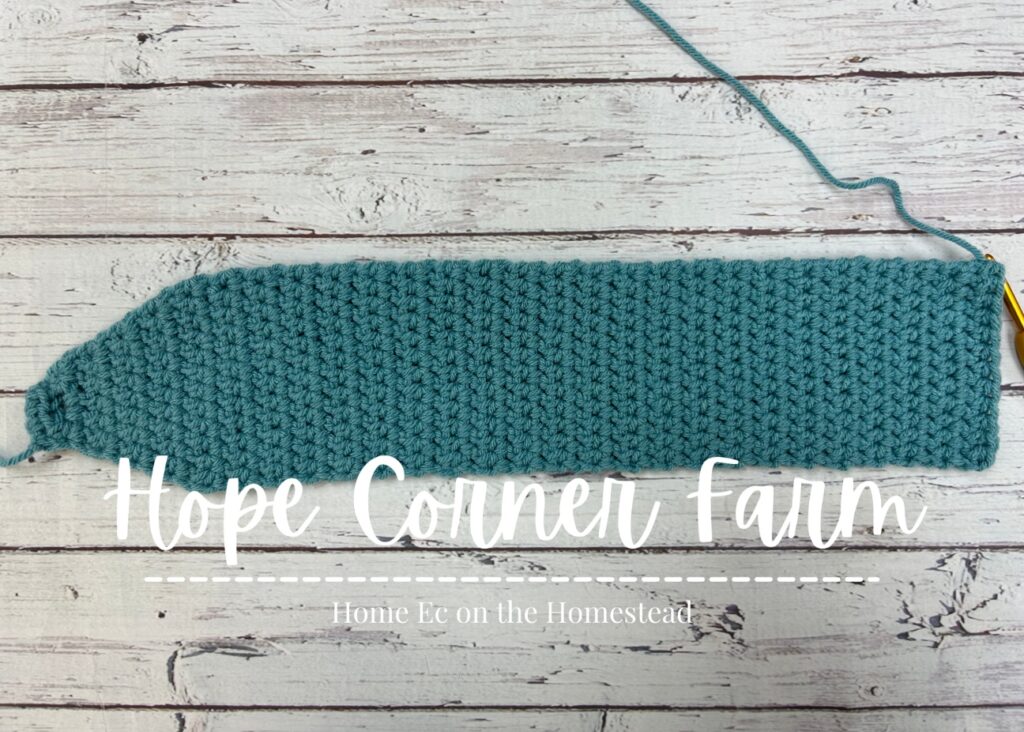
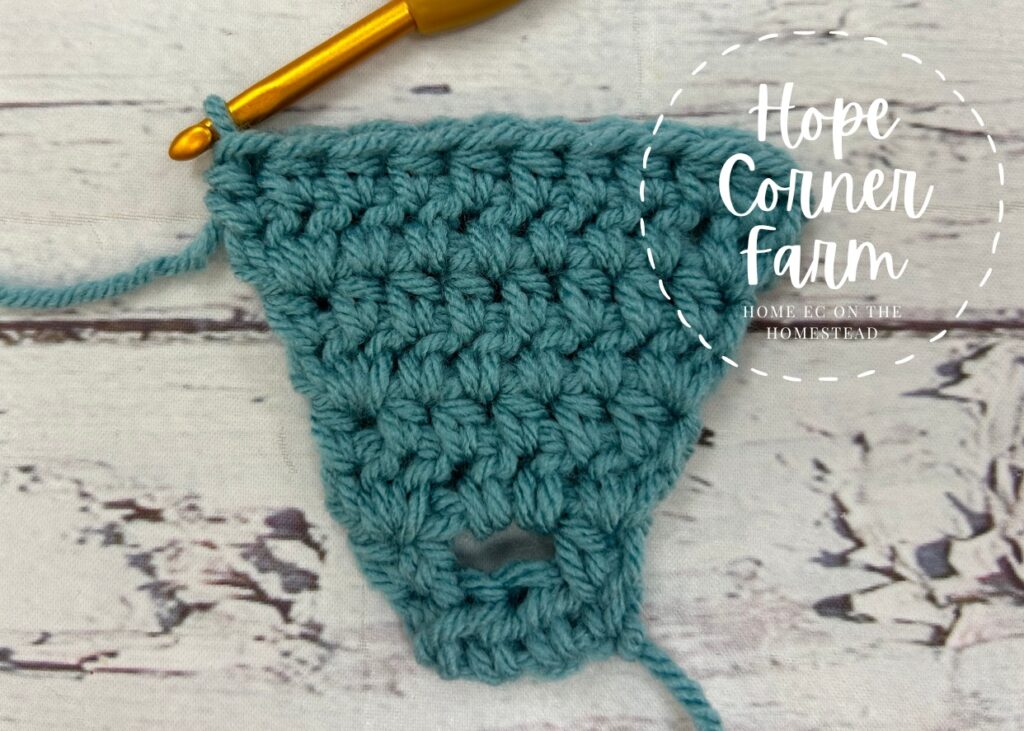
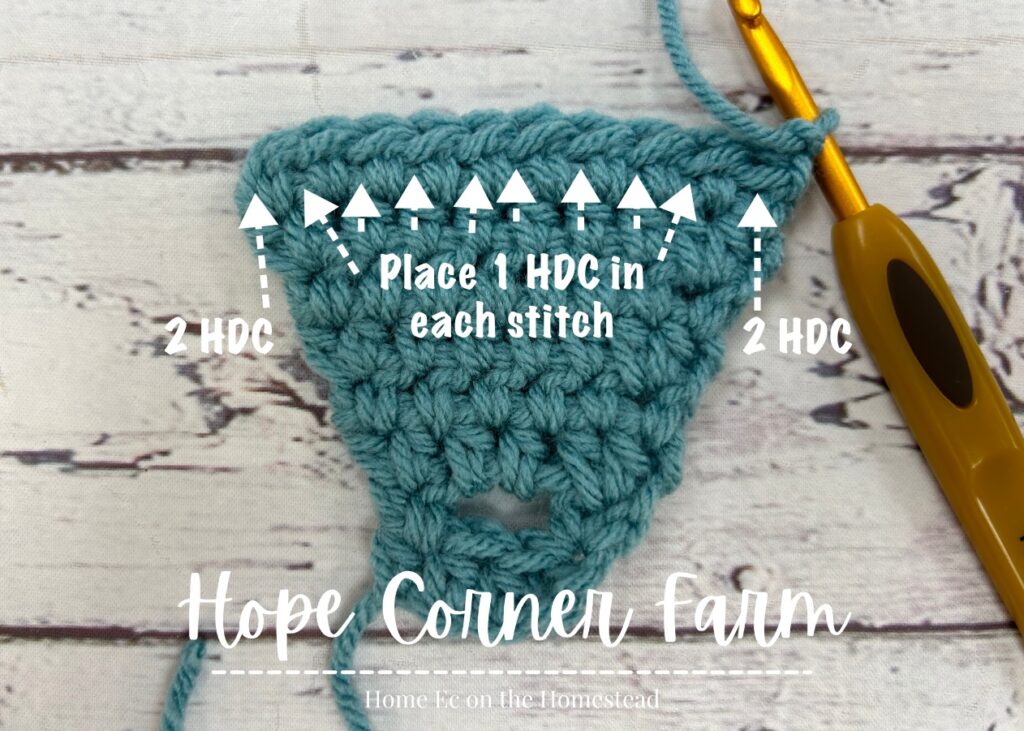
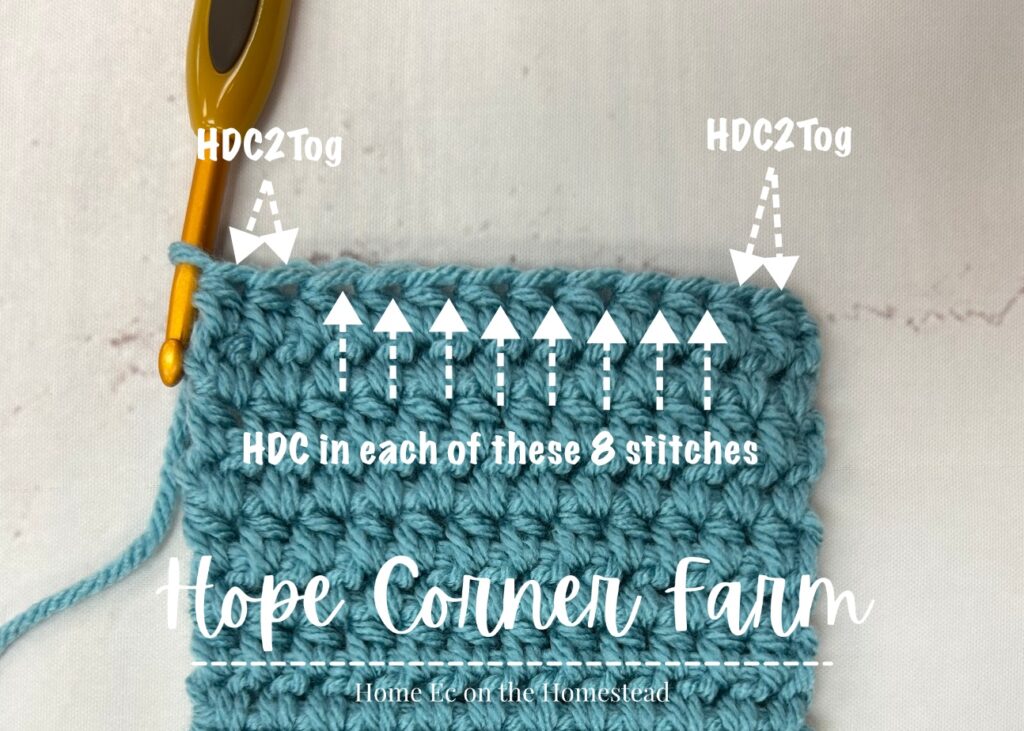
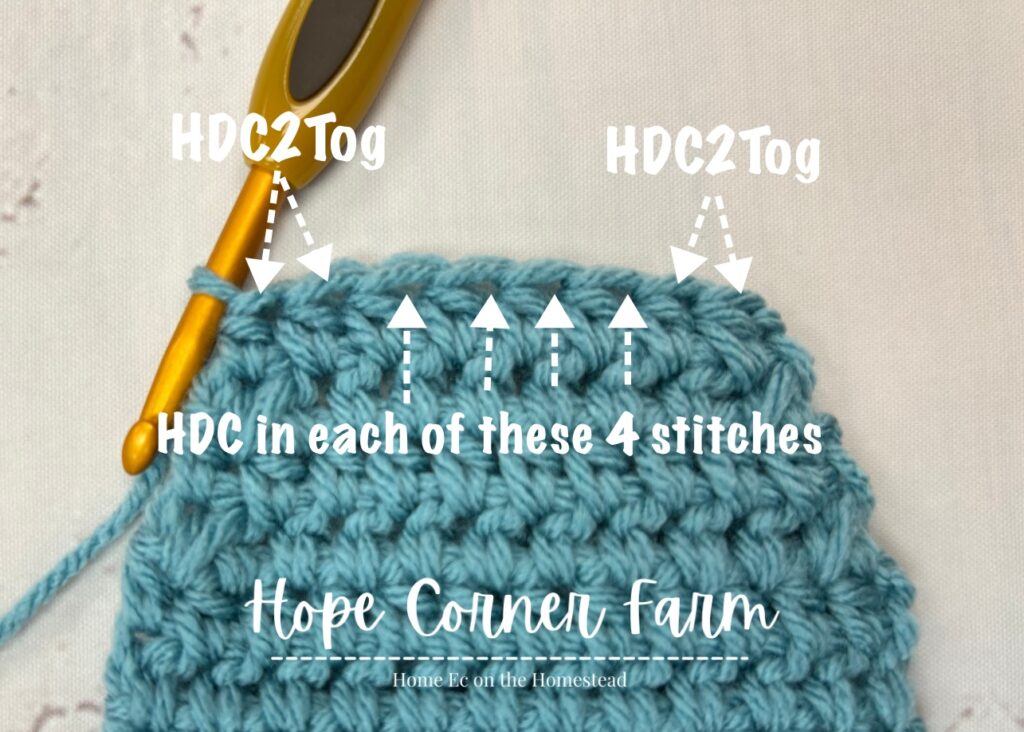
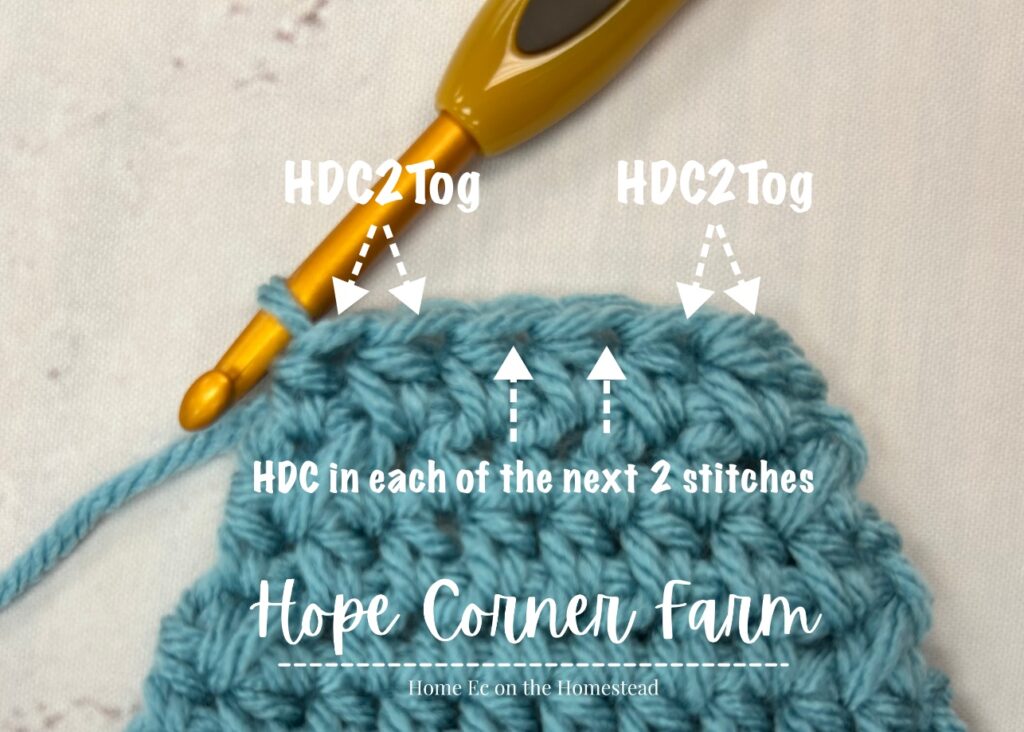
Row 57:
Now chain 1 and turn. HDC2Tog the first 2 stitches. Put one Deep HDC in each of the next 8 stitches. HDC2Tog across the last 2 stitches. (10)
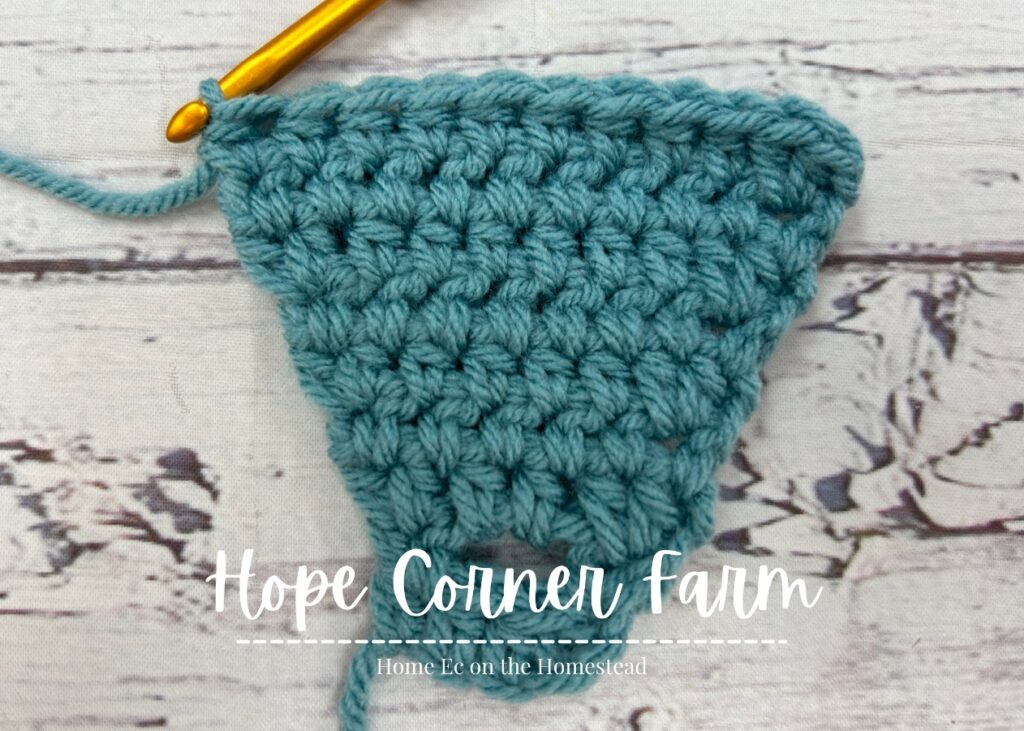
Crochet Flower Headband Row 58:
Next chain 1 and turn. Place one Deep HDC in each stitch across the row. (10)
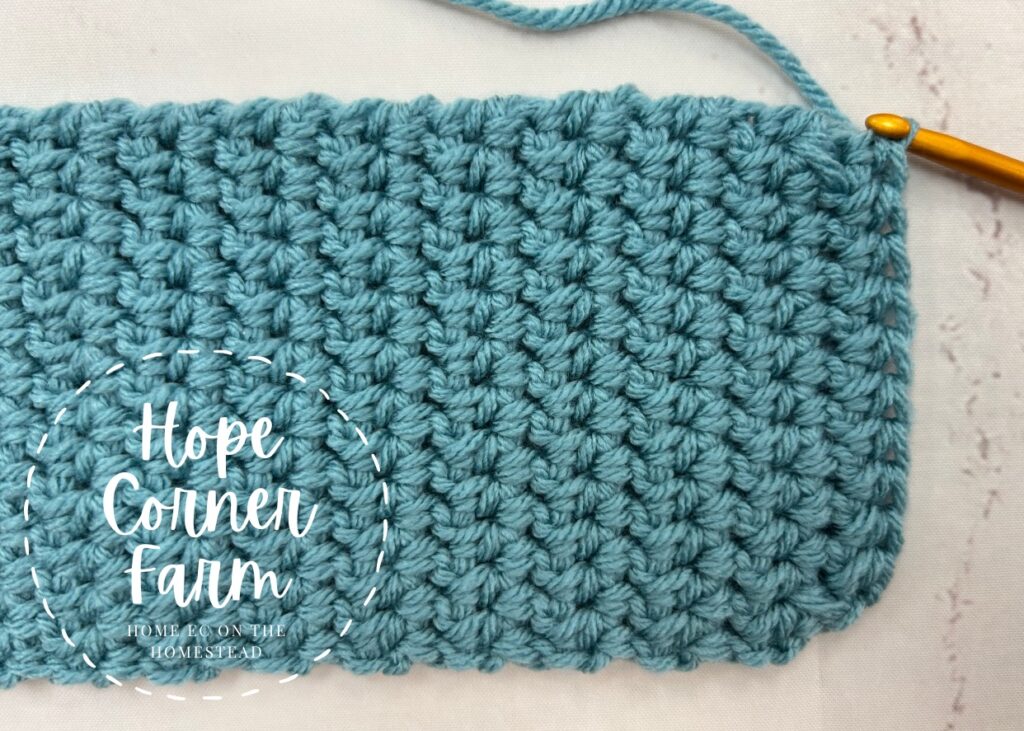
Row 59:
Now chain 1 and turn. HDC2Tog the first 2 stitches together. Place one Deep HDC in each of the next 6 stitches. HDC2Tog across the last 2 stitches. (8)
Flower Headband Row 60:
Begin by chaining 1 and turning. Place one Deep HDC in each stitch across. (8)
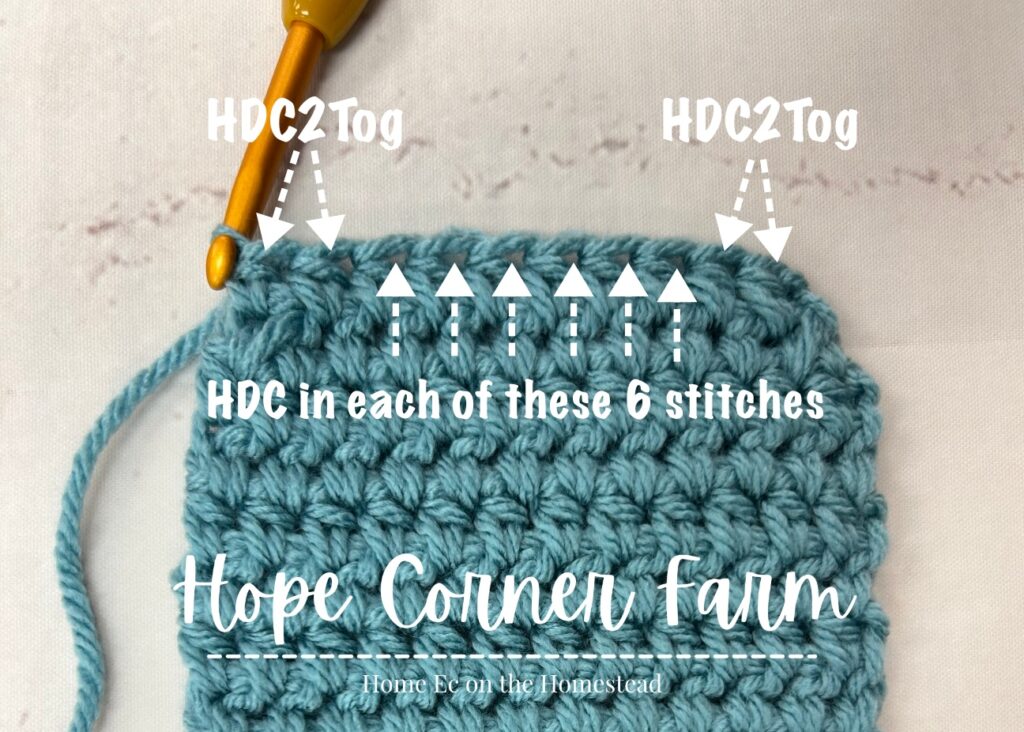
Row 61:
Now chain 1 and turn. HDC2Tog across the first 2 stitches. Put one Deep HDC in each of the next 4 stitches. HDC2Tog across the final 2 stitches. (6)
Crochet Flower Headband Row 62:
Next chain 1 and turn. Place one Deep HDC in each stitch across. (6)
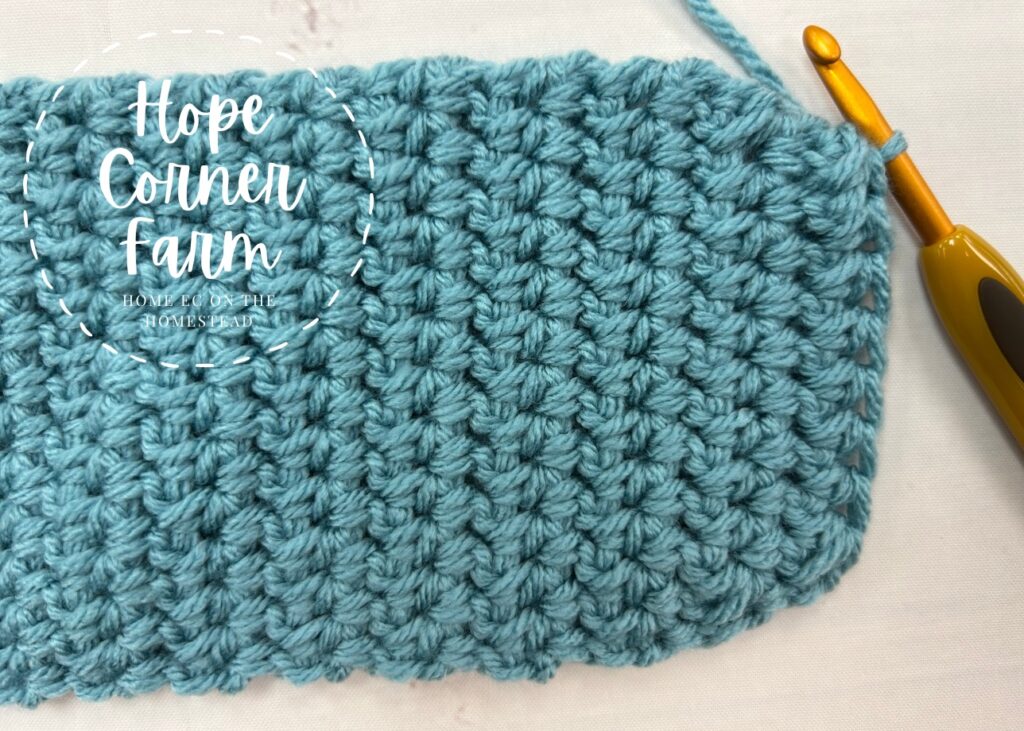
Row 63:
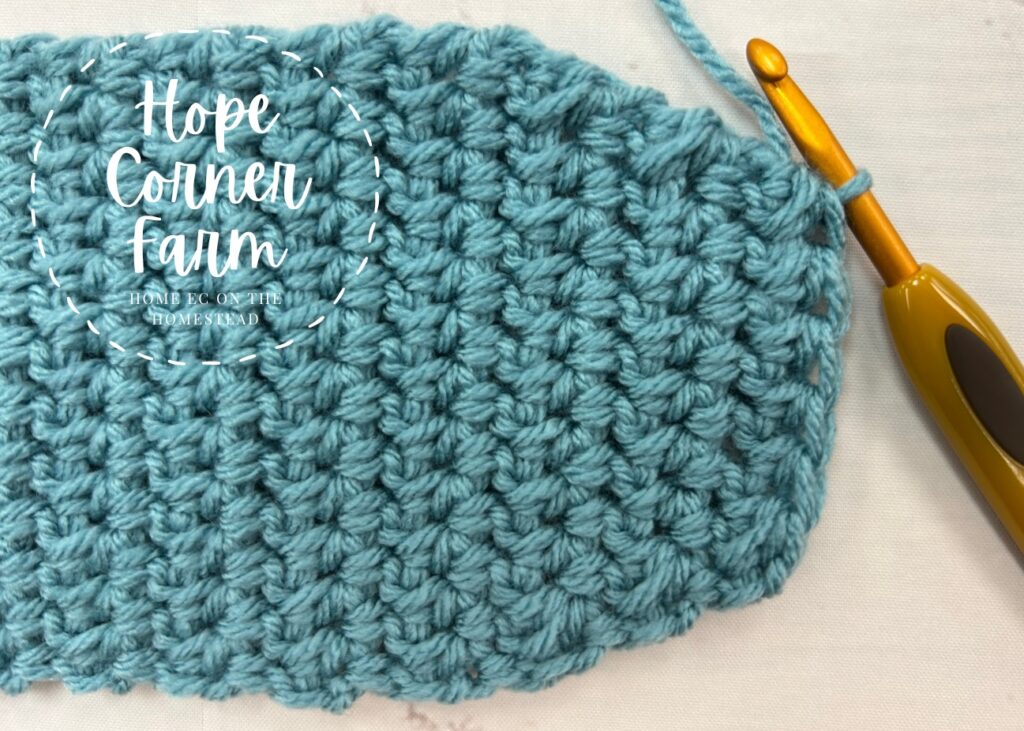
Begin by chaining 1 and turning. HDC2Tog across the first 2 stitches. Place one Deep HDC in each of the next 2 stitches. HDC2Tog across the final 2 stitches. (4)
Row 64:
Now chain 1 and turn. Place one Deep HDC in each stitch across. (4)
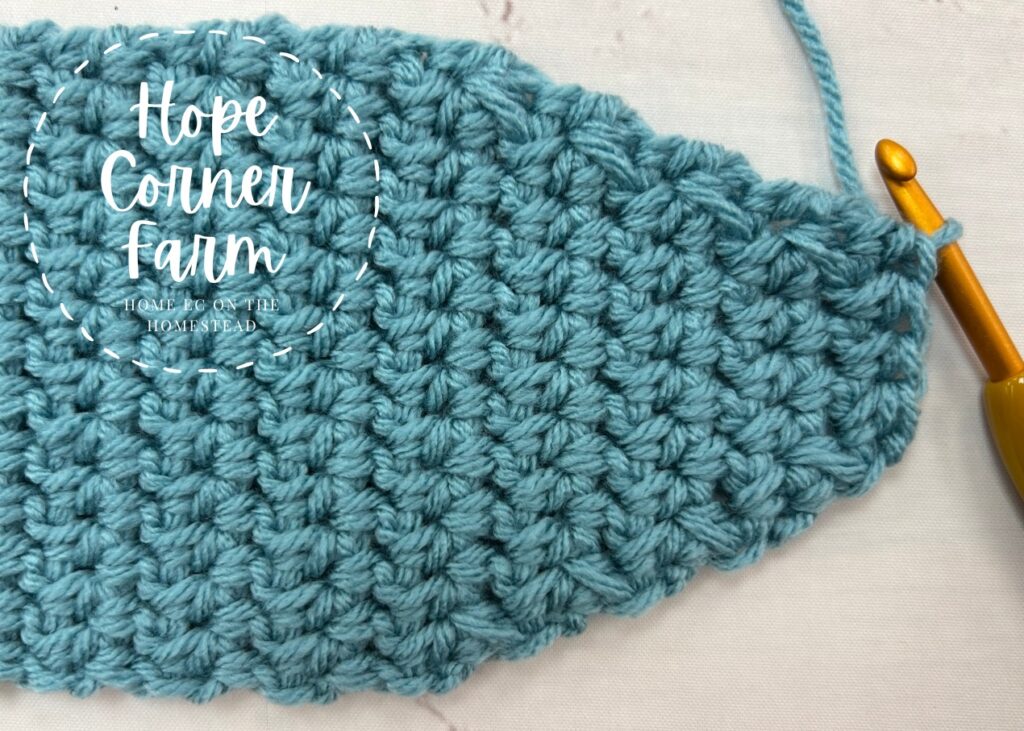
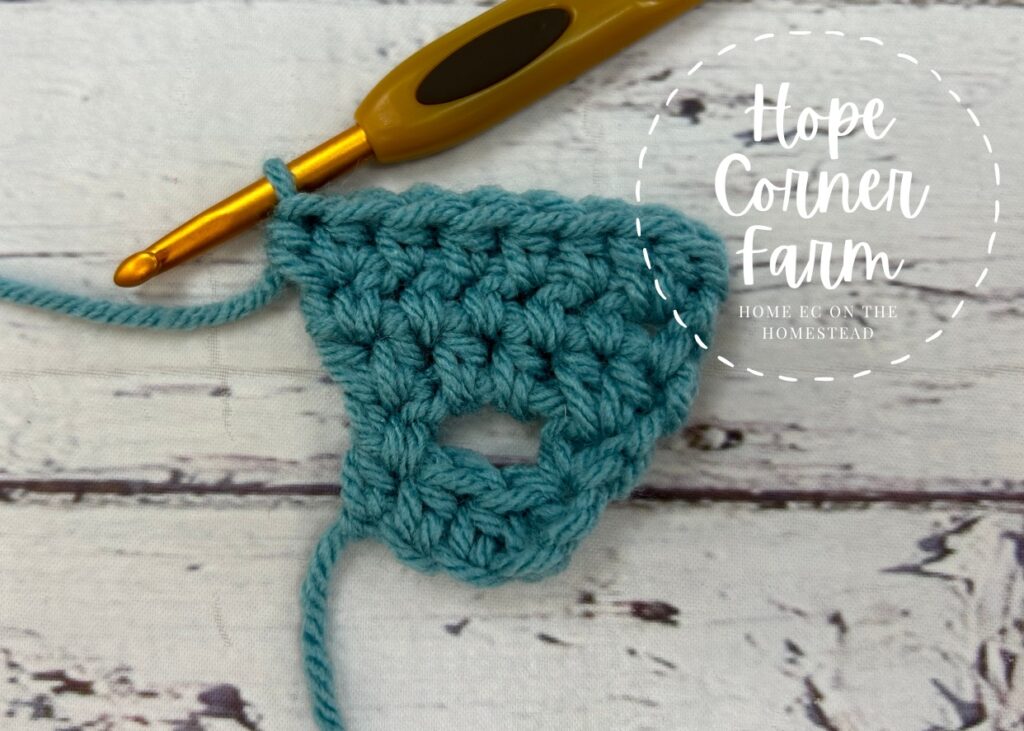
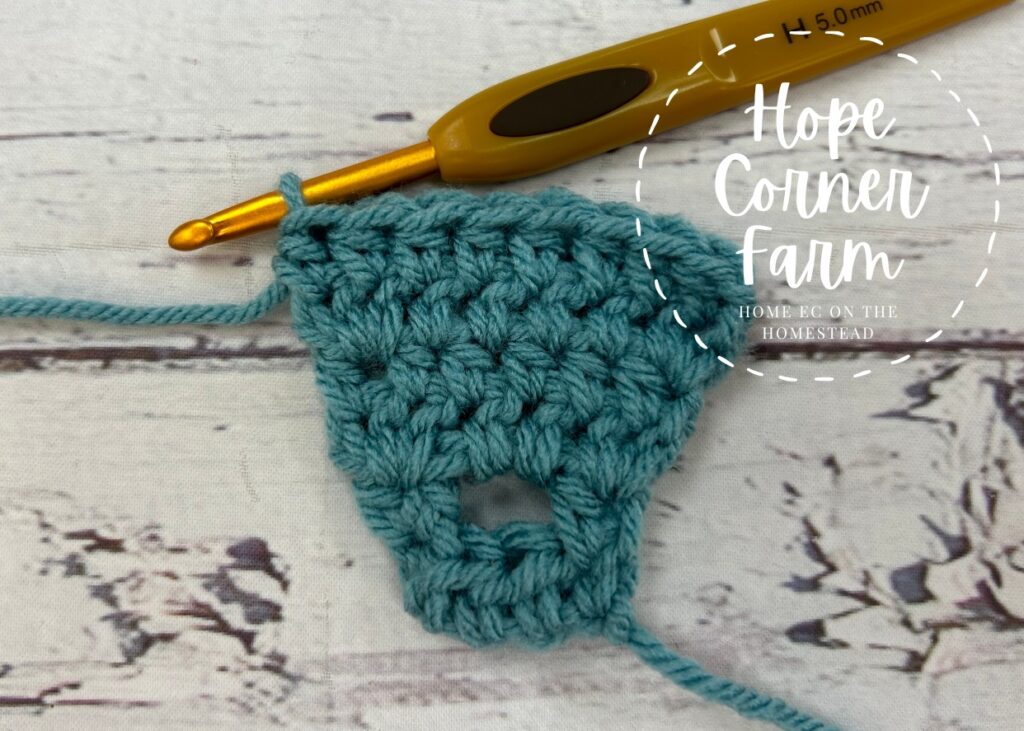
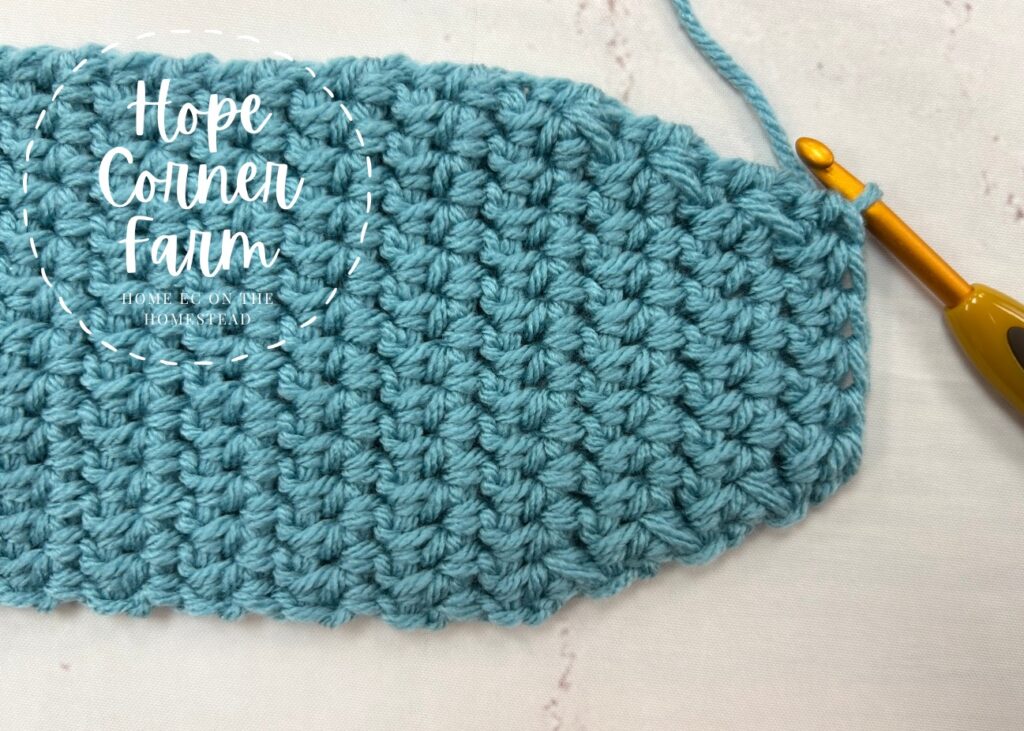
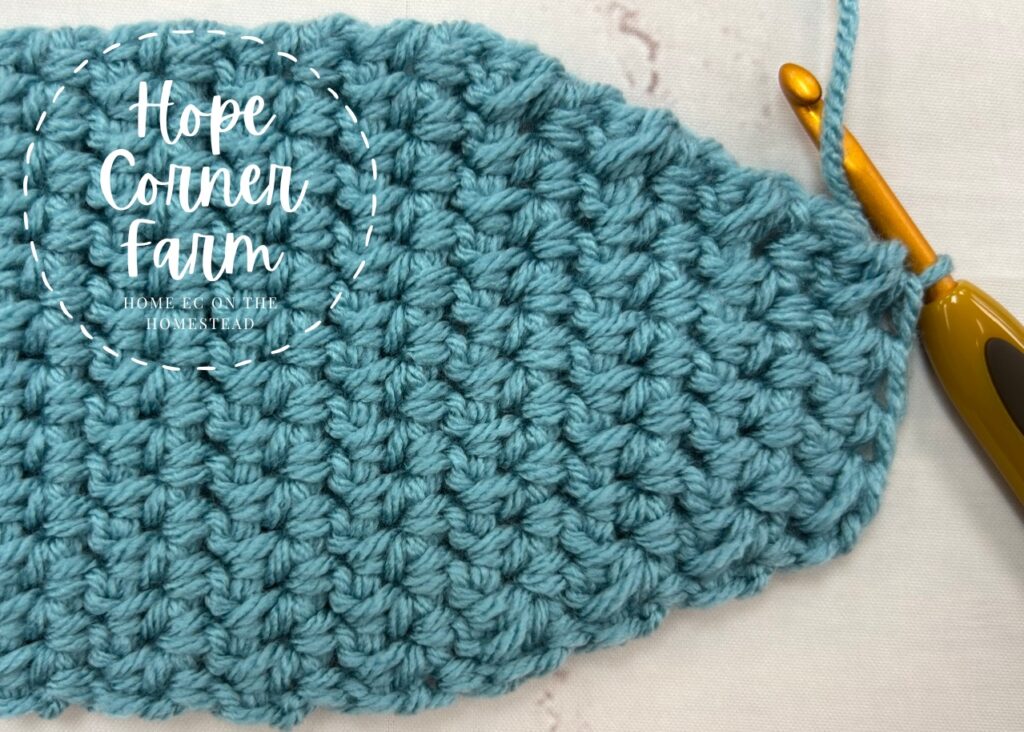
Fasten Off:
Finally cut the headband free from the skein of yarn. Fasten off. Weave in ends.
Creating the Flower:
Please use this pattern for creating the crochet flower to attach to the crochet headband.
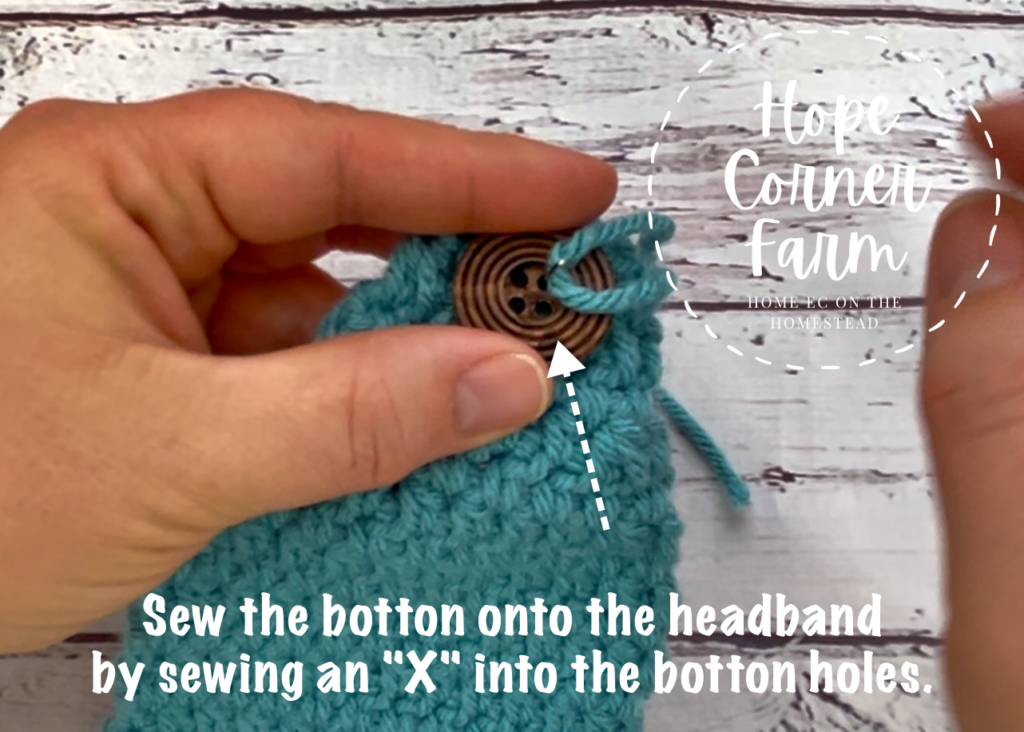
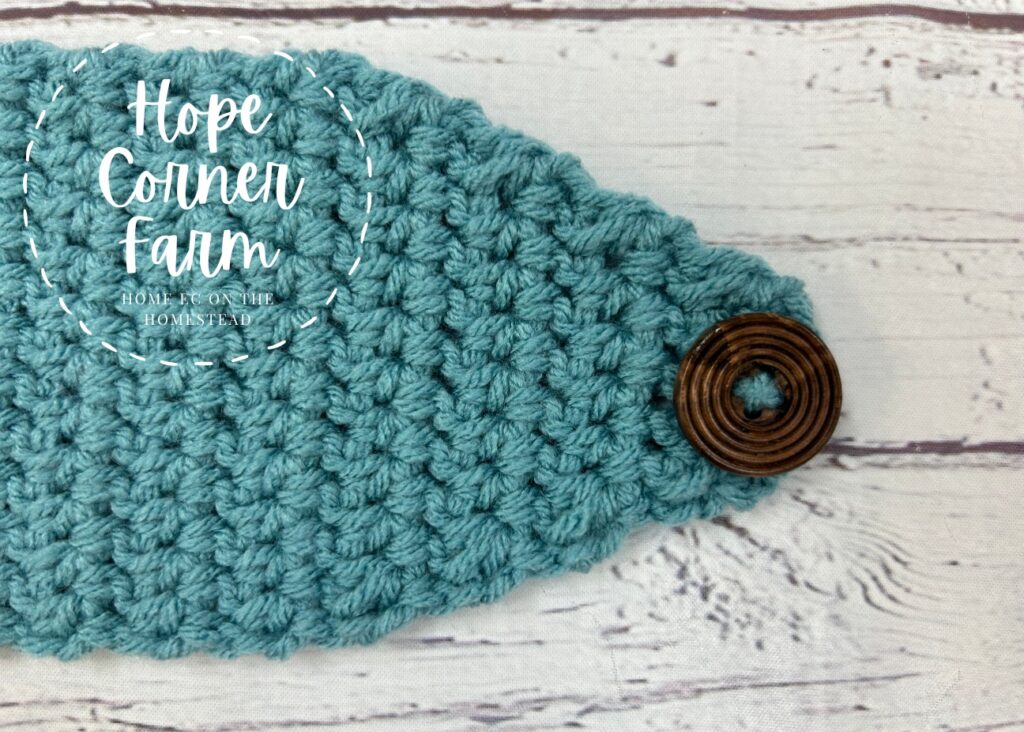
Sewing the First Button Onto the Headband:
Now grab one of the buttons. Place it on the end that does not have the button hole. Sew the button down using matching yarn and a yarn needle. I like to tie a double knot on the back of the headband for extra security.

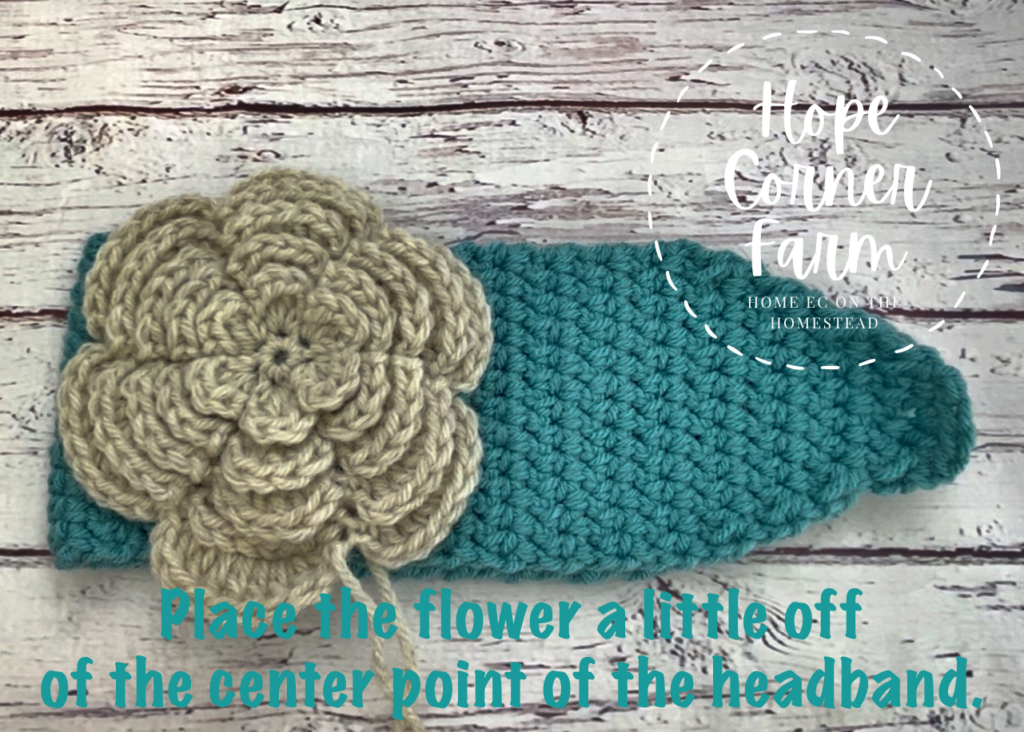
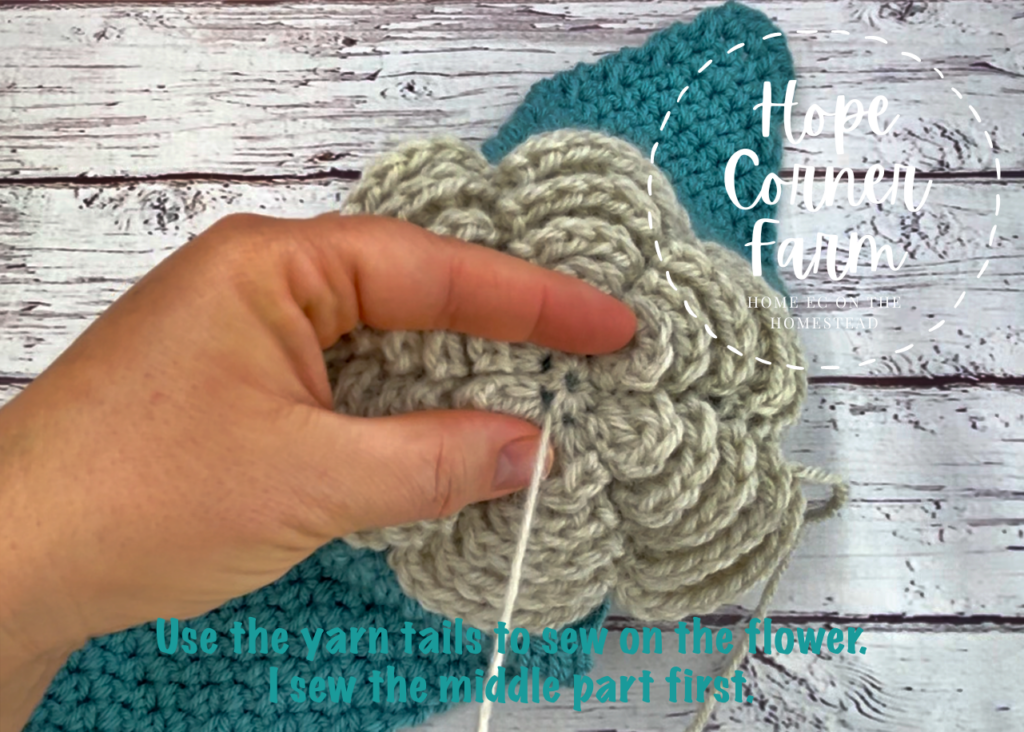
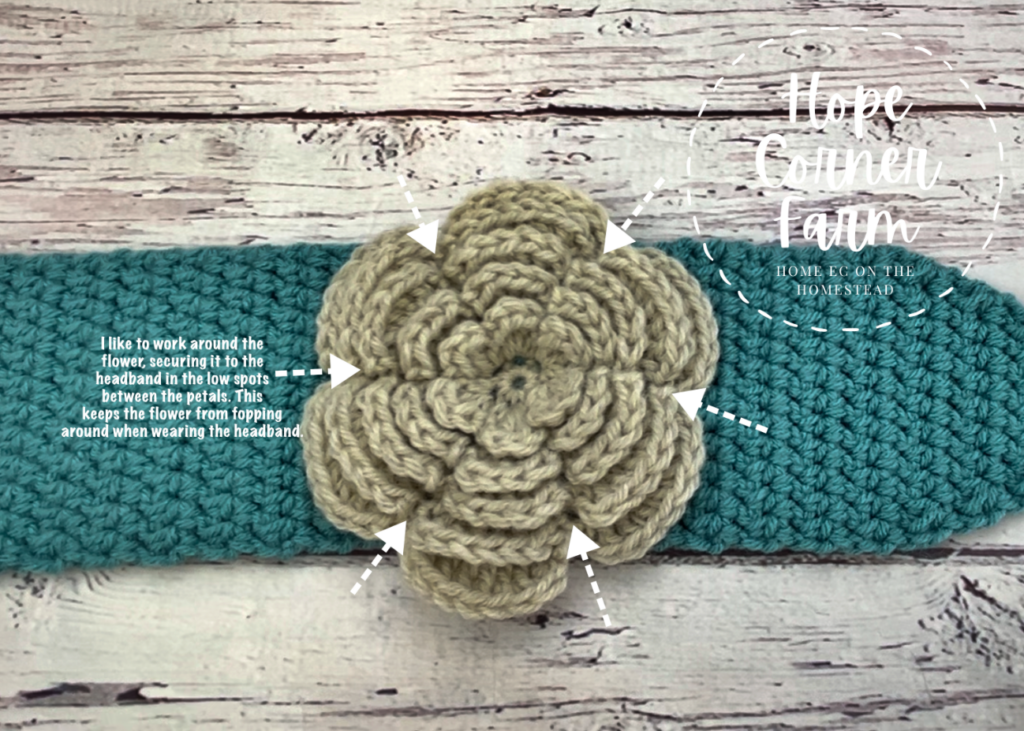
Attaching the Crochet Flower:
Next we will sew on the crochet flower. First fold the headband in half. Place the flower a little off the center fold. Make sure to sew the flower onto the right side of the headband. Use the yarn tails to sew the crochet flower to the headband. First sew the middle of the flower to the headband. Second sew the flower down by placing one small security stitch in the low point between the outer flower petals. Weave in the yarn tails after sewing the flower onto the headband.
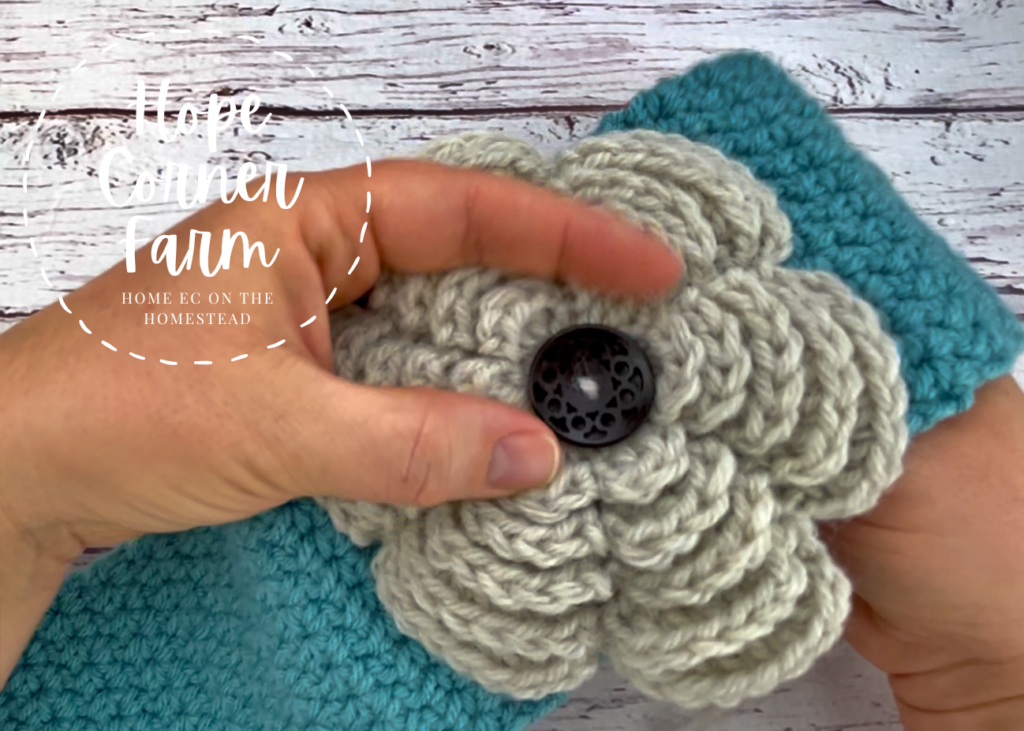
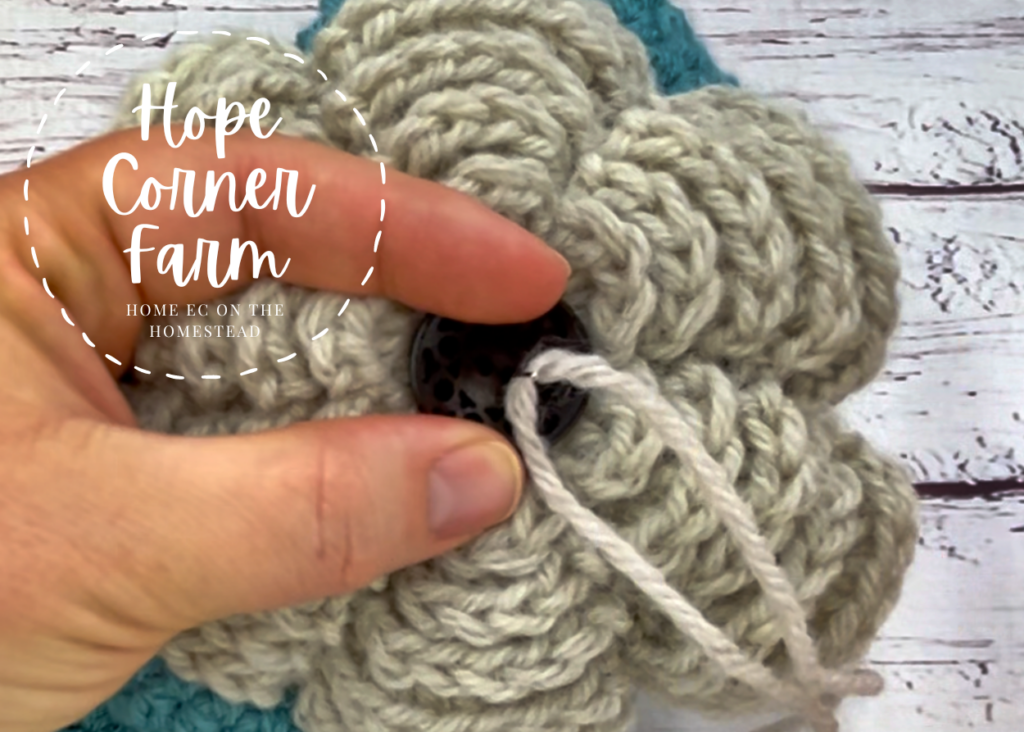
Sewing the Button Onto the Flower:
Finally attach the second button to the flower. Next place the button in the middle of the flower. Sew it down. Again I like to tie a knot on the wrong side of the headband for extra security. Weave in the ends.
Crochet Flower Headband Video:
Crochet Flower Video Tutorial:
How to Sew on the Flower & Buttons Video Tutorial:
Wrapping Up How to Crochet a Flower Headband:
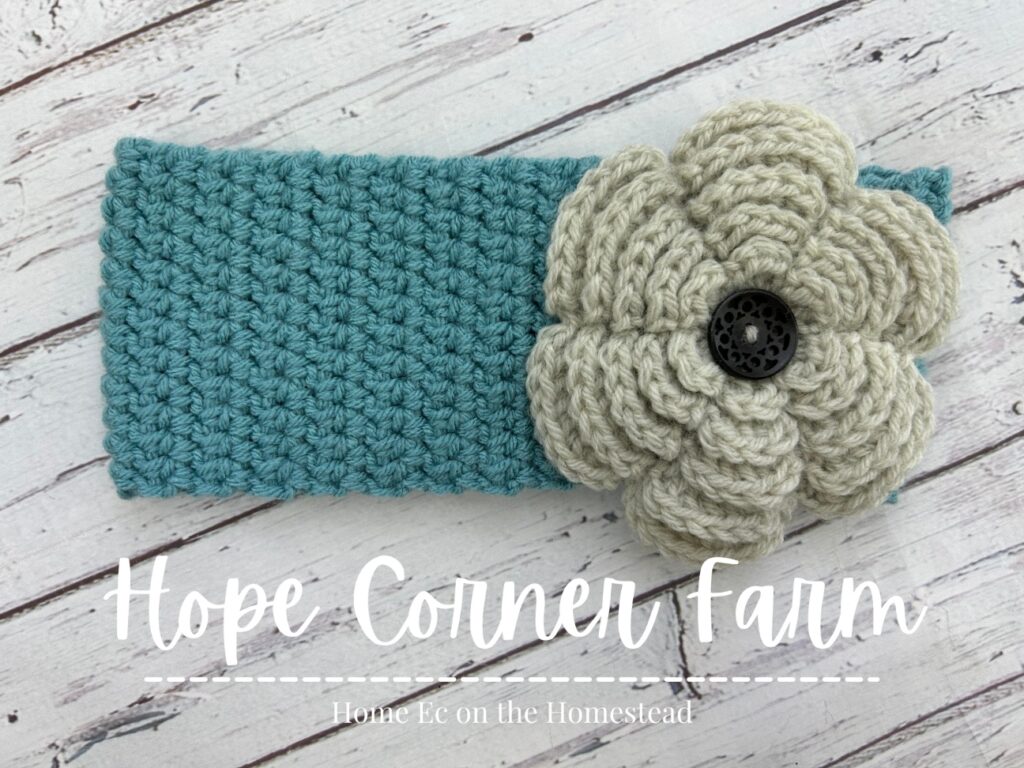
And that’s the Crochet Flower Headband! I hope you found this tutorial helpful! Finally if you want more crochet fun delivered to your inbox hope on over and join our newsletter!

Many Blessings,

Looking for more crochet headbands? Check these crochet patterns out!
Crochet Velvet Thermal Twist Headband from Hope Corner Farm
Crochet Buffalo Plaid Flower Headband from Hope Corner Farm
Free and Easy Crochet Ear Warmer – The Sweetgrass from Hope Corner Farm