
How To Make a Tie Blanket
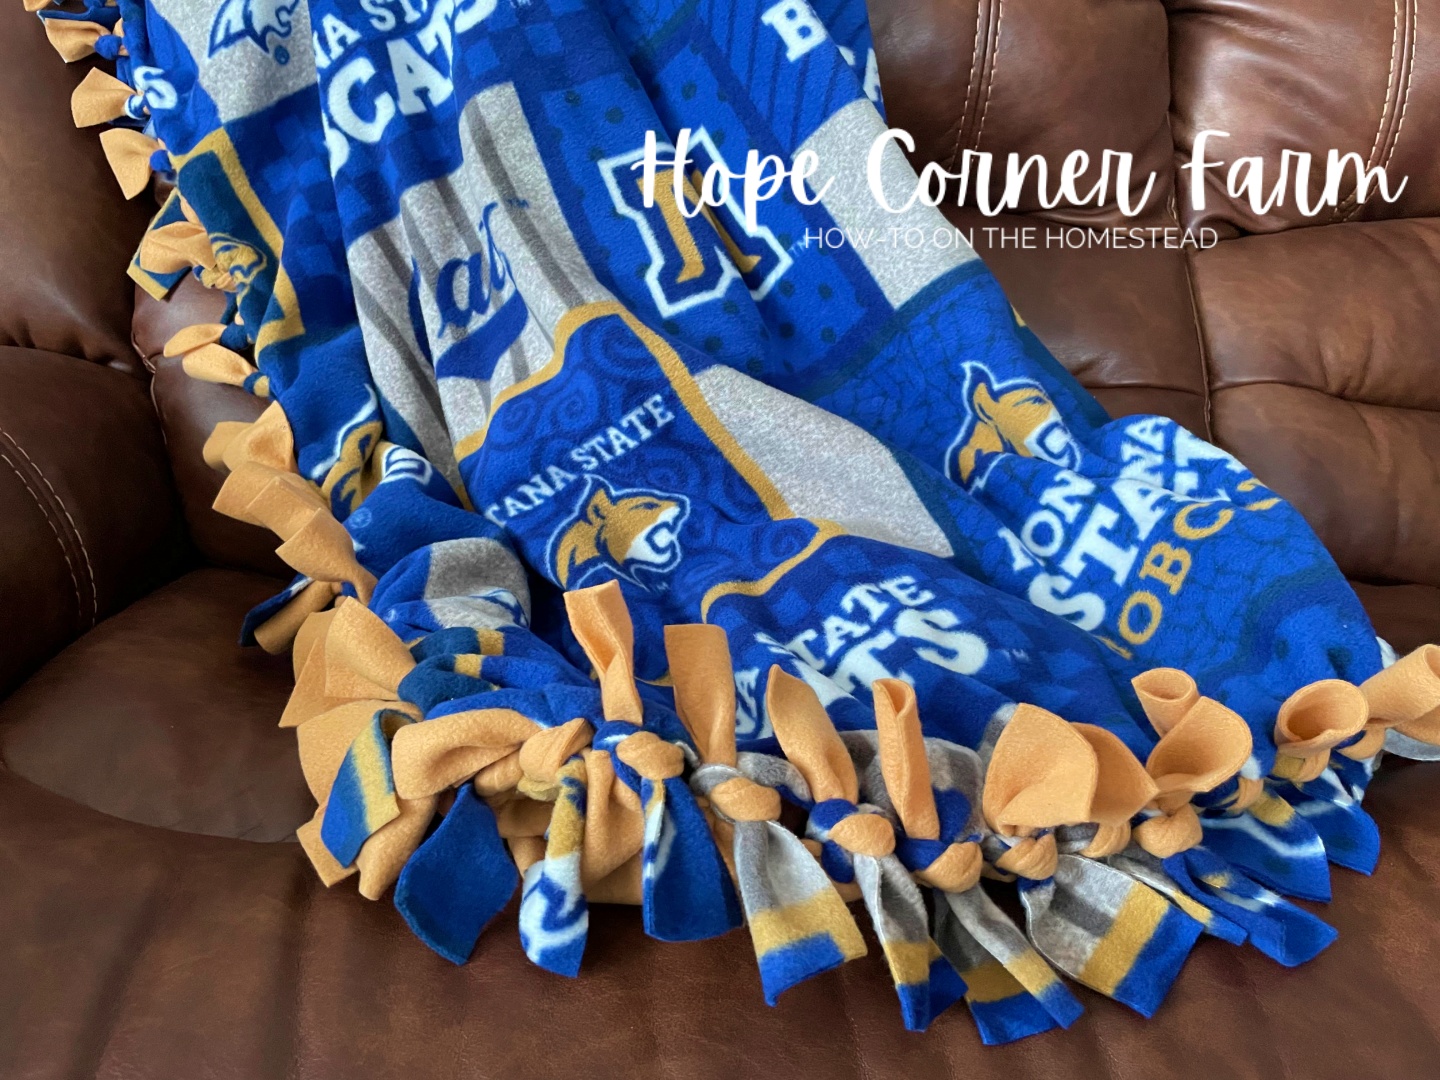

In a cold-weather climate, having numerous blankets is always a good idea. In our house, we love fleece tie blankets. They are easy to make, super warm, and can be customized for every person. Today I am going to share a quick and simple tutorial for how to make a tie blanket. This is a project that really can be completed in a day or so. Let’s get creating!

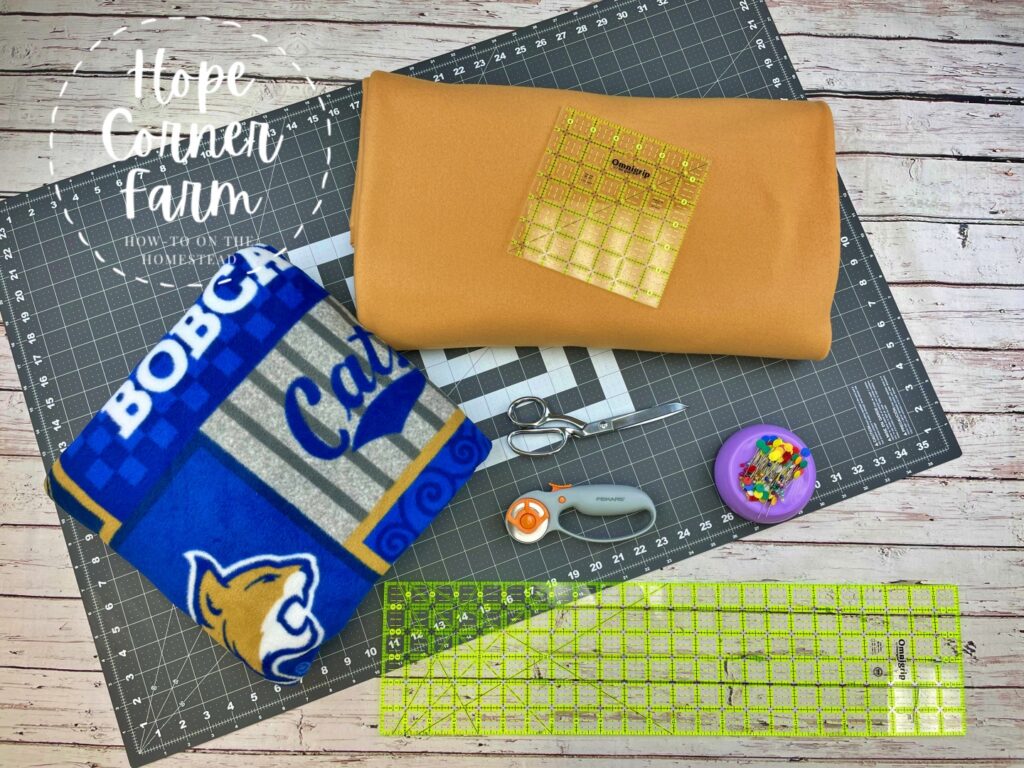
Materials Needed for a Tie Blanket:
-2 yards of 60″ wide fleece for color #1 of the Tie Blanket
-2 yards of 60″ wide fleece for color #2 of the Tie Blanket
-Quilters ruler/ruler/tape measure (I prefer a quilter’s ruler that is 6″x24″ and a quilter’s ruler that is 5.5″ x 5/5″)
-Rotary cutter or pair of sewing scissors (I prefer the rotary cutter – 45mm in size)
-Self-healing mat (if using a rotary cutter)
-Pins
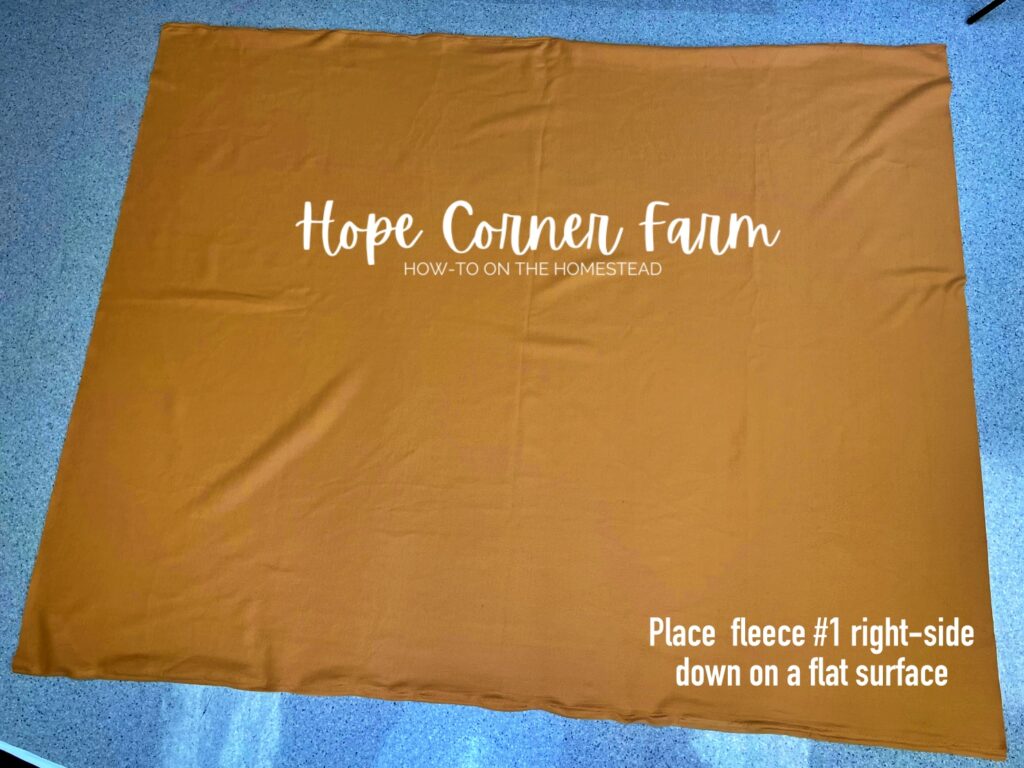
How to Make a Tie Blanket – Step One:
Take the COLOR #1 fleece and place it right-side (the nice side) down on a large, flat surface. The pretty or nice side of the fabric should be facing the flat surface, and the not so nice side of the fleece should be facing up.
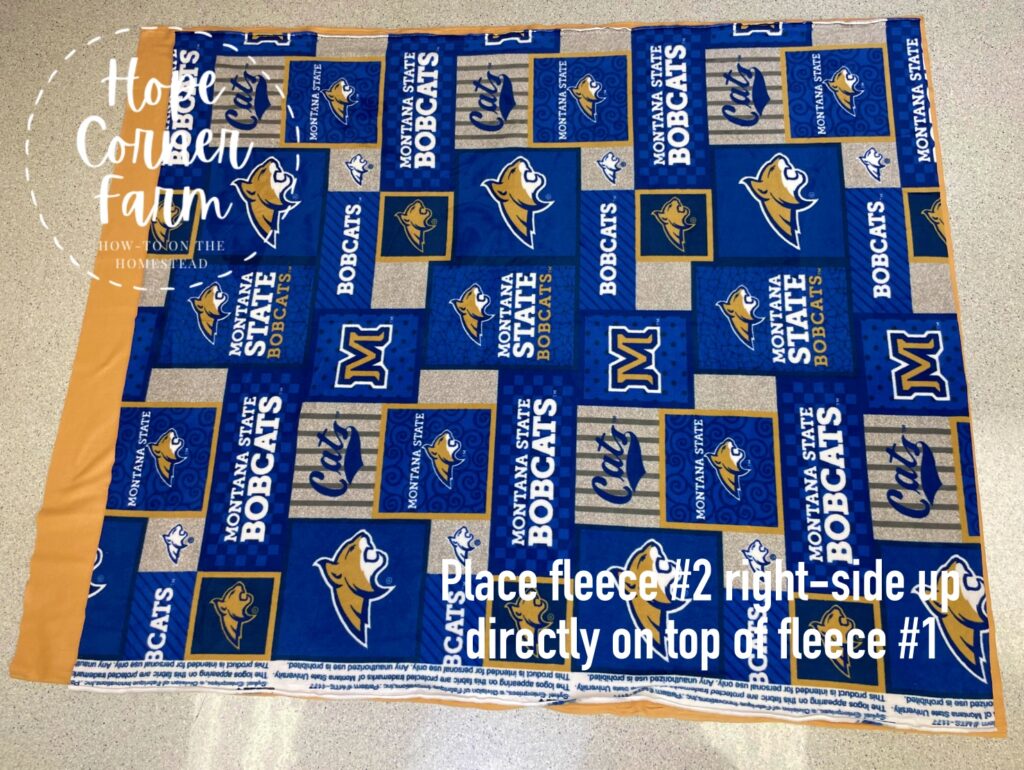
How To Make a Tie Blanket – Step Two:
Place COLOR #2 fleece directly on top of color #1. The right-side (or nice side) of color #2 should be facing up. Try to evenly match up the edge (we will trim them since most fabrics are not cut square off of the bolt). Smooth out any wrinkles in the fabrics.

How To Make a Tie Blanket – Step 3:
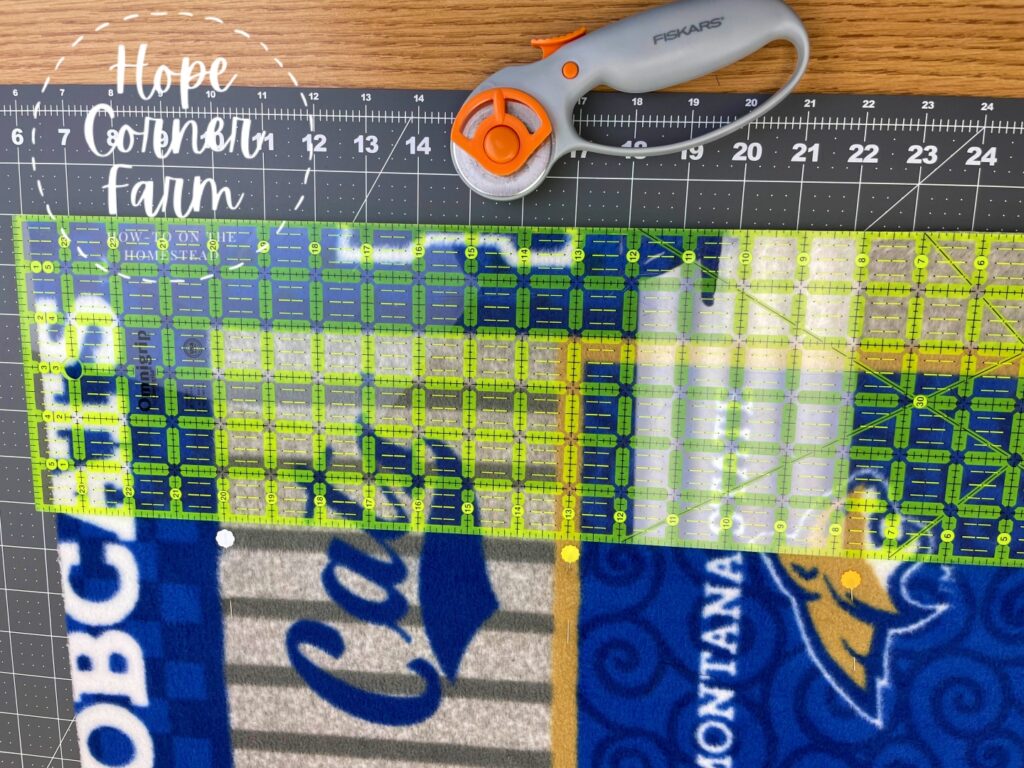
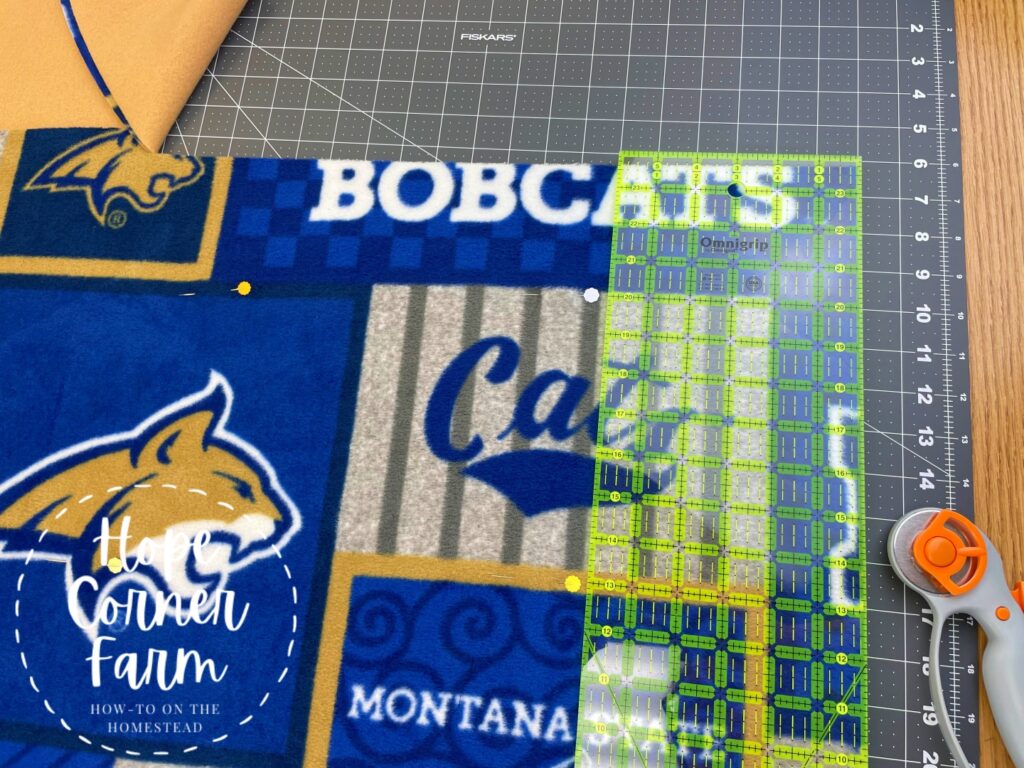
Trim both of the pieces of fleece so that ALL of the edges are even and straight. I love using my 6″x24″ quilter’s ruler and a rotary cutter for this step.
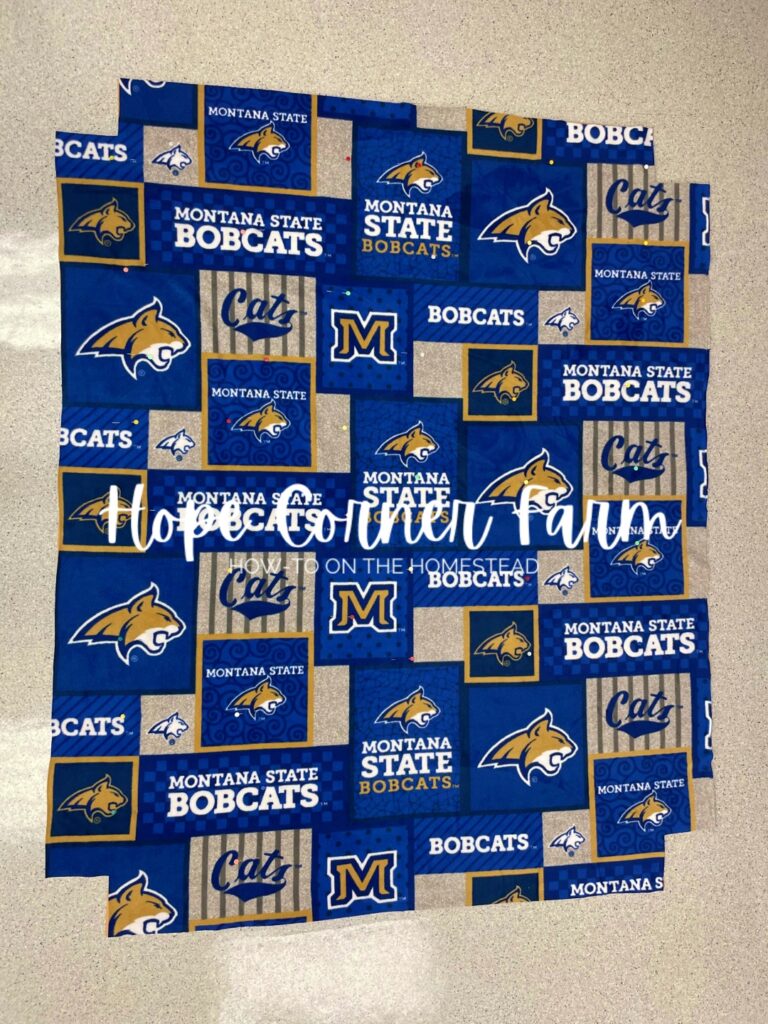
How To Make a Tie Blanket – Step 4:
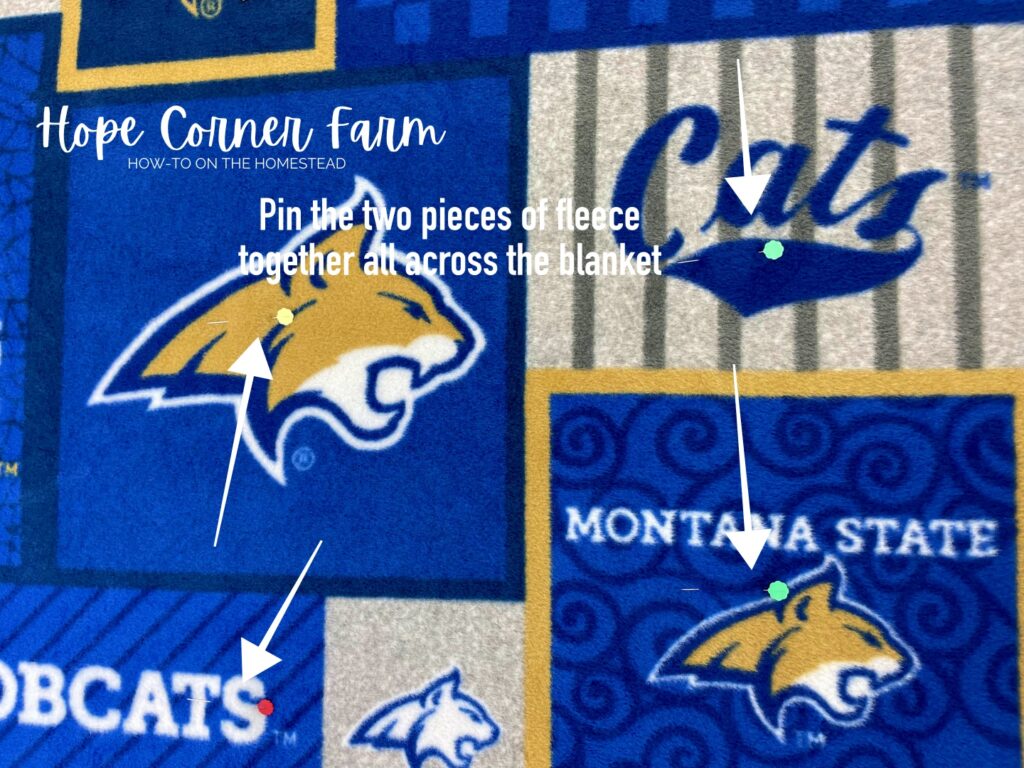
Pin the two pieces of fleece together. Place the pins at even intervals across the blanket. This helps to keep the two pieces of fabric together and even.
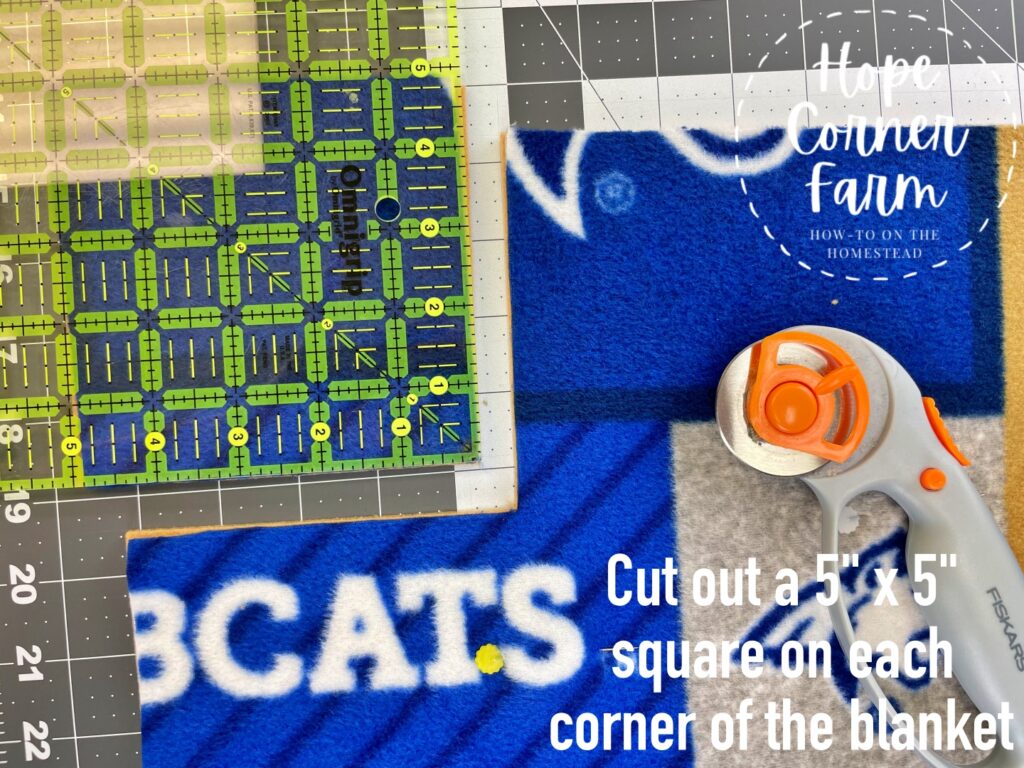
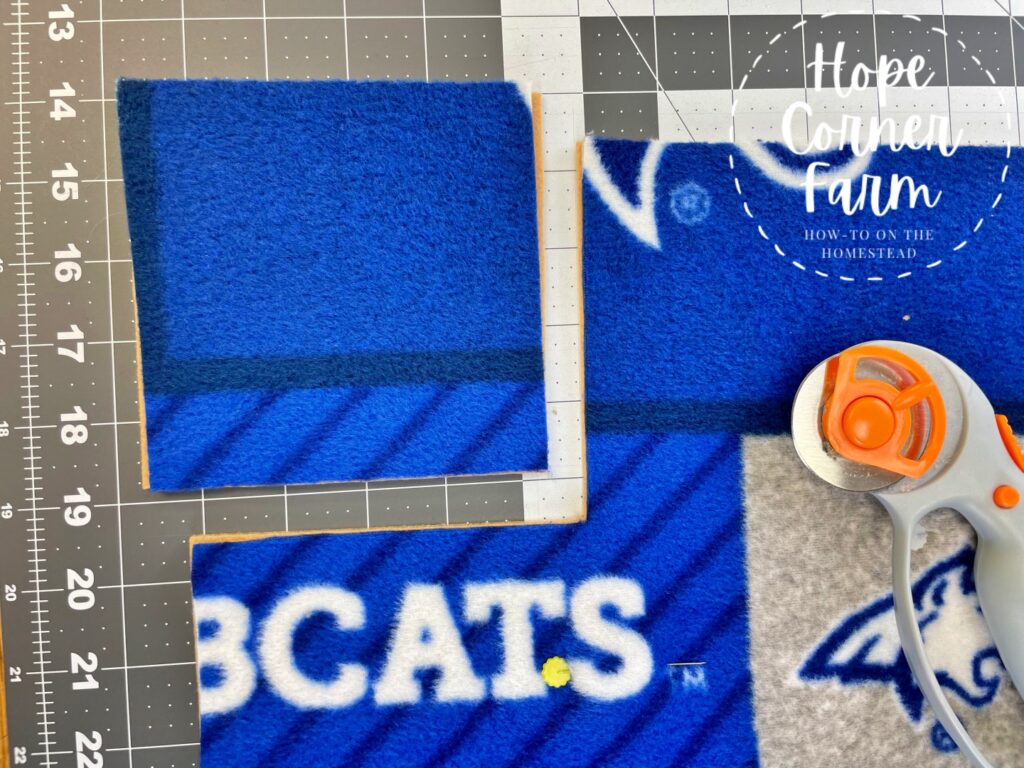
How To Make a Tie Blanket – Step 5:
Cut out a 5″x 5″ square out of EACH corner. I like to use the 5.5″x5.5″ square quilter’s ruler and the rotary cutter to do this.
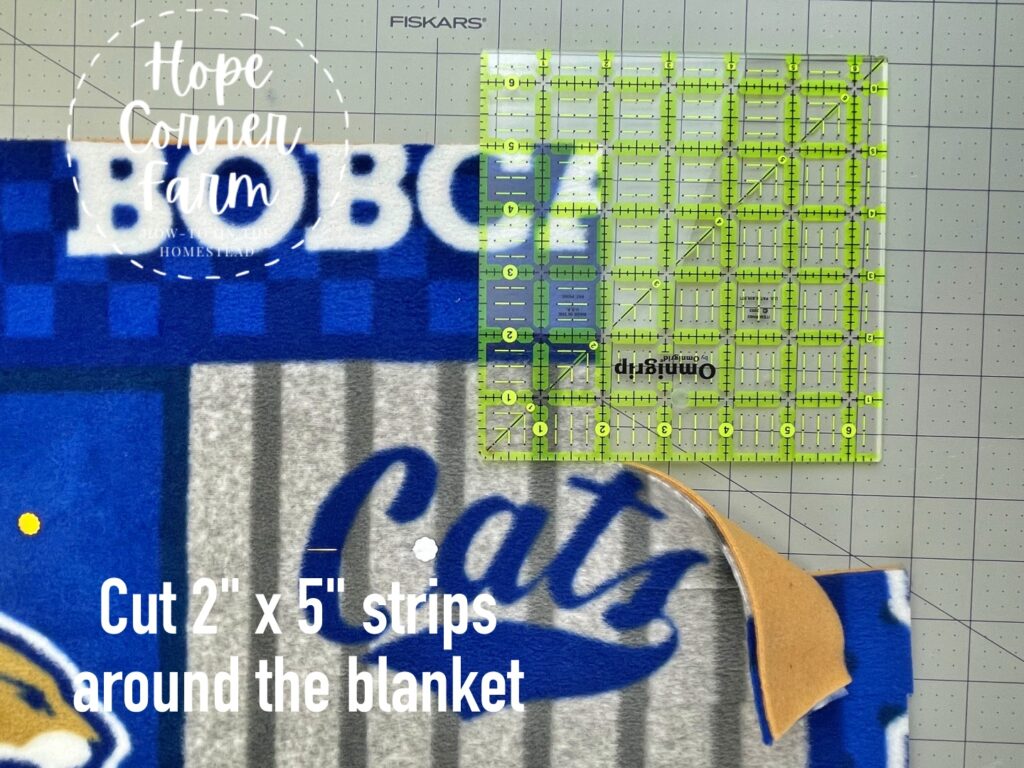
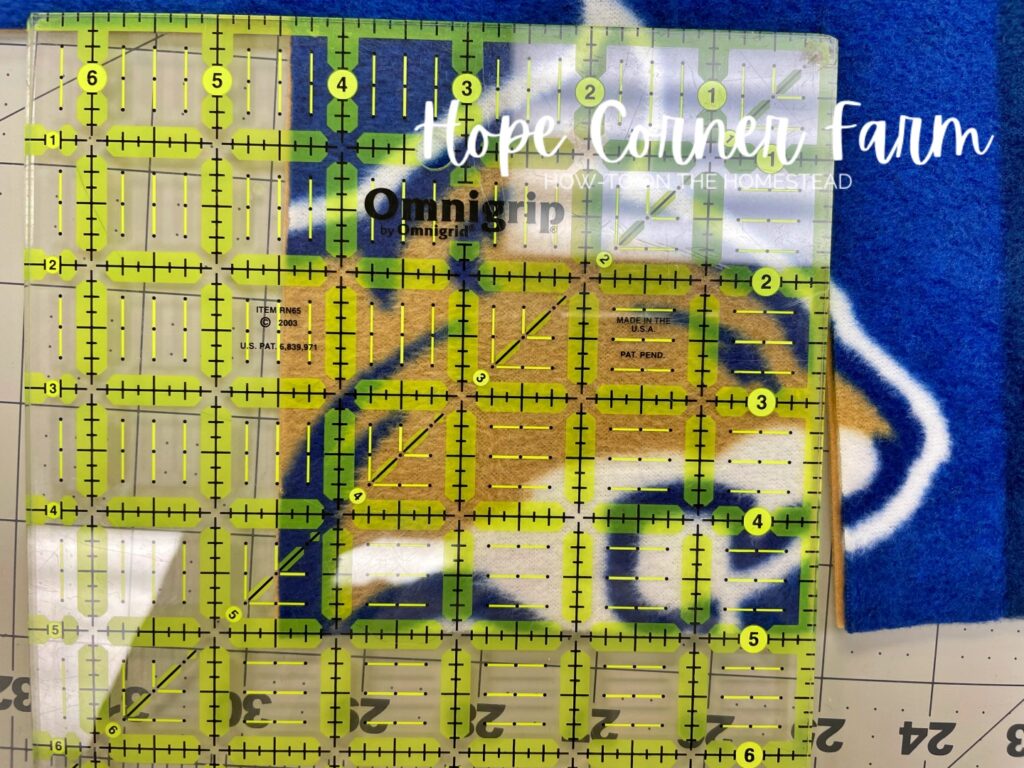
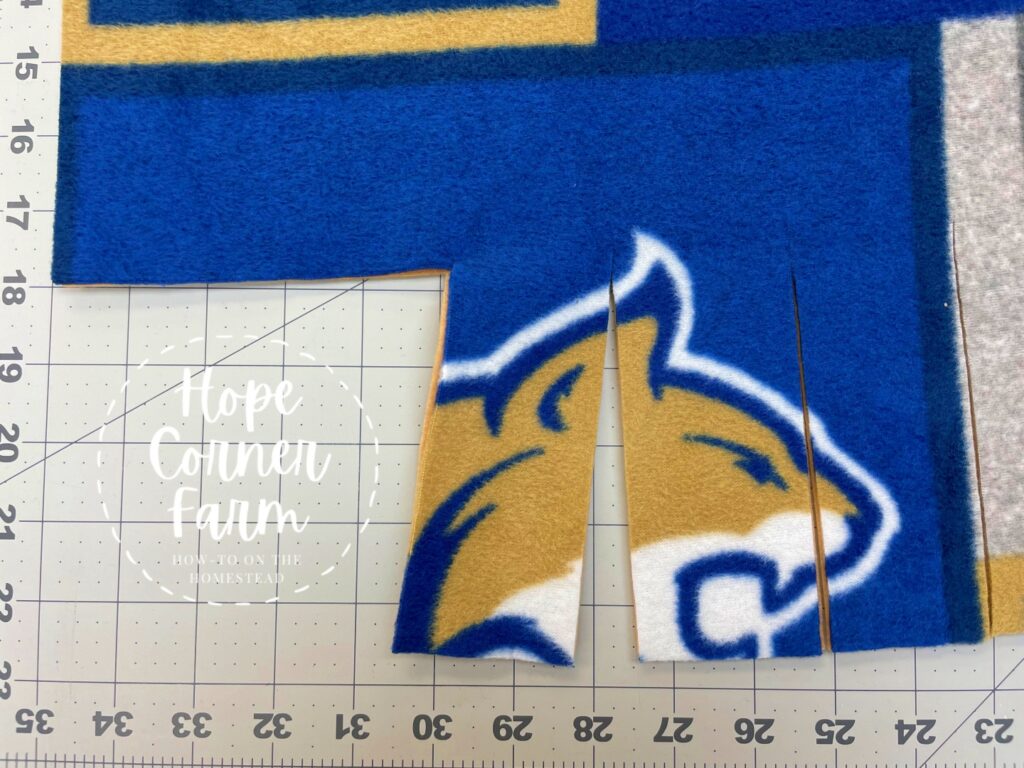
How To Make a Tie Blanket – Step 6:
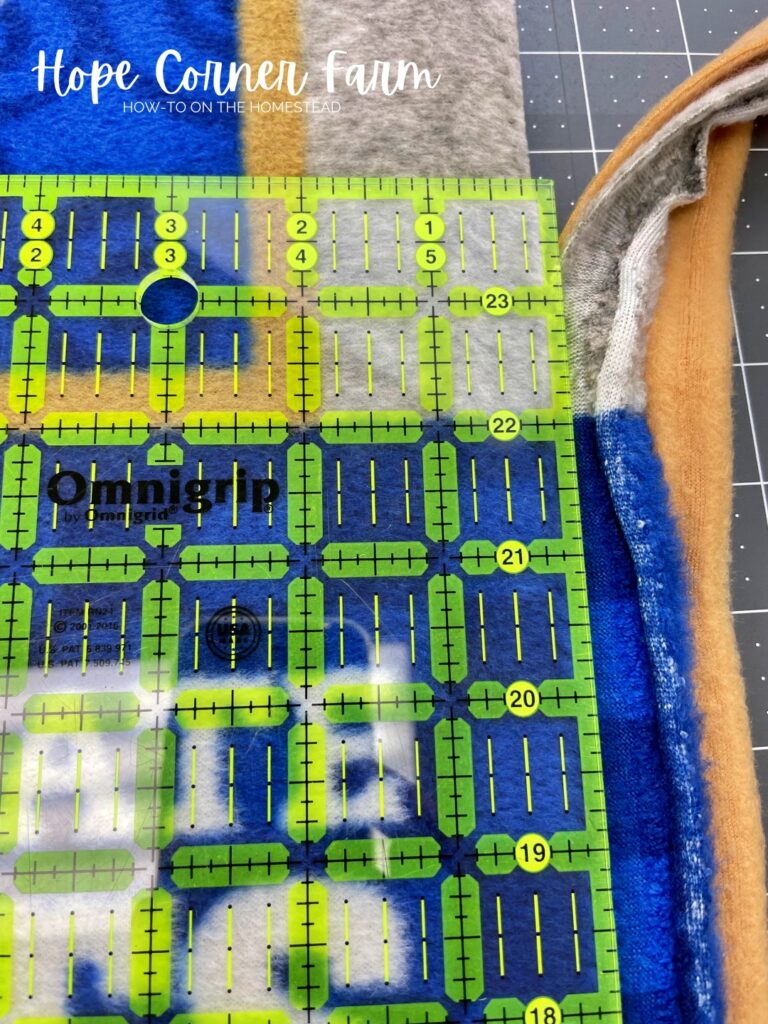
Beginning at a corner, start cutting strips that are 2″ wide by 5″ deep all around the blanket. I again like to use my 5.5″x 5.5″ square quilter’s ruler and rotary cutter.
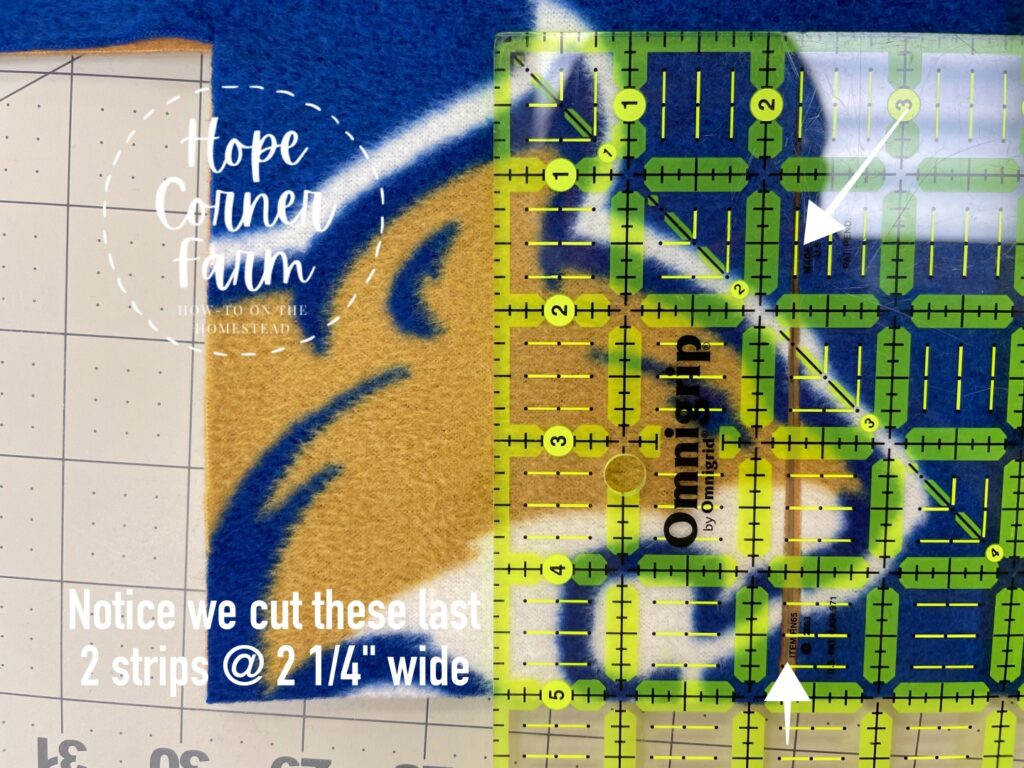
When you get to the next corner, stop and check how many inches it is for the last 2 strips to make it to the corner. Usually, this measurement is a little less than 4″, or a little more than 4″. Once you have this measurement, evenly divide this measurement in half to make the last cut for the last 2 strips.
In the example picture below, this measurement was 4.5″. Half of this measurement would be 2.25″, so I make the last cut at 2.25″, which would make the last two strips each 2.25″ x 5″.

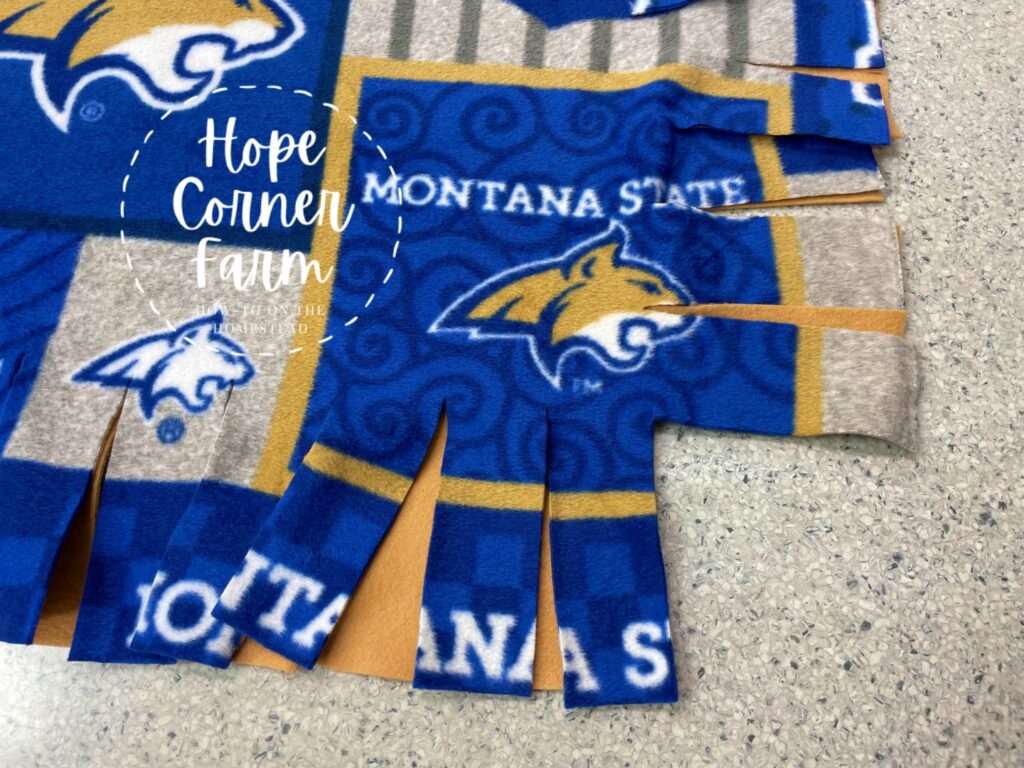
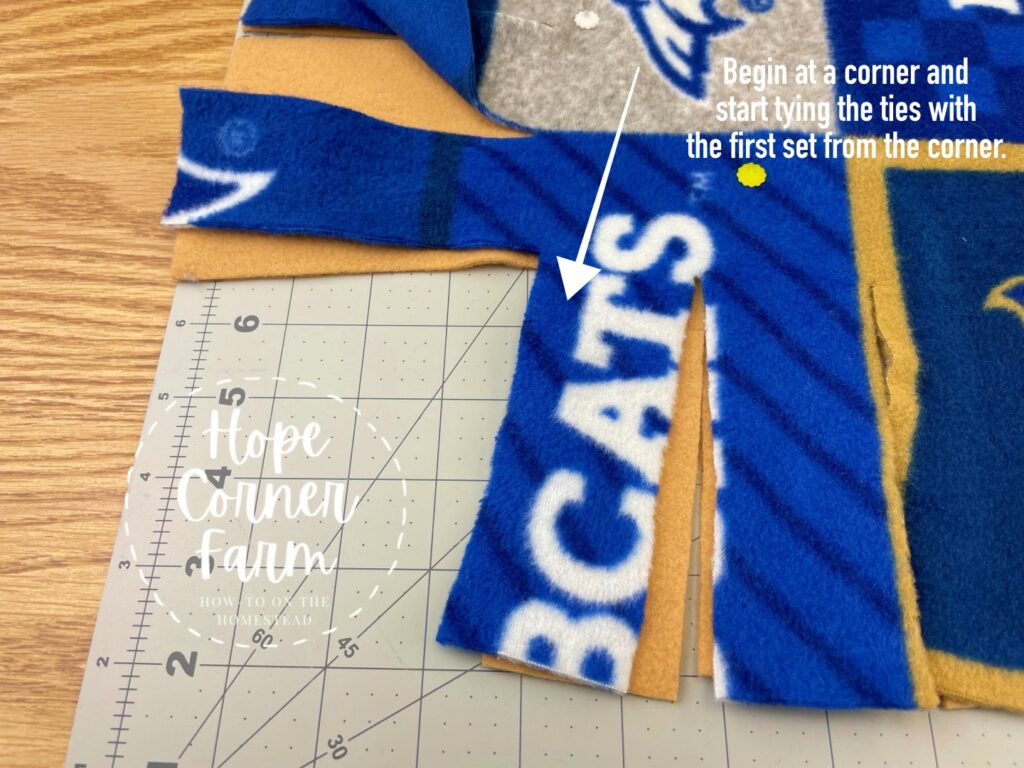
How To Make a Tie Blanket – Step 7:
Starting at a corner, begin by tying the first set of ties at the corner (see where the arrow points in the picture below).
Begin by tying one knot.
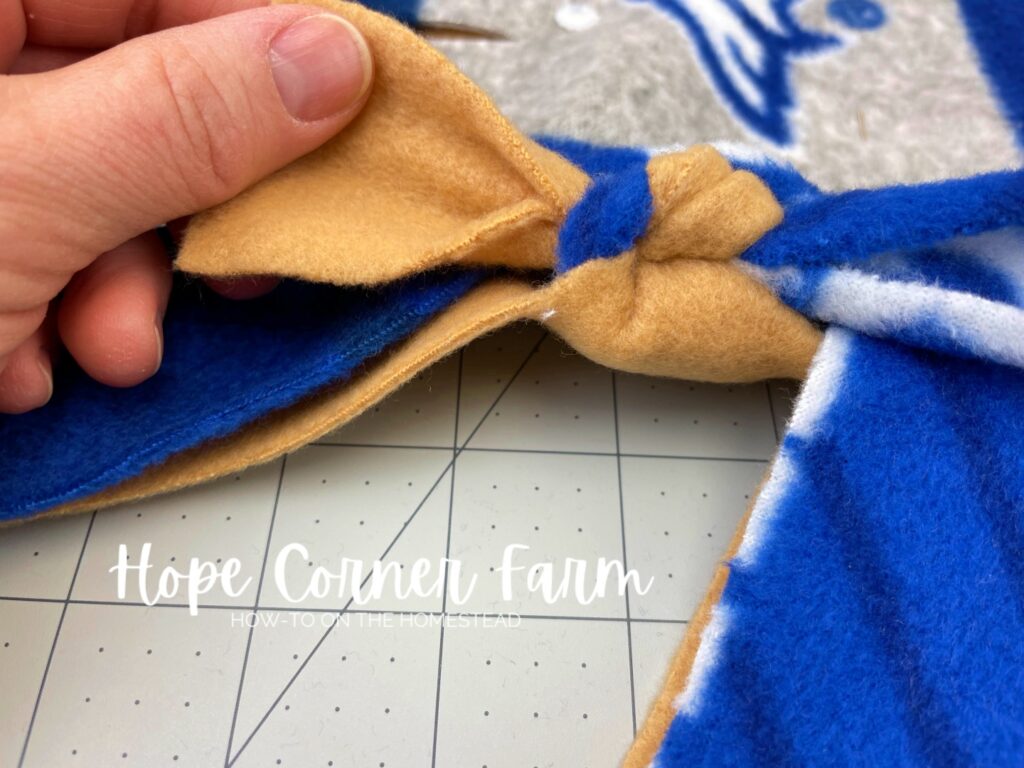
Now, with the same set of ties, tie a second knot. You will essentially have a double knot on each tie.
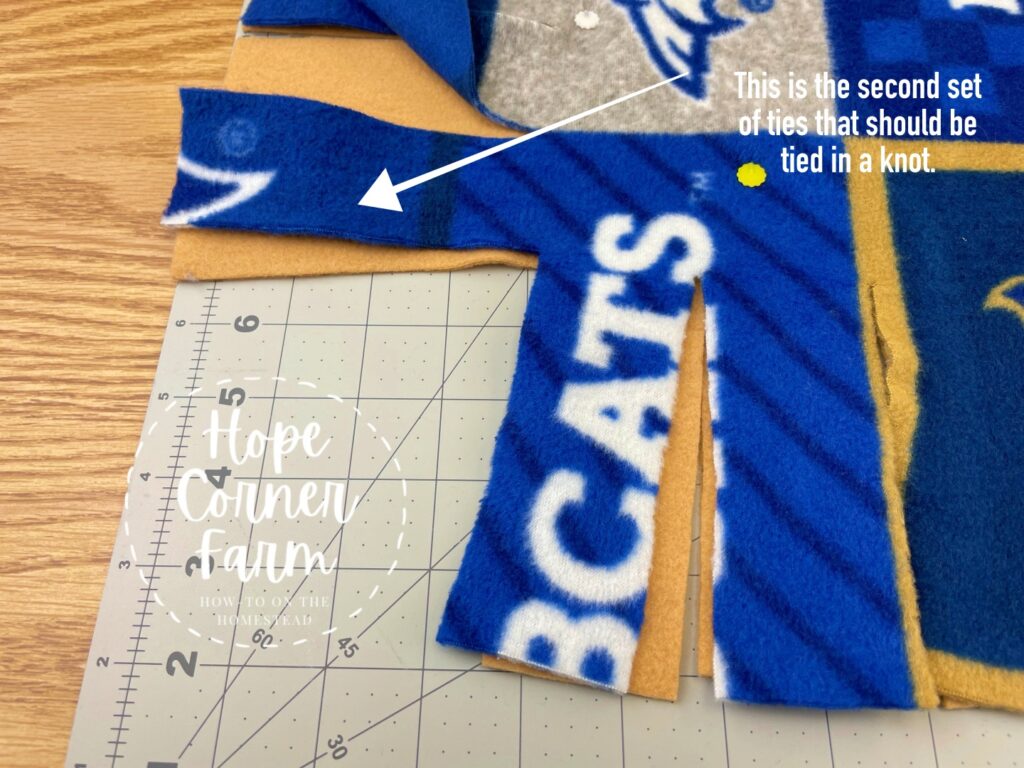
The next set that should be tied is the set of ties on the opposite side of the same corner.
Continue tying all of the sets of ties all of the way around the blanket.
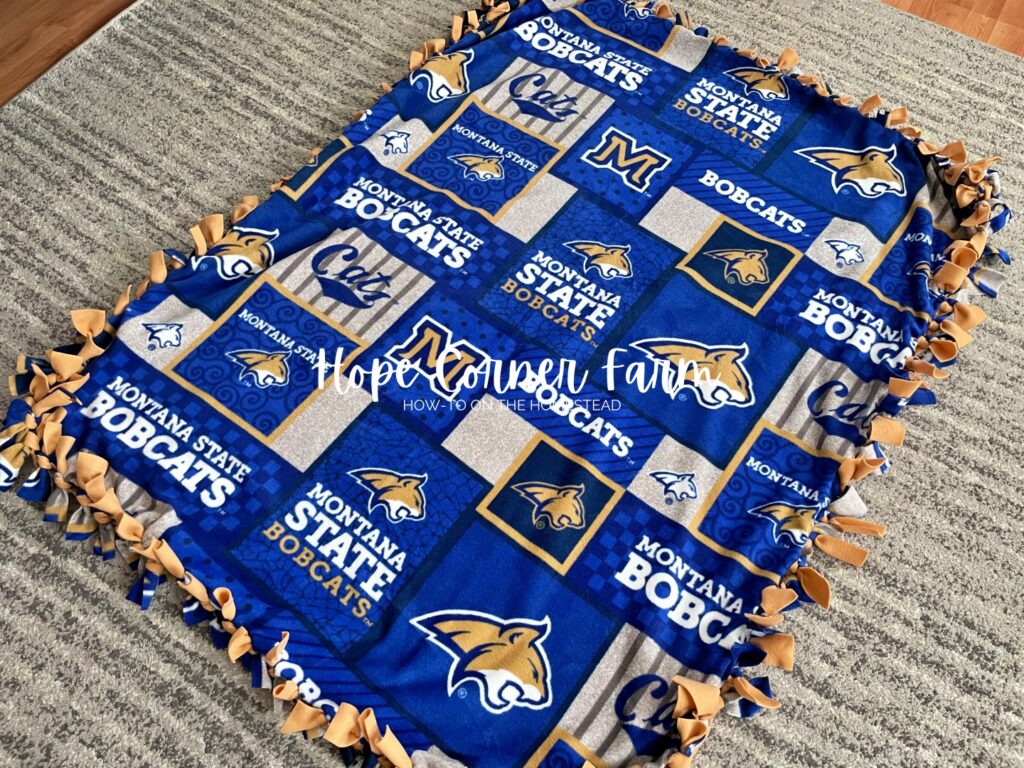
Once every tie has been double knotted, your tie blanket is complete! It really is that easy!
BEFORE YOU ENJOY YOUR TIE BLANKET, MAKE SURE THAT YOU REMOVE ALL OF THE PINS FROM THE BLANKET!

Many Blessings,

Video Tutorial:
Looking for More Fun Tutorials? Check these out!
- How to Crochet a Spike Stitch Granny Square (Free Pattern + Step-by-Step Tutorial)
- Puff Flower Granny Square Crochet Pattern: Free Written Pattern with Photo & Video Tutorial
- How to Crochet the Magic Ring: Step-by-Step Photo, Video, and Written Tutorial
- How to Crochet a Double Magic Ring (Photo + Video Tutorial + Written Instructions)
- How to Thermal Single Crochet Stitch (Photo + Video Tutorial with Step-by-Step Instructions)